Events at home over the last few weeks have meant that I haven’t had the opportunity to do very much photography. Most of the blog entries are written a few weeks before they are published because of the vagaries of finding wildlife so that backlog came in handy for when I couldn’t get out and about. But now the well has run dry.
Crusader bug (Mictis profana) instar nymph.
What little photography I have done recently has been in our back garden. Thankfully we have quite a lot of wildlife visit that I can point a camera at. Most of it has been of the usual suspects, the more common species that can be found in gardens in this part of the world, but there have been a couple of unexpected visitors which was very nice. For the best part of a year we had a problem with stray cats killing a lot of the birds and reptiles. But one of our neighbours has taken the main culprit in and the wildlife numbers are climbing back to what they were.
Wall Skink or Fence Skink (Cryptoblepharus buchananii) cooling off in the bird bath.
Yoorn or Bobtailed Lizard (Tiliqua rugosa)
Kanyinak orSacred Kingfisher (Todiramphus sanctus) on our TV aerial with a freshly caught Bombay Runner (Periplaneta americana).
Bambon or Rufous Whistler (Pachycephala rufiventris). It is a joy to hear this bird sing every morning.
Nye-nye or Zebra Finch (Taeniopygia guttata) looking for food on the back lawn
Djida or Yellow-rumped Thornbill (Acanthiza chrysorrhoa).
Cabbage White Butterfly, Pieris rapae.
Giant grasshopper or hedge grasshopper (Valanga irregularis) resting on the garden fence.
The garden provided a great deal of solace over a difficult time and it always amazes me how restorative being in nature can be. Hopefully, over the coming weeks we’ll be able to get out and about more.
This last twelve months I have started using 35mm film again. Initially I had the lab where I got my film developed scan the negatives. The results were absolutely diabolical – and this was from one of what is considered the better labs in Western Australia. So I needed a scanner. The market had changed considerably since I bought my last one in 2005. Canon and Nikon have exited the market and Epson has only the V850 flatbed (only $1600 AUD “cough”!) available in Australia. What is available at more reasonable prices are the Plustek range, which seem to be largely differentiated by the software bundled with them. While the price is attractive they are somewhat under specified. The advertised maximum resolution of 7200 dpi is somewhat optimistic as it really doesn’t resolve more that 3200 dpi in real terms. The density measurement of 3.6 D is pretty mediocre and they are incredibly slow in in use. I then figured the second hand market was the place to look. Back in the day the undisputed market leader for consumer dedicated 35mm film scanners was Nikon. Now Nikon stopped production in 2009 so I thought a late model with USB connection would be the way to go and the Nikon Coolscan 5000 seemed to fit the bill with a true resolution of 4000 dpi, autofocus lens, adapters available for scanning whole rolls of film, and a density measurement of 4.8 D (anything over 4 is the mutts nuts). Unfortunately the current film resurgence has meant that these are selling for $1800-2100 AUD for a working model.
I had an ask around and was quickly informed that camera scanning was very popular. I watched a load of YouTube videos on the subject and saw everything from DIY Frankenscanners to very swish $6500 setups. I dipped my toe into the pool by making a negative holder from a scrap of matt board, an LED light diffused by tracing paper as the light source and set up a camera with a macro lens on a tripod. With a lot of trial and error (mostly error) I got some reasonable results – better than those I got from the lab. This was encouraging and it gave some idea of what I was looking for. I didn’t want to have to set up a camera on a tripod and then align the negative so it was parallel to the camera sensor plane and centred on the axis of the lens. It had to be compact and quick to set up and breakdown. Most importantly it had to work with one of the camera and lens combinations I already owned. Perusing the inter webs I found two set ups that fit the bill:
The Valoi Easy 35 at $380 AUD for a complete scanning solution
In crudest terms both are just a tube that attaches to your lens and at the other end is a film holder and an LED light source. Both offer a wide range of compatibility with different cameras and lenses. The Valoi looked very slick and well designed, the JJC looked a little more rudimentary. I plumped for the JJC as I wasn’t sure at that stage how much use it would get.
JJC Film Digitising Adapter And LED Light Set
The kit comprises of several short threaded tubes and step down rings.
In the box you get a series of short threaded tubes, several step down rings, a negative holder, a holder for mounted slides, a holder for the negative and slide holders, an LED light, a diffusion panel and a USB power cable with switch. There is a comprehensive instruction sheet and a sheet detailing the necessary combination of parts needed for each camera and lens combination. It was all very straightforward and I was up and running in a couple of minutes.
The LED light is powered via USB. It has no battery.
The build quality is OK. It’s made out of plastic, but it fits together quite well. The negative holder does a good job of holding the film flat. The only thing I don’t particularly like is that the step down rings bind very tightly to the filter threads of my lenses and it can be a bit of a struggle to remove them.
All assembled and mounted on a camera.
Before we get to results we must deal with the elephant in the room – lens compatibility. JJC list a total of 15 compatible macro lenses from Canon, Nikon, Sony, Olympus and Laowa covering micro four thirds, APSC, and full frame. Initially I used the lenses from the list – my Canon EF 100mm f2.8 IS L on my Canon 6d, and my Olympus 60mm f2.8 and EM1 mk ii. Both camera have a 20 Mp sensor and both worked very well. What I really wanted to use was my Sony A7r2 and Sigma 105mm f2.8, but the lens is not officially supported. I tried various combinations of the tubes until I found one that worked – a combination of large tubes listed for the Canon EF 100mm f2.8 L macro with the step down ring for the Nikkor Z MC 105mm macro. It delivered excellent results. So if your lens is not listed then it could be worth playing around with the tubes. Do you have to use a macro lens? For best results I’d say yes. It’s not just close focusing capability that’s important. Field curvature is as well. In simple terms an ordinary lens when photographing a flat object ie a film negative cannot bring the whole subject into focus. The centre is sharp and then that sharpness falls off towards the edges of the camera sensor. Macro lenses have inbuilt correction to achieve a flat film plane ie where the image is sharp across the whole frame. Some would say stop down and the problem goes away, and to an extent that could work depending on how acute the field curvature is because if you stop down too far then the diffraction kicks in and the image softens. Having said that if you don’t have access to a macro lens then there is nothing to stop you using a 50mm lens with 2 x 25mm extension tubes to see how you get on. Personally if you’ve got a mirrorless camera I’d look on EBay for a second hand manual focus macro lens and get an adapter so you can mount it on your camera. You don’t need autofocus to scan film.
Mounted on a Sigma 105mm f2.8 DG DN macro lens for Sony E mount. The lens is not on the JJC list of supported lenses, but playing around with the tubes and step down rings I was able to find a combination that worked.
Results. Well I compared the results from my three camera and lens combinations with some images I’d scanned using my oldCanoscan 9900f. On comparing them all the camera scans were better than the flatbed scanner. There was more detail in the highlights, there was finer detail in the whole image, subtle tonal roll off, and the images weren’t over sharpened.
This is an image I shot on slide film in 1986 and scanned using a Canoscan 9950f flatbed scanner.
Now viewed at 200%
Sony A7r2 with Sigma 105mm macro lens. 42Mp. Viewed at 200%.
Canon EOS6d with Canon 100mm macro lens. 20Mp Viewed at 200%.
Olympus EM1 mk ii with 60mm f2.8 macro lens. High Res mode. Equivalent to 80 Mp. Viewed at 200%.
Olympus EM1 mk ii with 60mm f2.8 macro lens. 20 Mp. Viewed at 200%.
A section of an Ilford SFX negative scanned with the Canoscan 9950f viewed at 200%
The same negative scanned with the Sony A7rii and Sigma 105mm macro. There is more fine detail and a much gentler roll off of tones with greater dynamic range.
This is a section of an Ilford FP4 negative scanned by the Canoscan 9950f and viewed at 200%.
The same negative at 200% shot with the Sony A7rii and Sigma 105. Again note the finer detail and tonal range of the image. The camera is able to extract more information out of a negative.
Now you’ve got a memory card full of digitised film what happens next. Well I’m using Adobe Lightroom so I ingest the images into the Lightroom catalogue. What happens next depends upon the film stock. With black and white or slide film no special software is required and you can process entirely in Lightroom. It’s really not difficult. With black and white just invert the tonal curve and with colour slide it’s just a case of making small scale adjustments to the colour balance, unless the slide is old and experienced a colour shift then the adjustments are bigger and you may have to do contrast masking. With colour negative things are harder due to the orange colour masking. Now it is possible to do this manually yourself, but you’ll save yourself a lot of time and frustration if you get a Lightroom plugin to do it for you. I tried once doing it myself because I once considered myself a fairly competent colour darkroom worker. I mean with with red areas appearing cyan, greens appearing magenta, and blues appearing yellow, and vice versa just how hard could it be? After an hour of chasing my tail on one negative I happily plonked down the money for Negative Lab Pro. It’s easy to use and the money is well spent as it preserves sanity.
Conclusion
Ilford XP1 scanned with the Olympus EM1 mk ii and 60mm macro at the native 20Mp of the camera.
Six months and a couple of dozen films in how do I feel about camera scanning? Well to be honest if I could get a modern version of the Nikon Coolscan 5000 with up to date software, drivers and a USB C interface I’d buy it in a heartbeat (Nikon are you listening?). The reality is that there isn’t and it is unlikely to happen. So I guess I’m a camera scanner with reservations. With a good macro lens and good post processing skills it is a viable alternative to the dedicated film scanner and is streets ahead of what flatbed scanners can achieve.
Ilford XP2 scanned with the Olympus EM1 mk ii and 60mm lens at 20Mp.
As to JJC Film Digitising Adapter And LED Light Set I think it is good as a low cost entry to camera scanning.
Pros
Cheap – $130 AUD from Amazon
Quick to set up and quick to scan
Easy to use
Adapts well to a range of lenses and cameras
Better results than a flatbed scanner when using a camera with around 24Mp
Good documentation making it easy to get started
Cons
It can only scan 35mm film
On paper it is only compatible with a limited number of lenses
Black and white negatives and slide film can be processed with no special software, but colour negative will require a plugin such as Negative Lab Pro
Expensive if you don’t own a digital camera and macro lens
The negative and slide holders are sloppy as is the holder insertion slot on the LED. They wobble and rotate as you feed the film through. Also the locating notches on the holders are not accurate so it is not a quick or smooth process when you put the film through and it requires fiddling with to ensure accurate framing
For the time being I’ll continue using it and work around some of the quirks as the price was right. Let’s put it another way. My lab charges $11 to scan a roll of film. Scan 12 rolls of film and the scanner has paid for itself.
Ilford Delta 400 scanned with a Canon 6d and Canon EF 100mm macro lens.
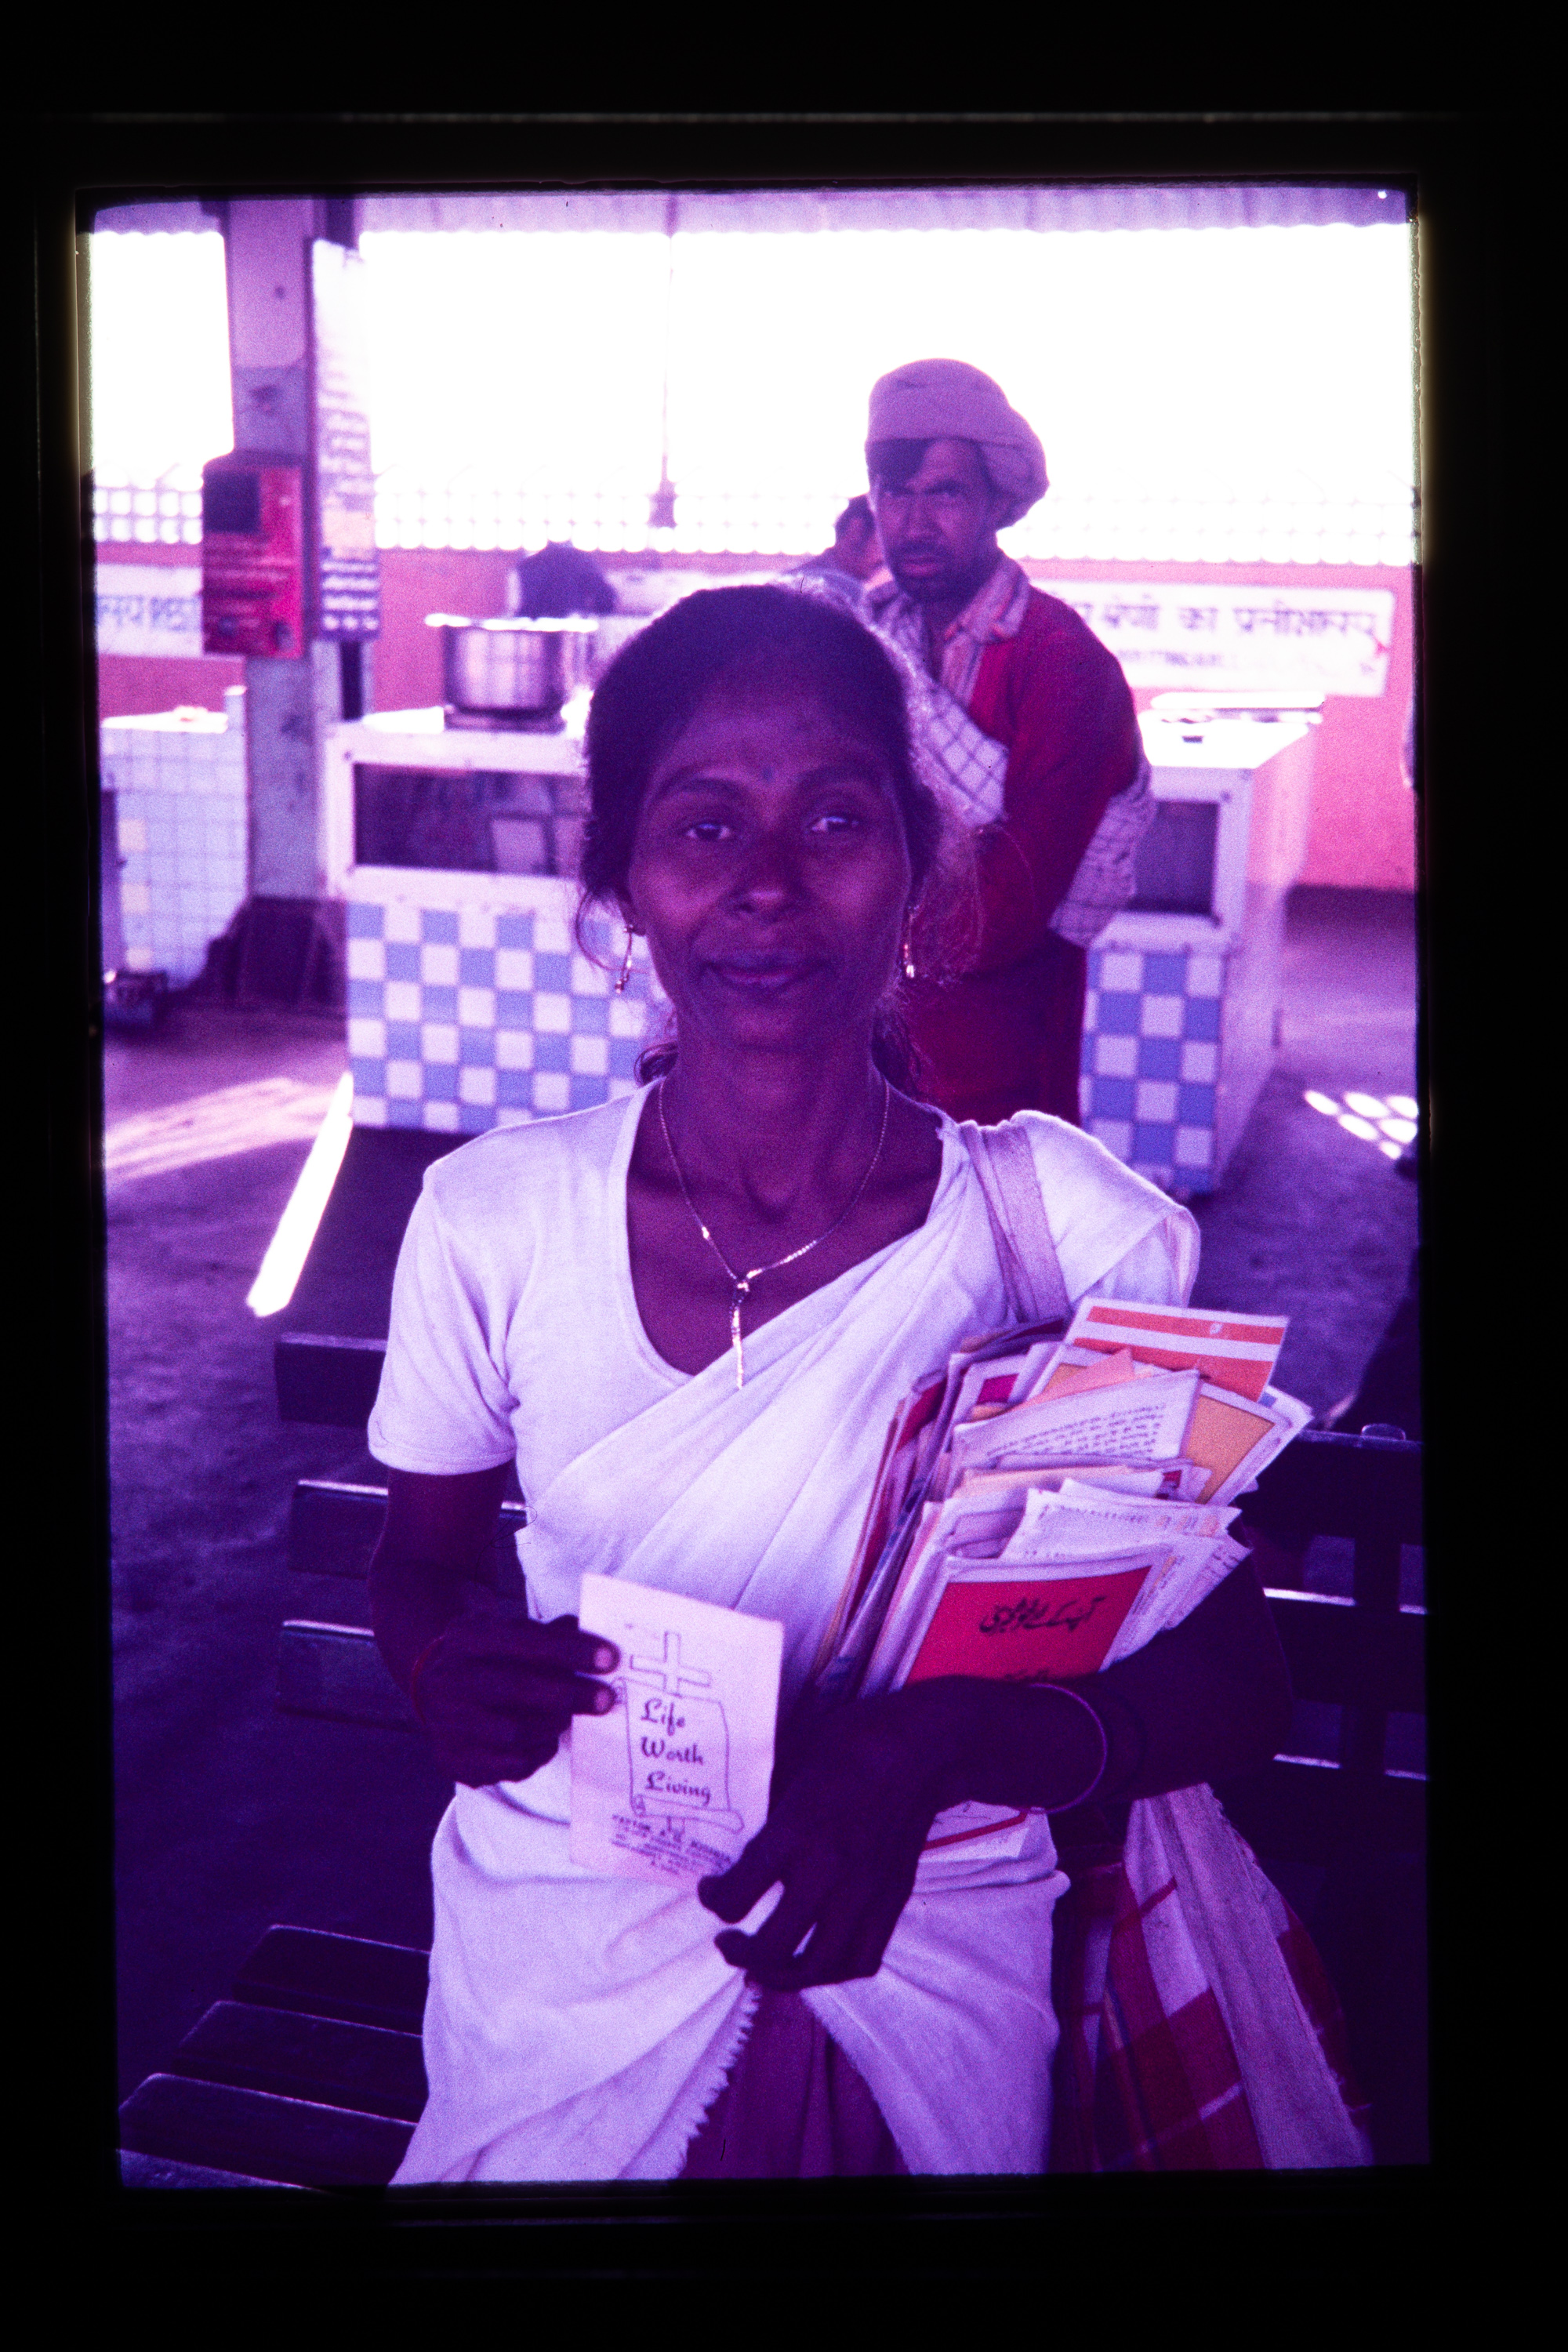
This lady lived on the railway platform at Jammu Railway Station and was a missionary to people using the station. Photo by/courtesy Helen Amyes.
This photo was taken in November 1987. We were travelling around India and Nepal before heading of to Australia to start a new life. If memory serves me correctly we had been staying on a house boat on Dal Lake in Srinagar and we were just leaving to head off to Kathmandu in Nepal. I was quite ill at this stage having gone down with amoebic dysentery and Helen wasn’t well either. We had a long journey ahead of us across the top of India from Srinagar to Jammu by bus and then Jammu to Gorakhpur by train and then finally catch a bus to the Nepali border where we would stay the night. The journey to Jammu Railway Station had left us absolutely wiped out and we were left with some time to kill before our train. While on the platform we met the lady in the photo above. She lived on the platform under a bit of a tarp and she saw herself as a missionary to the people travelling on the railway. We got talking, she was very excited to chat with us – I don’t think many westerns were coming through at the time because there was an ongoing armed insurgency with rebels demanding independence and several tourists had been killed. We’d been in India long enough to know that if you were a westerner you’d be approached for money. What this homeless lady did was offer to help us. She just had the clothes she stood in, a few religious pamphlets and her bedding. Finding out that we had “bad” stomachs she gave us cardamon pods to chew as it is considered to be an aid to digestion in India. The encounter did not last long, but, it has a long lasting effect on us both. We both think about her regularly and often wonder what happened to her.
This is another exercise in camera scanning – this time with colour transparency film. The original image was taken by Helen on her Olympus OM40 with the Olympus OM Zuiko 35-105mm f3.5-4.5 lens. The film stock was Kodak Ektachrome 100. Unfortunately over the last 37 years time has not been kind to the transparency and it has taken on a magenta colour shift and become very muddy. The scan cleaned up nicely in Lightroom with a couple of finishing touches done in Photoshop. This was all done manually. Trying to psych myself up for colour negatives next.
The original scan showing how in the 38 years since I had this film developed it had suffered a significant colour shift. E6 film uses dyes that are notoriously unstable.
My friend Adrian practicing the Japanese art of sword drawing. Taken with an Olympus OM 4 with a Tamron 28 mm lens, using Ifford Delta 3200. Scanned using an Olympus ES-10 scanner and edited using Adobe Photoshop Elements 2 and Genuine Fractuals.
I first posted this photo of my late friend Adrian ten years ago, but it was already 10 years old then. I’ve not had a look at the rest of the negatives since then. It was scanned with an Olympus ES-10 scanner which I owned for a number of years, by then it was already long in the tooth and struggled to produce a file suitable for printing an A4 print. Fast forward 20 years and I’m experimenting with scanning negatives and slides with a camera and macro lens. It’s early days so far – mainly because you need to hold the film perfectly flat. There are quite a few contraptions on the market that claim to be able to do this, but quite a few of them cost more than a dedicated film scanner which to me negates the whole process entirely. The other factor is converting the negative into a positive. So far I’m just limiting myself to black and white film and am doing the conversion manually in Lightroom. If I decide to move onto colour film then I will have to look at some form of software solution to do this to get good quality results. So anyway here a few photos of Adrian I’ve scanned using my Canon EOS6d and the Canon EF 100mm f2.8 L macro lens.
Adrian Dobson practicing the Katori Shinto Ryu sword kata for Ikkyu Tsutsumi Jujitsu. Olympus OM4 camera and Ilford Delta 3200 film.
These were tricky to scan – Delta 3200 is pretty grainy, although not as bad as HP5 pushed to 3200 ISO, and developing the film in Rodinal hasn’t helped. But overall I’m happy with the result so far. They are certainly better than that original scan and are better than those I used to produce with my CanoScan 9900f flatbed scanner.
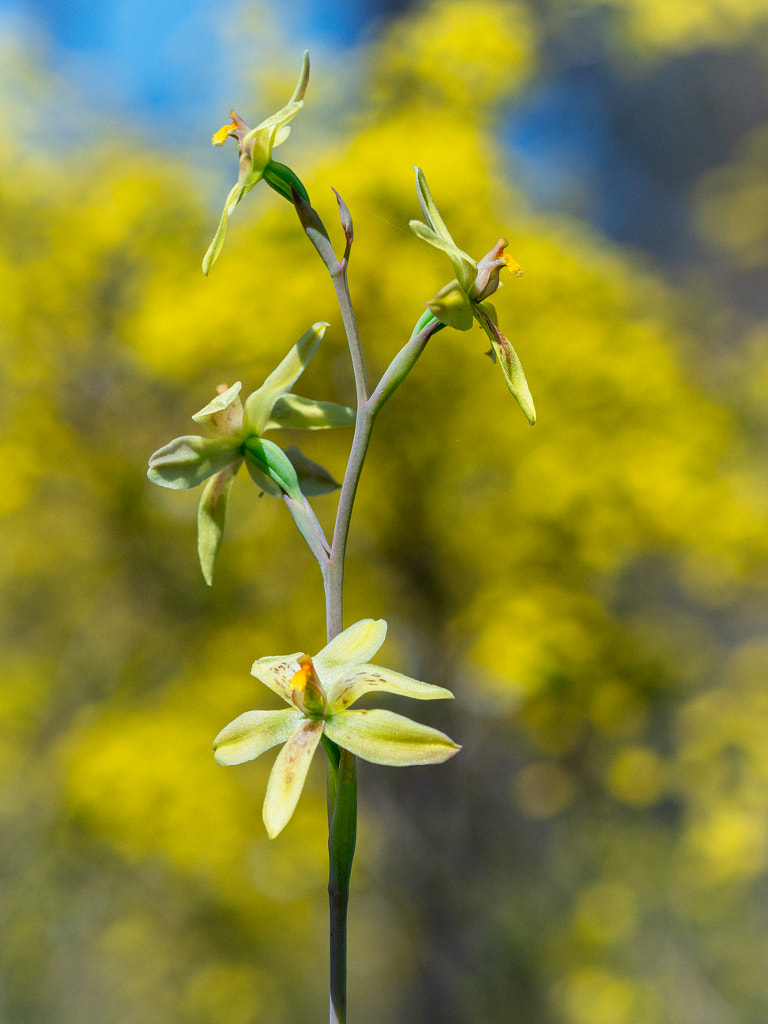
Yep you read that right. You know how you can stand at a bus stop for ages and not see a single one and then suddenly three come along together? Well orchids are like that. I’ve been walking the same patch of woodland looking for the Curly Locks Orchid for years without seeing a single one and then the other day low and behold there were three of them just standing there.
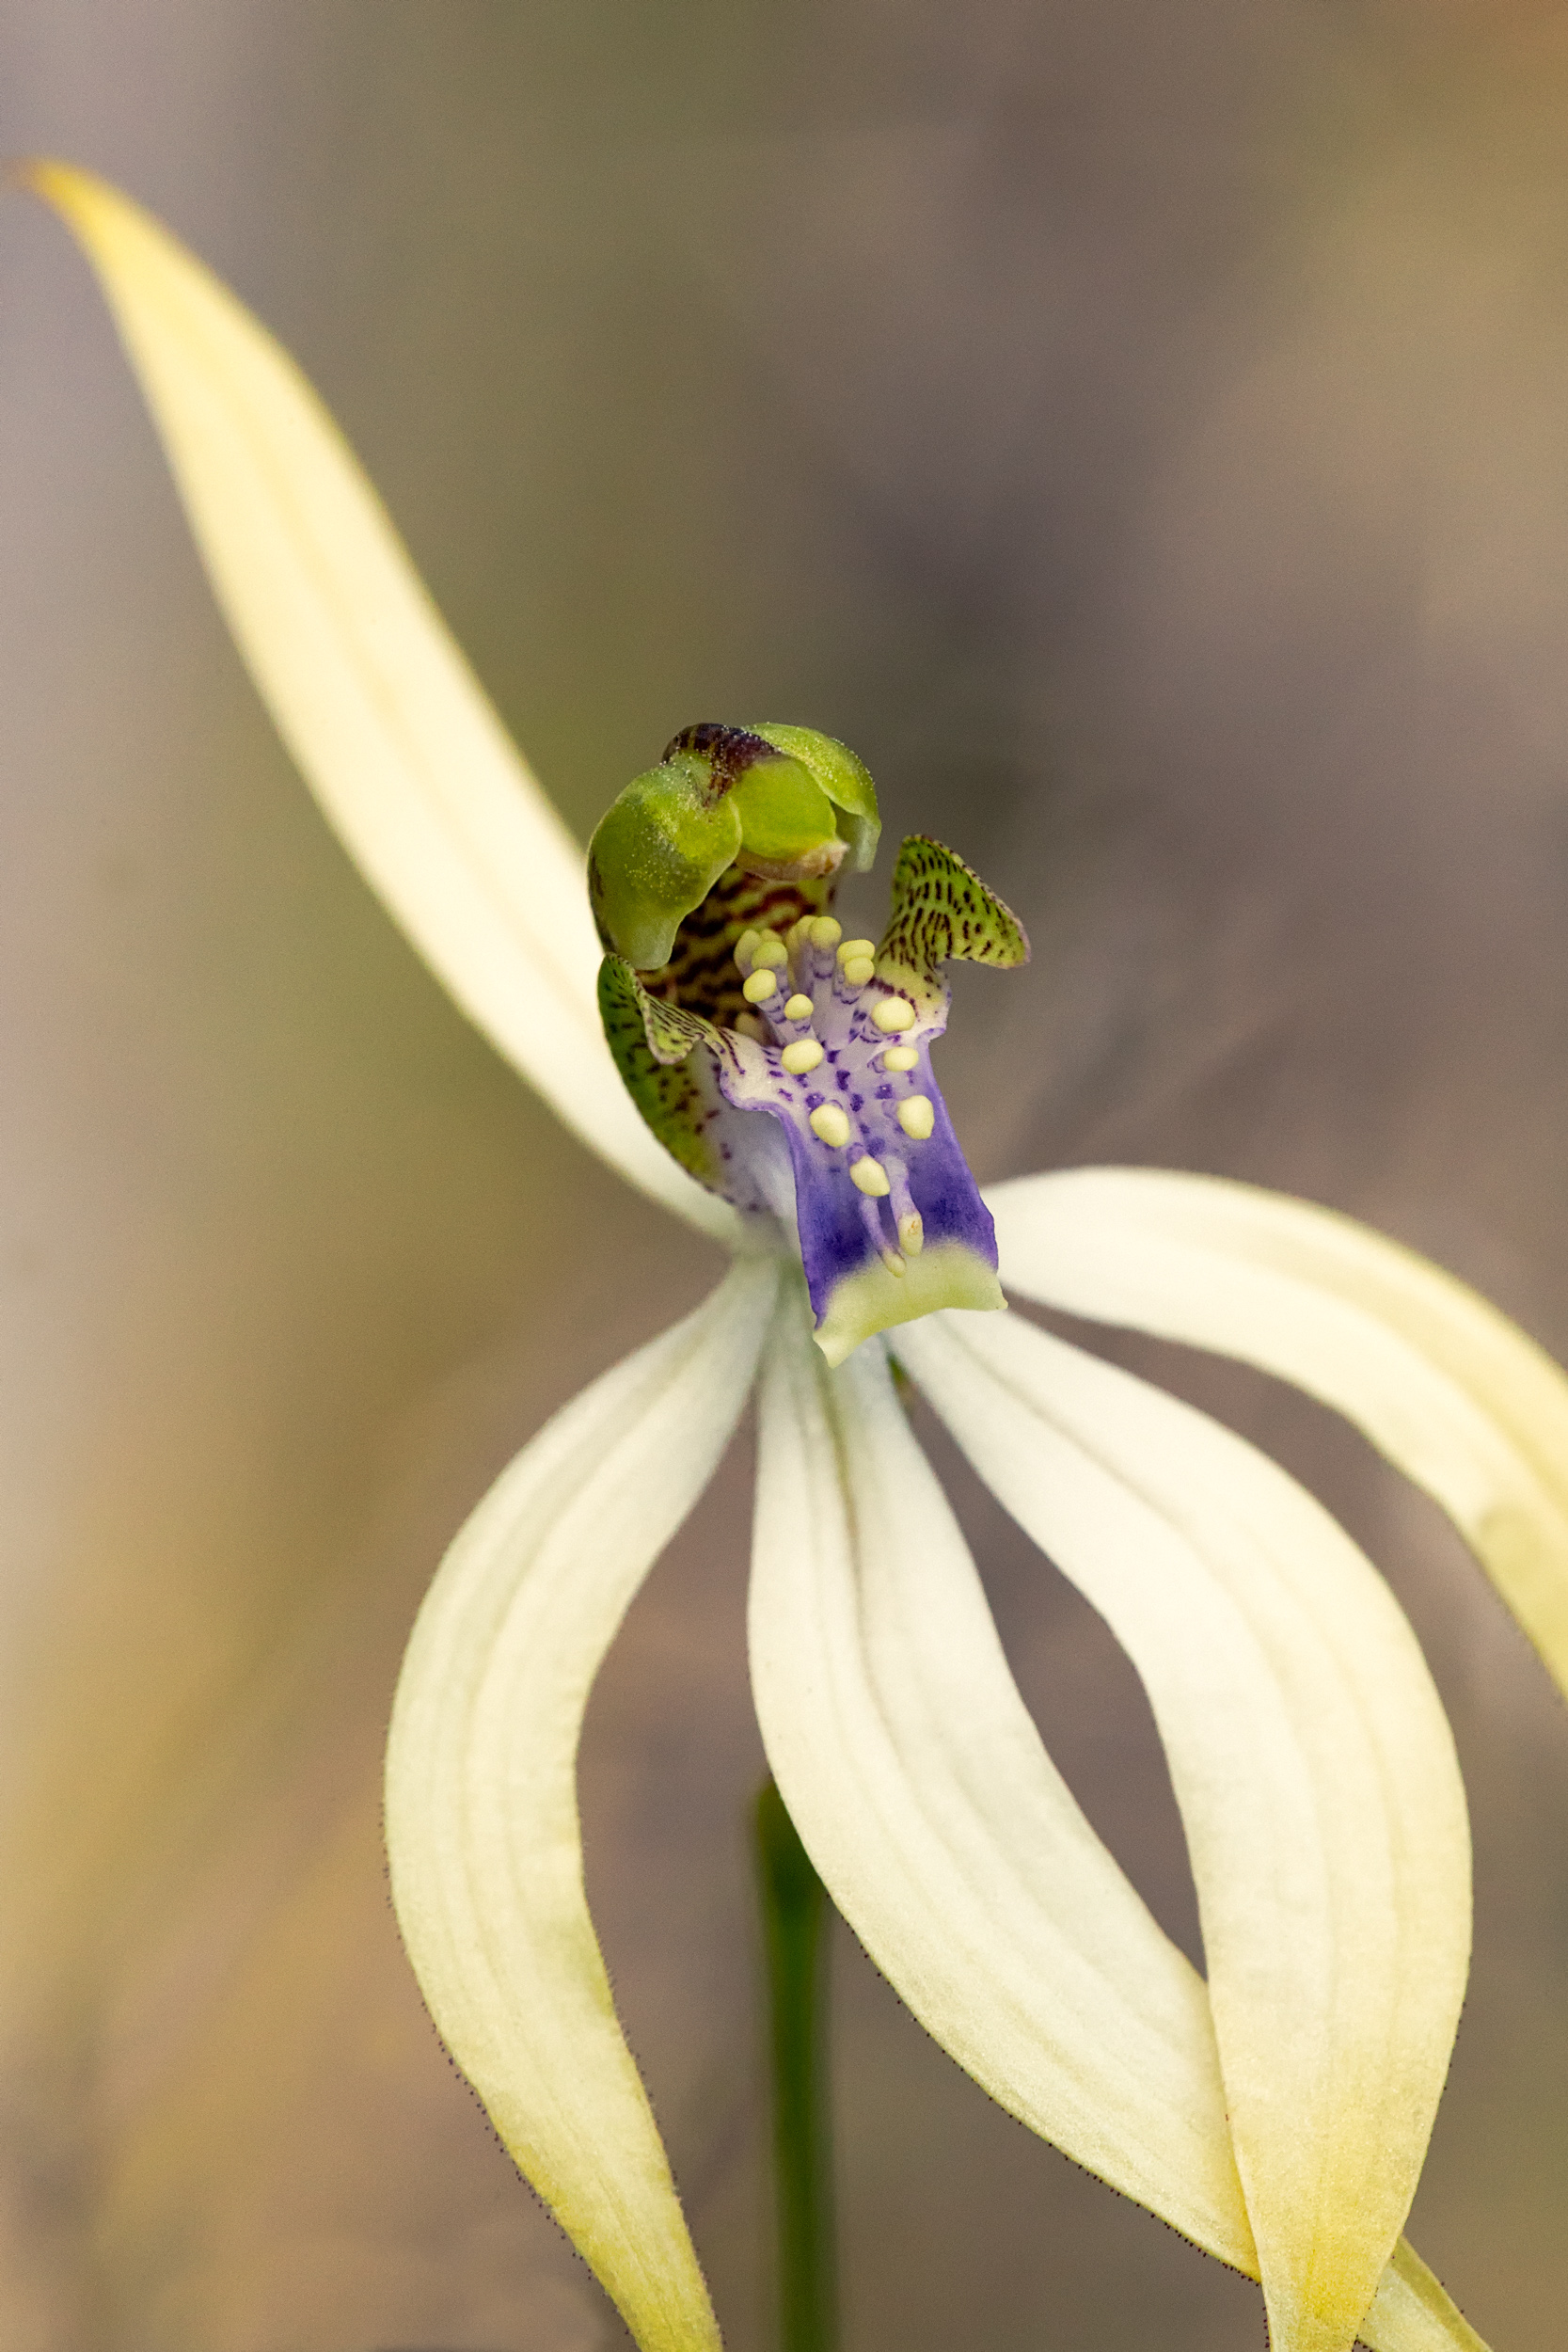
Curly Locks, Thelymitra spiralis. Wandoo National Park, Western Australia.
Curly Locks, Thelymitra spiralis. Wandoo National Park, Western Australia.
Curly Locks, Thelymitra spiralis. Wandoo National Park, Western Australia.
I’ve spent the last couple of weeks walking the Wandoo forest looking for various orchids. I’ve bumped into a male emus and his brood (too quick to photograph), met bob tailed lizards and countless Western Grey Kangaroos (again too quick to photograph). So even if I’ve not found the particular flower I’m looking for it has still been quite an experience.
The slower bob tailed lizards are easier to photograph than fleeing emus and kangaroos.
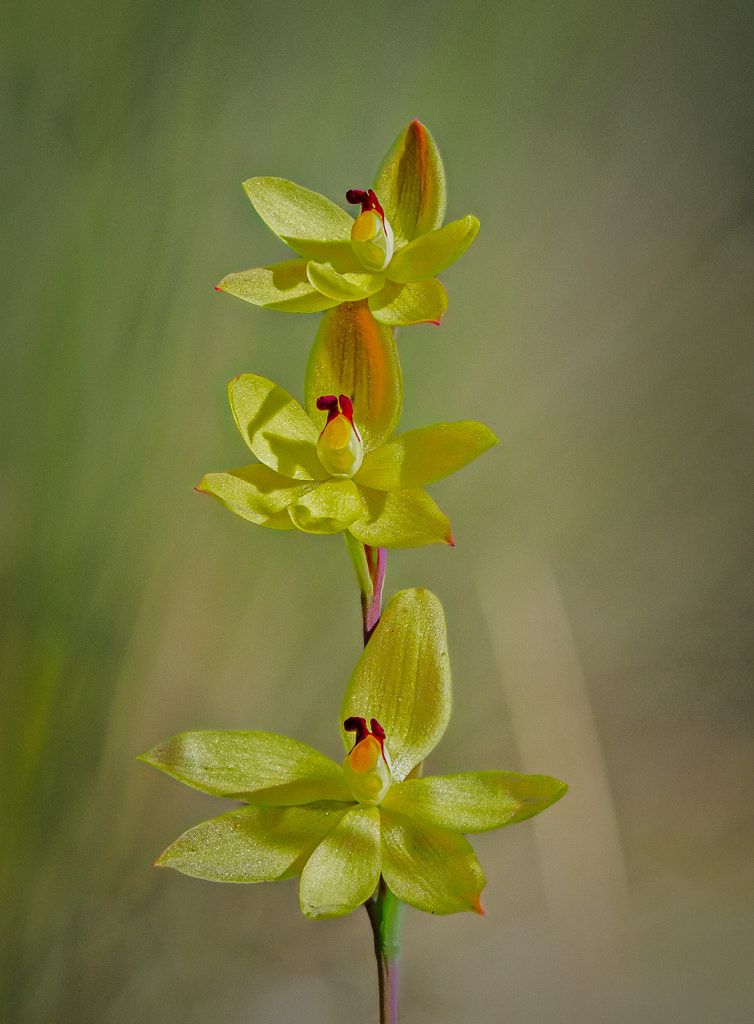
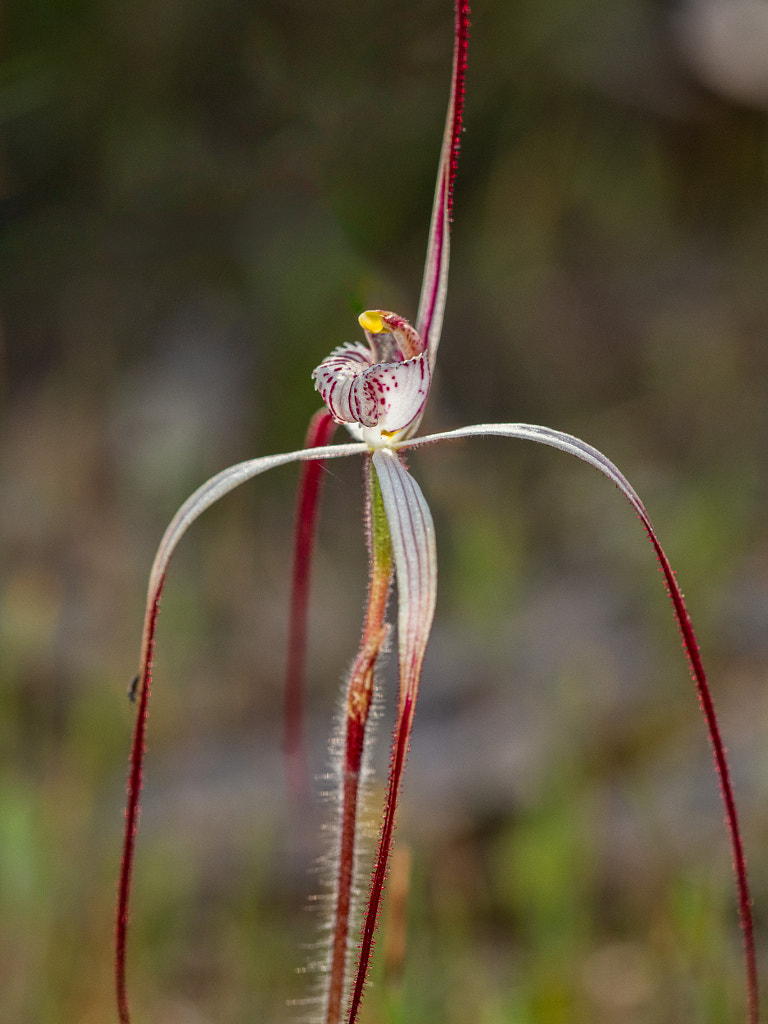
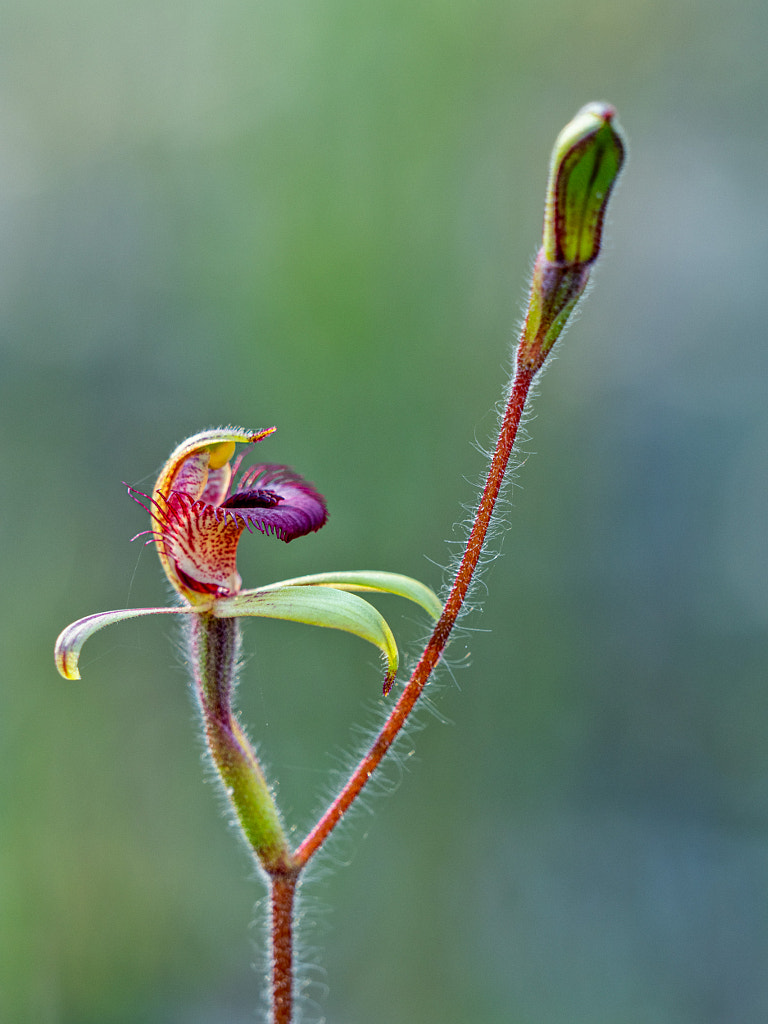
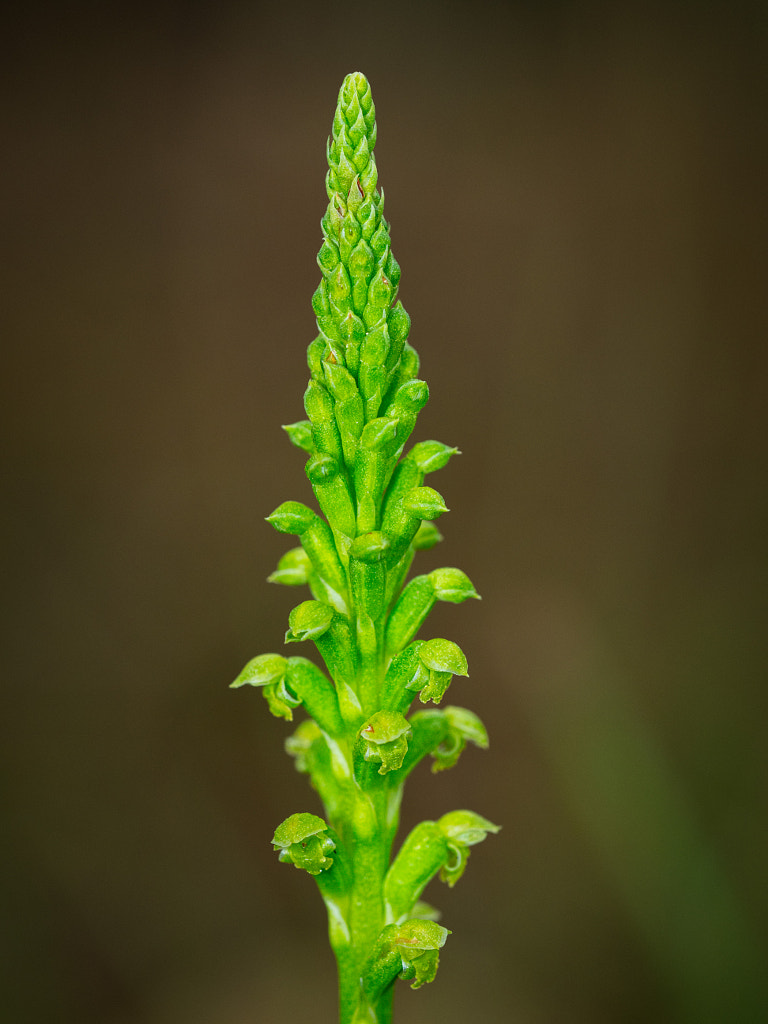
Speaking of finding orchids well I’ve seen plenty. On Thursdays outing to Wambyn Reserve I saw eleven different species and was amazed by how early some of them were.
A very early flowering Clubbed Spider Orchid, Caladenia longiclavata. Wambyn Reserve, Western Australia.
Little Pink Fairy Orchid or dwarf pink fairy orchid, Caladenia reptans subspecies reptans. Wandoo National Park, Western Australia.
Sugar Orchid, Ericksonella saccharata. Wambyn Reserve, Western Australia.
Frog Greenhood, Pterostylis sargentii. Wambyn Reserve, Western Australia.
Jug orchid or recurved shell orchid, Pterostylis recurva. Wandoo National Park, Western Australia.
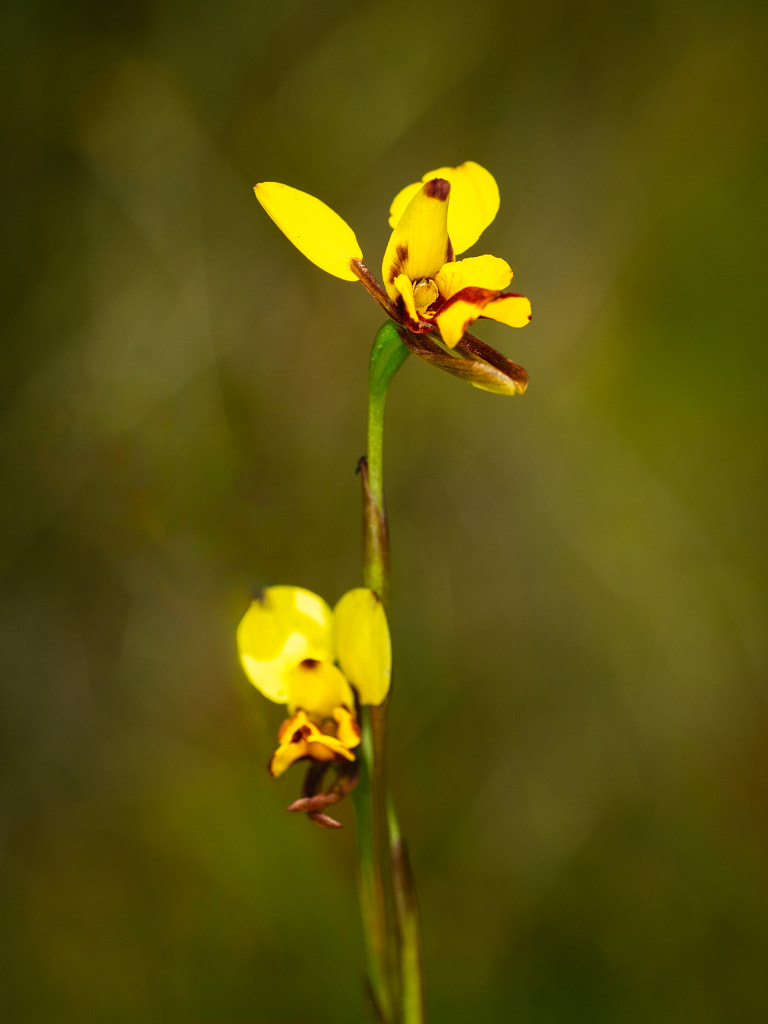
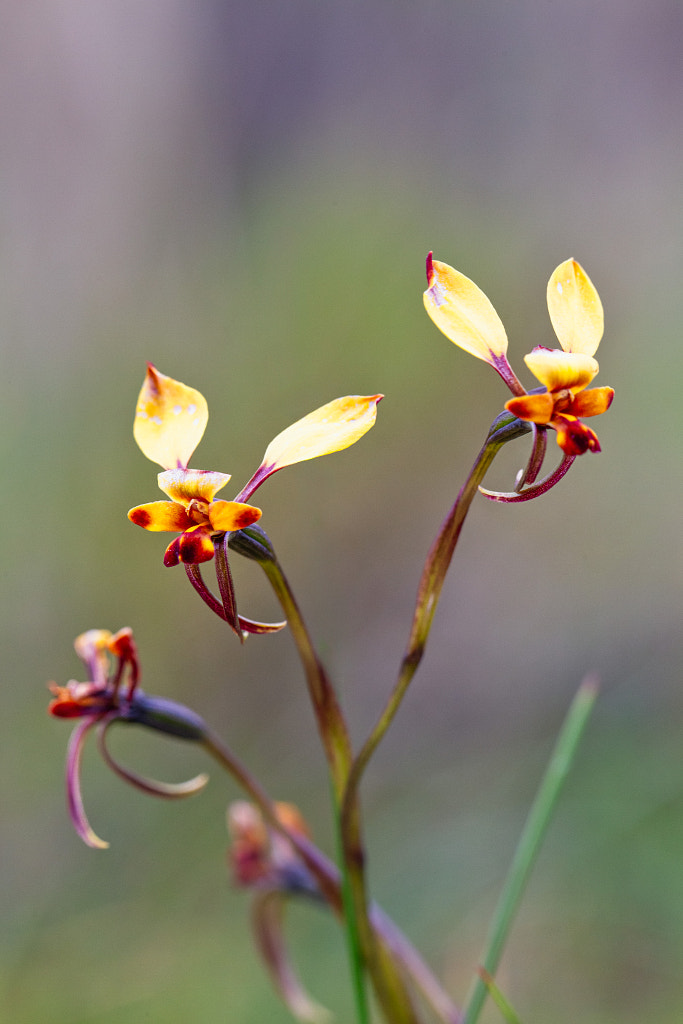
Common Donkey Orchid or wallflower orchid, Diuris corymbosa. Wambyn Reserve, Western Australia.
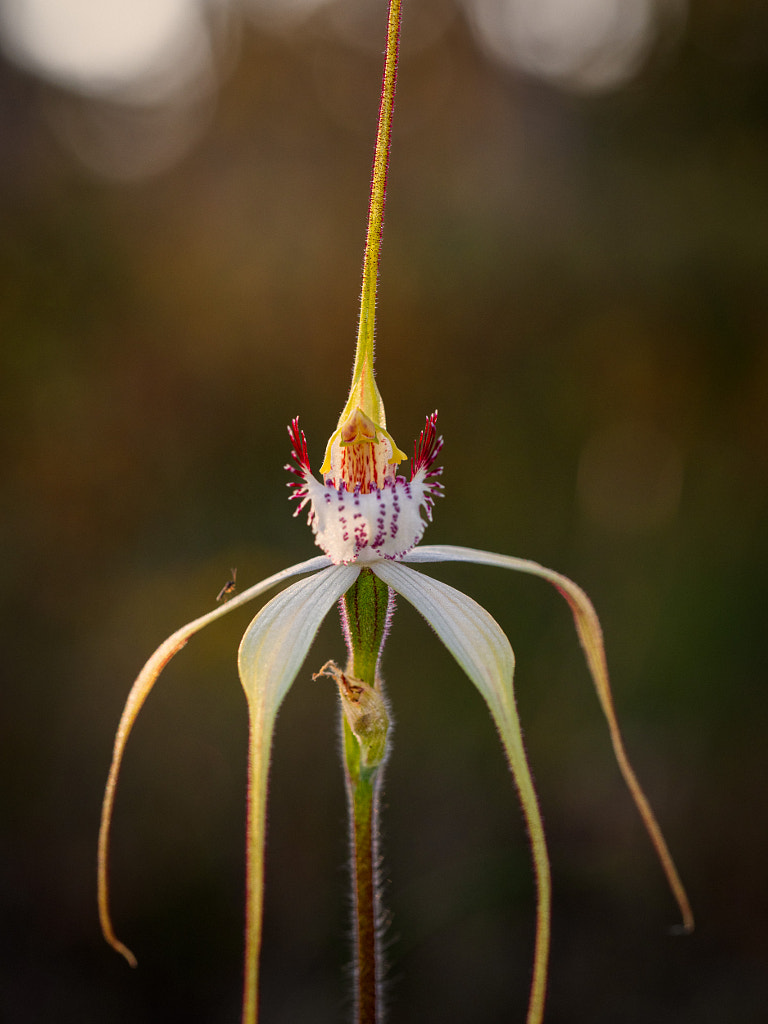
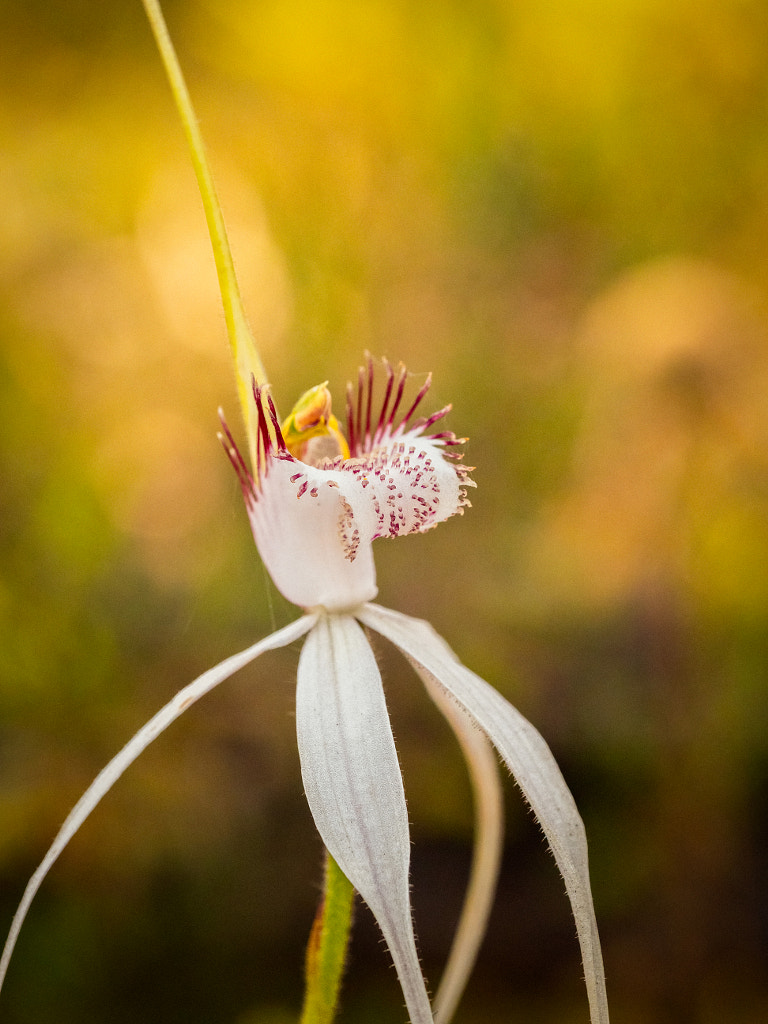
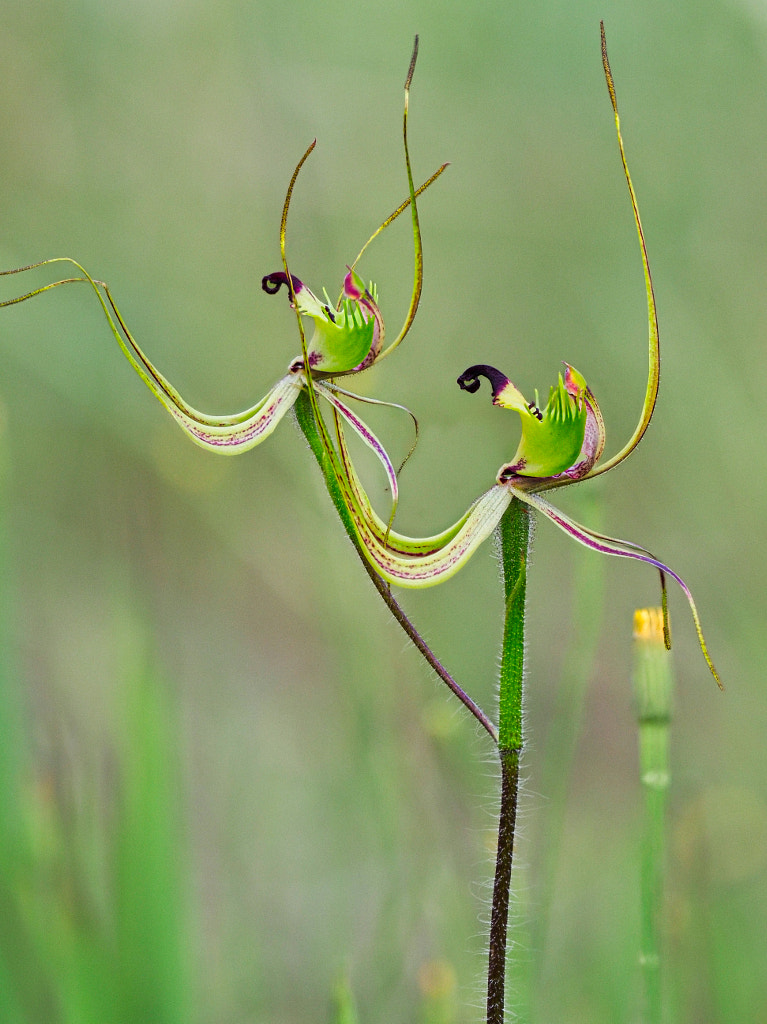
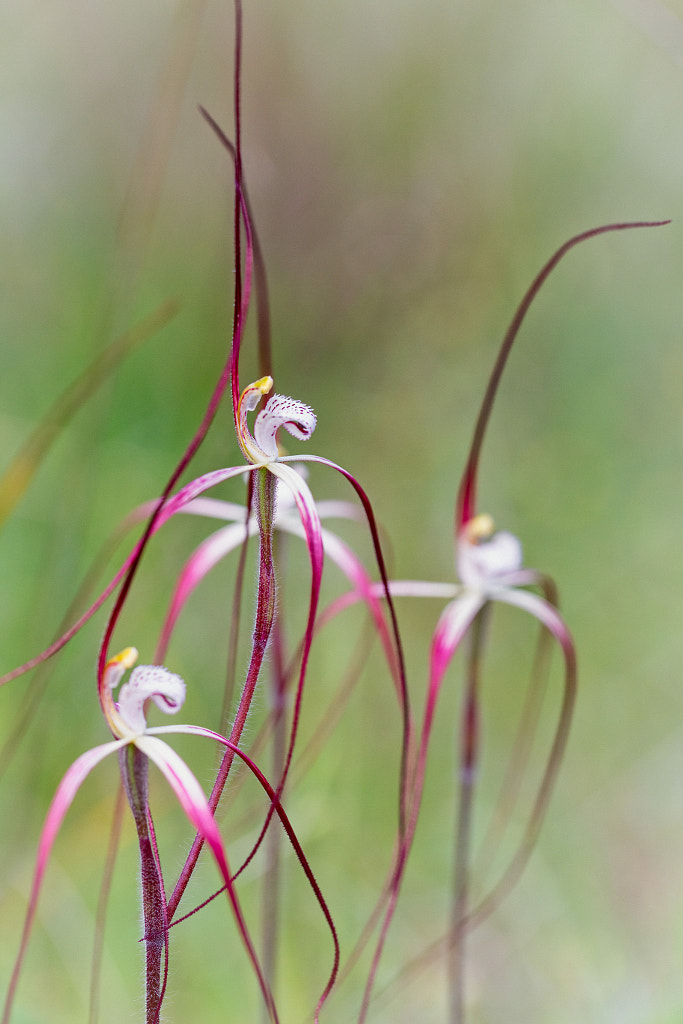
Stark White Spider Orchid, Caladenia longicauda subsp eminens. Wambyn Reserve, Western Australia.
Photographically I’ve been on a bit of a full frame kick preferring to either use the Sony A7r ii and sigma 105mm macro lens or the Canon EOS6d with Canon 100mm macro lens. All the shots are lit with a flash being used as the key light and natural light as the fill. I’ve enjoyed the change but my back doesn’t. There’s a huge weight difference between the full frame cameras, lenses and flash equipment compared to the usual Olympus micro four thirds system I usually use. But to be honest shooting at base ISO using artificial lighting and only printing at A3+ I can’t see any real advantage to shooting full frame so this next week I’ll go back to using the Olympus kit.
White-cheeked honeyeater, Phylidonyris niger. York, Western Australia.
Well we’re at the start of another year. I’d like to think that it’s going to be better than the last two, but that does not seem likely. In another four weeks our borders will open and COVID will come flooding in. Most years we like to plan projects and trips, but this we haven’t as so many things get cancelled due to COVID. My partner and I have decided that the priorities for this next year will be to get the booster shot – not easy in rural Western Australia – and to hole up at home for the duration. Anything that we do undertake will be either based at home or in the locality of York. Last year I started documenting the birds that come to our garden. This next year I’m casting the net wider and am going to include all animals. In fact I’ve already started so here are few photos of our visitors.
A less than graceful landing on the fence by a juvenile Zebra Finch (Taeniopygia guttata). York, Western Australia.
Yellow paper wasp, Polistes dominulus. York, Western Australia.
Feral honeybee (Apis mellifera) feeding on sap from a Brazillian Peppercorn tree (Schinus molle). York, Western Australia.
Blue ringtail damselfly, Austrolestes annulosus. York, Western Australia.
Gum tree Shield Bug (Poecilometis spenceri) aka stink bug. York, Western Australia.
Crusader bug (Mictis profana) instar nymph. York Western Australia.
A visual representation of the differences in sensor size.
Since 2011 I have been primarily a micro four thirds (m43) shooter supplemented by occasional full frame usage. Until about 18 months ago I was very happy with my choice. I accepted that the benefit of a lighter more portable camera system would come at the cost of reduced megapixel count, reduced dynamic range, and high ISO performance that was less than stellar. But now I have this desire to return as it were to the full frame fold. The reason why is that I sell prints and I felt that if I had a camera with better dynamic rangeand more megapixels then I would generate more sales. This belief was what was really behind my recent dalliance with the 42Mp Sony A7r ii.
Canon EOS 550D with EF75-300mm f/4-5.6 IS USM lens. Exposure: 1/100, f8 at ISO 400.
Olympus EM 1 mk ii with Panasonic Leica 100-400mm lens.
Sony A7r with Olympus OM Zuiko 135mm f2.8 lens. Exposure: 1/1000 sec, f4, at ISO 200.
Canon EOS 6d with Canon EF100mm f/2.8L Macro IS USM lens. Exposure: 1/100 s at f/11.0 at ISO 1600.
The other day I started going through my statement for print sales for this year and surprisingly I’d had a very good year which buoyed me up considerably. When I started looking closely at what images had sold and what they were taken with I made a startling discovery. Full frame made up 26%, APSC came in at 26% and m43 took 48%. In terms of Megapixels:
36 Mp + 6.66%
20 Mp 33.33%
18 Mp 26.66%
16 Mp 6.66%
12 Mp 13.33%
Intrigued I decided to look at print sales going back to 2004 when I went digital and the results were as follows:-
Full frame 34%
APSC 14%
m43 37.5 %
Compact cameras 5.5%
Mobile phone 1.5%
Scanned film 7.5%
My two best selling prints of all time were taken with a Panasonic Lumix FX-01 which was introduced all the way back in 2004 had a sensor that measured 6.4mm x 4.8mm and had a whopping 6.4 Mp of resolution. It also suffered badly from noise at anything beyond 100 ISO and had a very limited dynamic range.
Panasonic Lumix FX-01
Panasonic FX-01
Dropped from use. The Panasonic FX-01 was a 6Mp camera introduced in 2004.
Moving beyond prints sales to look at PR and editorial work I’ve never once had a complaint about image quality or size. So do all these buyers of my images know something that I don’t? Well I think that they’re not looking at the images as photographers, they are looking at the subject and how it makes them feel. When photographers look at images they see all the technical deficiencies and then think they need better cameras and lenses. When we look at new gear we always see the promise of more resolution, more frames per second, more dynamic range. The manufacturers know that we’re easily seduced by bigger numbers and they play to our insecurities.
So in the light of this do I need a bigger and better camera? Need – no. Want – yes. But needs and wants are two different things. What I’ve got is perfectly adequate and so perhaps the answer to generating more sales is, therefore, taking more pictures with appealing content.













You must be logged in to post a comment.