Evolution Of Technique And Style

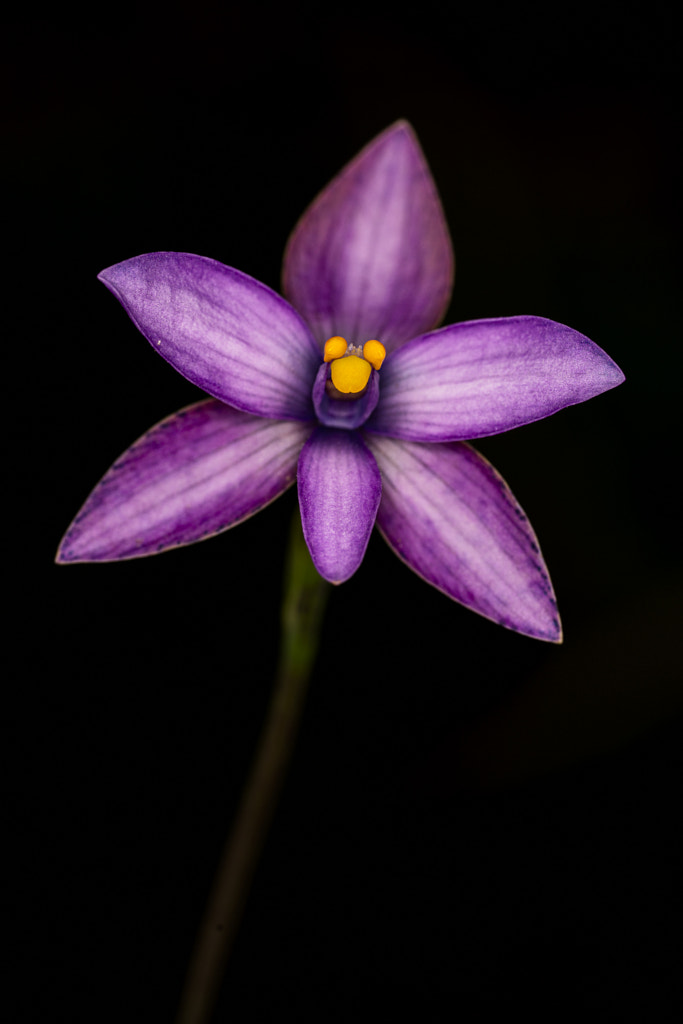
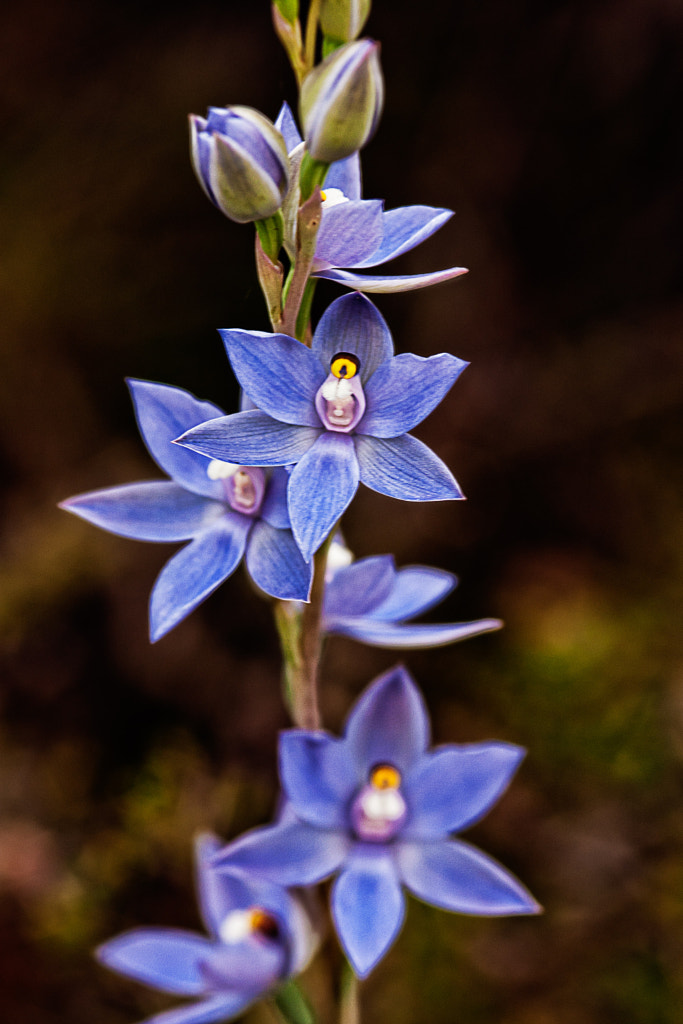
Scented Sun Orchid by Paul Amyes on 500px.com
This shot of a Scented Sun Orchid was what I considered my first successful photo of an orchid. The subject is separated from the background making easy to see.


I took what I call my first proper shot of an orchid back in 2008. Back then my technique was very simple – handheld with a macro lens. The problem was that it was often very difficult to isolate the flower from the background while having sufficient depth of field and a low ISO. For every successful photo there were hundreds of duds.
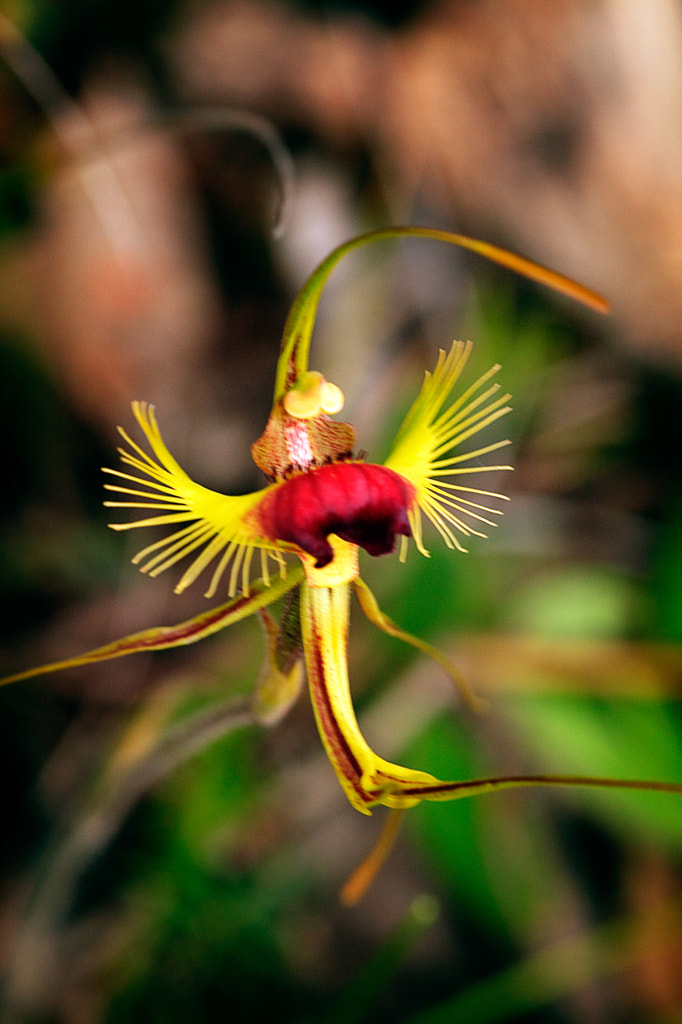
 

Butterfly Orchid by Paul Amyes on 500px.com
This shot of a Butterfly Orchid is one of the hundreds of duds. The messy background threatens to overwhelm the subject.


After about a year of trial and error (mostly error) I decided to photograph the orchids in the same way I would take a portrait of a person. Get down at “eye” level, use an off axis flash to provide the key light and have the natural light as my fill light at -1 to -2 stops. This was a huge improvement, but I still wasn’t getting the clarity and sharpness in the images I desired.


Photographing Orchids
My first flash rig for photographing orchids. Using a flash brake allowed me to get the flash off of the lens axis and get a more pleasing lighting effect.


120907-York-1324
The next attempt at better lighting was a heavy tripod and light stand. My back hurts just looking at this photo.


The next evolution was to mount the camera on a tripod and then mount the flash to one of the tripod legs via a “magic arm”. This allowed greater choice in the positioning of the flash and allowed me to use different flash modifiers such as soft boxes, grids and snoots. The arrival of affordable and reliable wireless flash triggers  meant I could use multiple speedlights for more sophisticated lighting. This came a tremendous cost. I have a chronically bad back and all that kit was heavy, the tripod and “magic arm weighed just under 6Kg. Then there was the futzing about setting everything up, taking the shot, breaking it all down, walking to the next subject and then repeating it all again. Suddenly it wasn’t fun anymore. Something had to give and it was my back.


Olympus Pen EP-2
The diminutive Olympus EP-2. Just what the orthopaedic surgeon ordered.


Three Way Comparison
A size comparison of my DSLRs (Canon 5d and 550d) and the Olympus EP-2 which replaced them.


In 2013 I bought an Olympus EP-2 mainly for travel and street photography. It was a revelation – small size, In Body Image Stabilisation (IBIS), and excellent flash implementation. It quickly became my orchid camera of choice. I could chuck out the tripod and become more mobile. It wasn’t all beer and skittles though. The 12Mp sensor wasn’t the best in terms of high ISO performance and dynamic range, the lack of a viewfinder made usage in bright sunlight problematic (solved with the addition of the optional EVF) and the contrast based autofocus system was a bit on the temperamental side. But the positives were enough to keep me using it and when the EM10 came out with a built in EVF, a better IBIS system and an improved sensor then I knew that the system would be just about perfect for what I did. I could walk around in the bush for hours at a time without back pain which meant I could explore further afield. This freedom allowed me to experiment a lot more.


Sigma’s 105mm f2.8 DG DN macro lens attached a Sony A7Rii.


The Tamron 35mm f2.8 lens has excellent macro capabilities.


Curly Locks by Paul Amyes on 500px.com
Curly Locks, Thelymitra spiralis. Wandoo National Park, Western Australia. Sony A7r2 with Sigma 105mm f2.8 DG DN macro lens.


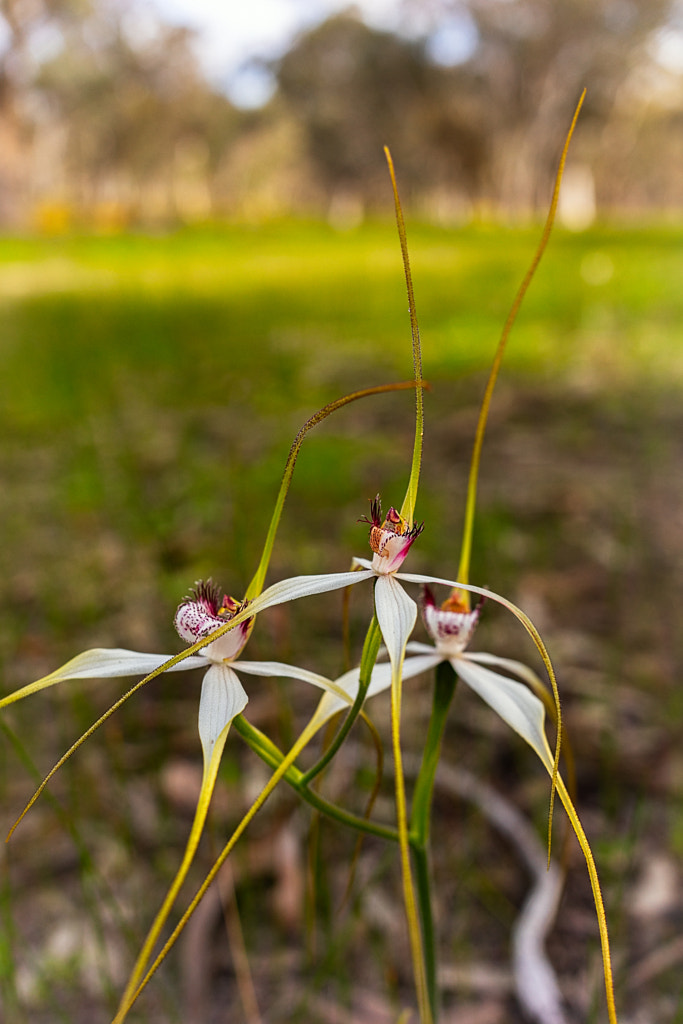
White Spider Orchid by Paul Amyes on 500px.com
White Spider Orchid, Caladenia longicauda subsp longicauda. Wambyn, Western Australia. Sony A7r with Tamron 35mm f2.8 lens.


In 2021 I felt that I wanted more resolution than the 20Mp EM1 mk ii was giving me. So I tentatively dipped my toe into the world of full frame mirrorless and I went with a second hand Sony A7r2. The image files produced by the camera were absolutely gorgeous. Alongside my usual working method of using flash with macro lens I decided to experiment with environmental portraiture of orchids. For this I used a 35mm lens with a half size macro capability and the results were pleasing. The downsides were as follows. The rear LCD is hopeless in bright light and it has no touch control facility. The IBIS wasn’t as effective as that on my Olympus cameras and the sensor resolution emphasised very tiny camera shake. A tripod was the solution. The sensor is a dust magnet which means that changing lenses enables dust bunnies to proliferate. The answer was to have one camera with the 105mm macro and one camera with the 35mm. Arrrrrgh! I was back carrying a load of heavy equipment. So it was back to the Olympus kit.
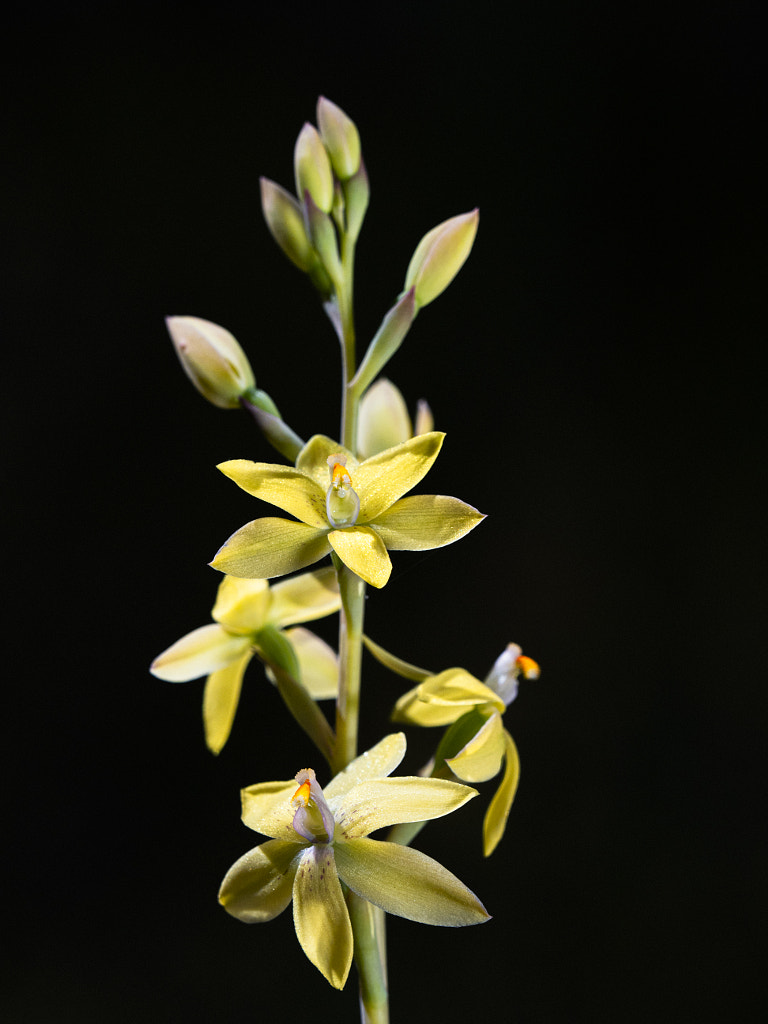
 

Lemon Scented Sun Orchid by Paul Amyes on 500px.com
This shot of a Lemon Scented Sun Orchid was made with the Olympus Em1 mk ii, Olympus 40-150mm f2.8 lens with 1.4 x teleconverter and the Olympus FL600R flash using the focus stacking function.


I’m still trying to evolve a style which produces a nice clean portrait of an orchid. One of the great benefits of Olympus’s cameras and lenses is that it allows very long telephoto lenses to have an almost macro capability. The use of such long lenses allows you to throw backgrounds well out of focus by dint of their increased magnification which reduces depth of field. The problem is that that decreased DOF means that it is hard to get your subject rendered sharp whilst retaining all that loverly bokeh. The counter to this is focus stacking which involves taking a series of pictures of the subject while moving the focus point and then blending the images in post. Olympus has a very neat feature that allows you to do this automatically in camera which is fantastic. Unfortunately the function limits your flash usage by restricting your maximum flash sync speed to 1/50th second and you have to manually set the flash exposure. I tried doing this for a while and it was a right royal pain. So now I don’t use the flash and just make the exposure using ambient light. The lens I’m using is the Olympus 40-150mm f2.8 with the the mc-14 1.4 x teleconverter. This gives me a 210mm f4 lens (420mm in full frame terms). Despite shooting wide open this invariably means shooting at a low shutter speed. So while the IBIS is fantastic on my EM1 mk ii using it with a long lens while focus bracketing wasn’t the best way to proceed. So it was back to a tripod. My aluminium Manfrotto 055 tripod is a good tripod but it is that heavy you could use it as a boat anchor. It was time to get a bit of fibre in my life – carbon fibre. So I bought a nice Sirui  AM-254 carbon fibre tripod which weighs just a smidge over 1Kg. It doesn’t have a centre column and so a minimum working height of 7.8cm which means you can get down and close to the subject. The results have been excellent and now I feel that using both my normal macro lens and the telephoto zoom with converter I’m getting closer to what I have envisioned.


20200818-Beverley-0002-Edit
The Sirui AM 254 tripod in action.


So this has been my journey of finding what works for me. I’ve discovered that learning how your equipment works is just as an important step in developing vision and style as is technique. Continual learning and experimentation will help you develop as an artist and we shouldn’t be afraid to do so. A few times I’ve felt that I was going backwards, but it was worth persevering. I’ve still got a couple of things to sort out, but I feel now I’m on the right track.

The following shots were made this last week.
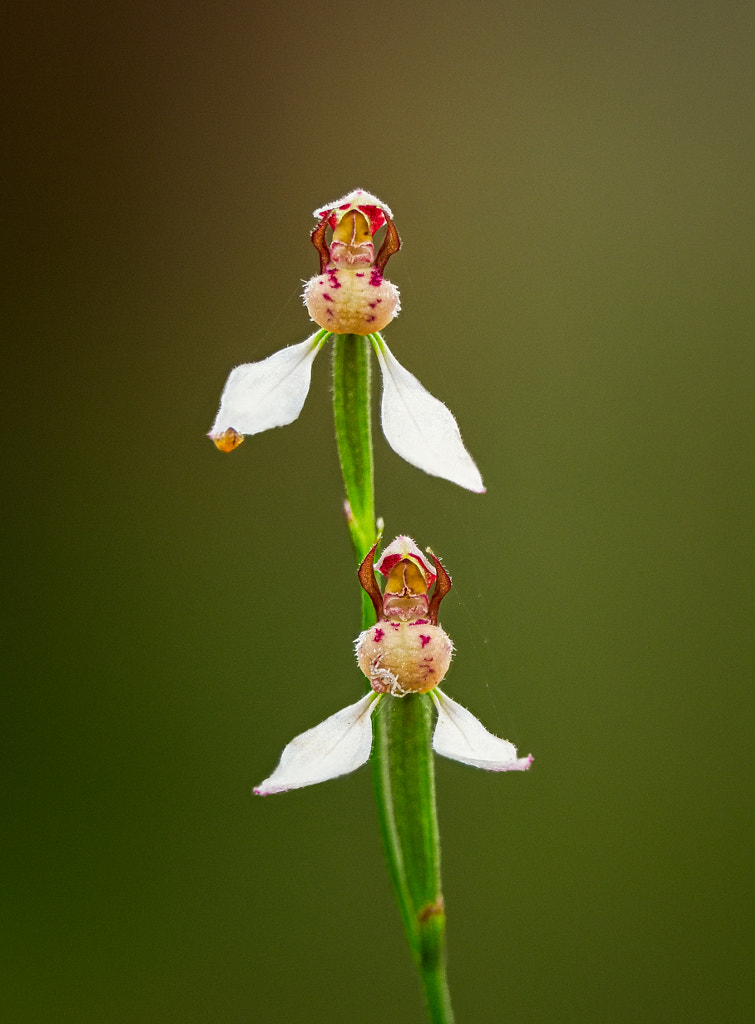
 

Common Bunny Orchid by Paul Amyes on 500px.com

Common Bunny Orchid, Eriochilus dilatatus subsp. multifloris. Oswald Sargent Reserve, Western Australia.A focus stack using the Olympus EM1 mk ii with the Olympus 40-150mm f2.8 lens and 1.4 x teleconverter.
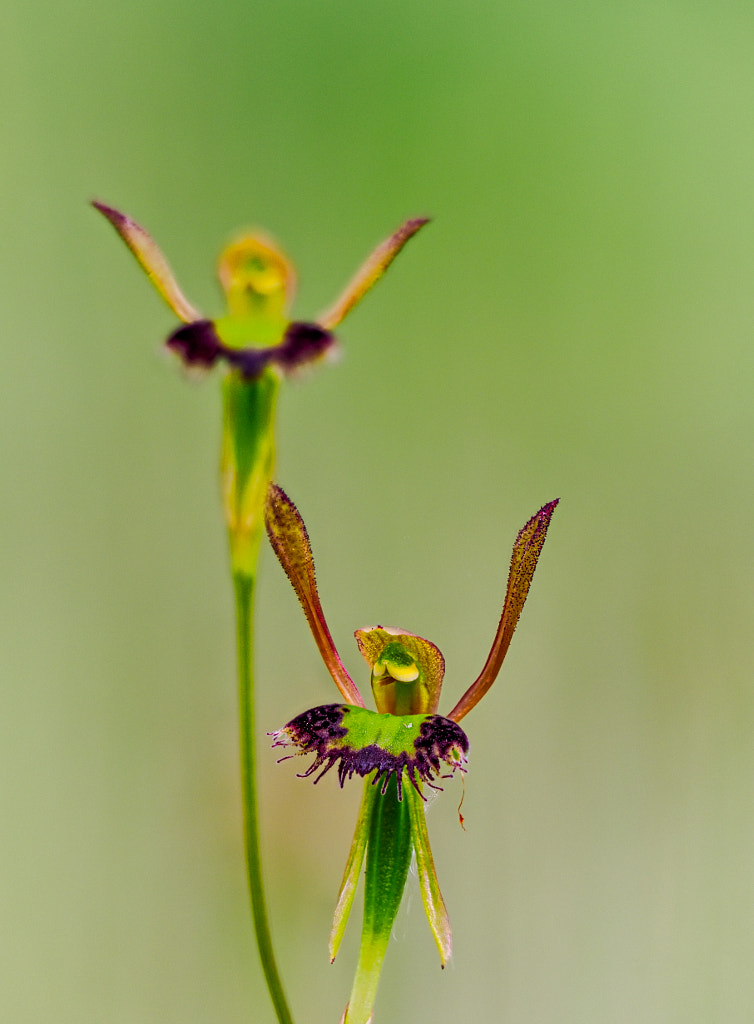
 

Hare Orchid by Paul Amyes on 500px.com
Hare Orchid or Fringed Hare Orchid (Leporella fimbriata). Oswald Sargent Reserve, Western Australia.


Olympus m.Zuiko 17mm f2.8 lens – a belated review

The Olympus 17mm f2.8 lens mounted on an Olympus Pen EP-2.


The Olympus 17mm f2.8 lens was the first prime lens from Olympus for its new Micro Four Thirds System and was launched in 2009 with the Olympus Pen EP-1 their first camera. I didn’t buy the EP-1 when came out, I was deeply tempted but I wanted a camera with a viewfinder. Less than a year later the EP-2 was launched and it had provision for accepting an auxiliary EVF and I promptly bought one and the 17mm f2.8 came as part of the kit and I’ve used it ever since.


The 17mm f2.8 is what is termed a pancake lens. This is where the lens specs are sacrificed to produce the smallest possible lens.


The Olympus 17mm f2.8 wasn’t well received – a lot of people felt that its minimum aperture of f2.8 was somewhat underwhelming especially compared to the Panasonic 20mm f1.7 which was launched in the same year. The Panasonic while sharper in the centre of the frame and having a faster minimum aperture (1.7 compared to 2.8) was larger, heavier, more expensive had slow noisy AF, marked chromatic aberration and didn’t behave very well with the sensor stack of Olympus cameras. There was a strange banding effect when it was used on the EM5 at higher ISO. In 2012 Olympus introduced the 17mm f1.8 which addressed all the short comings  of the older f2.8 lens which was allowed to slip silently into oblivion.


The Olympus 17mm f2.8 lens mounted on an Olympus Pen EP-5.


I wanted to upgrade to the new f1.7 but I could never find a dealer who had it in stock. The same was true when I thought I wanted the Panasonic Leica 15mm f1.7 as a replacement. In the end I bought the Sigma 16mm f1.4 DG DN which is optically a huge improvement over the little Olympus, but is physically enormous.  I kept the Old 17mm f2.8 because it served several purposes. It had a very useful close focusing capability when compared to the Sigma (0.11x compared to the Sigma’s 0.07x) and when mounted to my EP-5 it was small, unobtrusive, and would fit in a jacket pocket. The same could not be said for the Sigma.


A size comparisson between the m.Zuiko 17mm f2.8, the Sigma 16mm f1.4 which offers a similar field of view and the Olympus OM Zuiko 35mm f2 for full frame cameras.


TLDR


Vital Statistics


Lens construction of the m.Zuiko 17mm f2.8 lens.


Focal length 17mm equivalent to 34mm on full frame
Diagonal angle of view 65º
Optical construction  6 elements in 4 groups with 1 aspherical lens
Diaphragm  5 rounded blades
Minimum aperture F2.8
Maximum aperture f22
Minimum focusing distance  20cm
Maximum magnification ratio 0.11x
Filter diameter 37mm
Dimensions  ⦰ 57mm x 22mm (h)
Weight 71g
Internal focusing No
Lens hood No


The Olympus 17mm f2.8 is the same size as this Canon EF rear lens cap and body cap.


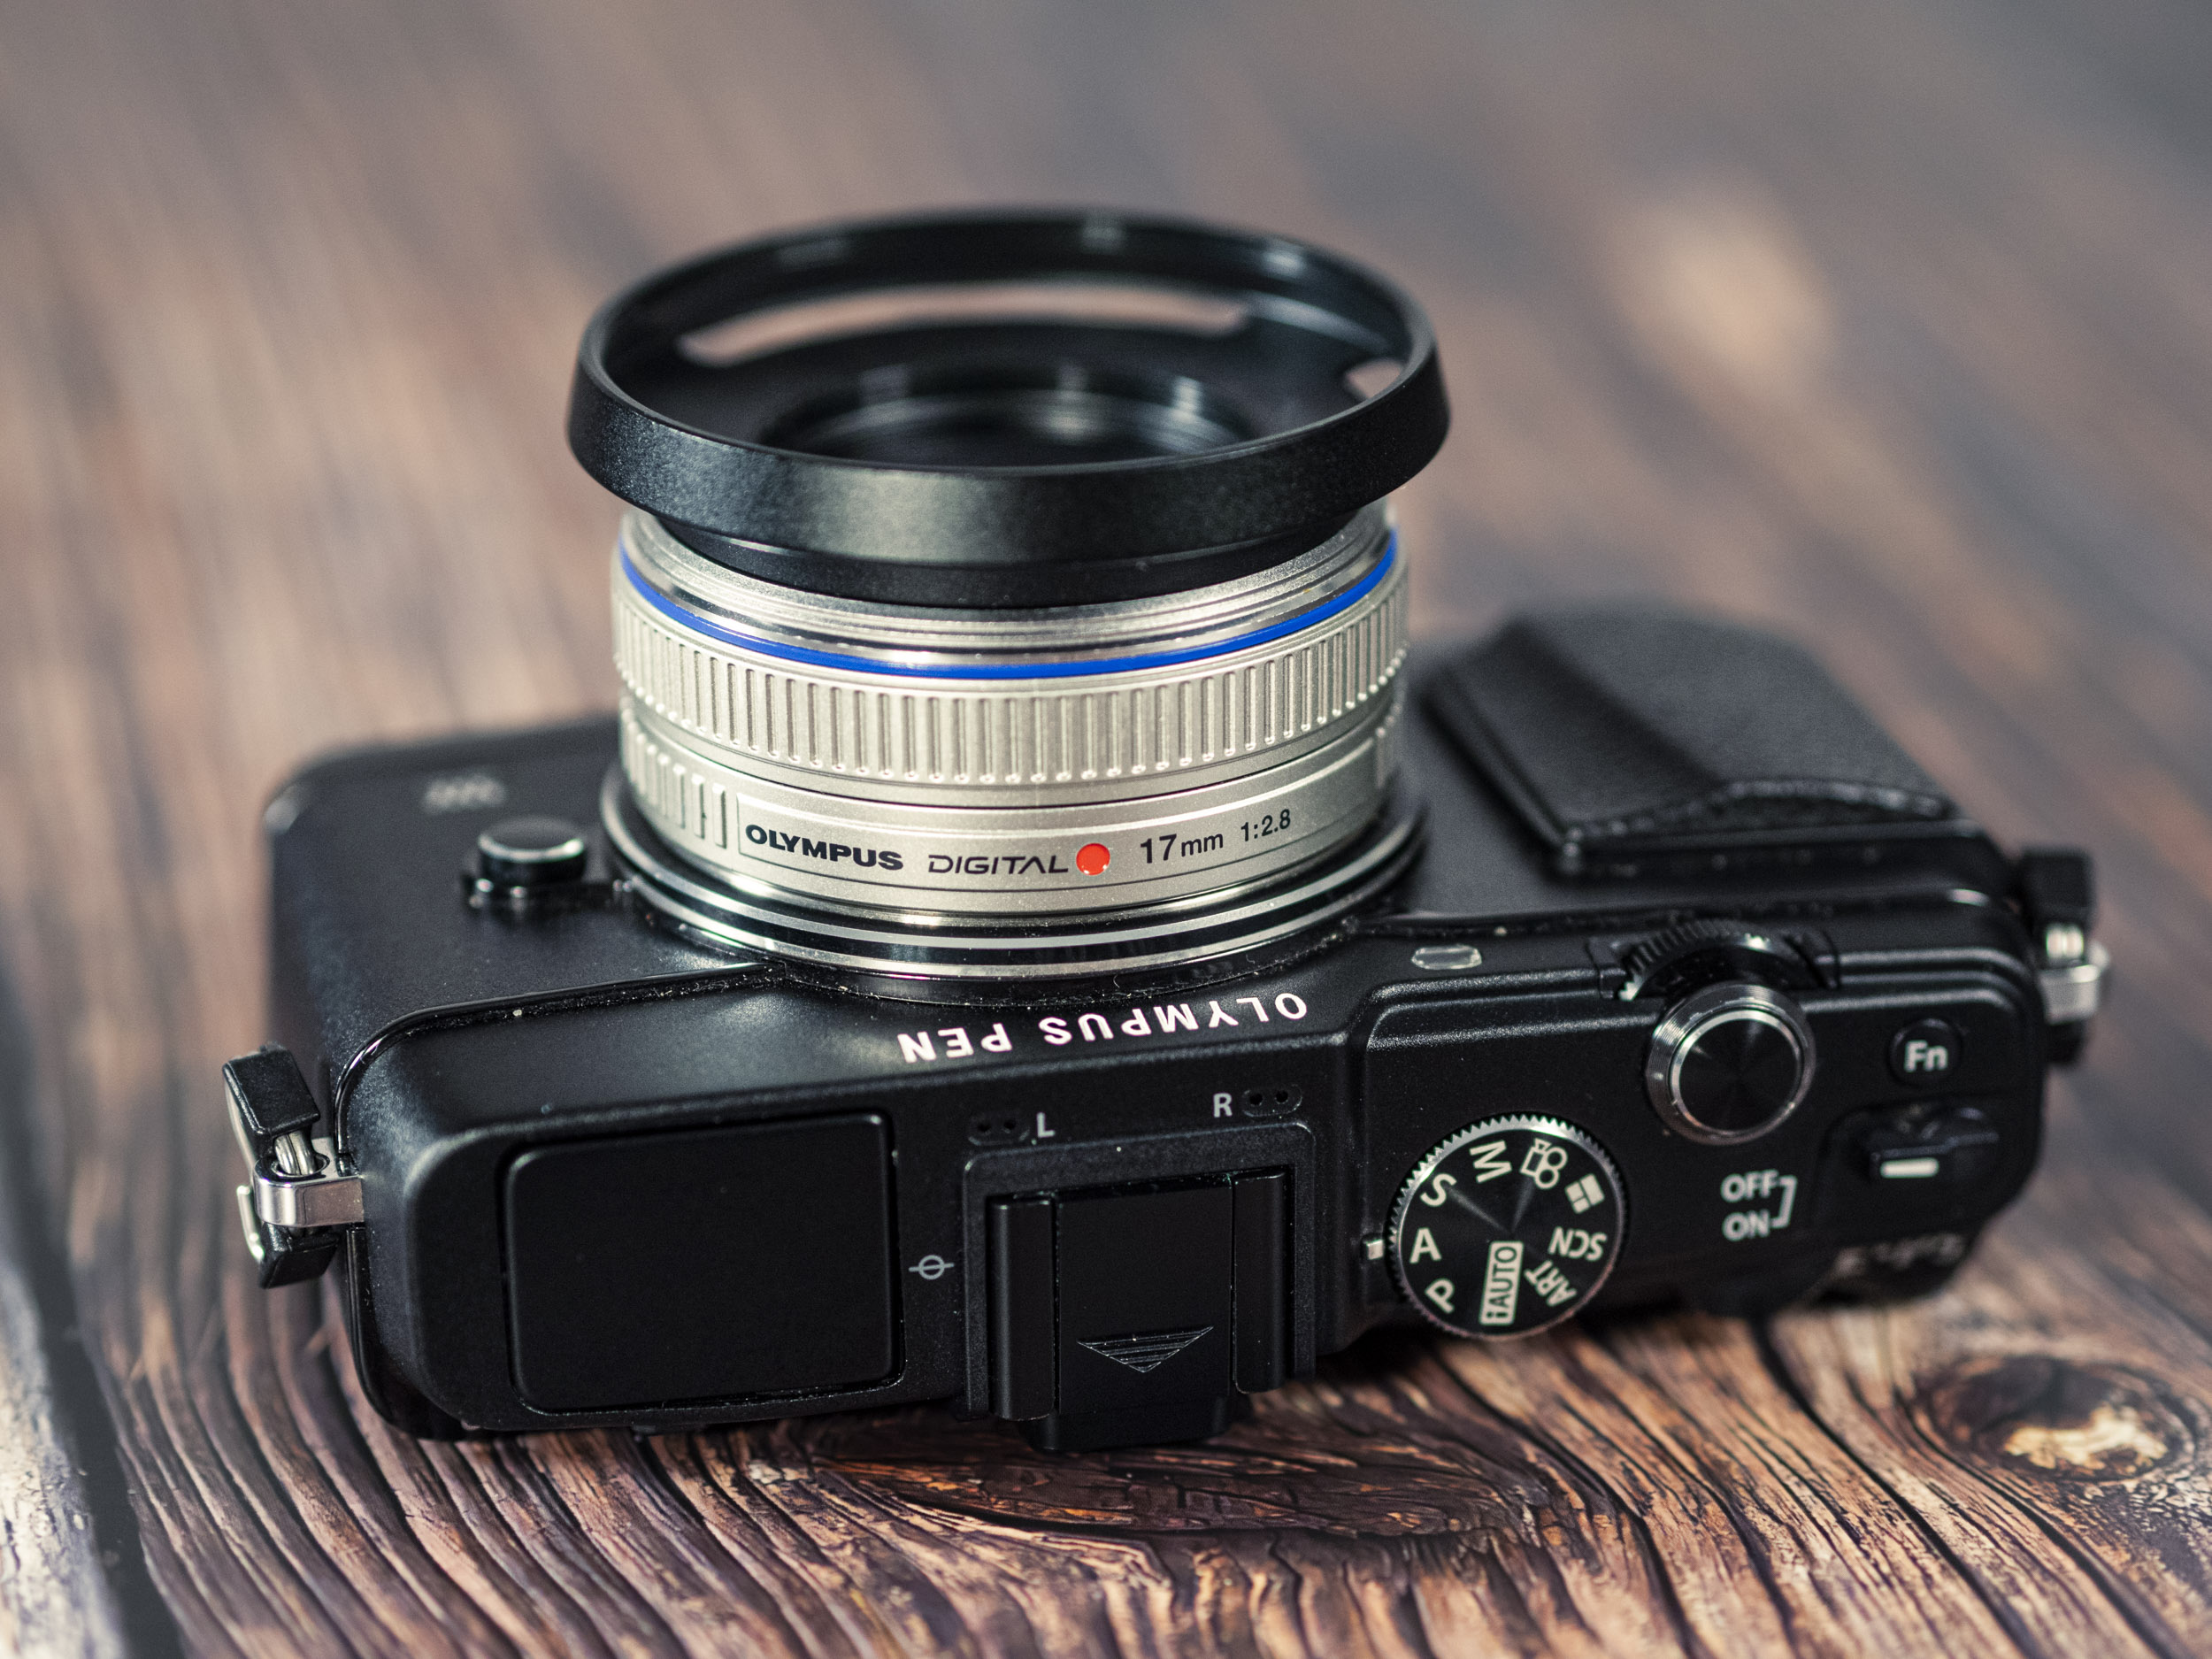
This lens is small – really small – just 22mm high and 57mm in diameter at its widest. To put that into perspective the lens is only just a little bigger than a Canon EF body and lens cap and weighs just 43g heavier. For such a small and lightweight lens it does feel surprisingly dense in the hand. The lens mount is metal and the body is plastic with no weather sealing. The only control on the lens is the focusing ring which is of the focus by wire type and is nicely dampened. Filter size is weenie – just 37mm. Olympus did not supply a lens hood and nor did they make one. I bought an after market vented metal hood which looks very spiffy when the lens is mounted on my EP-5.


The Olympus 17mm f2.8 lens with vented lens hood mounted on an Olympus Pen EP-5.


Optical Performance 

f2.8


Wide open at f2.8 in the centre of the frame the image lacks a little “bite” . Stop down to f4 and sharpness and contrast improve and it remains good until f11. After that diffraction softens the image. In the corners wide open the lens is tiny bit softer than the centre. Sharpness improves at f5.6 but it is not as sharp as the centre at this aperture. 


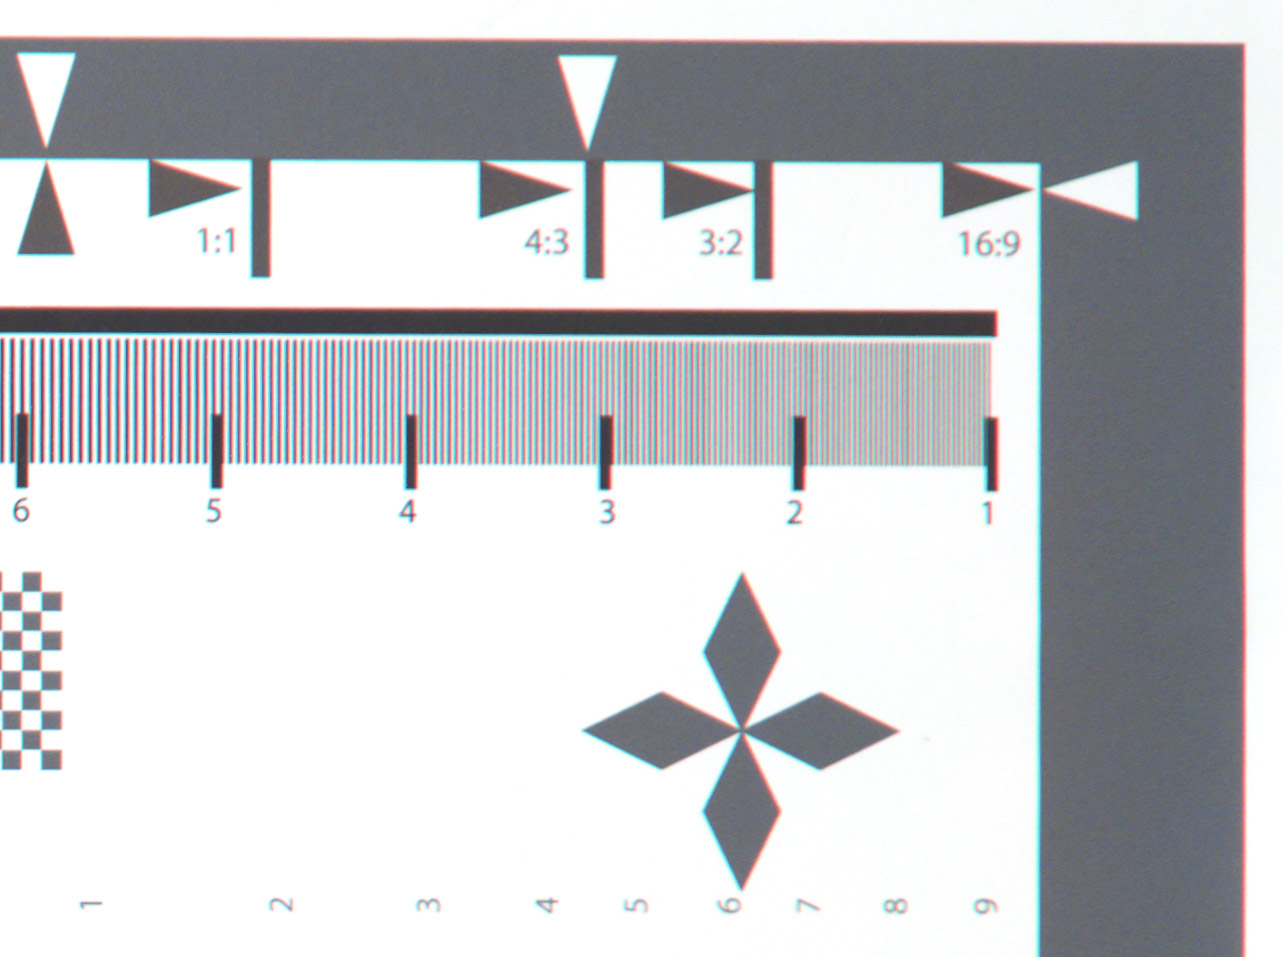
100% crop showing Chromatic aberation at f2.8.


Wide open lateral chromatic aberration is very apparent with magenta and cyan fringing. The modest minimum aperture of f2.8 and the wide angle of view means that there is longitudinal chromatic aberration visible. When Olympus and Panasonic established the Micro Four Thirds standard they made the lens with built in profiles which correct for distortion and vignetting. Consequently looking at an image straight out of the camera with the profile applies there is no sign of distortion or vignetting on the Olympus 17mm f2.8. Switch that profile off and the barrel distortion is very noticeable as is very slight vignetting.


At f2.8 with lens profile disabled. Note the lack of contrast and the prominent barrel distortion.


Diffraction spikes or sunstars at f22.


Veiling flare and reflections are quite prominent shooting into the sun wide open. The result is a significant loss of contrast.

Veiling flare and ghosting are prominent when shooting into the sun as is the loss of contrast. The diffraction spikes (aka  sun stars) are a bit pedestrian and nothing to write home about.


Bokeh balls wide open at f2.8.


When it comes to bokeh well this lens is never going to be the “Bokeh King”. The bokeh balls are consistently shaped throughout the frame but were not quite perfectly circular. While the rendering of out of focus areas is smooth it is not the most attractive that I’ve seen.


Close up of the bokeh


Autofocus Performance

When the EP-1 was introduced it and the Panasonic G1 were heading the rise of a new class of camera – the mirrorless interchangeable lens camera. The autofocus was contrast based and still in its infancy. In fact dodgy AF was one of the things that was always levelled at mirrorless cameras by DSLR users in those far off days. The AF performance of the Olympus 17mm f2.8 certainly reflects this. For point to point AF using single shot mode the lens is quick and accurate if a little noisy. It is when you switch to continuous autofocus and tracking that things become dodgier than a Balinese Rolex. The performance is very hit and miss. Even when you put it on a phase detect auto focus camera (EM1 mk ii and later) the results are only marginally better. The fault is the because of the type of motor used to move the lens elements.  It just can’t keep up with information being sent by the camera. This is why Olympus later introduced its MSC technology. MSC stands for Movie and Stills Compatible and consists of a high speed motor that can provide very small precise adjustments. So while it appears poor compared to later models this is not a lens you’re going to shoot sports with.

Video AF is also a bit pants. The lens makes a horrible noise as it rocks back and forth. It does find focus eventually its just not very elegant or confidence inspiring in the way it does it.


Conclusion

The Olympus 17mm f2.8 lens mounted on an Olympus Pen EP-5.


This lens is not what you call optically brilliant – if you want that look at the Olympus m.Zuiko 17mm f1.2 Pro which costs $1900 AUD – but that’s not what this lens is about. This is a fun lens to use. It’s so convenient to slap it onto an Olympus Pen EP-5 or EM-10 and have a great small camera lens combo that can go with you anywhere. This is what micro four thirds was all about when it was introduced. Team it up with the ridiculously compact Olympus 45mm f1.8 and you have a nice two lens outfit that will fit in a jacket pocket and produce good photos. Unfortunately 17mm f2.8 is out of production, but it can be bought second hand for about $200 AUD. Factor in $10 AUD for a lens hood and you’ve got a nice little walk about lens.


Sample Images

Royal swans near the bridge to Eaton.


Getting in touch with his inner Elvis on Brighton Beach.


Fishing boat pulled up onto the beach at Bognor Regis.


Urban Cowboy waiting at the Perth Rail Station.


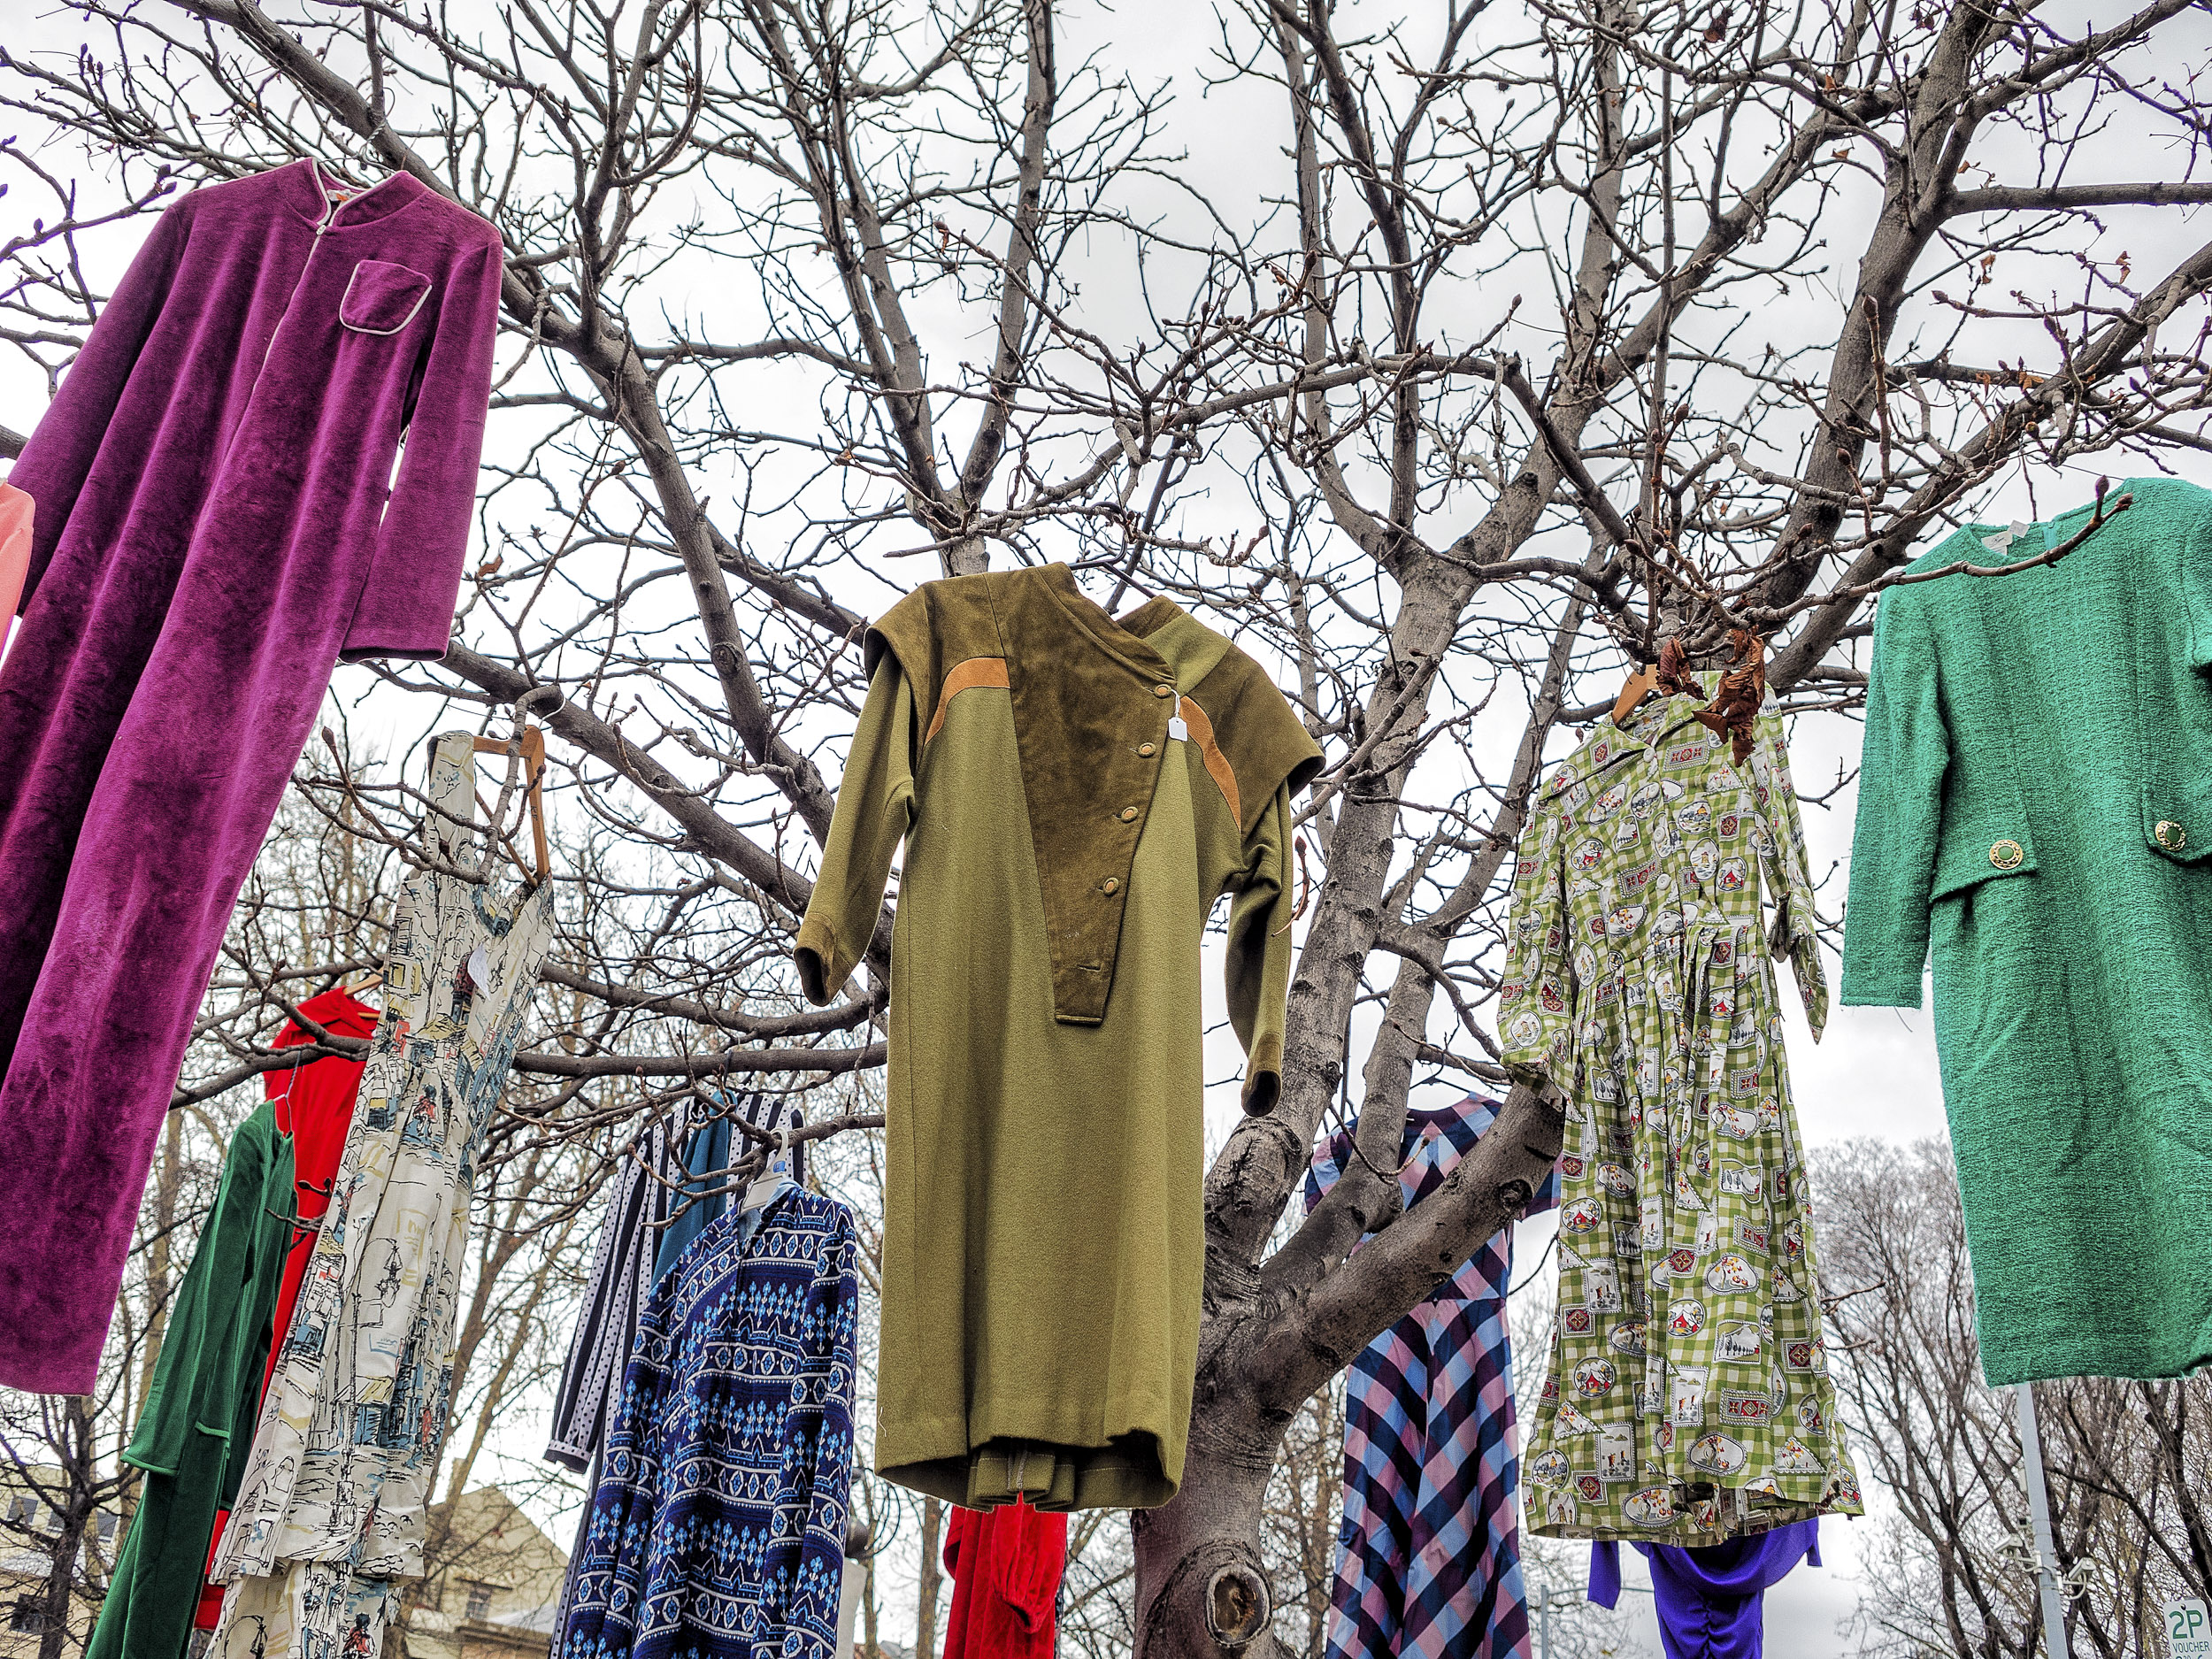
Salamnaca Market, Hobart, Tasmania.


Frida thoroughly approves of having a sofa on the verrandah.


On location filming at the Bellerive Yacht Club with the Olympus EM-10 and 25mm f1.8 lens.


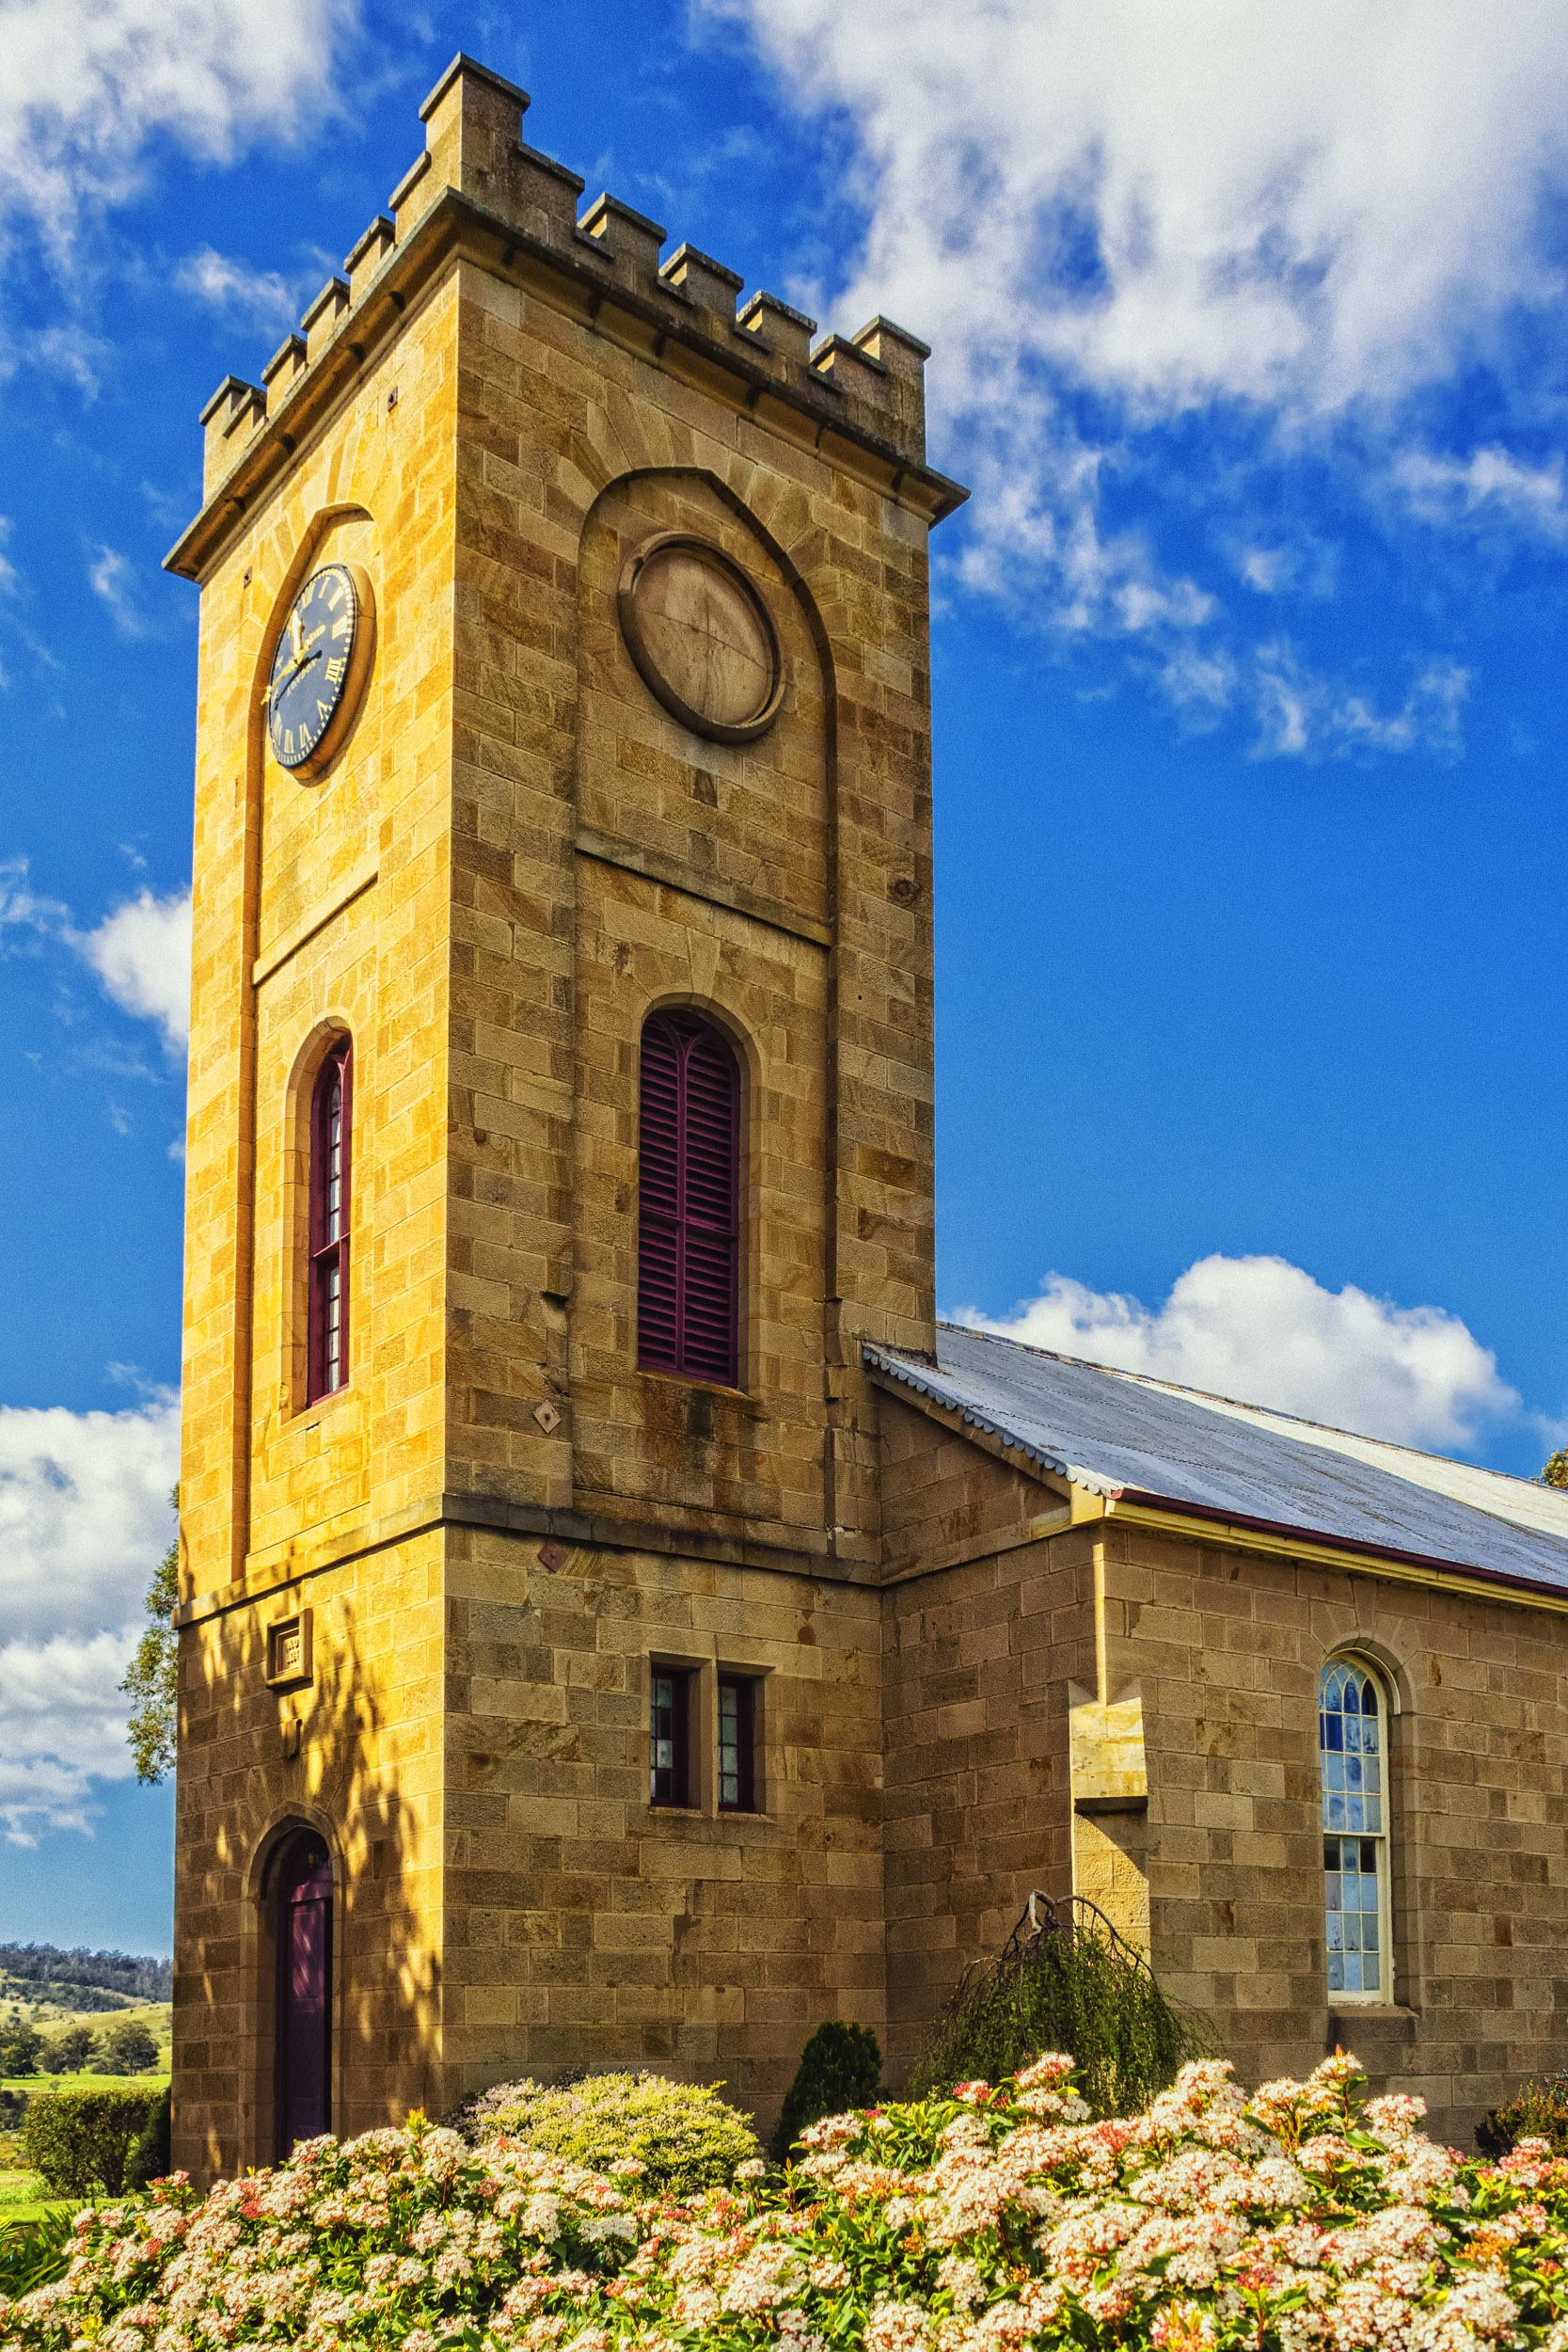
St Luke’s Anglican Church .Richmond, Tasmania.


Lavender ice cream in a waffle cone for sale in Richmond Tasmania.


First Contact , Elizabeth Quay in Perth, is a five metre tall artwork by Nyoongar artist Laurel Nannup.


St George’s Cathedral reflected in windows of a high rise building. Perth, Western Australia.


Decorating the Christmas tree on Perth Esplanade. Perth, Western Australia.


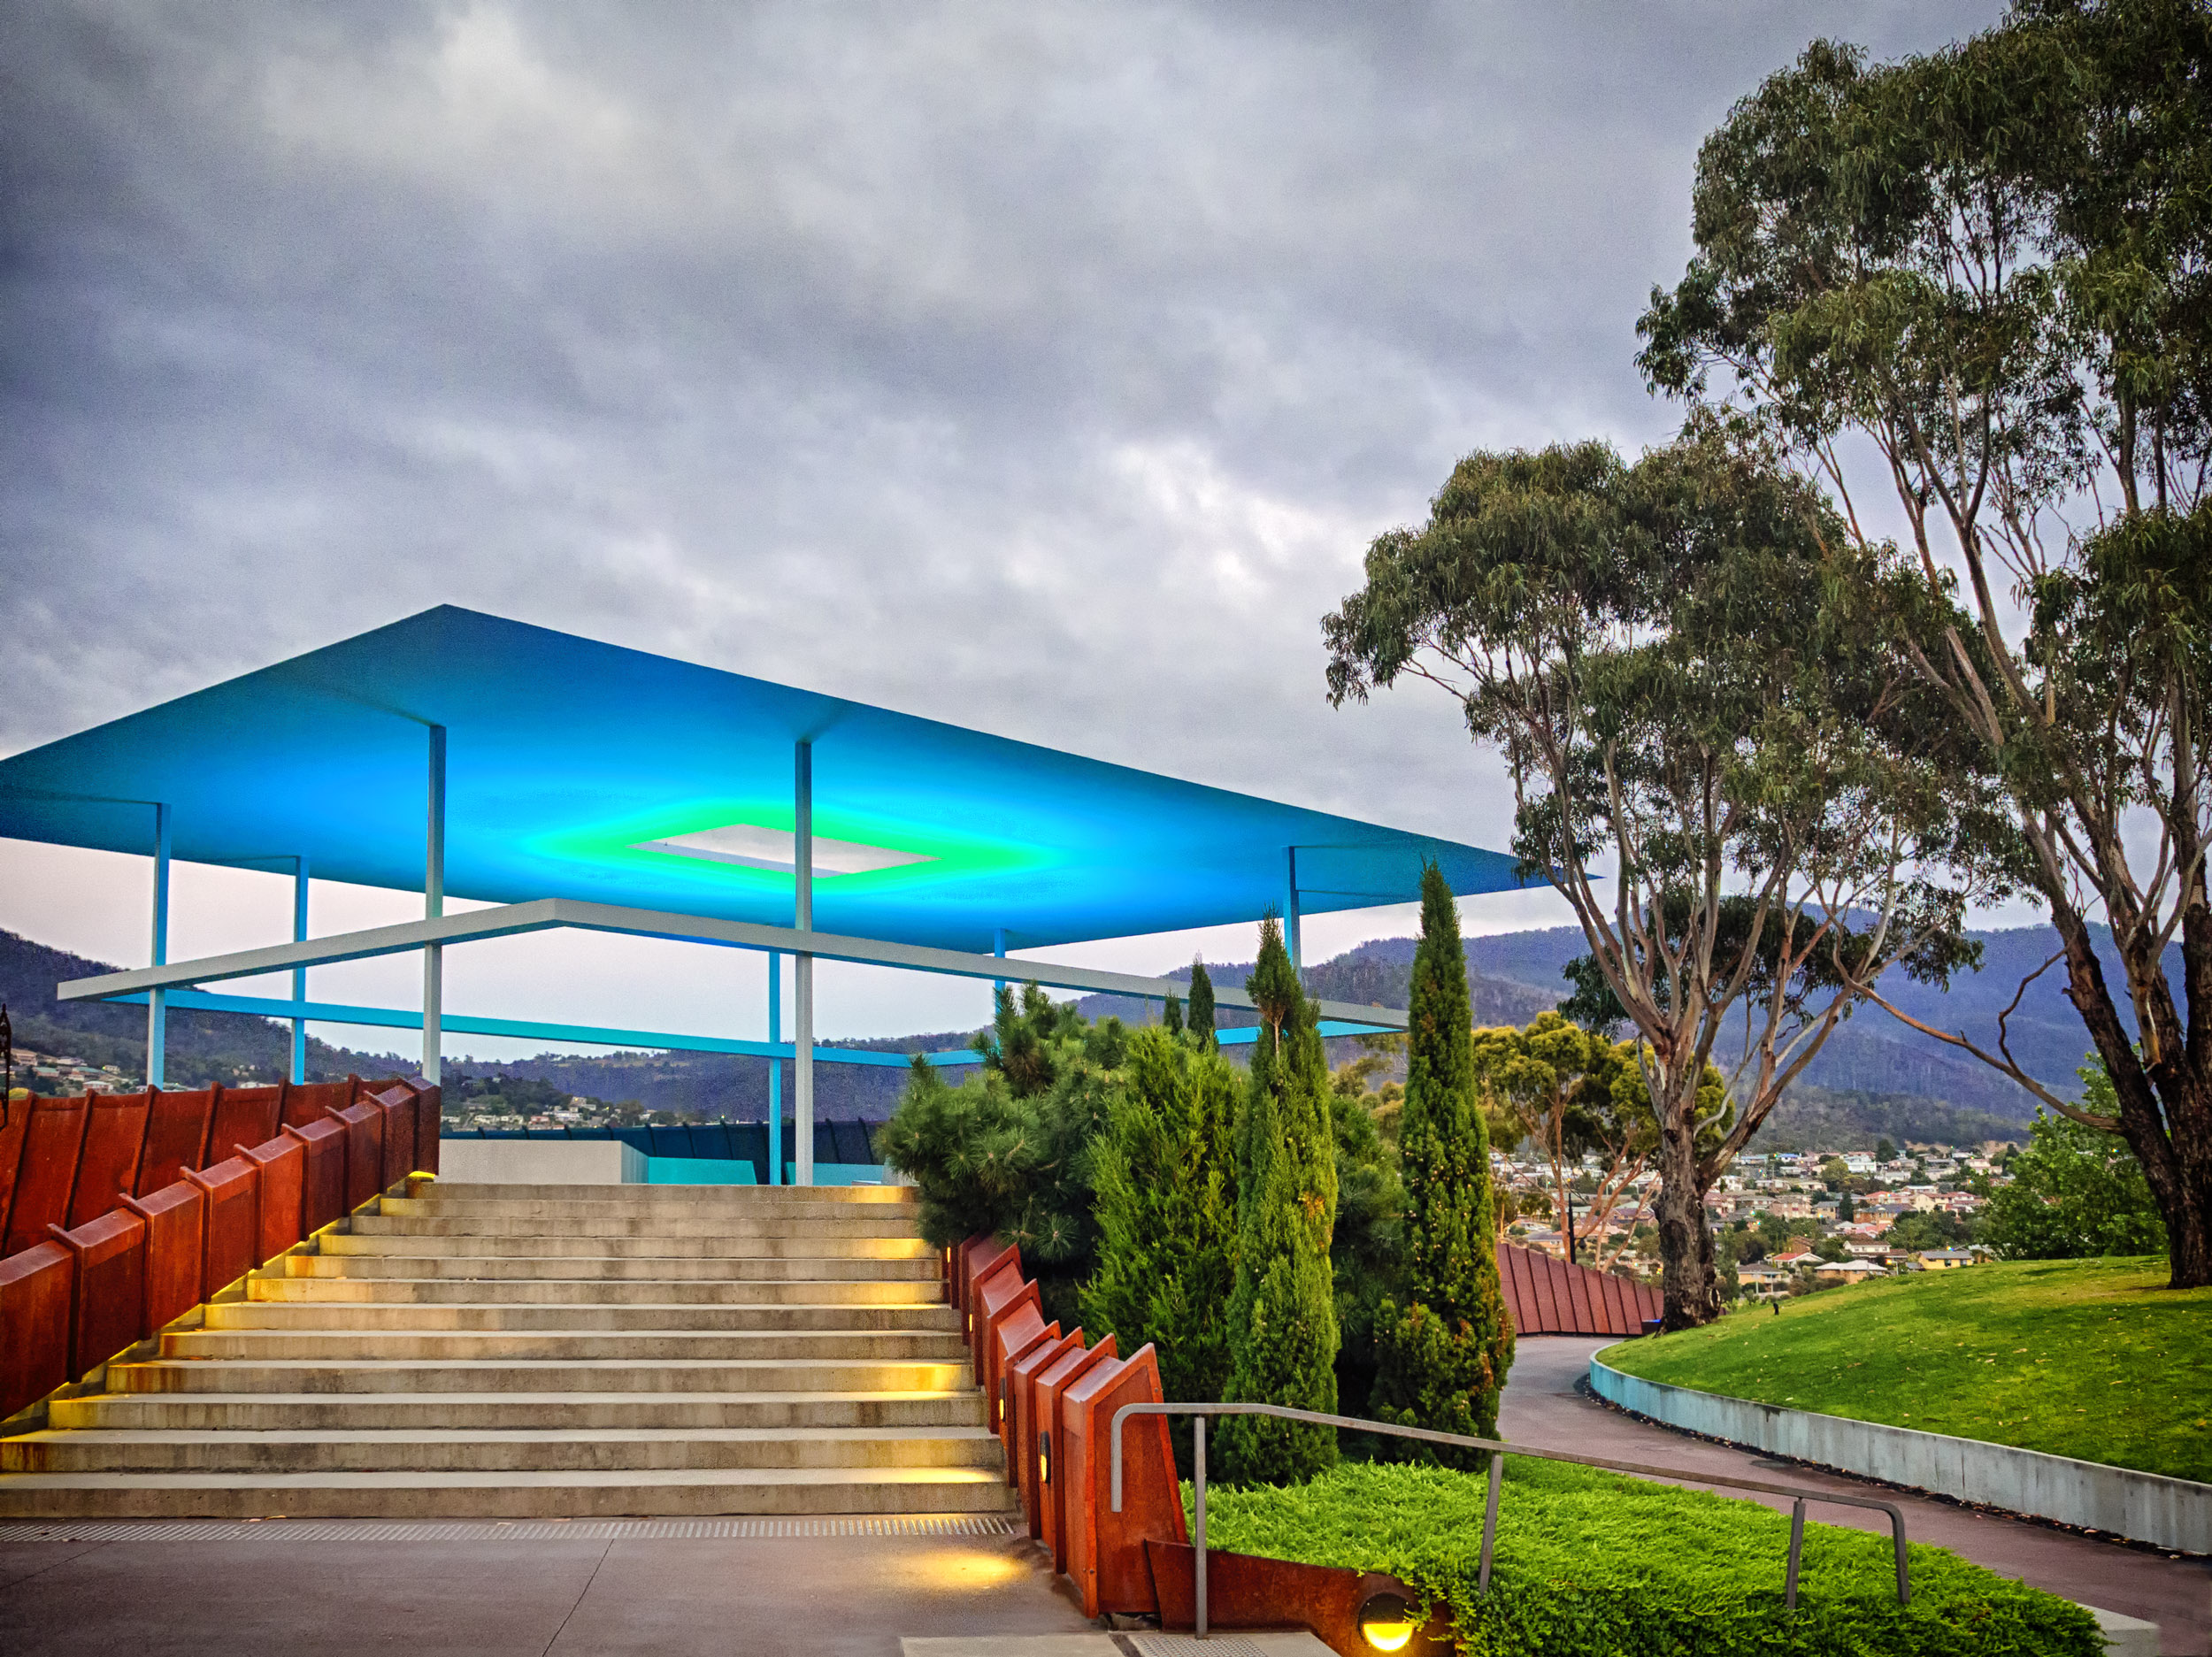
James Turrell’s Amarna at dawn. MONA, Hobart, Tasmania.