This was a hard fought competition this year. The runner up was Brookton.

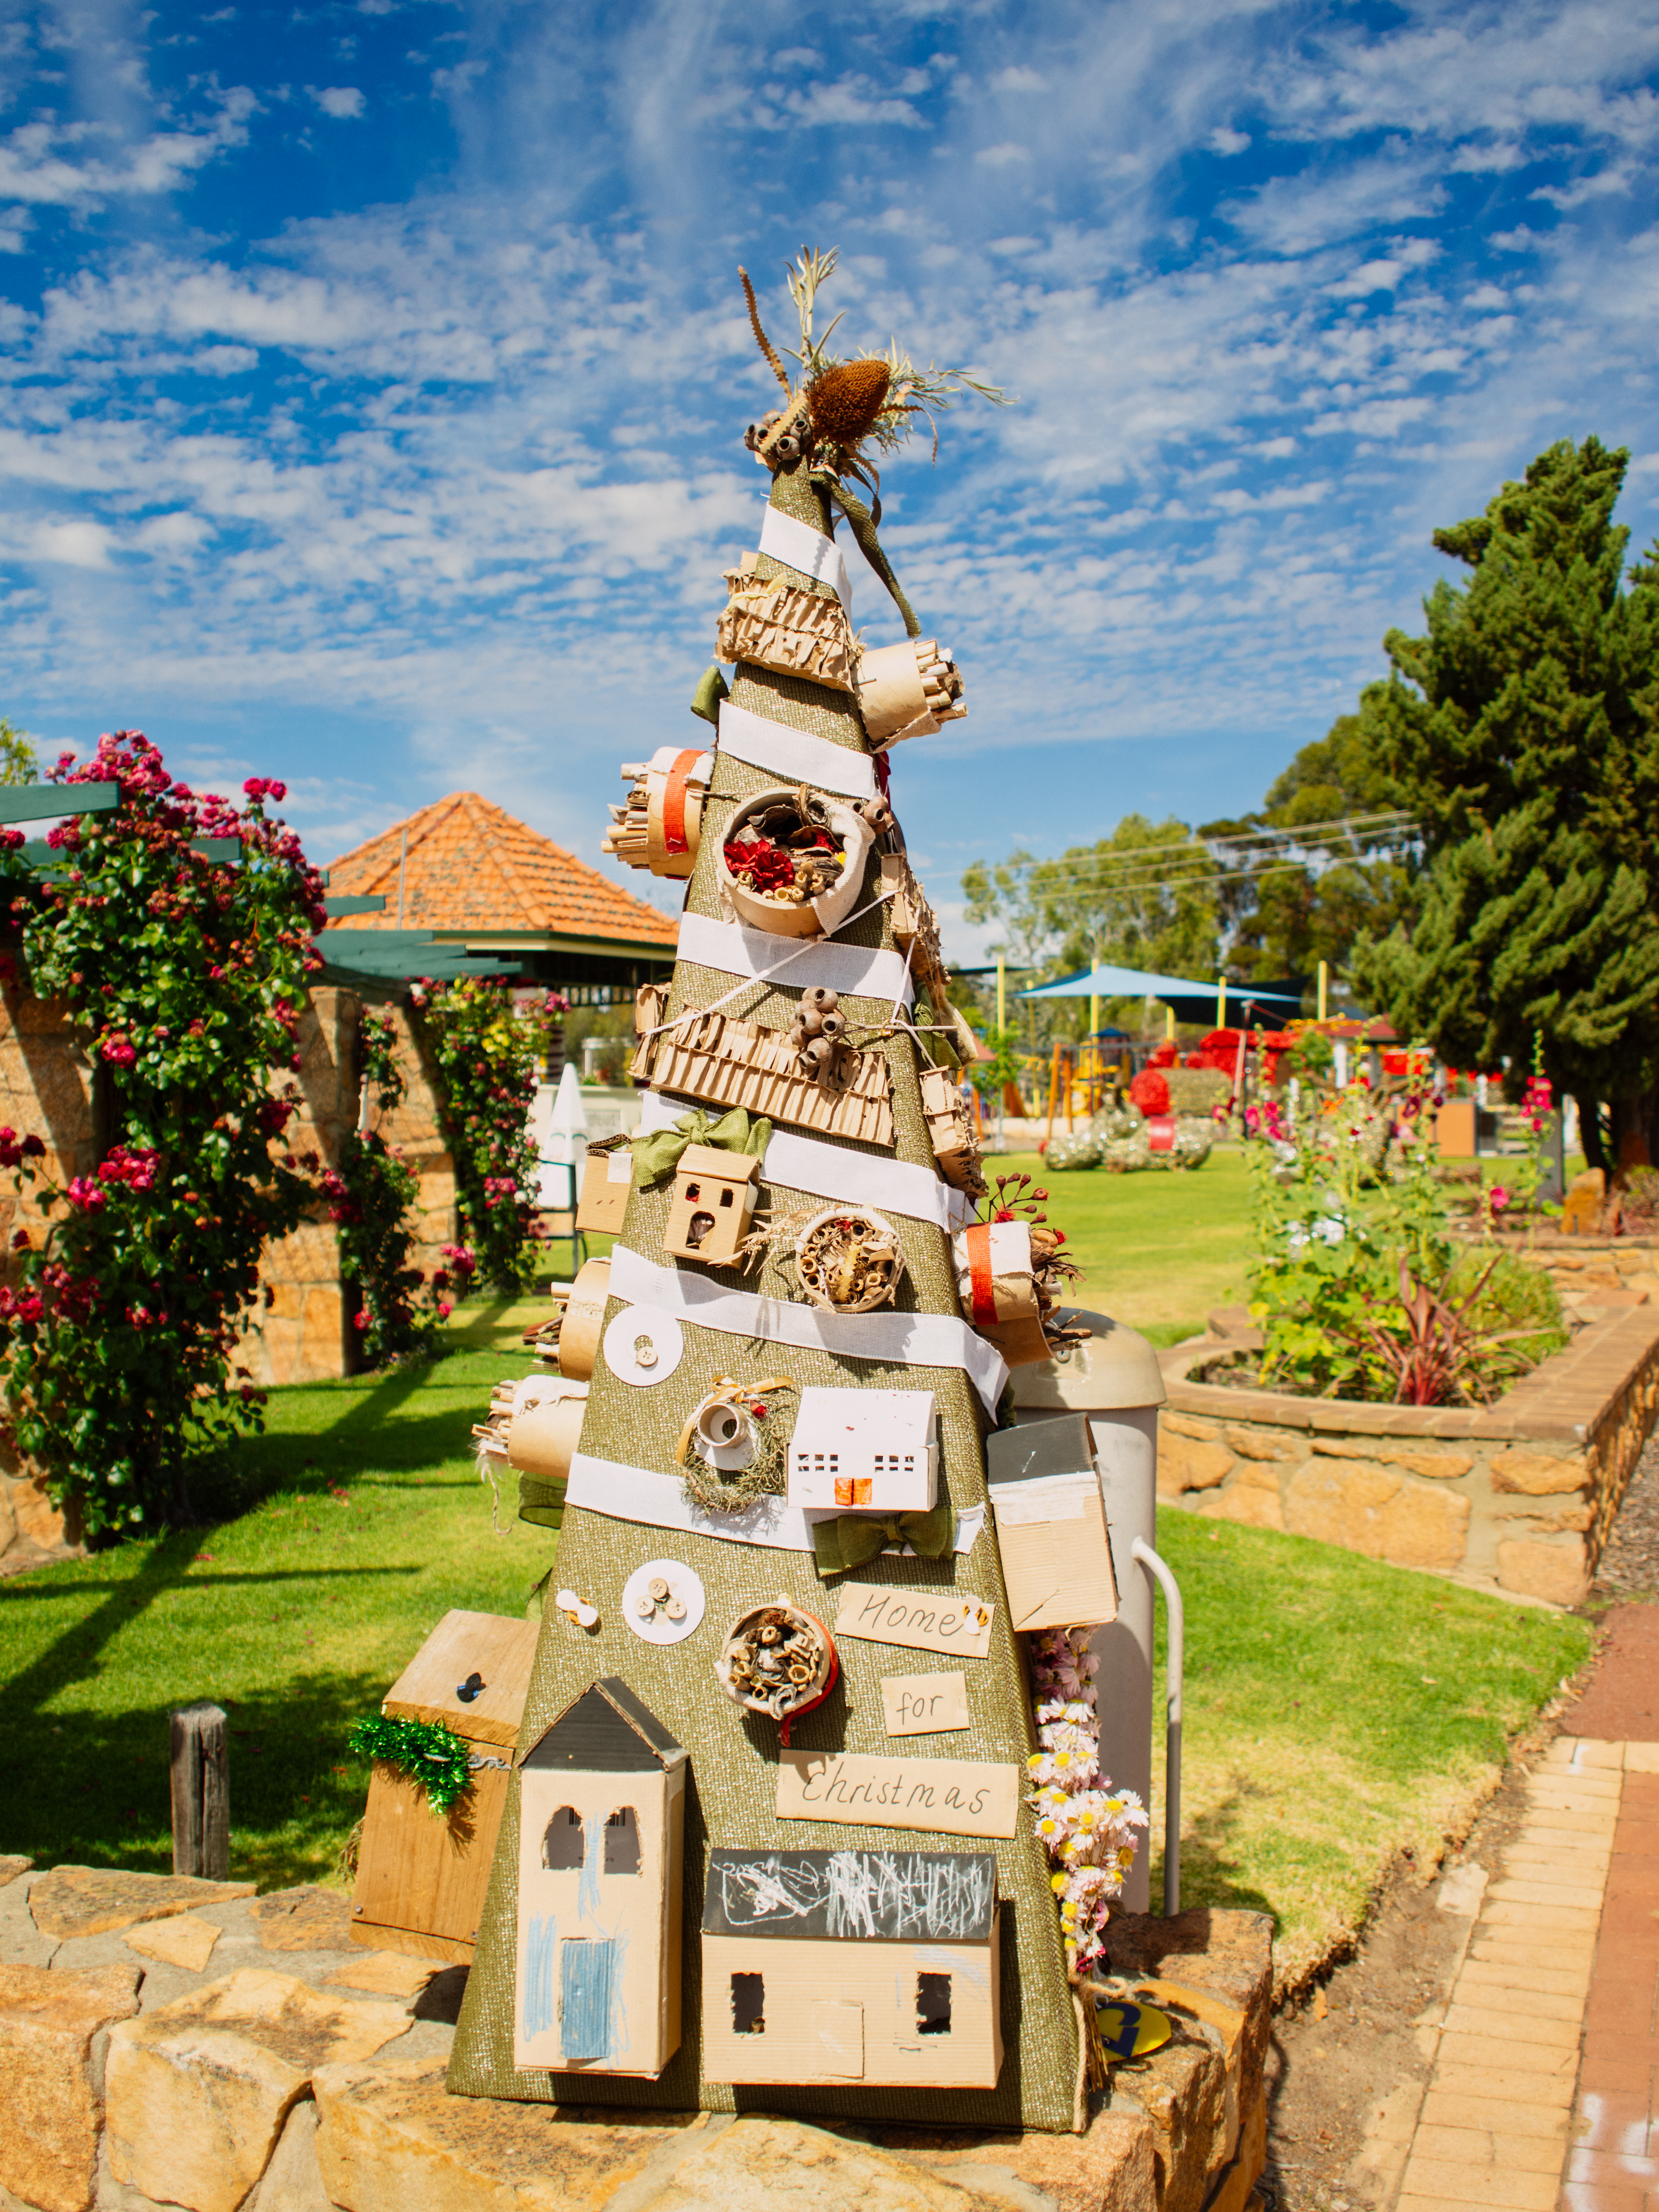
But, the winner was Pingelly by a country mile. The town had made a huge effort with their Christmas decorations.




This was a hard fought competition this year. The runner up was Brookton.
But, the winner was Pingelly by a country mile. The town had made a huge effort with their Christmas decorations.

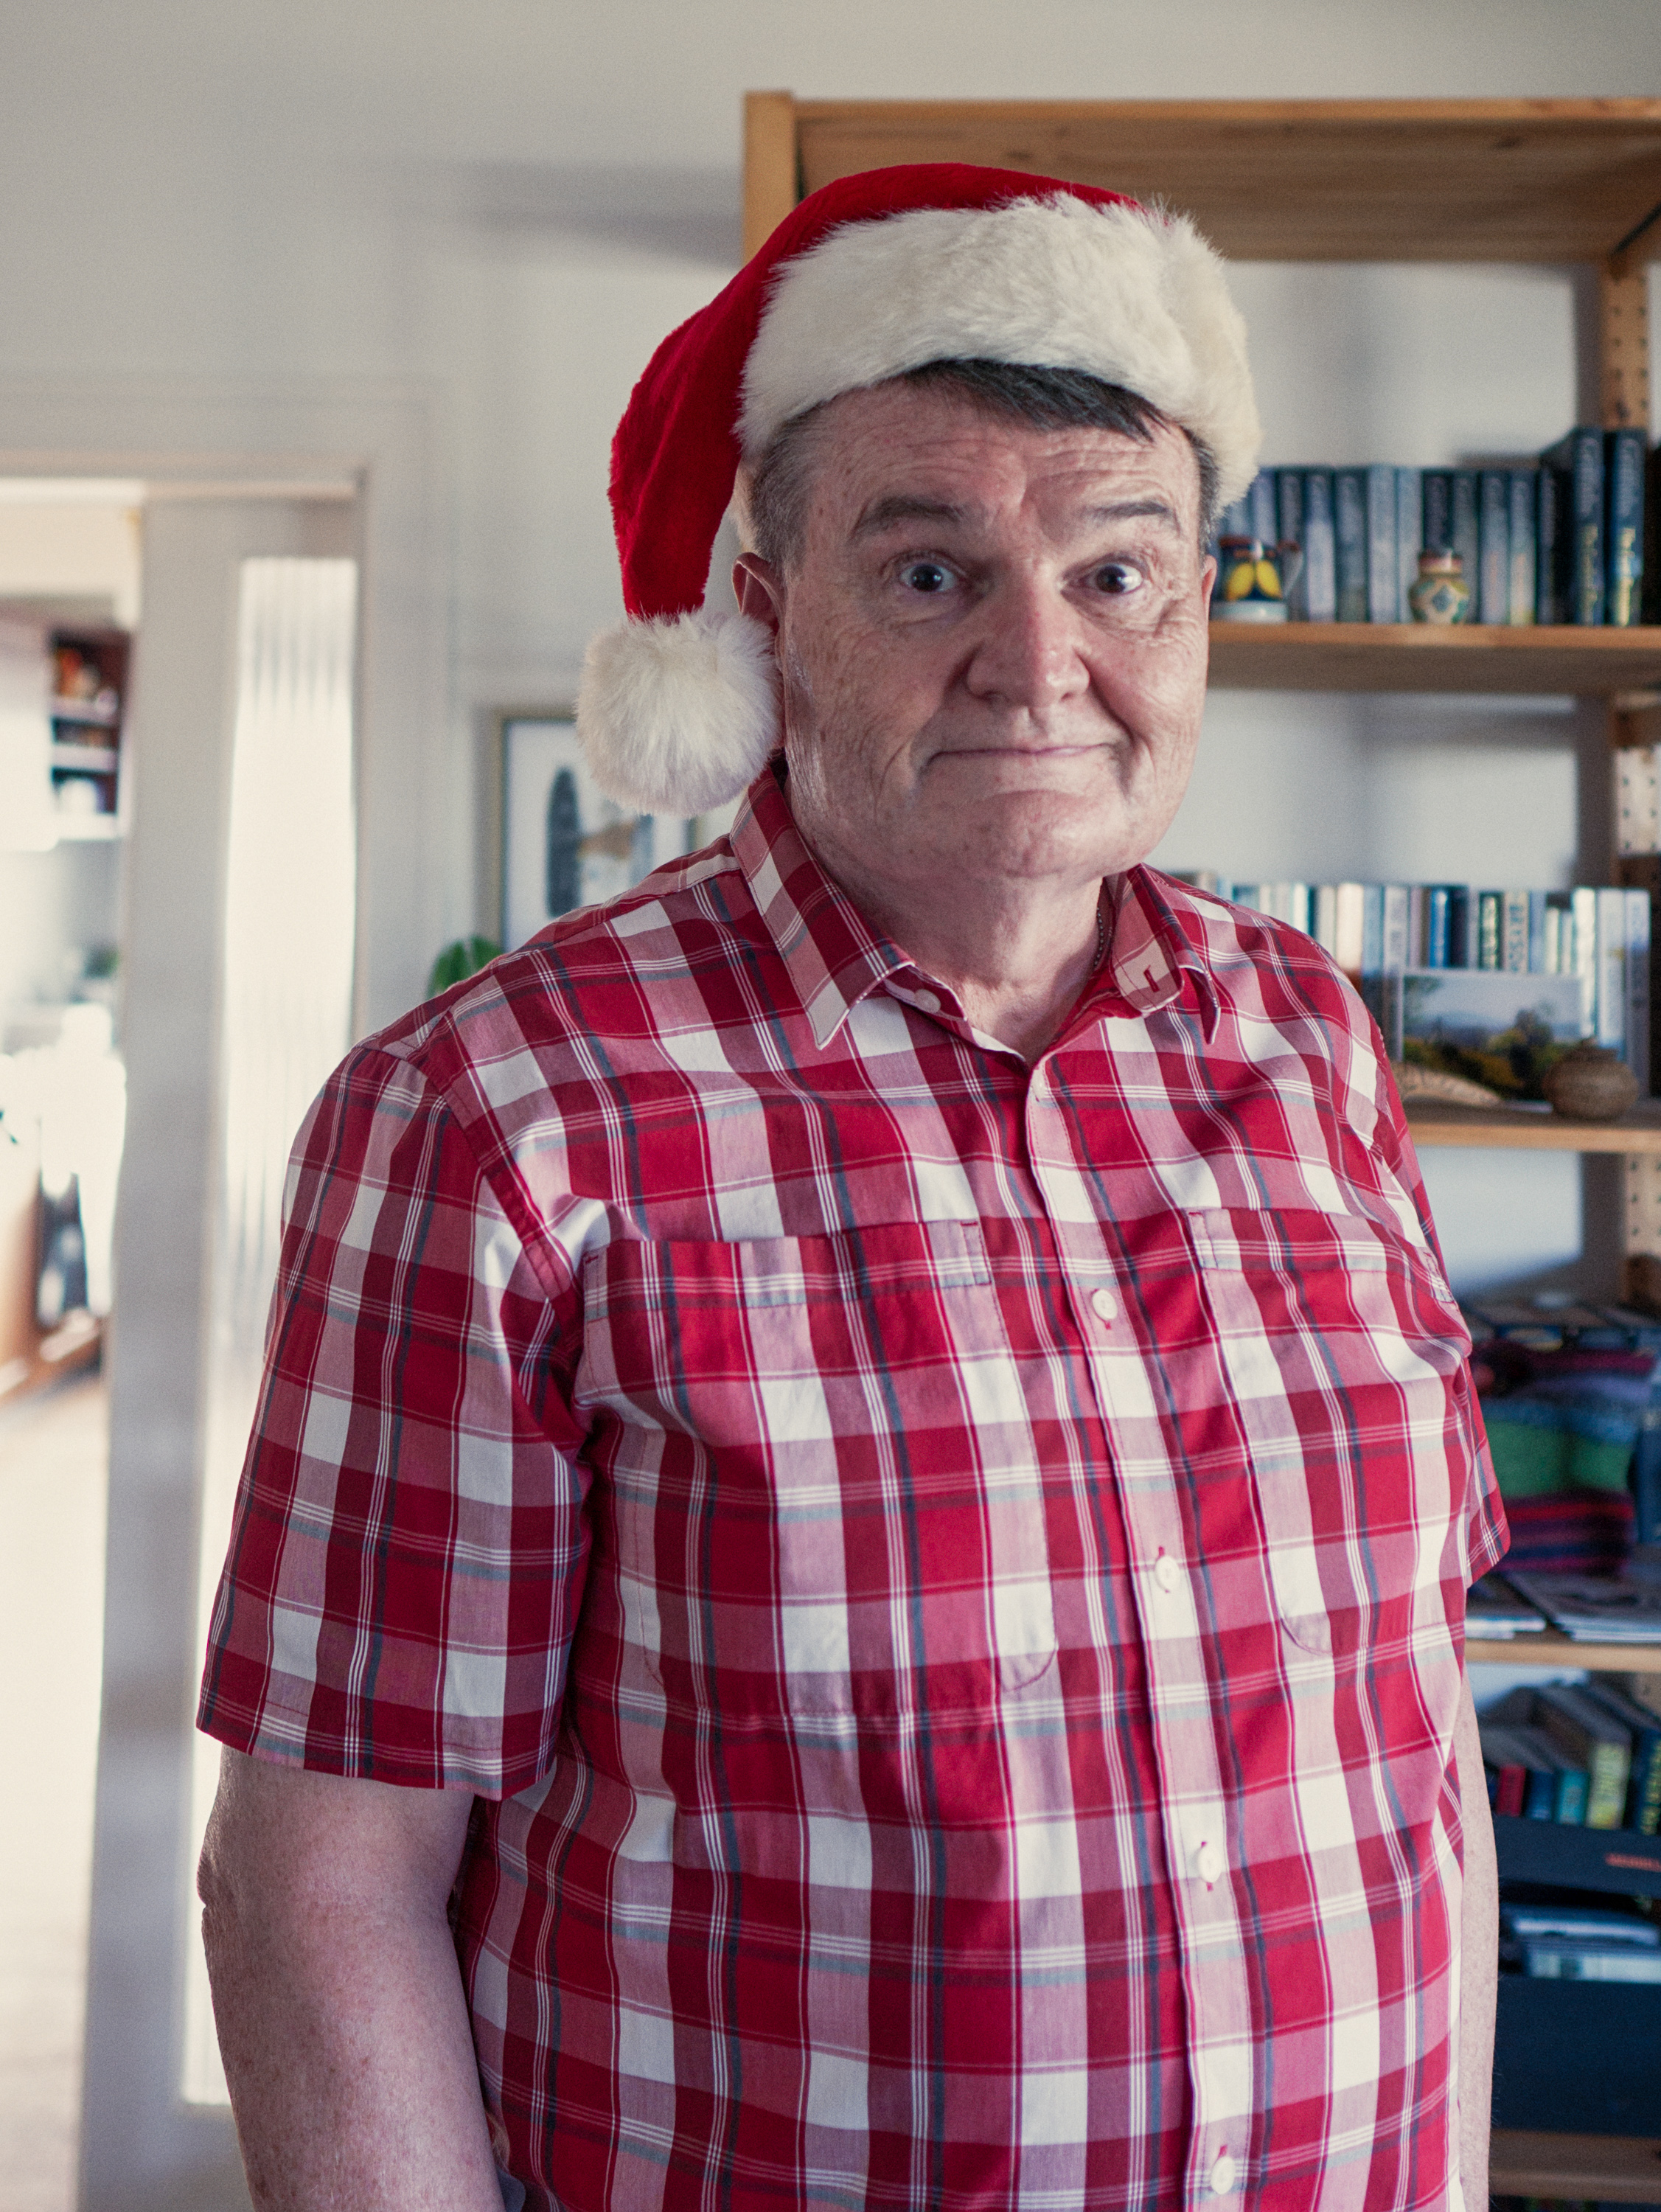
Well I’d like to say that Christmas crept up on me unawares, but the reality was that mince pies Christmas pud were in the shops back in September. I still find it hard to celebrate what is essentially a Northern Hemisphere winter festival in the middle of a baking Southern Hemisphere summer. But I like to wish everyone a Merry Christmas and a happy, safe and prosperous New Year.


The Olympus 17mm f2.8 lens was the first prime lens from Olympus for its new Micro Four Thirds System and was launched in 2009 with the Olympus Pen EP-1 their first camera. I didn’t buy the EP-1 when came out, I was deeply tempted but I wanted a camera with a viewfinder. Less than a year later the EP-2 was launched and it had provision for accepting an auxiliary EVF and I promptly bought one and the 17mm f2.8 came as part of the kit and I’ve used it ever since.

The Olympus 17mm f2.8 wasn’t well received – a lot of people felt that its minimum aperture of f2.8 was somewhat underwhelming especially compared to the Panasonic 20mm f1.7 which was launched in the same year. The Panasonic while sharper in the centre of the frame and having a faster minimum aperture (1.7 compared to 2.8) was larger, heavier, more expensive had slow noisy AF, marked chromatic aberration and didn’t behave very well with the sensor stack of Olympus cameras. There was a strange banding effect when it was used on the EM5 at higher ISO. In 2012 Olympus introduced the 17mm f1.8 which addressed all the short comings of the older f2.8 lens which was allowed to slip silently into oblivion.

I wanted to upgrade to the new f1.7 but I could never find a dealer who had it in stock. The same was true when I thought I wanted the Panasonic Leica 15mm f1.7 as a replacement. In the end I bought the Sigma 16mm f1.4 DG DN which is optically a huge improvement over the little Olympus, but is physically enormous. I kept the Old 17mm f2.8 because it served several purposes. It had a very useful close focusing capability when compared to the Sigma (0.11x compared to the Sigma’s 0.07x) and when mounted to my EP-5 it was small, unobtrusive, and would fit in a jacket pocket. The same could not be said for the Sigma.


| Focal length | 17mm equivalent to 34mm on full frame |
| Diagonal angle of view | 65º |
| Optical construction | 6 elements in 4 groups with 1 aspherical lens |
| Diaphragm | 5 rounded blades |
| Minimum aperture | F2.8 |
| Maximum aperture | f22 |
| Minimum focusing distance | 20cm |
| Maximum magnification ratio | 0.11x |
| Filter diameter | 37mm |
| Dimensions | ⦰ 57mm x 22mm (h) |
| Weight | 71g |
| Internal focusing | No |
| Lens hood | No |

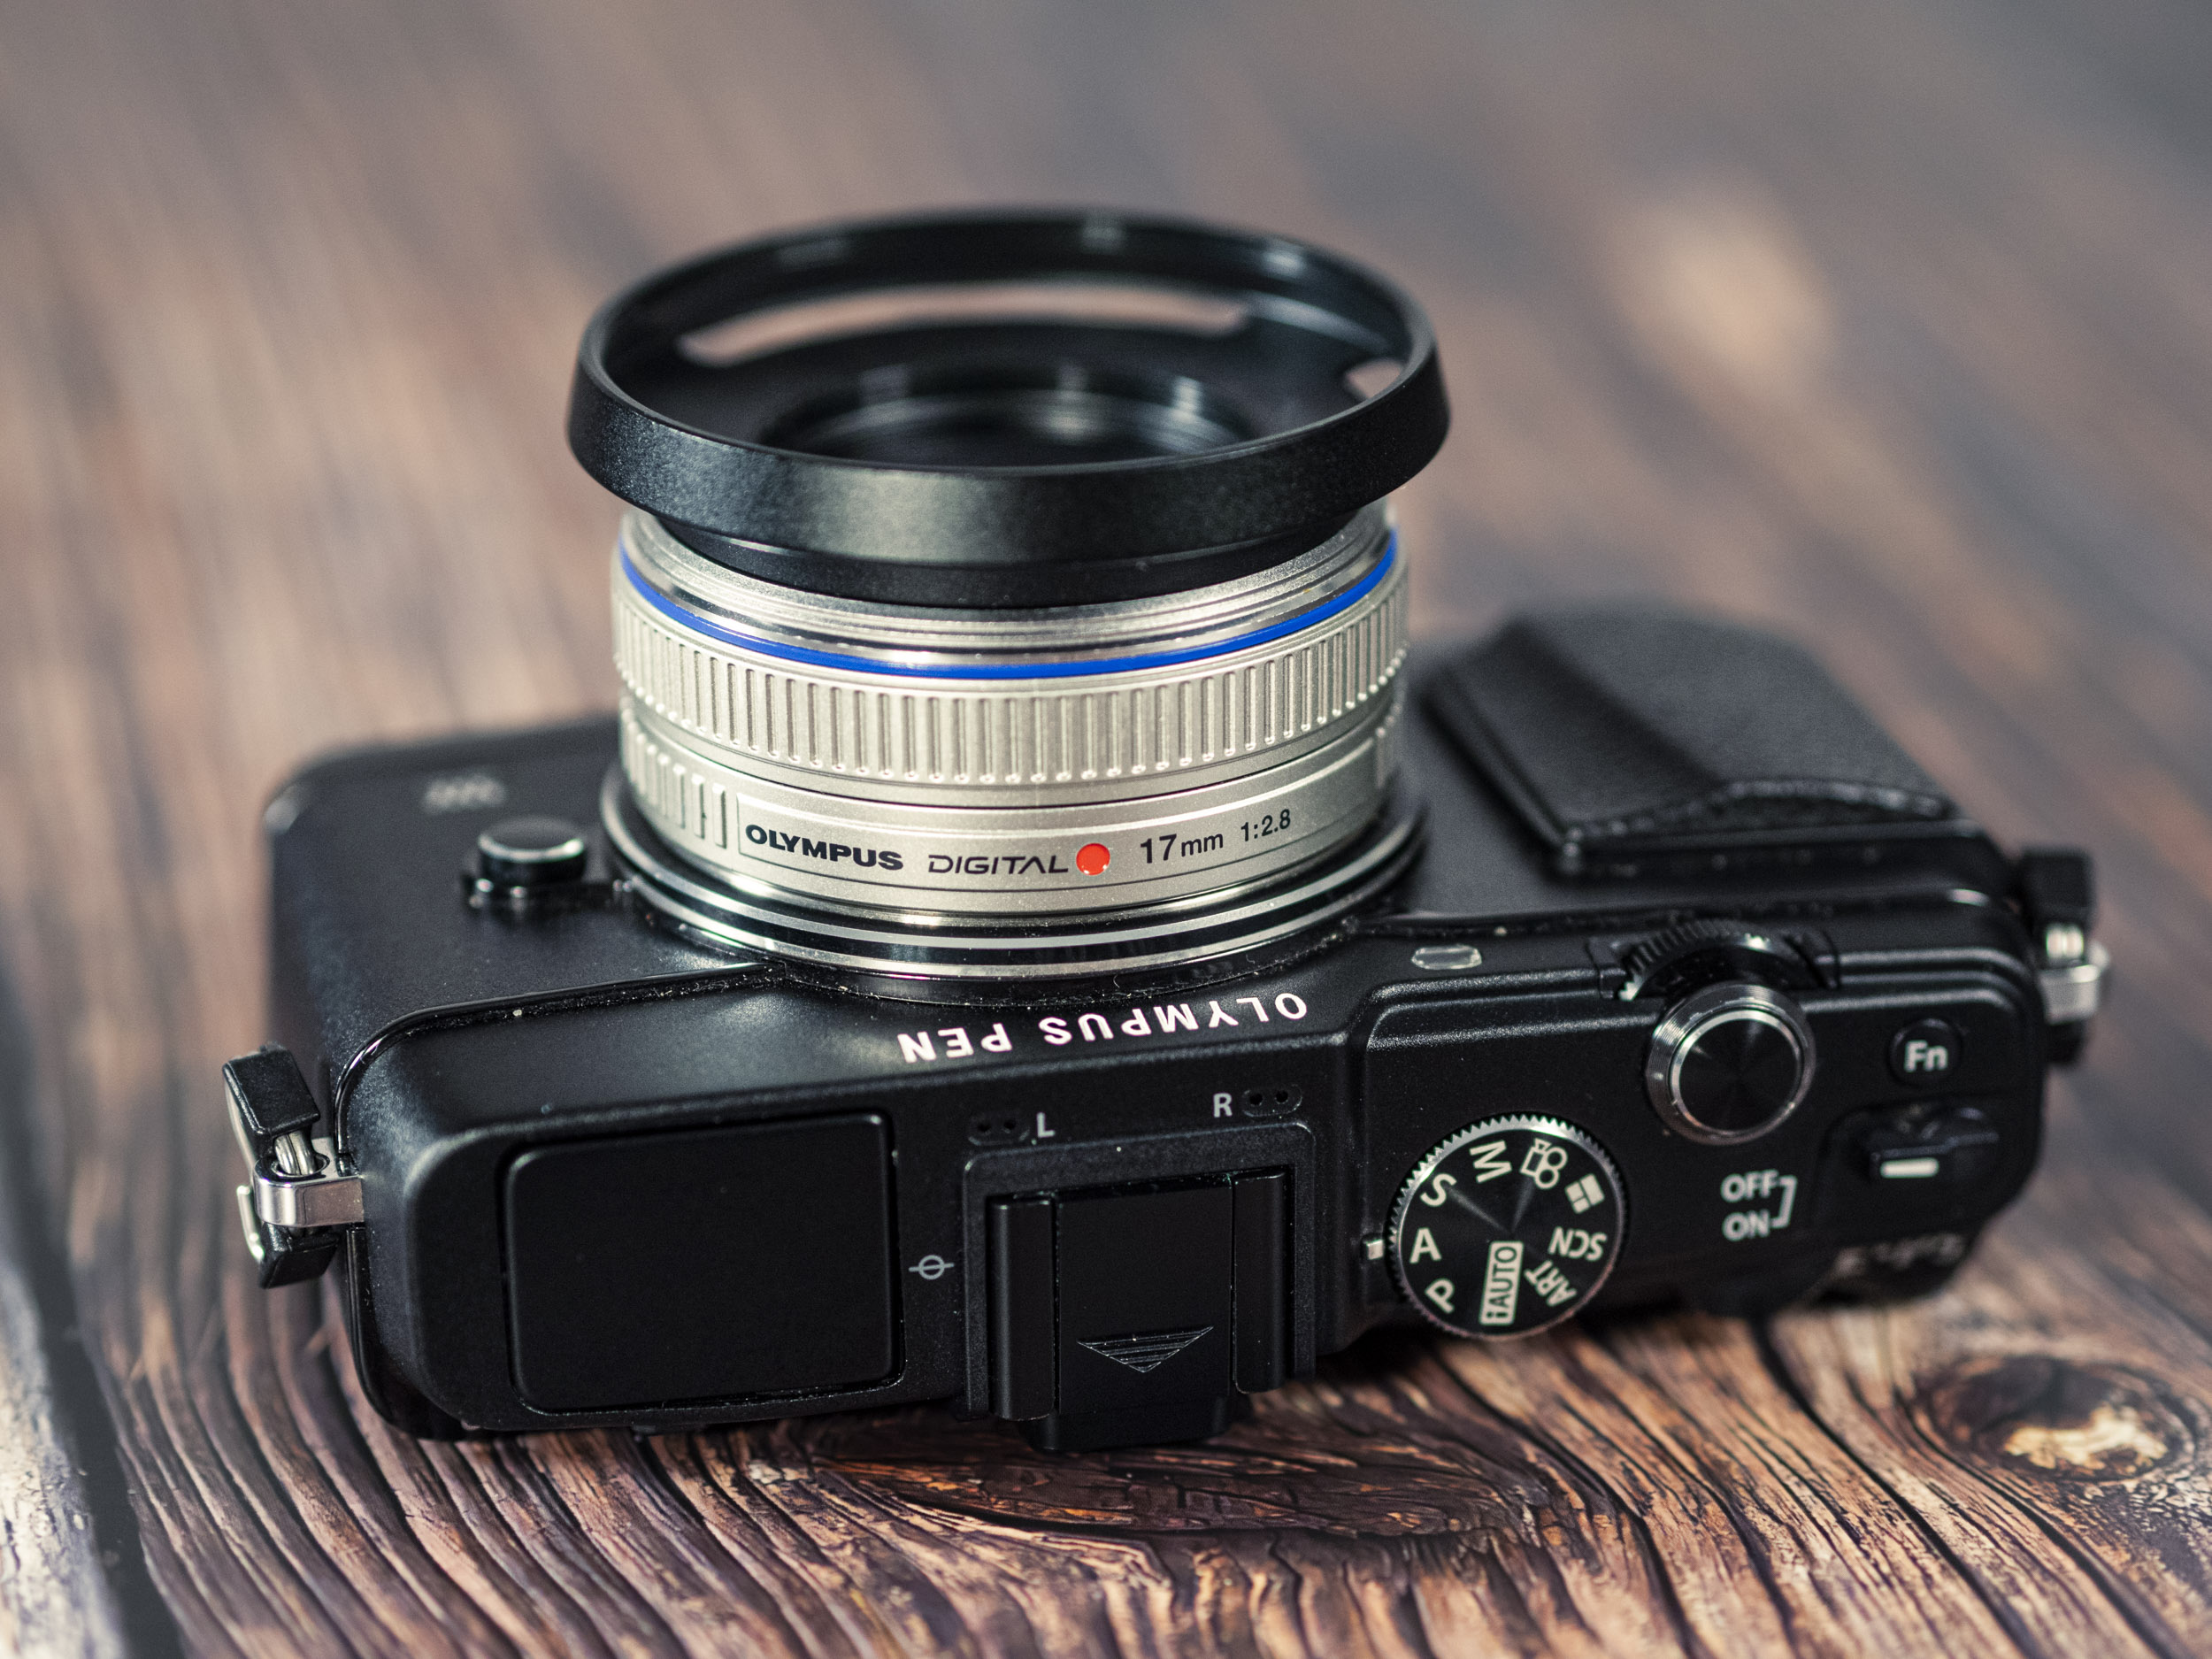
This lens is small – really small – just 22mm high and 57mm in diameter at its widest. To put that into perspective the lens is only just a little bigger than a Canon EF body and lens cap and weighs just 43g heavier. For such a small and lightweight lens it does feel surprisingly dense in the hand. The lens mount is metal and the body is plastic with no weather sealing. The only control on the lens is the focusing ring which is of the focus by wire type and is nicely dampened. Filter size is weenie – just 37mm. Olympus did not supply a lens hood and nor did they make one. I bought an after market vented metal hood which looks very spiffy when the lens is mounted on my EP-5.

Wide open at f2.8 in the centre of the frame the image lacks a little “bite” . Stop down to f4 and sharpness and contrast improve and it remains good until f11. After that diffraction softens the image. In the corners wide open the lens is tiny bit softer than the centre. Sharpness improves at f5.6 but it is not as sharp as the centre at this aperture.
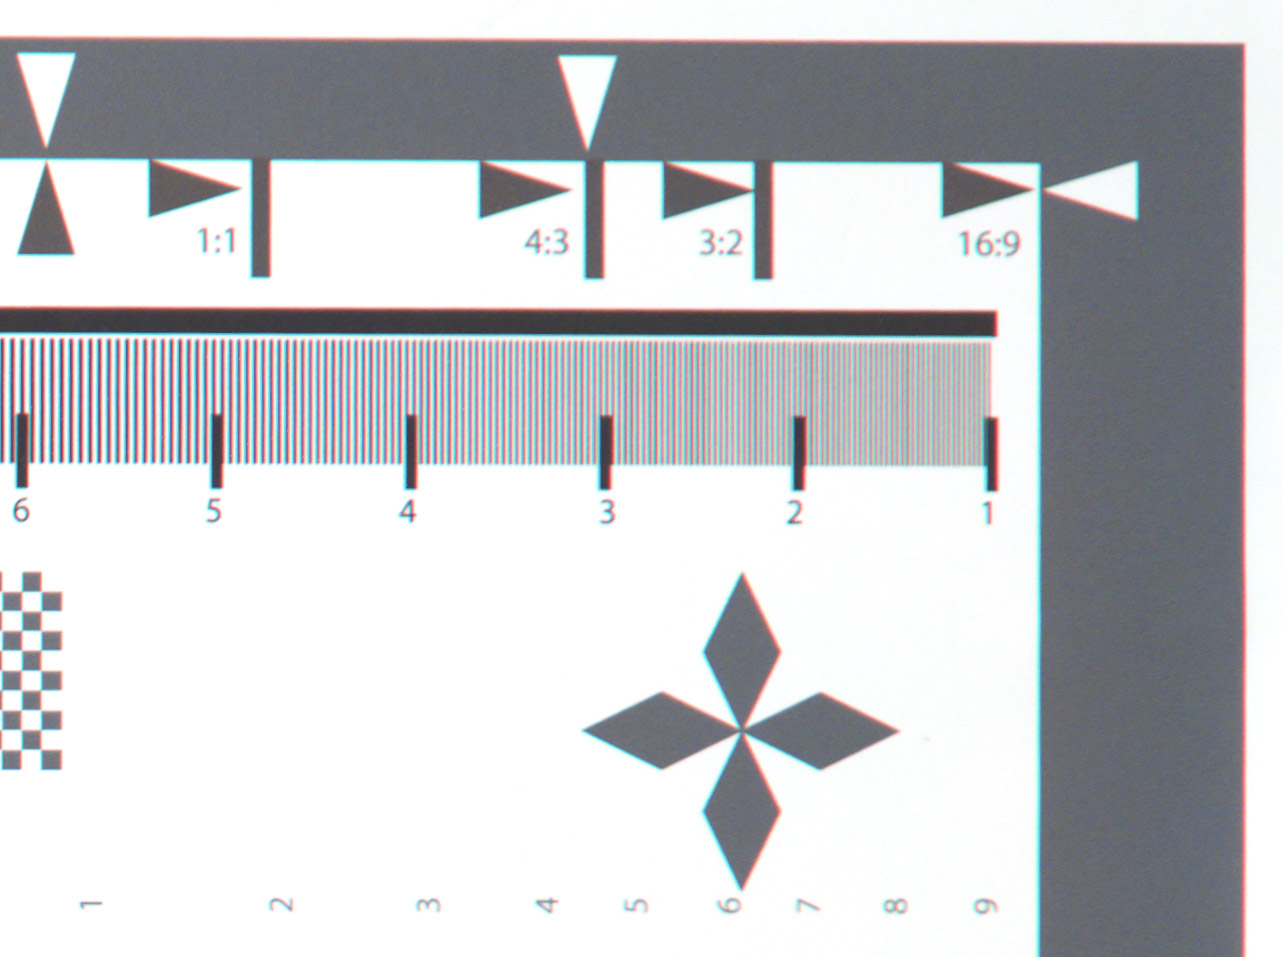
Wide open lateral chromatic aberration is very apparent with magenta and cyan fringing. The modest minimum aperture of f2.8 and the wide angle of view means that there is longitudinal chromatic aberration visible. When Olympus and Panasonic established the Micro Four Thirds standard they made the lens with built in profiles which correct for distortion and vignetting. Consequently looking at an image straight out of the camera with the profile applies there is no sign of distortion or vignetting on the Olympus 17mm f2.8. Switch that profile off and the barrel distortion is very noticeable as is very slight vignetting.

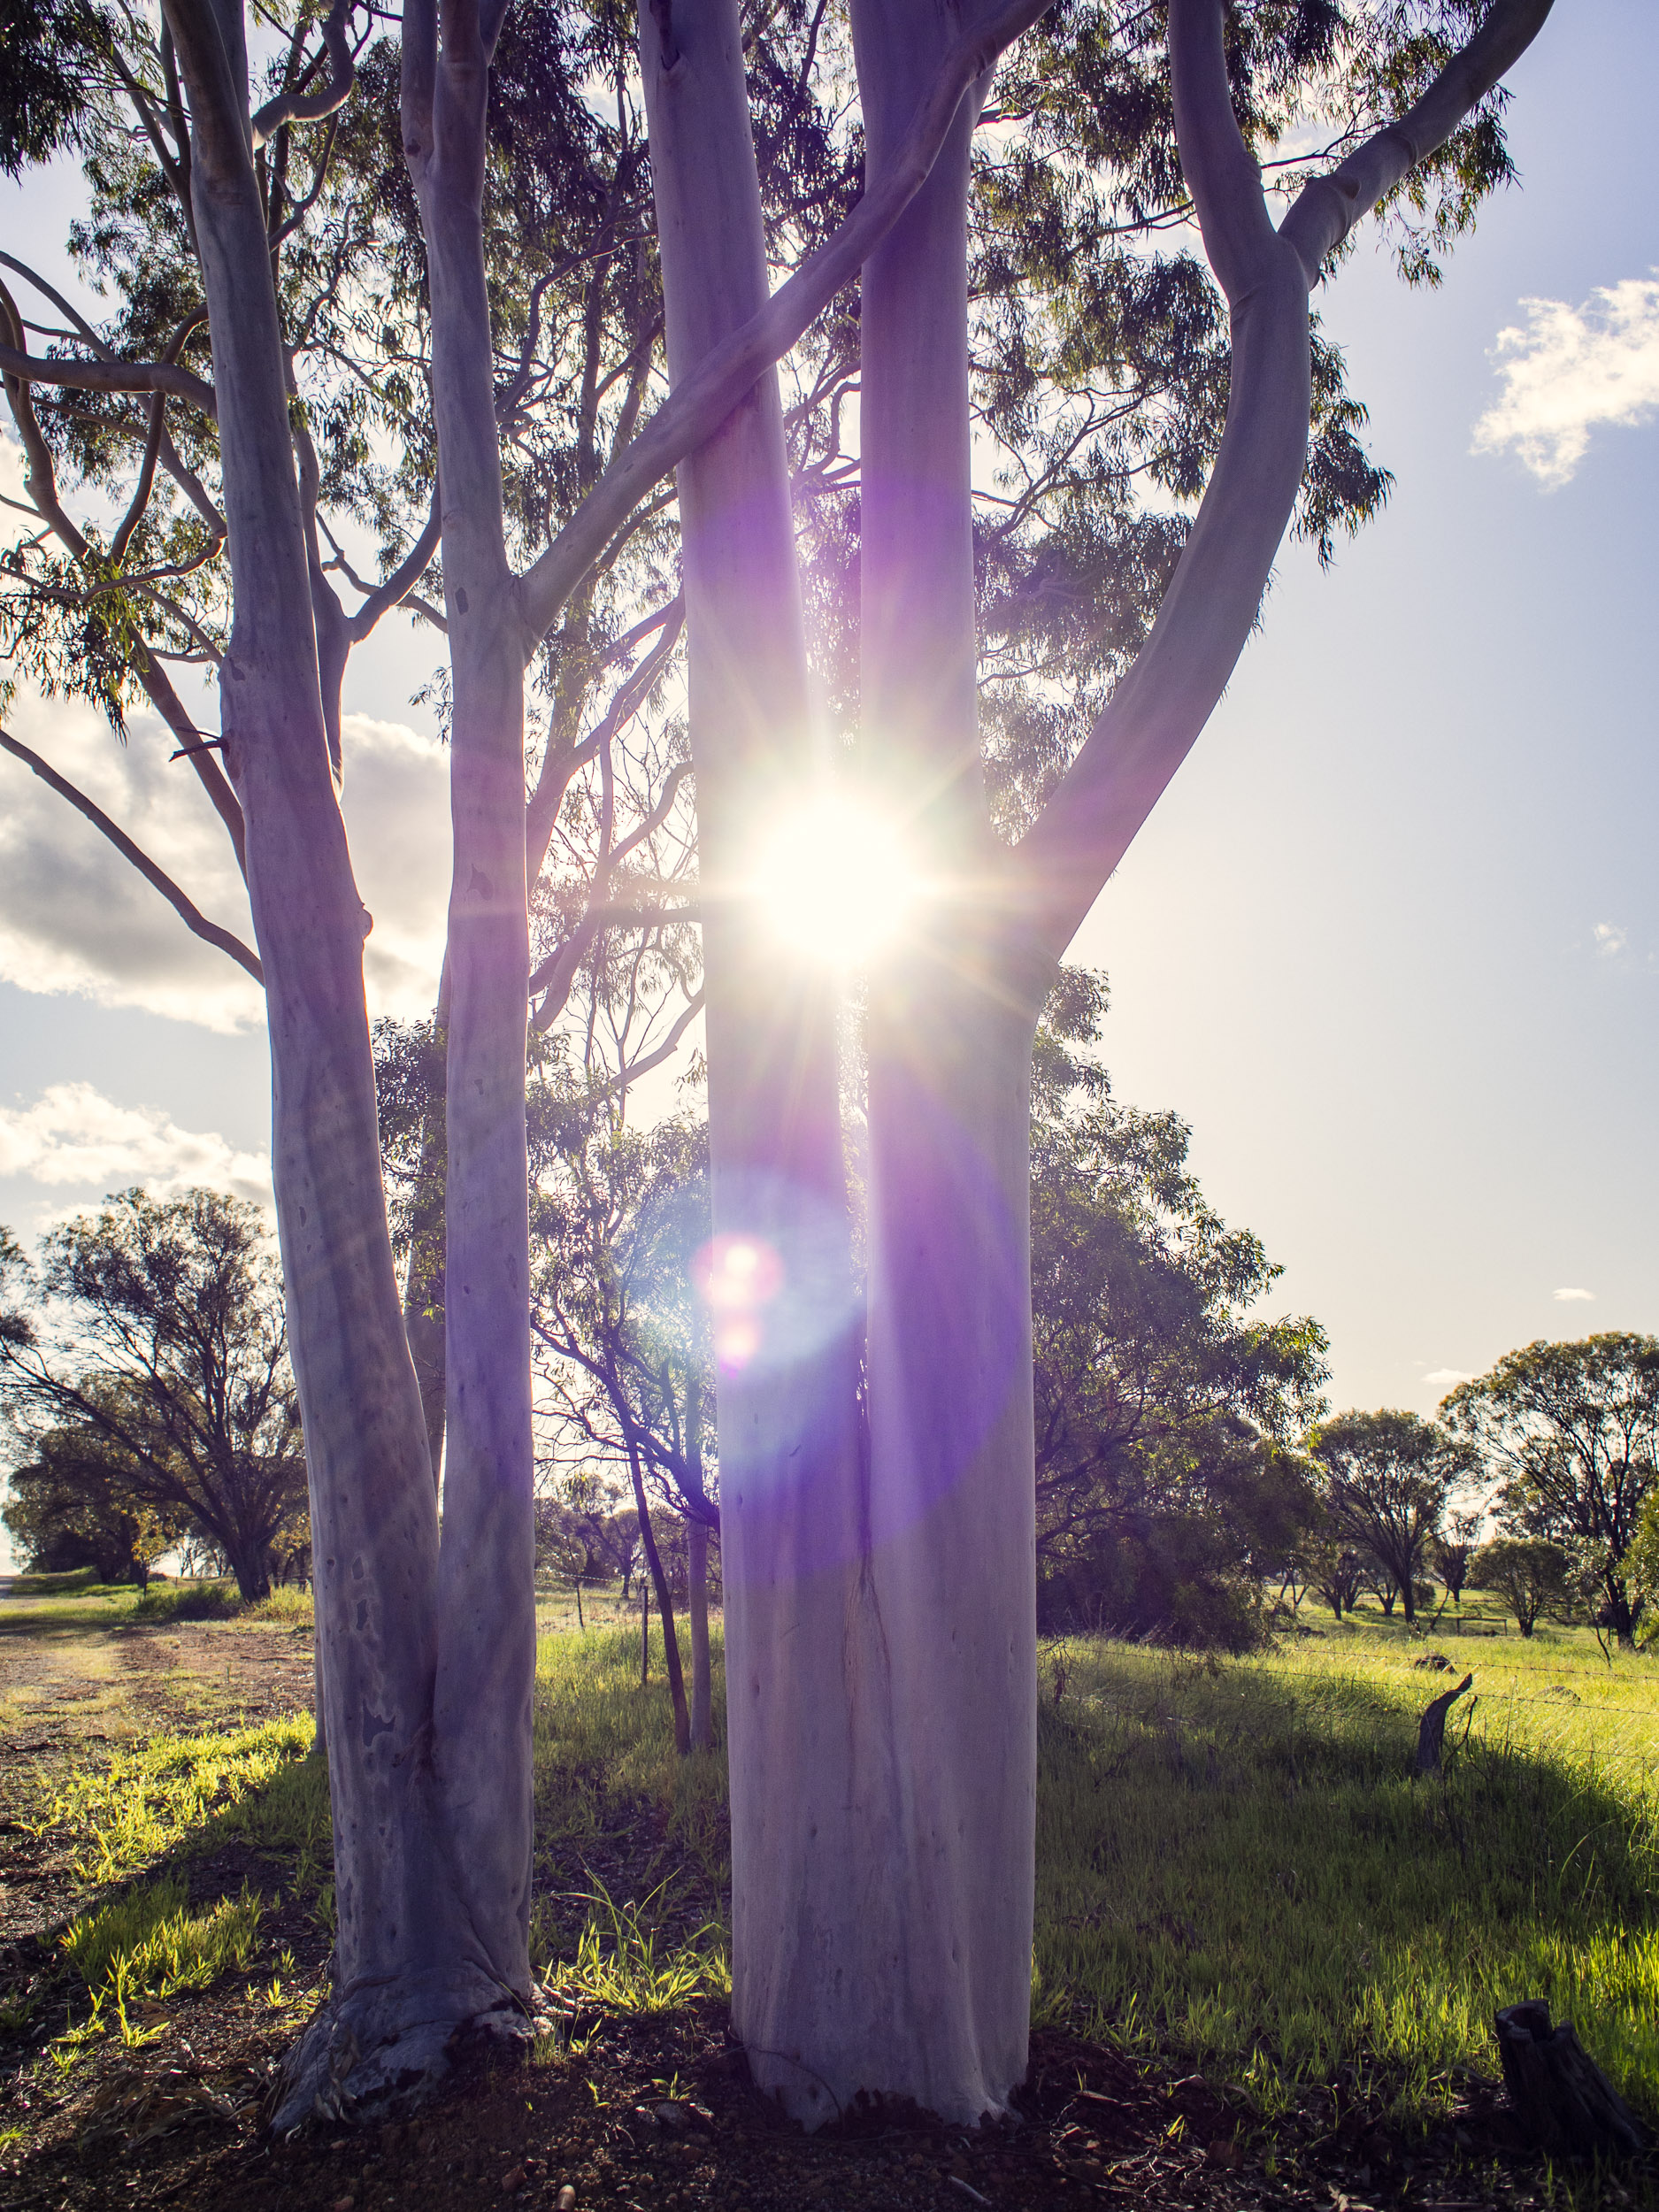

Veiling flare and ghosting are prominent when shooting into the sun as is the loss of contrast. The diffraction spikes (aka sun stars) are a bit pedestrian and nothing to write home about.

When it comes to bokeh well this lens is never going to be the “Bokeh King”. The bokeh balls are consistently shaped throughout the frame but were not quite perfectly circular. While the rendering of out of focus areas is smooth it is not the most attractive that I’ve seen.

When the EP-1 was introduced it and the Panasonic G1 were heading the rise of a new class of camera – the mirrorless interchangeable lens camera. The autofocus was contrast based and still in its infancy. In fact dodgy AF was one of the things that was always levelled at mirrorless cameras by DSLR users in those far off days. The AF performance of the Olympus 17mm f2.8 certainly reflects this. For point to point AF using single shot mode the lens is quick and accurate if a little noisy. It is when you switch to continuous autofocus and tracking that things become dodgier than a Balinese Rolex. The performance is very hit and miss. Even when you put it on a phase detect auto focus camera (EM1 mk ii and later) the results are only marginally better. The fault is the because of the type of motor used to move the lens elements. It just can’t keep up with information being sent by the camera. This is why Olympus later introduced its MSC technology. MSC stands for Movie and Stills Compatible and consists of a high speed motor that can provide very small precise adjustments. So while it appears poor compared to later models this is not a lens you’re going to shoot sports with.
Video AF is also a bit pants. The lens makes a horrible noise as it rocks back and forth. It does find focus eventually its just not very elegant or confidence inspiring in the way it does it.

This lens is not what you call optically brilliant – if you want that look at the Olympus m.Zuiko 17mm f1.2 Pro which costs $1900 AUD – but that’s not what this lens is about. This is a fun lens to use. It’s so convenient to slap it onto an Olympus Pen EP-5 or EM-10 and have a great small camera lens combo that can go with you anywhere. This is what micro four thirds was all about when it was introduced. Team it up with the ridiculously compact Olympus 45mm f1.8 and you have a nice two lens outfit that will fit in a jacket pocket and produce good photos. Unfortunately 17mm f2.8 is out of production, but it can be bought second hand for about $200 AUD. Factor in $10 AUD for a lens hood and you’ve got a nice little walk about lens.








When Olympus launched their wireless radio controlled flash system there were howls of derision from the combined blogosphere and photographic forums. Mainly it went along the lines of Olympus had lost the plot in charging so much for something that others were offering so cheaply. If all you want to do is take portraits with a couple of off camera speedlights then there maybe something to this argument. Let’s make a quick comparison.
| Olympus | Godox | |
| Commander or transmitter | Olympus FC-WR Wireless Commander $385 AUD | Godox X2T-O Wireless TTL Trigger $99 AUD |
| Speedlights with built in receivers | 2 x Olympus FL-700WR Flash $449 AUD each | 2 x Godox TT685OP Speedlight Flash $195 AUD each |
| Total Cost | $1283 AUD | $489 AUD |
So that is quite some difference – $794 AUD is a lot of money. Then the Godox fans will tell that the system is much more flexible because if you change camera system all you have to do is change the wireless trigger to one that is dedicated to your new system and you can keep using your existing speedlights. On the face of it it this quite a compelling argument. But this really doesn’t tell the whole story as it assumes that you have no existing flash equipment and that all you want to do is shoot basic lighting set ups with either TTL or full manual control. Now a lot of people who are attracted to Olympus cameras aren’t just attracted by the small size of micro four thirds but also by the advanced features that the cameras have such as focus stacking, keystone compensation, High Res Shot Mode, Live Bulb, Live Time, Live Composite, multi exposure, art filters, picture modes, and interval shooting. Plus Godox doesn’t offer a TTL enabled flash such as the Olympus Twin Flash STF-8 for macro and close up photography.

Regular readers will know that I do a lot of wildflower photography, product shots and the occasional portrait all using flash. I realised I wanted to use more complex lighting arrangements and so I decided to put together a system based around the existing flash units I already had – an Olympus FL-600R, an Olympus STF-8, 2 Metz 44AF-1’s, and a Metz 64AF-1. To that end I bought an Olympus FC-WR wireless commander and three Olympus FR-WR Wireless Radio Flash Receivers ($285 AUD each). Still not a super cheap option, but one that gives me a lot of scope. Now when I started this because the system was not well received there were next to no reviews of it and I didn’t know if everything I had, particularly the Metz units would work. Also I wanted to know whether they would also work with my Panasonic G85. So this was a real voyage of discovery
As I progressed with this I realised that I didn’t just want to write a review, but that I’d also say how to use the equipment in various modes across both Olympus and Panasonic cameras using third party flashguns so that prospective users can find all this information out without having to take a punt like I did. As usual I’ve provided the information in both video and written formats.
So with all that preliminary guff stated (phew!!) lets dig in by looking at the Commander and Receivers themselves first.
Specifications
| Maximum communication distance | Approx. 30 m |
| Frequency | 2.4 GHz band |
| Number of channels | 15 (in the commander mode; with automatic channel setting function) |
| Number of groups | 3; maximum number of flash units; unlimited |
| Flash control modes | TTL / MANUAL / FP TTL / FP MANUAL / Off |
| Flash compensation | ±5 EV (Increment: 1/3 EV or 1/2 EV) |
| Manual flash power settings | From 1/1 to 1/128 (Increment: 1/3 EV or 1/2 EV) |
| Power supply | AAA alkaline dry-cell batteries x 2 / AAA NiMH batteries x 2 |
| Continuous usage duration | Approx. 6.4 hours (when using AAA alkaline dry-cell batteries) |
| Operable temperature / humidity | From -10 to 40℃ (14 to 104°F) / From 30 to 90% |
| Dimensions | Approx. 59.5 (W) x 51.0 (H) x 67.4 (D) mm |
| Weight | Approx. 73 g (excluding batteries) |
Firstly the WR in designation is Olympus speak for the fact that the commander has a degree of weather resistance. This is a huge positive for me as I shoot a lot of stuff outside in all weathers. Olympus doesn’t specify the degree of water resistance, but says the unit will operate in temperatures ranging from -10 to 40ºC and humidity up to 90%. I didn’t throw it in a bucket of water but I have used it out in the rain on several occasions with no functional problems, and when I opened up the battery compartment it was dry so that’s all good.
The FC-WR uses AAA batteries. This was a bit of a disappointment and I would have liked AA as it means I only have to carry one type of battery and AAs last longer. However in practice I’m still using the first set of AAAs, and I suppose the use of them keeps the size down.
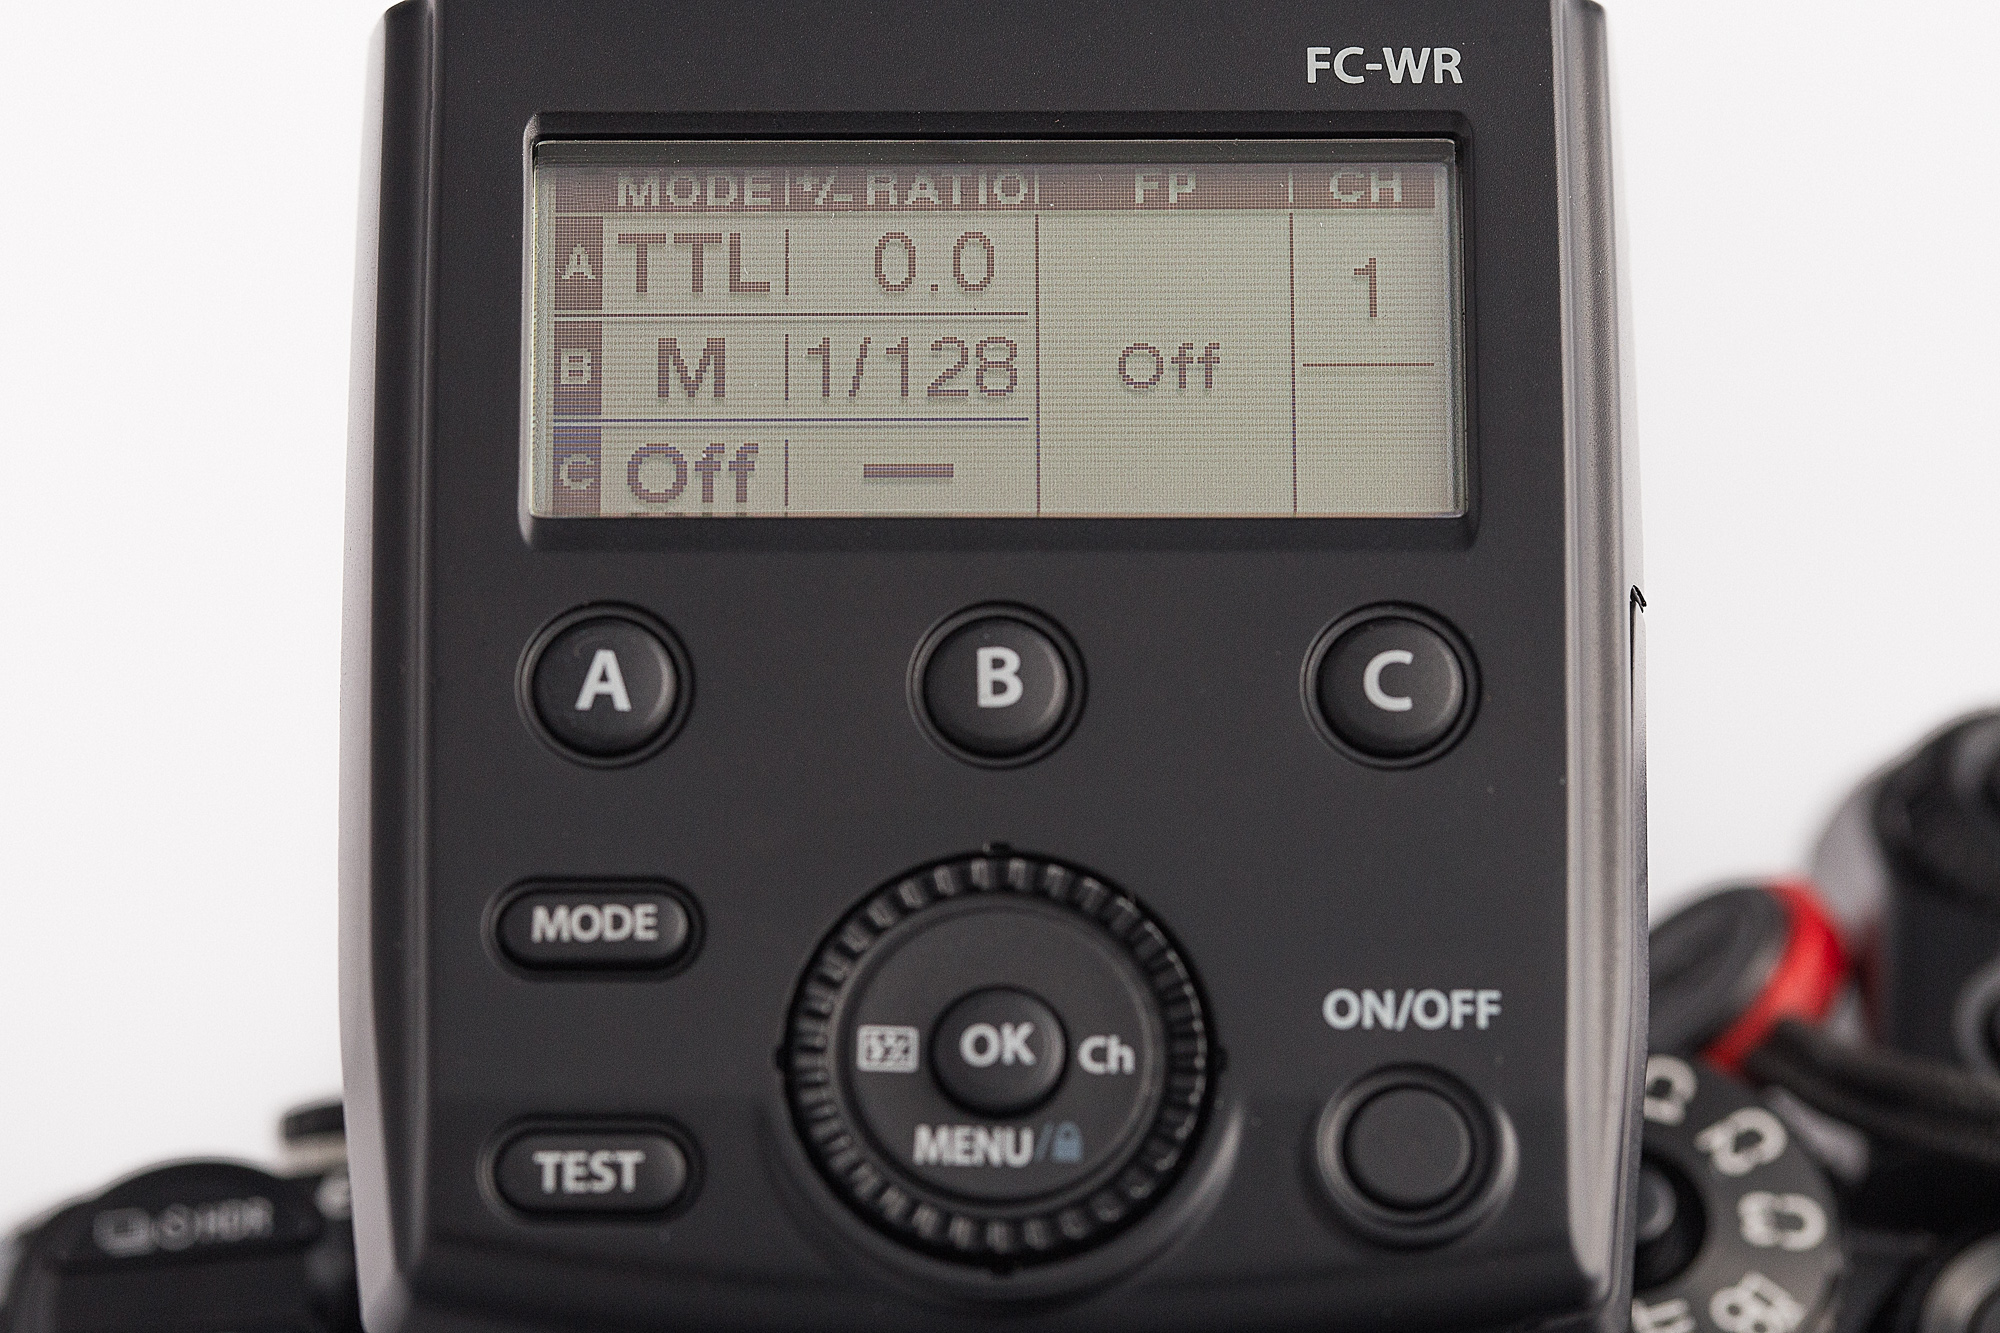
Physically the FC-WR is made of sturdy plastic which doesn’t creak or flex if you give it a squeeze. The door to the batter compartment is on a sprung hinge and slides to lock and open. It fits well and there is some initial resistance to moving so there won’t be any accidental opening. On the base is a locking hotshot with the standard m4/3 pins providing electrical contact. On the to is a large LCD screen which gives all the necessary info and is backlit. Underneath that are three buttons – one each for the the three groups. Then there is a mode button, a test button, a dial and rocker switch surrounding the OK button and finally the on/off button. A nice touch is that if you turn off your camera the FC-WR automatically switches off, and if you restart your camera within 10 minutes it will automatically switch back on. Any longer and you have to press the on/off button.
To use it is simplicity itself. First select the group or flashgun you want to control, press the button followed by the mode button. Select between TTL, manual or off. Use the right side rocker switch to move to the +/- ratio to select either flash compensation for TTL mode or the power levels for manual mode. Another press of the rocker switch and you can select whether you want high speed flash sync or FP mode in Olympus speak. A final press of the rocker switch lets you select the channel that you want all this to occur on.
Specifications
| Maximum range | Approx. 30 m |
| Frequency | 2.4 GHz band |
| Number of channels | 15 |
| Number of groups | 3 |
| Control modes | RCV (commander flash control), X-RCV (connected flash control) |
| Charging completion indication | Beeping sound |
| External terminal | Sync terminal (output) |
| Power supply | AAA alkaline dry-cell batteries x 2 / AAA NiMH batteries x 2 |
| Continuous usage duration | Approx. 6.4 hours (when using AAA alkaline dry-cell batteries) |
| Operable temperature / humidity | From -10 to 40℃ (14 to 104°F) / From 30 to 90% |
| Dimensions | Approx. 59.1 (W) x 46.1 (H) x 51.0 (D) mm |
| Weight | Approx. 75 g (excluding batteries) |
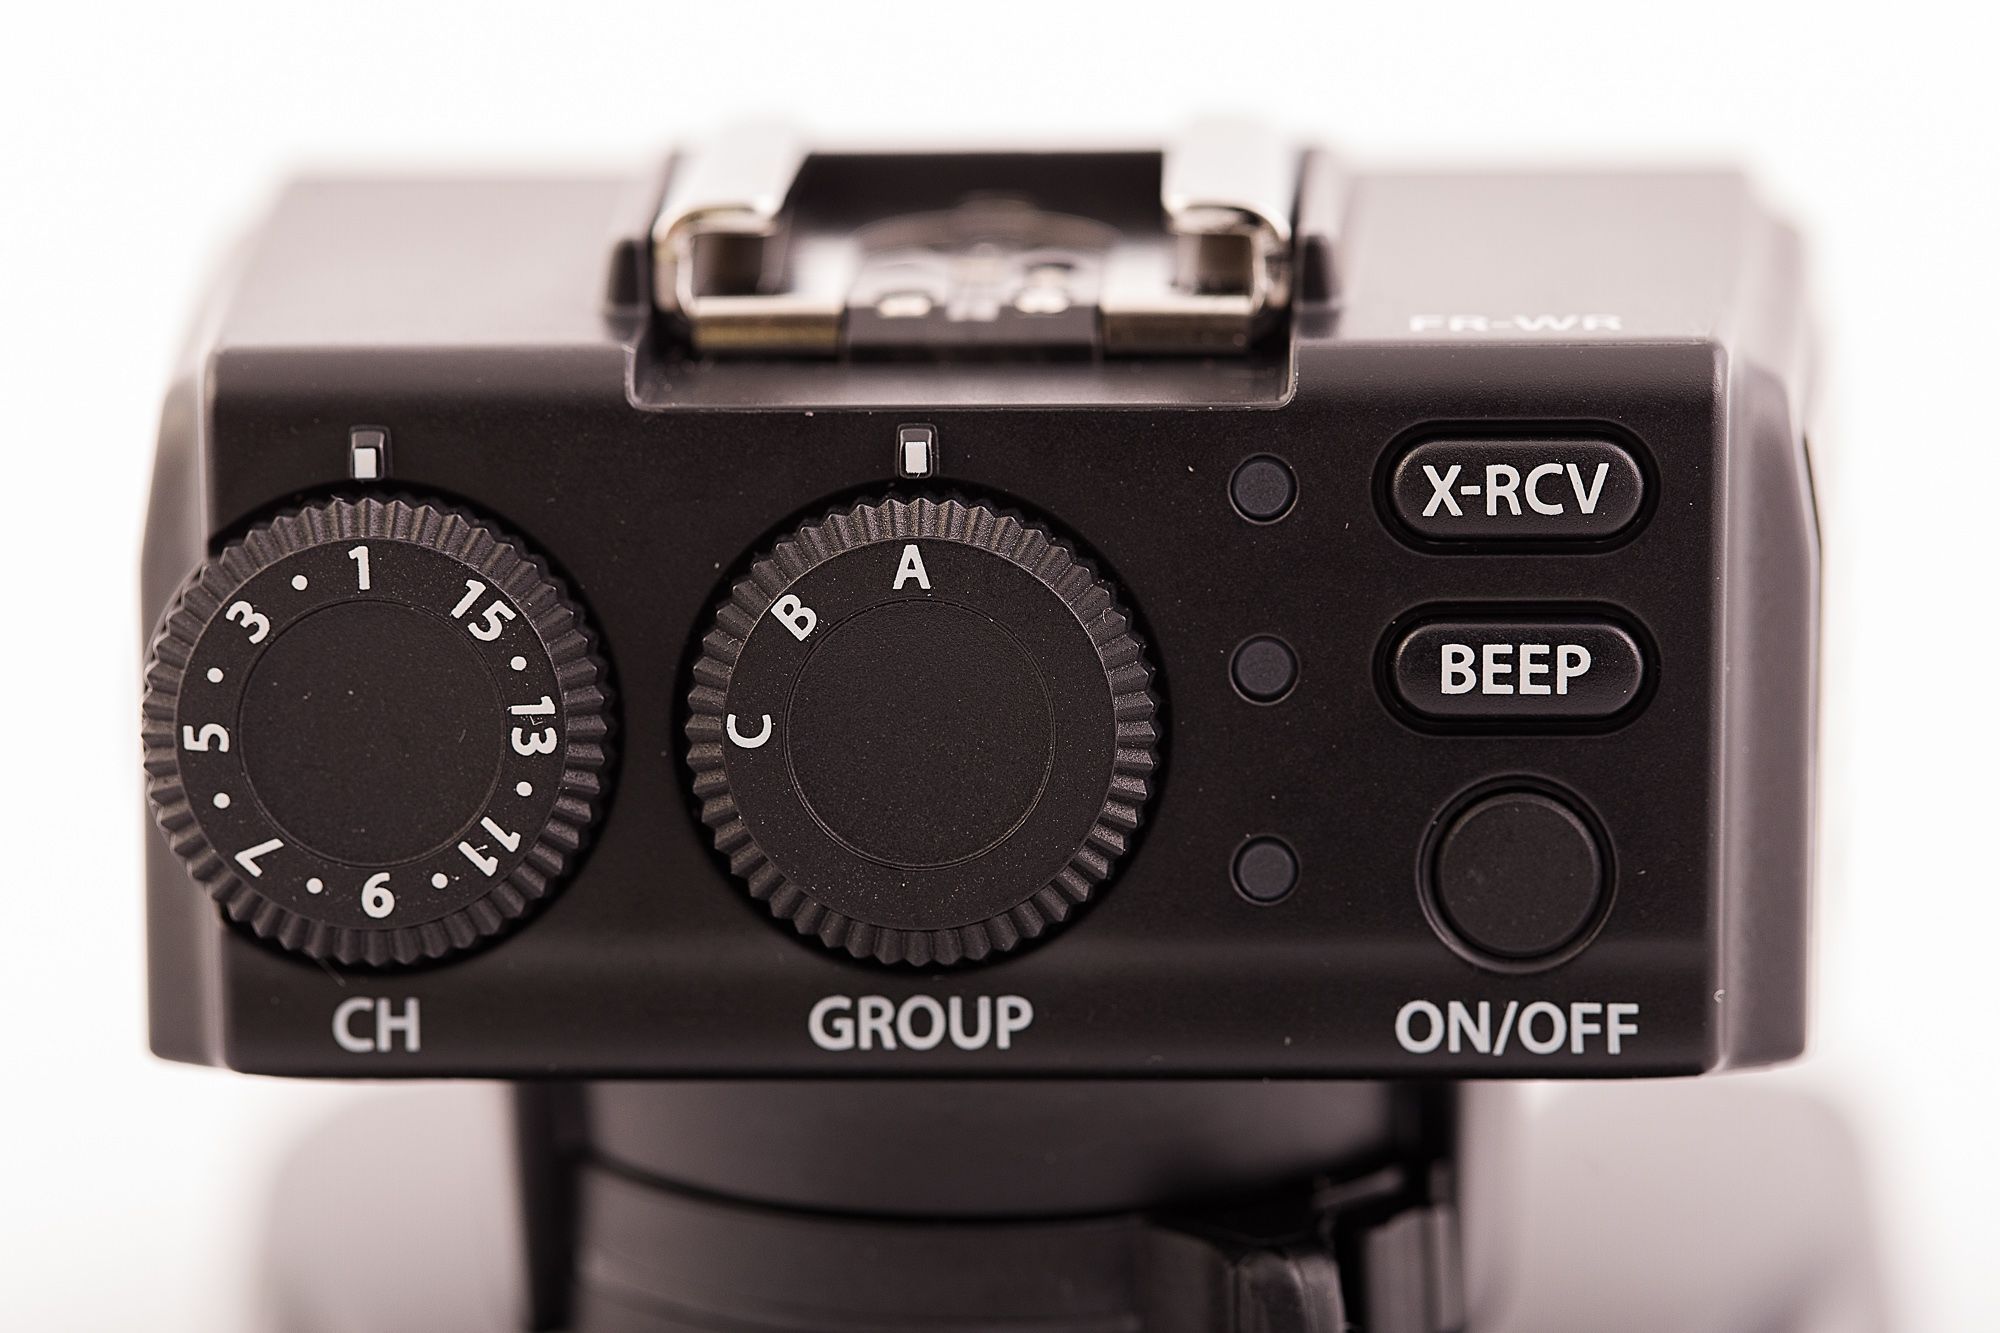
In terms of construction what I said about the the commander applies here. On top of the receiver is a standard four thirds protocol hot shoe. On the base there is a locking cold shoe with 1/4 20 mount. On the left side (looking from the front) is a pc sync socket – does anyone actually use these any more? – which would allow you to tigger a studio mono block or power pack. On the other side is the battery compartment which takes two AA cells. On the back panel is a dial that enables you to select channels (1-15) and beside it another dial for selecting channels. Then there are three buttons which are from the bottom the on/off switch. The neat little touch with this is if you are using an Olympus brand flash then switching off the receiver will switch off the flash. In the middle is a button for switching the beep on and off. I leave it on as it gives me an audible indication of when everything has recharged. Finally at the top is the X-RCV button. This allows you to either control the flash from the commander unit or from the flash itself. I choose to control the flash via the commander unit as I find that more convenient.
The Radio triggers work with both Olympus and Panasonic cameras and with third party flashes. It also works with the Olympus ST-F8 as part of a multi flash set up, but you will have to cobble together something to hold the FR-WR and ST-F8 body off of the camera.

FP mode or high speed sync is a function of the flashgun and not the camera. So if your flash supports it it you can use it. I got it work with the Metz 64AF-1 and the Olympus FL 600-R using both Panasonic and Olympus cameras.
The focus stacking feature found on Olympus cameras imposes certain operating restrictions:
When you set operating parameters for focus stacking in the camera menu remember to allow a a delay between shots that allows for the flash to recycle. I’ve found four seconds to be sufficient. Having set that up switch on the FC-WR and it automatically selects manual flash mode and the camera selects the the flash sync speed. This worked with both the Olympus and Metz flashes on only the Olympus cameras. Panasonic’s focus stacking function is video based (4K capture) and not stills like that of the Olympus.

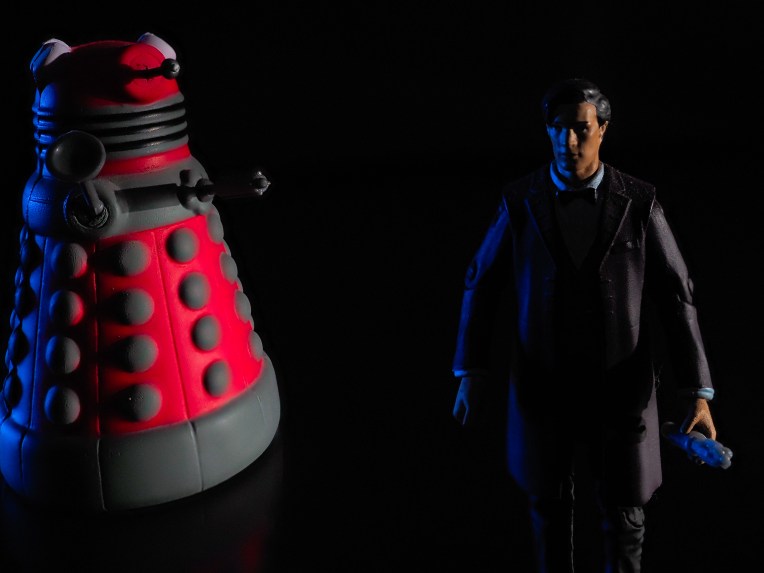
In many ways this is similar to the focus stacking mode mentioned previously. It requires an electronic shutter set at 1/50th sec or longer and the flash to be set manually. This worked well with both the Olympus and Metz flash guns. I didn’t test this with a Panasonic camera as my G85 doesn’t have this function.

Lets get the niggly issue out of the way first. Yes the system is expensive and I wish that it was a little cheaper. Having said that you get rock solid dependability. I found that the Godox units were somewhat flaky at times – occasional misfires where the flash didn’t go off. I like dependability and I’m prepared to spend a little more to get it.
The good stuff. I like the fact that the operation of the constituent parts is seamless even when using the advanced Olympus camera features. The build quality and the weather resistance is excellent, Olympus do a really good job in making small equipment that can handle all the vagaries that life can dish out. The fact that this works with Panasonic cameras is great. Cross compatibility was another factor that brought me into the micro four thirds system. If you want full frame these should work with Panasonic’s full frame offerings as they also share the m4/3 protocols for flash. I say “should” as I’ve not tested it and cannot find anything online to confirm one way or the other. The fact that you can use it with third party speedlights is a huge bonus.
If you are a micro four thirds user and want a rock solid off camera flash solution that gives you access to multi-flash set ups even with specialist close-up equipment using the specialist in camera features such as focus stacking or high res mode then I think its worth spending the cash.
I have written and made videos about several aspects of the Olympus flash system and these are:
At a bit of a loose end we decided to go out on the Goldfields Road to Tammin. The town’s sole raison d’être is the transportation of the surrounding areas grain crops. The grain bins and railway siding around which the town is built are the key features of the town. With the increasing industrialisation of modern agriculture farms have got bigger and bigger and employ less and less people so like many rural areas although generating a lot of wealth the town is in decline.
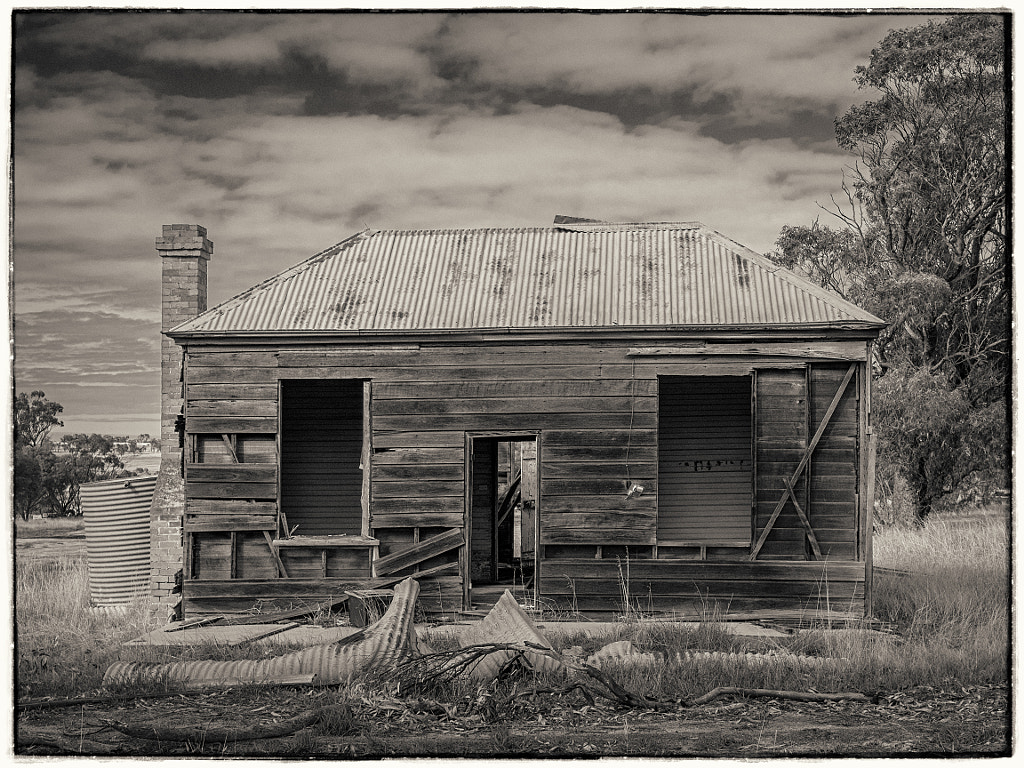
When I first got interested in photography I was living in the South East of England which is a very verdant and prosperous region. Naturally the first photographers who caught my eye were British ones like David Bailey, Snowdon, Patrick Litchfield and Terrance Donovan.As I went on I discovered more socially aware photographers such as Chris Killip, Graham Smith and Don McCullin. I remember going to see Killip and Smith’s exhibition “Another Country” in 1985 and being absolutely blown away by the subject matter and the quality of the work – it was one of transcendent experiences and it altered my perception of what photography could be dramatically. It was quite a while before I turned my attention to non British photographers. When I first saw the work of Walker Evans, Robert Frank, Joel Sternfeld, Stephen Shore, and Robert Adams I couldn’t really relate to the subject matter. Their vision and representation of the USA was one that was completely foreign to me and outside that which the mainstream media presented. It wasn’t until I migrated to Australia and started to explore the rural areas seldom visited by tourists that the penny finally dropped. I started to see similar scenes and over time I have attempted to capture them. I’m never quite sure whether it should be in black and white or colour so I find myself fluctuating between the two mediums and never quite happy with the results.
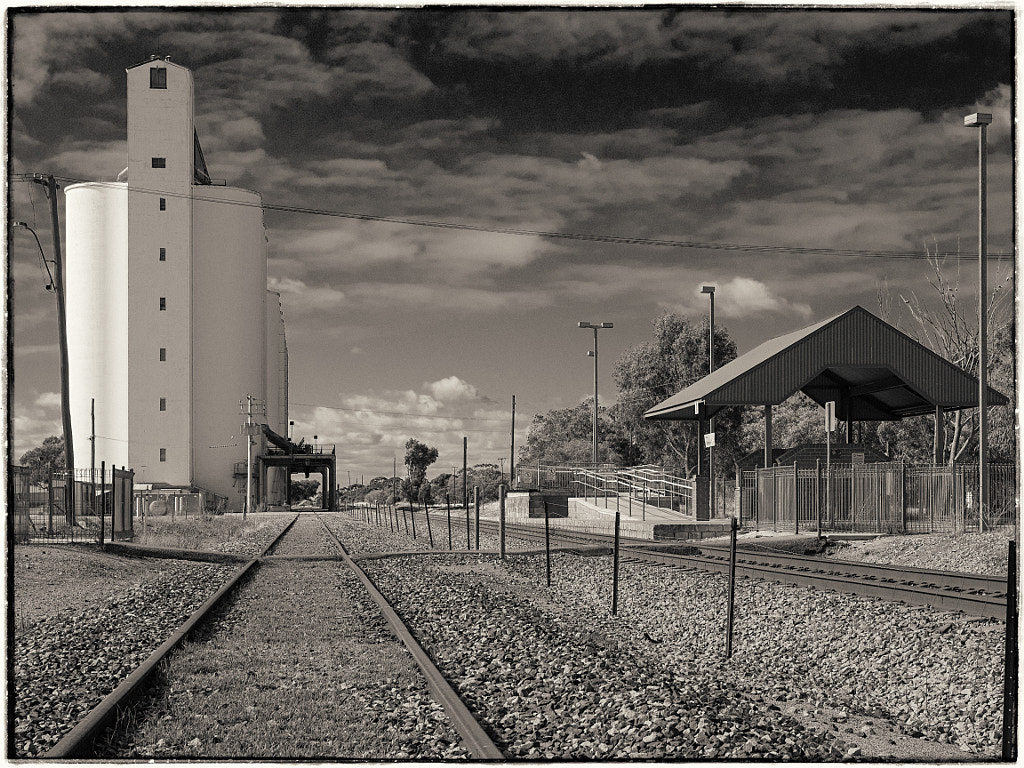
Which brings us to the photos in this post. They are just a small sample of the photos that I took on our road trip to Tammin. At first I processed them as colour and felt that the colour detracted from the starkness that I saw and felt. I then tried monochrome. When I worked in the darkroom I liked to use Ilford Multigrade FB warm tone glossy paper and that is a look I try to replicate with my digital images albeit without much success. When Ilford’s digital media arm Harman Technology introduced their warm tone gloss baryta inkjet paper I thought that my prayers had been answered and I used it for a couple of exhibitions I did. It was a sad day when it was discontinued – I still have 5 sheets of A3+, not enough to do any proper work. So now I try to replicate the look in AlienSkin Exposure 4 which is what I have done with these photos. The problem is that while it looks OK on screen when you translate it to printed media it does work as it is not subtle enough. Perhaps the photos should have stayed in colour after all.
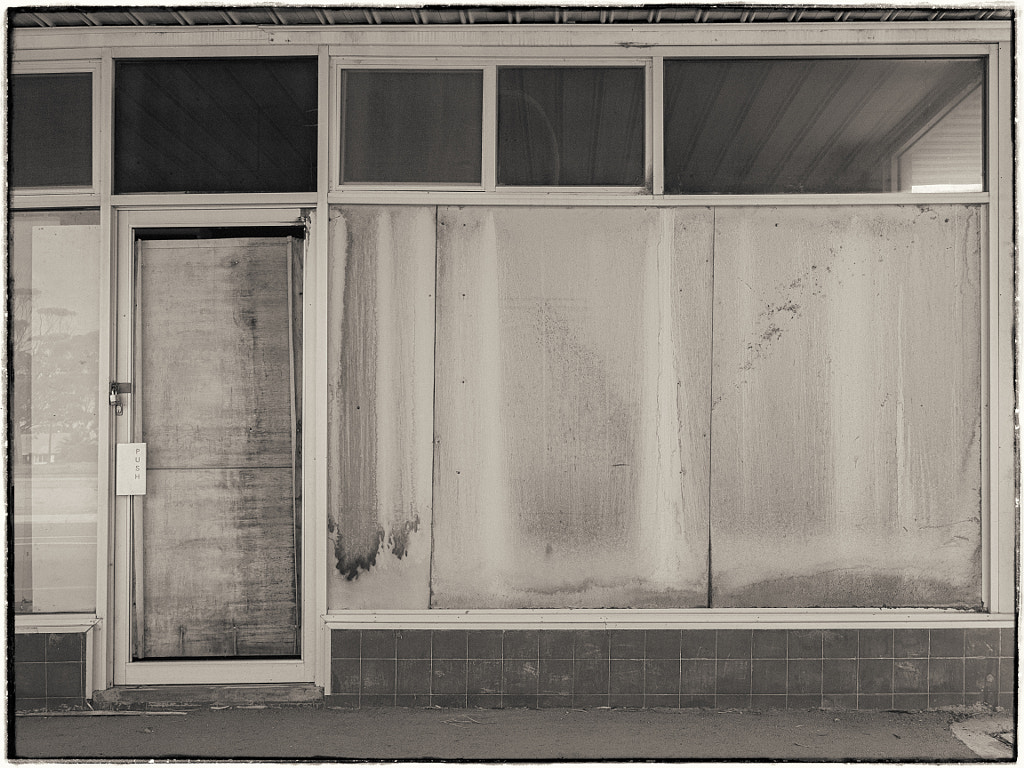
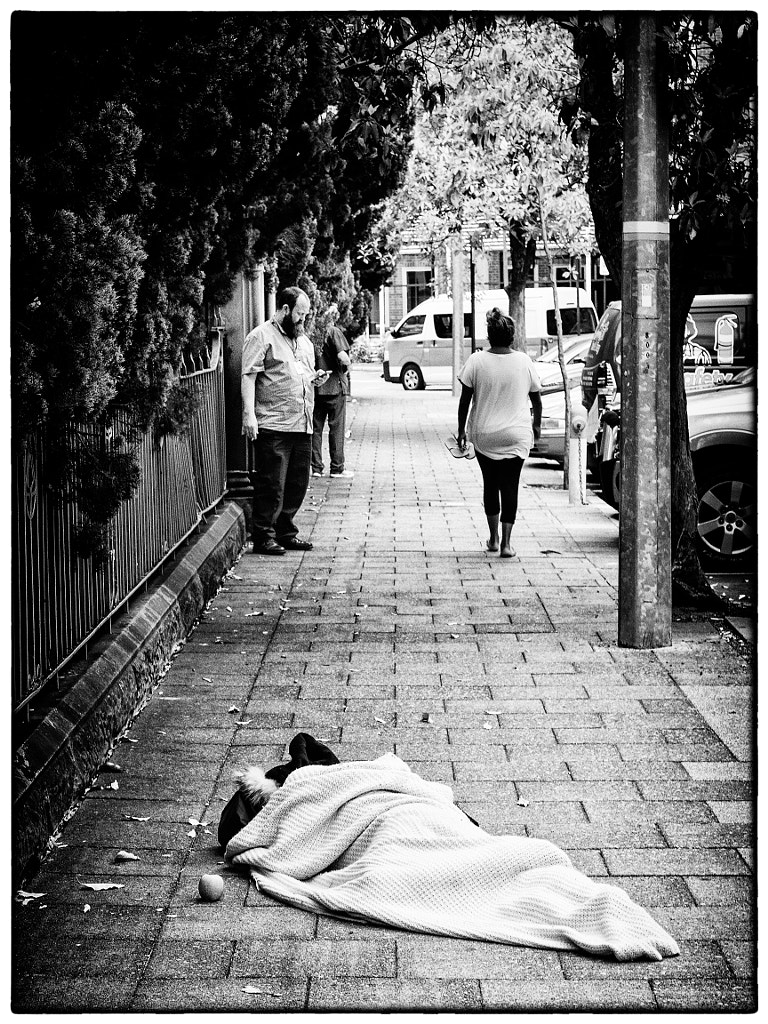
I don’t shoot “poverty porn“. Photographers shooting the marginalised in society just for entertainment makes me uncomfortable – it kind of reminds me how people in the Elizabethan era would visit Bedlam and pay to money to be entertained by the inmates for something to do on a Sunday afternoon. But this time I was quite angry at was happening, or more precisely what wasn’t happening, and I felt I had to share it.
I was attending an outpatients appointment at Royal Perth Hospital when I stumbled across the scene above. The young aboriginal girl under the blanket was sick and on the pavement outside Perth’s main accident and emergency facility.In the background are nursing staff having a smoke and checking their phones acting like this was a perfectly normal situation. So when did sick people lying on the pavement outside an accident and emergency facility become normal? Has our society become so hardened that we are impervious to the suffering of our fellow-man? Something has definitely gone wrong somewhere.
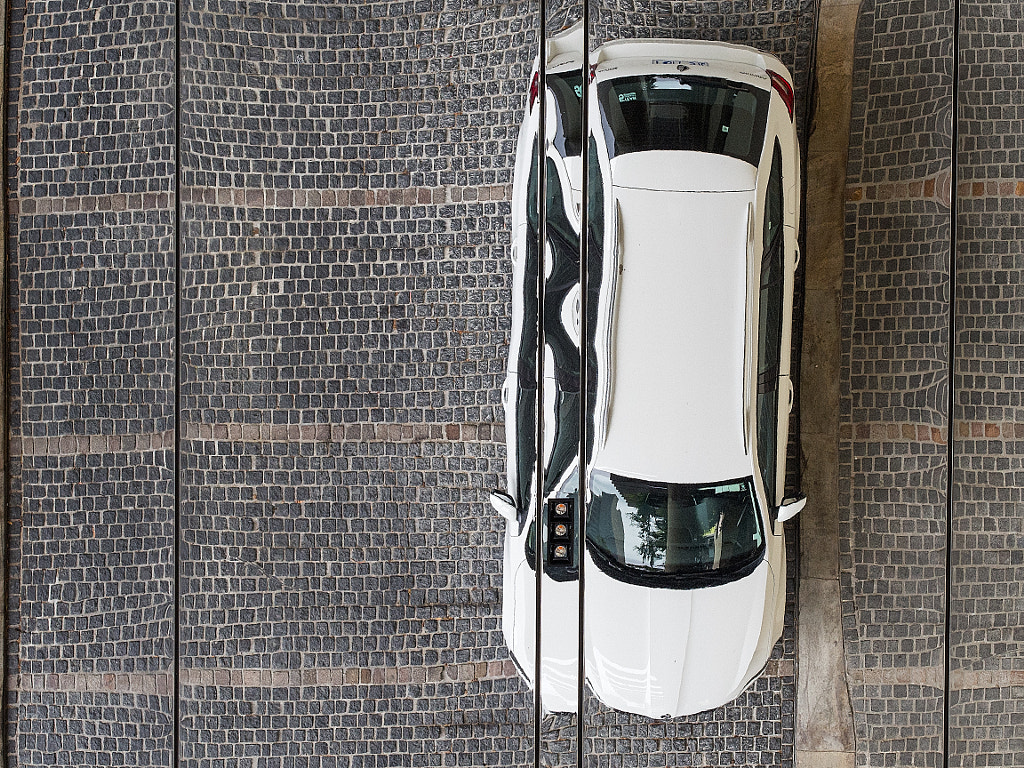
I don’t go into Perth very often and when I do I’m constantly aware of the changes that have taken place. I spotted this the last time I was there. The undercover parking of a new hotel has a mirrored ceiling. I thought it was only a certain type of short stay hotels that had mirrored ceilings and they didn’t extend to the car parking. Perhaps it is catering to some sort of car fetish?

As I have been tramping around the local woods this spring photographing orchids and birds I noticed something that I’d never seen before. That something was teddy bears tied to trees in odd remote locations. At first I thought it was strange game being played by the local kids, but after I saw my tenth one I decided to ask about and find out what was going on. It took ages to find someone who would answer my questions. Eventually an acquaintance told me to go and see Cliffy.
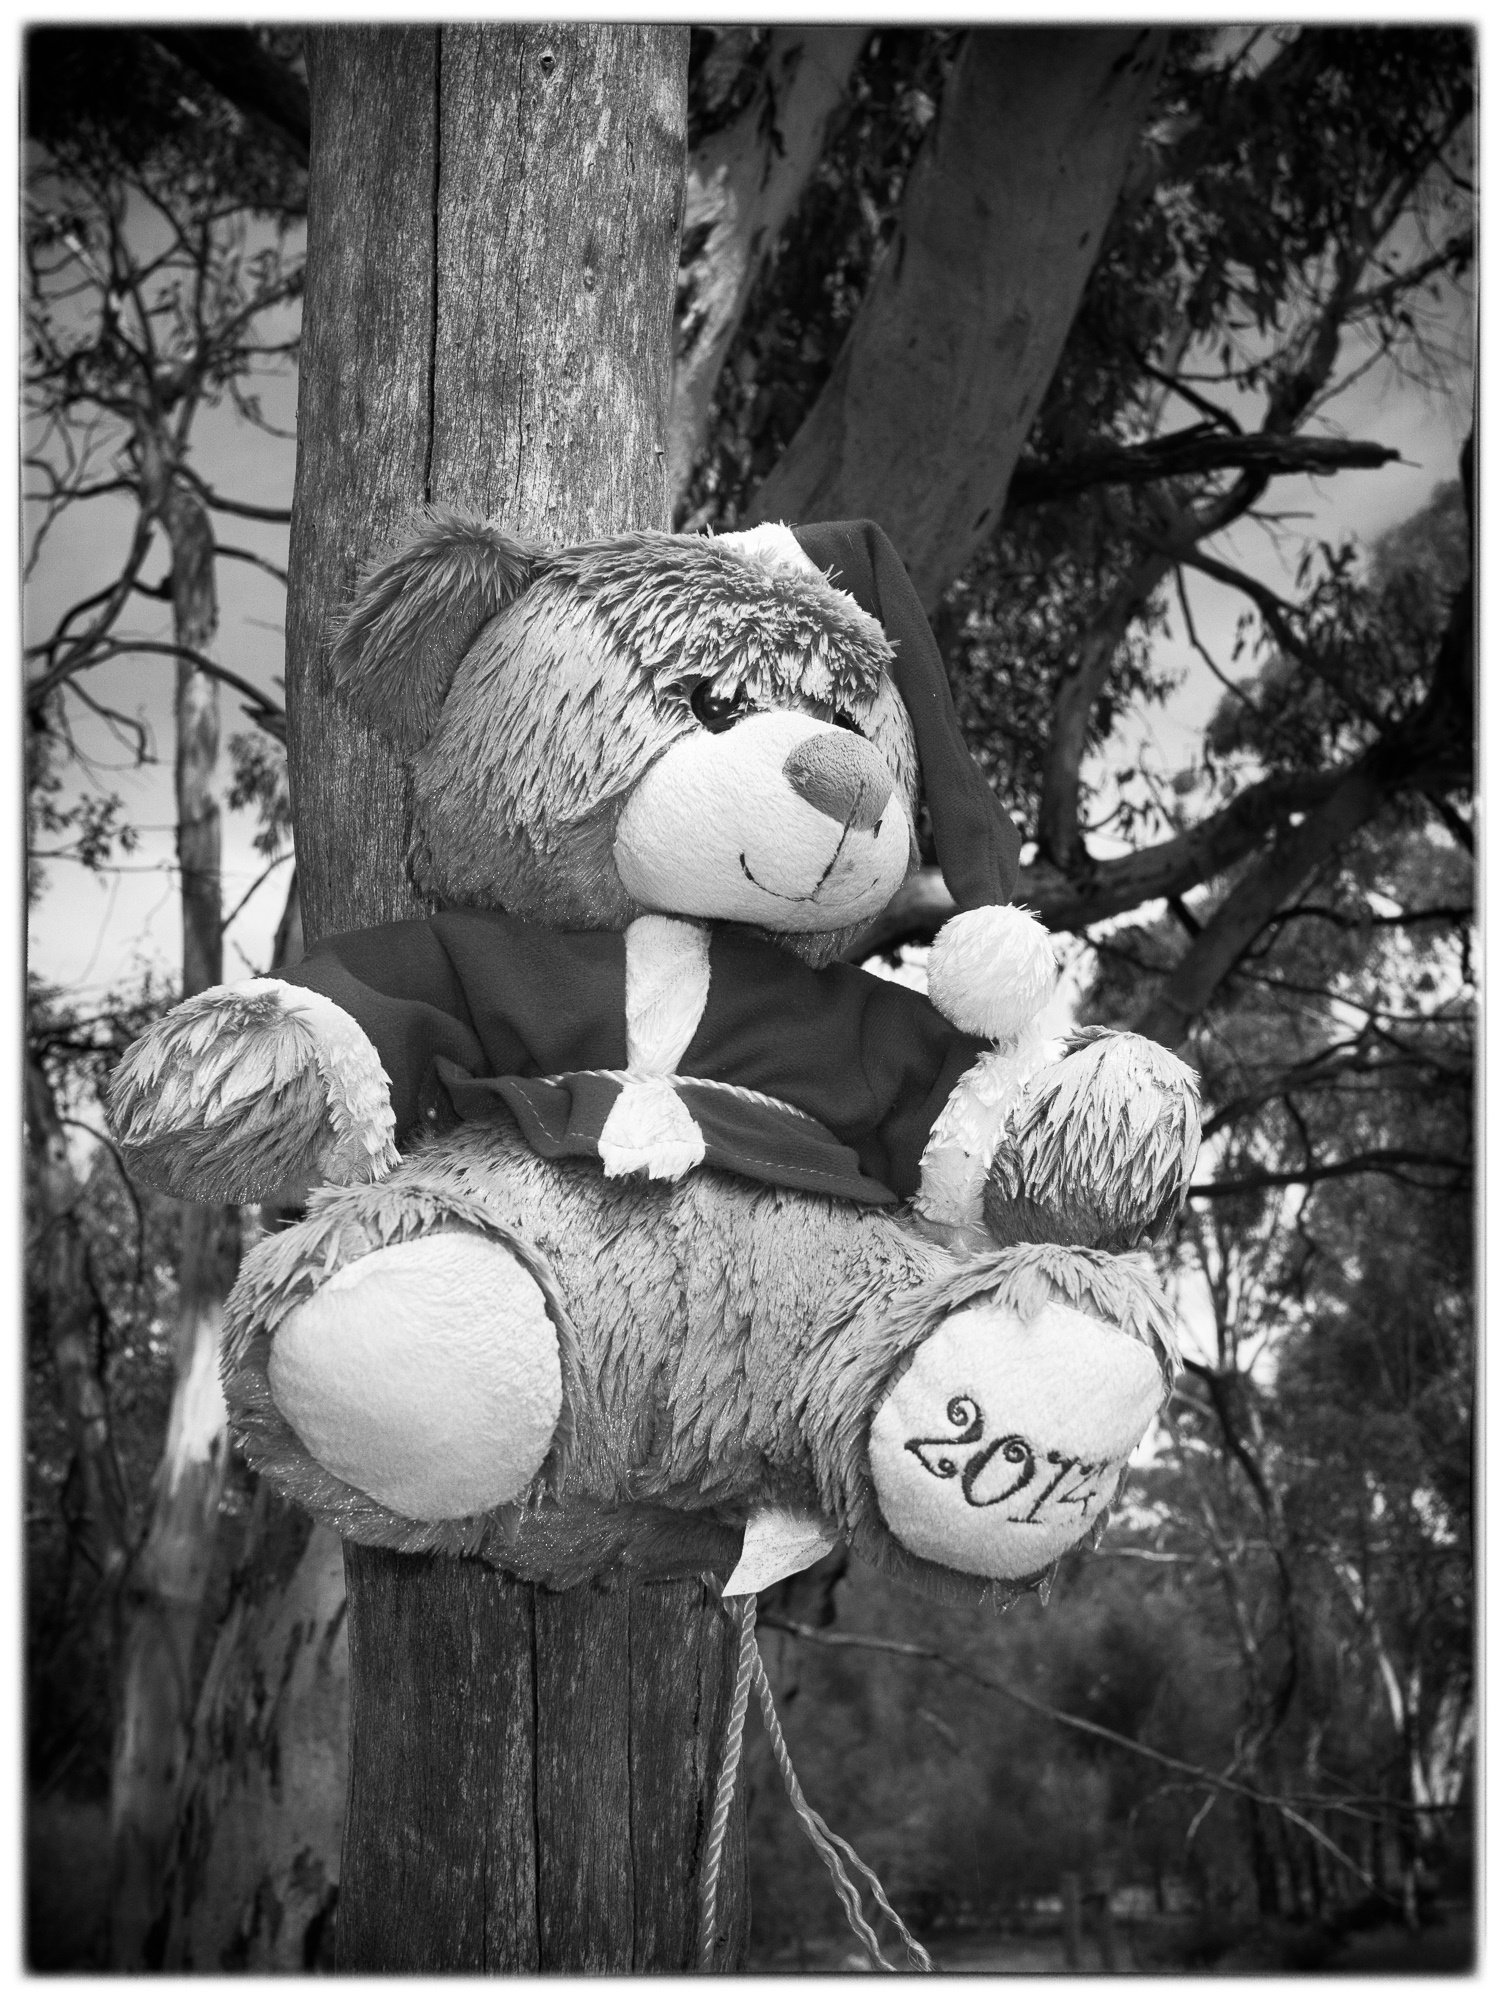
Cliffy wasn’t that easy to find. The directions up to his shack in the wandoo forest were very vague – turn off the Great Southern Highway onto Talbot Road, drive for 10 Km and then take the third track on the left. Turn right at the dead tree that looks like an “excited” Tony Abbot in Speedos and then right at the big rock. I found the shack. When I say shack that really sounds better than it is. A few sheets of corrugated tin and some bush poles was all it was. When I saw Cliffy it was plain to see that he’d had a hard life. He is a compact sinewy man with skin the colour of tanned leather and hair like iron filings. His hands were a testament to hard physical labour – even the callouses had callouses. As to his age, well if you told me he was 100 I’d believe it and if you said he was 50 it wouldn’t surprise me either. So after the usual “Howz yer doin’?” Followed by a quick discussion about rainfall and rain gauges* I asked him about the bears. Cliffy sucked his single tooth and rolled a couple of strands of tobacco in some paper that looked like it had been torn from a pocket Bible. Slowly and quietly he says in a voice that sounded like he’d been gargling on razor blades “They’re memorials to victims of Drop Bear attacks”. He lit up and took a long drag and then told me the strangest tale. I scurried home to do some research.

Most people throughout the world know about the Koala Bear or to give them their proper scientific name “Phascolarctos cinereus”. Well firstly they are not a bear but a tree-dwelling marsupial that feeds on eucalyptus leaves. Secondly they are relatively harmless because all they do is eat and sleep. Occasionally you come across a grumpy one but all you’ll suffer is a few scratches. Well apparently the koala has an evolutionary cousin, the Thylarctos plummetu. Most animals in Australia are known by their Aboriginal name, but this one hasn’t got one as the Aboriginal Peoples are so scared of it they refuse to talk about it. Colonial settlers came to refer to them as Drop Bears for reasons that will become apparent later. Few people have seen the animal, and of those that have only a couple have lived to tell the tale. I’ll quote the Australian Museum’s description:
Identification
“Around the size of a leopard or very large dog with coarse orange fur with some darker mottled patterning (as seen in most Koalas). It is a heavily built animal with powerful forearms for climbing and holding on to prey. It lacks canines, using broad powerful premolars as biting tools instead.”
Size range
“120kg, 130cm long, 90 cm at the shoulder.”
Habitat type
“Vegetation Habitat: closed forest, tall closed forest, tall open forest, tall open shrubland”
Feeding and Diet
“Examination of kill sites and scats suggest mainly medium to large species of mammal make a substantial proportion of the animal’s diet. Often, prey such as macropods are larger than the Drop Bear itself. Drop Bears hunt by ambushing ground dwelling animals from above, waiting up to as much as four hours to make a surprise kill. Once prey is within view, the Drop Bear will drop as much as eight metres to pounce on top of the unsuspecting victim. The initial impact often stuns the prey, allowing it to be bitten on the neck and quickly subdued. If the prey is small enough Drop Bears will haul it back up the tree to feed without harassment from other predators.”
The Australian Geographic magazine did an article in 2013 about a University of Tasmania (UTAS) research project looking at who were more susceptible to attacks. In 2012 there was a research project looking to track Drop Bears in bush and see how many there actually are. An excerpt from that paper can be read here. I even managed to find online an old public announcement film for new migrants dating from the 1950’s warning of the dangers posed by Drop Bears.
When Cliffy had finished his tale of horror I had to lift my jaw up from the floor. “But why oh way don’t the government send in the police or the army to do something about it?” I say incredulously. This sent the old man into a fit of hysterical laughter. After ten minutes he managed to regain his composure. “Yer dopey pommy bastard, don’t yer know nothin’? The last time the Australian Army was called in to deal with an animal problem was in 1932 when Emus invaded Western Australia and that was a complete fu*king fiasco and made them look like complete idiots. It would be too dangerous to let that mob loose in the bush. The bloody pollies are all too busy guzzling at the trough to care about a few bushies goin’ missing.”
So if you venture into the Australian bush and see teddy bears tied to the trees be aware that Drop Bear attacks have happened in the area and you’d be best advised to leave.
* All conversations in this part of the world follow this pattern. It’s considered very rude not to ask about someone’s rain gauge.
You must be logged in to post a comment.