Well the winter we had to have has arrived with rainfall and low temperatures. That’ll be a great relief to the local farmers, although I don’t think they’ll be dancing in the street. This has meant that I’ve not been out and about much so I’ve been working on my passion project – doing a book that documents all of the terrestrial orchids that can be found in the York area. This has been a long undertaking, nearly twenty years. Why so long? Well a lot don’t flower every year as the require a bushfire the previous summer to stimulate them. The list of orchids has grown quite considerably longer from when I started. I naively thought it would be about twenty as initially I kept seeing the same few species over and over again. Now it sits at 80 and I’m pretty sure I still find more if I devote another 20 years to the project, but I’ve decided to draw a line and crack on with selecting the photos and writing the accompanying text.
The last couple of weeks has seen me proof printing and this has been quite informative. Firstly I use a colour profiled system. I shoot in the Adobe RGB colour space and the screen is profiled as is the printer. So in theory what I see in the camera should be what appears coming out of the printer. Except it hasn’t. There’s no weird colour casts or shifts the problem is the exposure. Because I’ve not printed anything since my last exhibition my pictures have become progressively darker as I’m just producing photos to be viewed on a back illuminated screen rather than an opaque surface. Consequently most of photos are underexposed and don’t print well. So what I’ve been doing is shooting a 10x15cm test print for every proof print. I’ve worked out that I’ve under exposed by 1 stop, but it isn’t as simple as increasing the exposure by that amount as that affects colour saturation and contrast. So it’s been a slow process of individually adjusting each photo. I will have made the shareholders of the ink and paper companies very happy. I’m nearly finished – at the time of writing I’ve got just ten more to do. During this I realised how much I’ve missed printing. A good print is a beautiful thing and I really should get on and make more. I’m also getting the itch to have a darkroom again and make black and white prints. But, first things first lets finish this project.
By now you will have noticed that the photos accompanying this entry bear no relation to it. I thought pictures of prints emerging from a printer would be boring as would shots of the ink cartridge mountain. So I did have to go into Perth for a meeting and when that had finished I decided to have a walk around the back streets of Northbridge. I must say Perth is in danger of becoming interesting – I know that the citizens of Melbourne and Sydney will be derisively laughing at this – but Perth is looking a lot more colourful and brighter than it did when I first arrived here. It’s good and I hope it continues.
I’ve included the photo of the poster adverting Ecoland Kangaroo Essence as the thought of it just cracks me up. I looked up what the manufacturers say about their product and it made me laugh all the more.
I’ve visions of lots of elderly oriental men bouncing around chasing their wives.
Back in April 2016 I wrote an entry on the benefits of printing vis a vis a means of archiving photos. In this post I’m revisiting the subject of photographic prints.
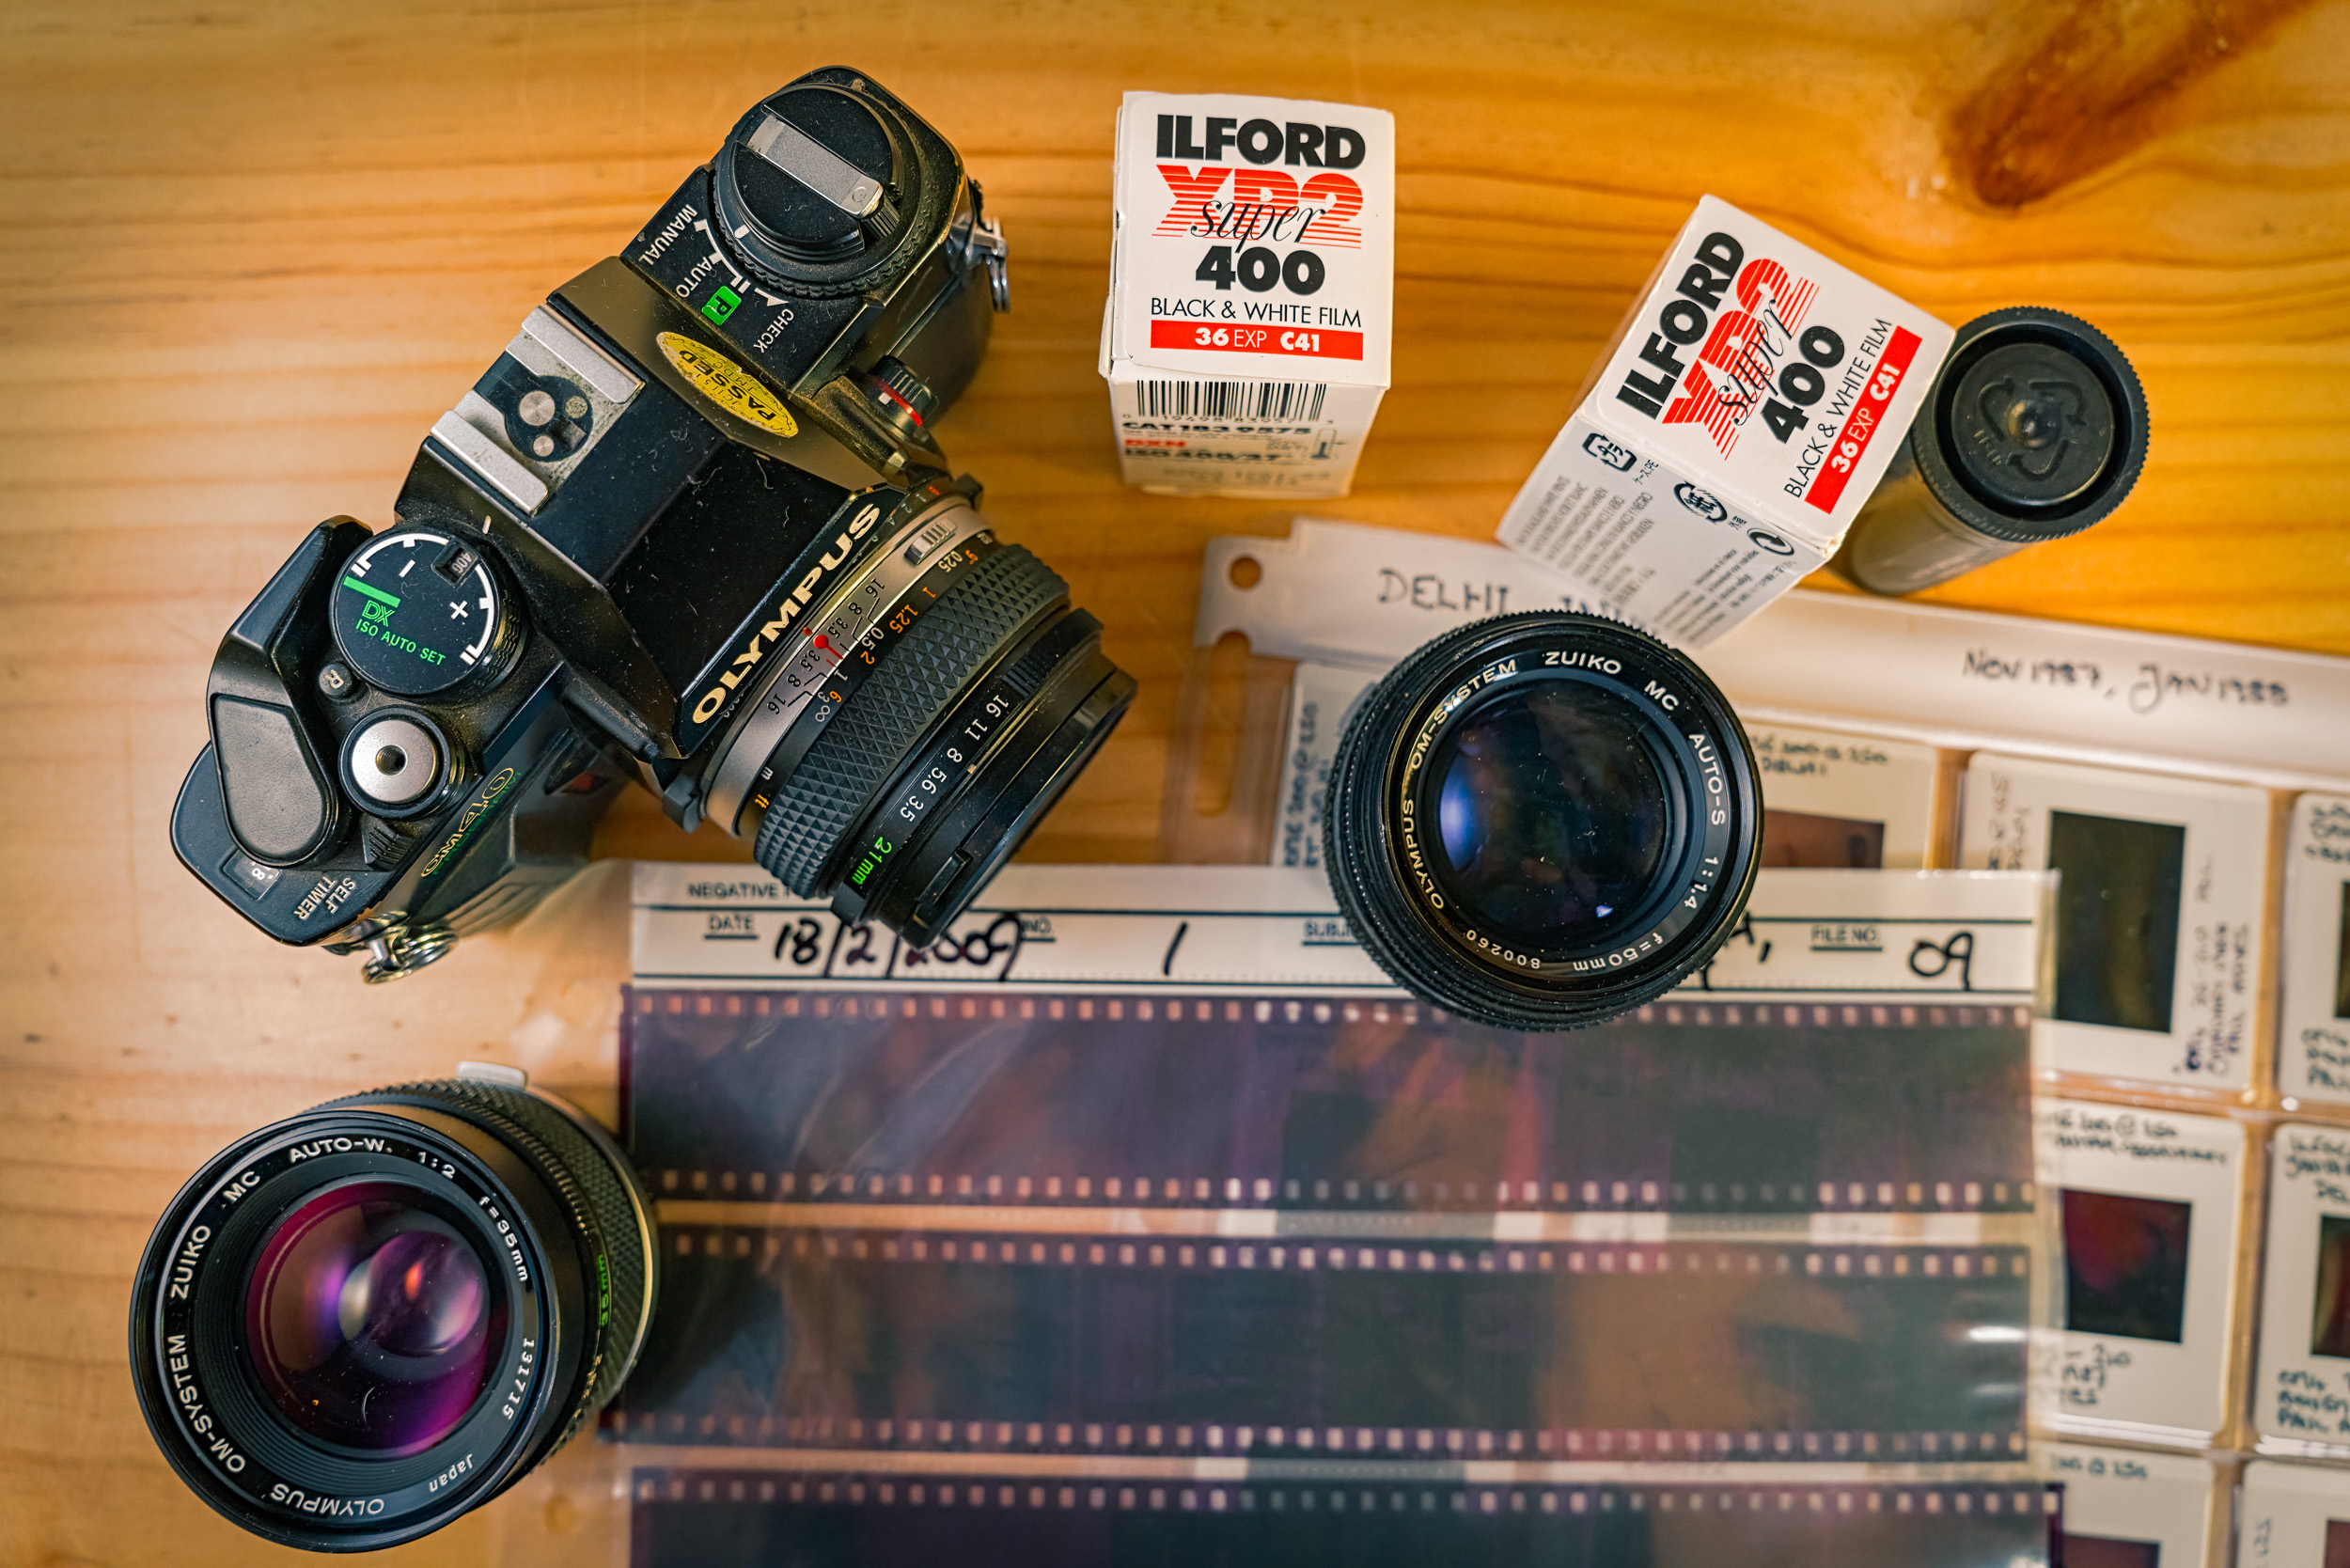
The old days of analogue photography. Film, negatives, slides a camera and a trio of good lenses.
As I said before photographically I grew up in the golden age of film photography. High quality colour prints were cheap and easy to get with the proliferation of 1 hour photo labs. When it came to black and white photography I learned to develop and print in a friends bathroom and the exhilaration of watching that first print appear is still with me after nearly 40 years. Prints were what photography was about. The advent of digital photography, the internet and social media changed that and now a great many people don’t have their photos printed but prefer to view them and share them via screens.
In 2022 why should we bother with the outdated medium of photo prints? Well firstly I think making prints is a great way to improve your photography. Secondly I think that it is nice to have a tangible result from your photographic labours. Lastly I think it is an enjoyable experience – taking the photo and then working through the process to making a good print.
How does making a print improve your photography? Well it would seem that if you want to take good photos you need a 24x36mm sensor (so called full frame) with huge dynamic range, low noise, and super corrected lenses to give you bags of micro contrast. But, the reality is that any digital camera with a four thirds sensor or larger from the last 15 years is capable of producing beautiful prints the equal of any of Sony’s, Canon’s or Nikon’s latest super camera.
Despite being 17 years old and only having 12.8Mp the Canon EOS 5d is perfectly capable of producing gorgeous A1 sized prints.
You can’t make a silk purse out of a sow’s ear the old saying goes. At the picture taking stage you’ll need to ensure you are getting the best out of camera with technique. Learn the sweet spot of your lenses sharpness. Understand Depth of Field. Know when to take over from autofocus and do it manually. Good handholding technique or use of a tripod to get the most resolution. Good exposure. Learn the difference between subject brightness range and dynamic range. Here in Australia a scene’s brightness often exceeds what a camera can render meaning you loose information in the shadows and highlights. So a good exposure is one where you decide what is the most important part of your prospective image and then decide what you want as detail in the shadows and highlights. Use your histogram to help you. When I was teaching photography at art school the most often heard comment from students was “I’ll fix it in Photoshop”. As you boost the exposure or lift the shadows in your editing software you introduce noise and colour casts. Crap in equals crap out! Get it right in camera and you’ll have an easier time.
Now we’ve got the image onto the computer. Edit to taste but be aware that we don’t want to loose any information by blocking up the shadows or blowing out the highlights. This should be relatively straightforward as we got a good exposure. So how do we prepare a picture for printing. Well just as your camera has its dynamic range so does your computer screen and your printing paper. So you’ve taken a photo of a scene where you have reduced the subject brightness range to fit in with your cameras dynamic range. Opening it up on your computer the screen has a greater range because it is backlit. So you can see loads of information in the shadows and the highlights look very bright and detailed. Most people prefer this – lots of contrast and bright colours. One of the reasons why they don’t print is that their photos don’t look like this when printed. So to get the image so it looks right in the print we have to match it to the dynamic range of the printer and paper. This where colour calibration comes into play. We need to have the image on the screen at a known value. When I take an image I shoot in RAW as a means of preserving all the possible information. I calibrate my screen monthly with an x-rite colormunki and have it set to automatically react to changes in the ambient lighting. When I convert the RAW file it is to an uncompressed 16 bit TIFF in ProPhoto RGB this ensures that there is as much colour information as possible. So now the image I got right in my camera is now right on my computer screen.
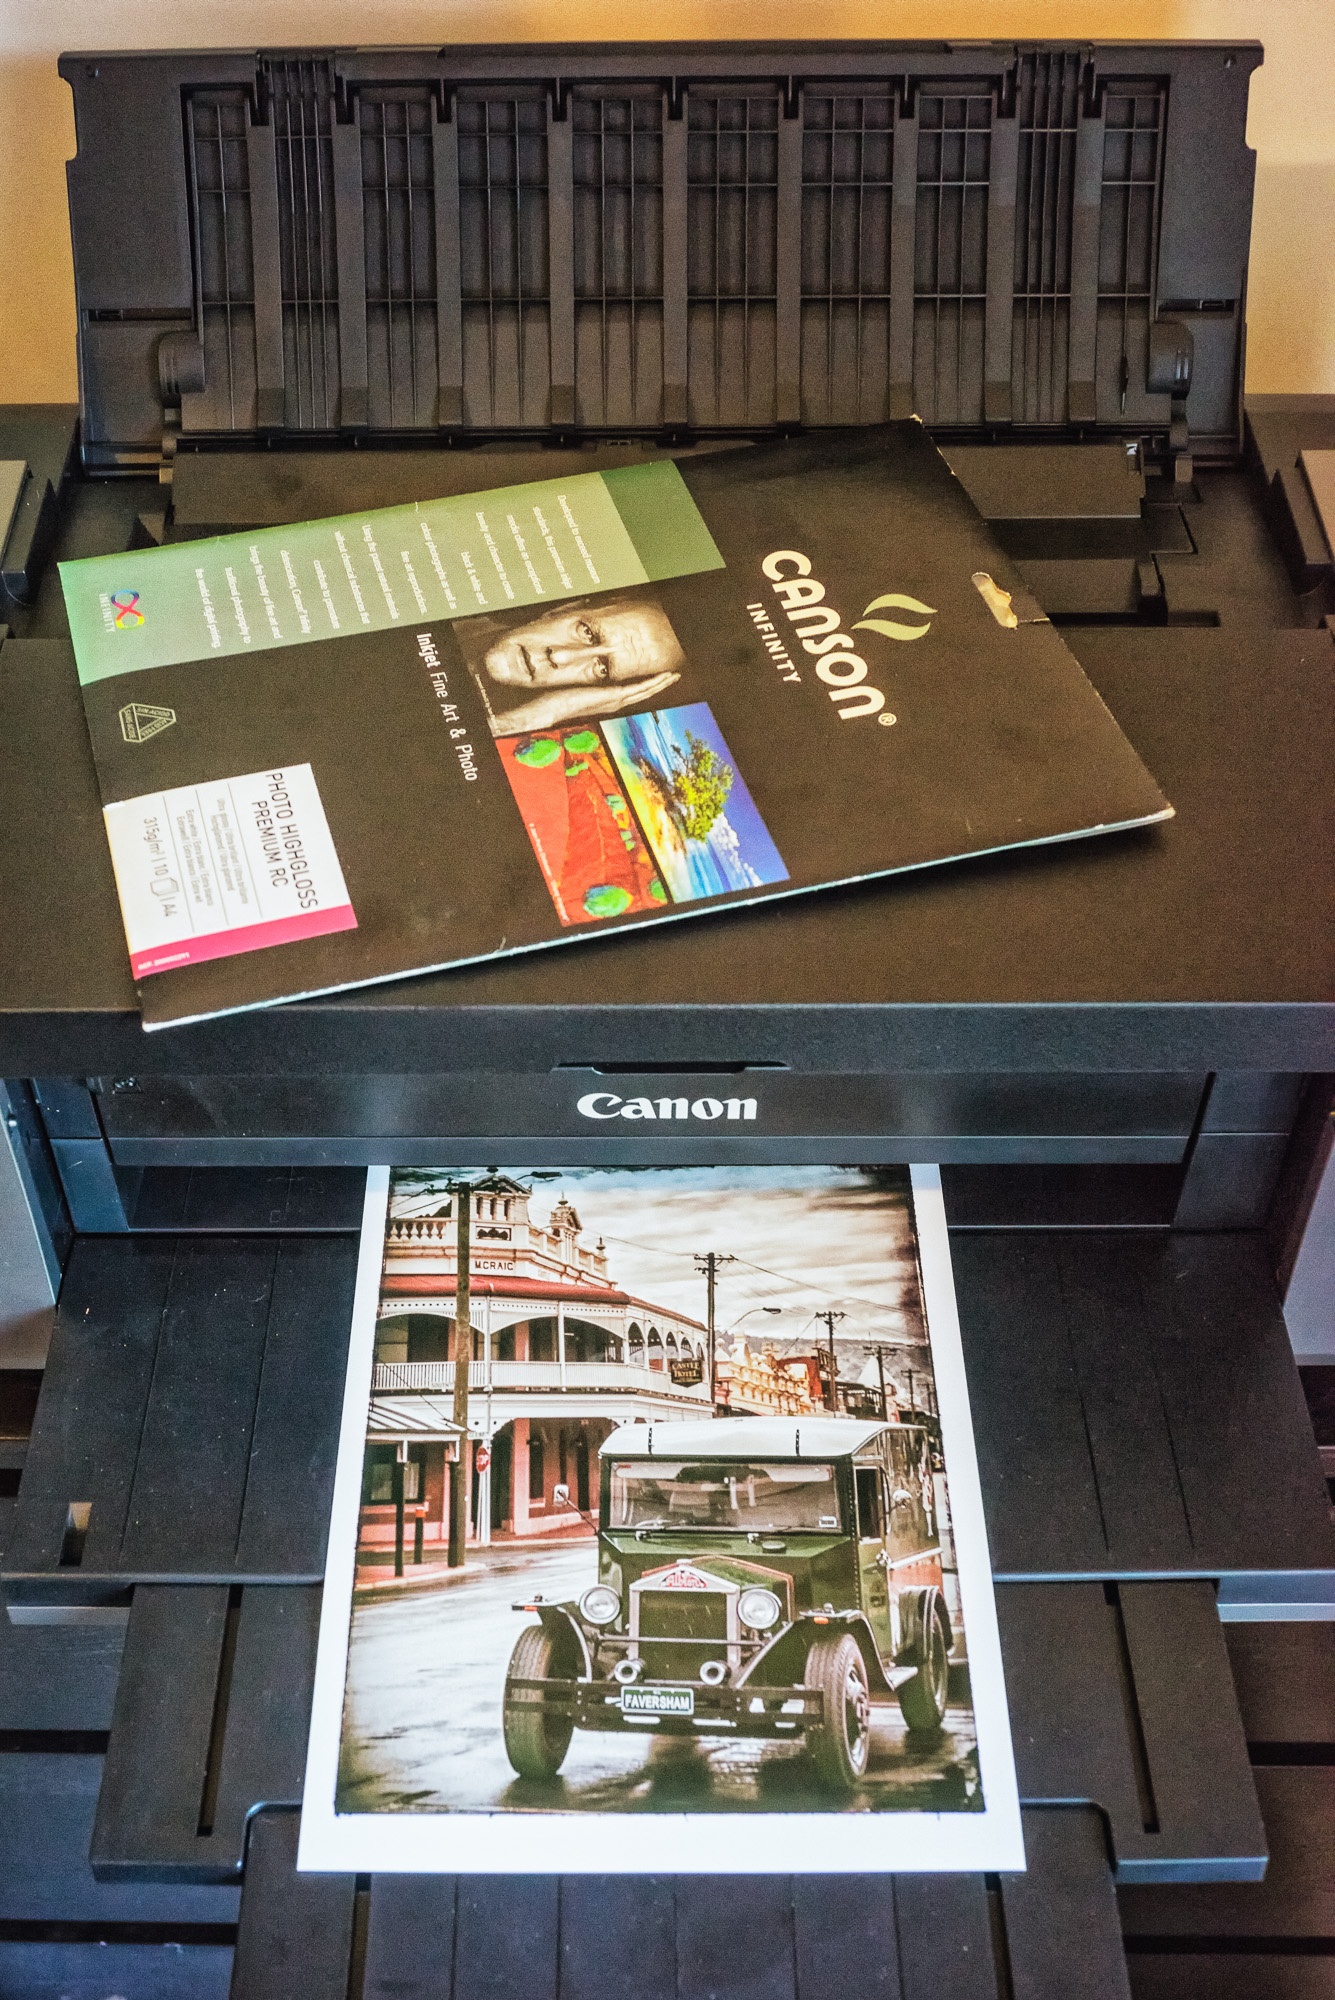
Photographic print on Canson Infinity Photo High Gloss Premium RC by a Canon Pixma Pro 100S printer.
It’s now time to think about printing. Now you can choose to do this yourself on a home printer or you can send it out to a lab. There are pros and cons to each. With a lab somebody else manages the printer and you just pay for the print, but the whole process from editing to test print to final print is slower. Owning your own printer means you have to outlay money upfront for the printer, ink, and paper and then manage all the colour profiling yourself, but the whole process is quicker and the feedback immediate. I have a printer as I like the whole process from beginning to end. But either way there is something you need and that is the ICC profile of the printer and paper you are going to use. If you use a good lab they should be able to supply the profile for you. If are going the DIY route then go to the website of the paper manufacturer and download the the profile of the paper and printer you are using. The ultra keen can do their own test strips and profile their own printer. I choose to use the canned profiles from the makers as I don’t want the faff of creating a new profile every time I open a new box of paper or change an ink cartridge. Once you’ve got the profile follow the makers installation instructions.
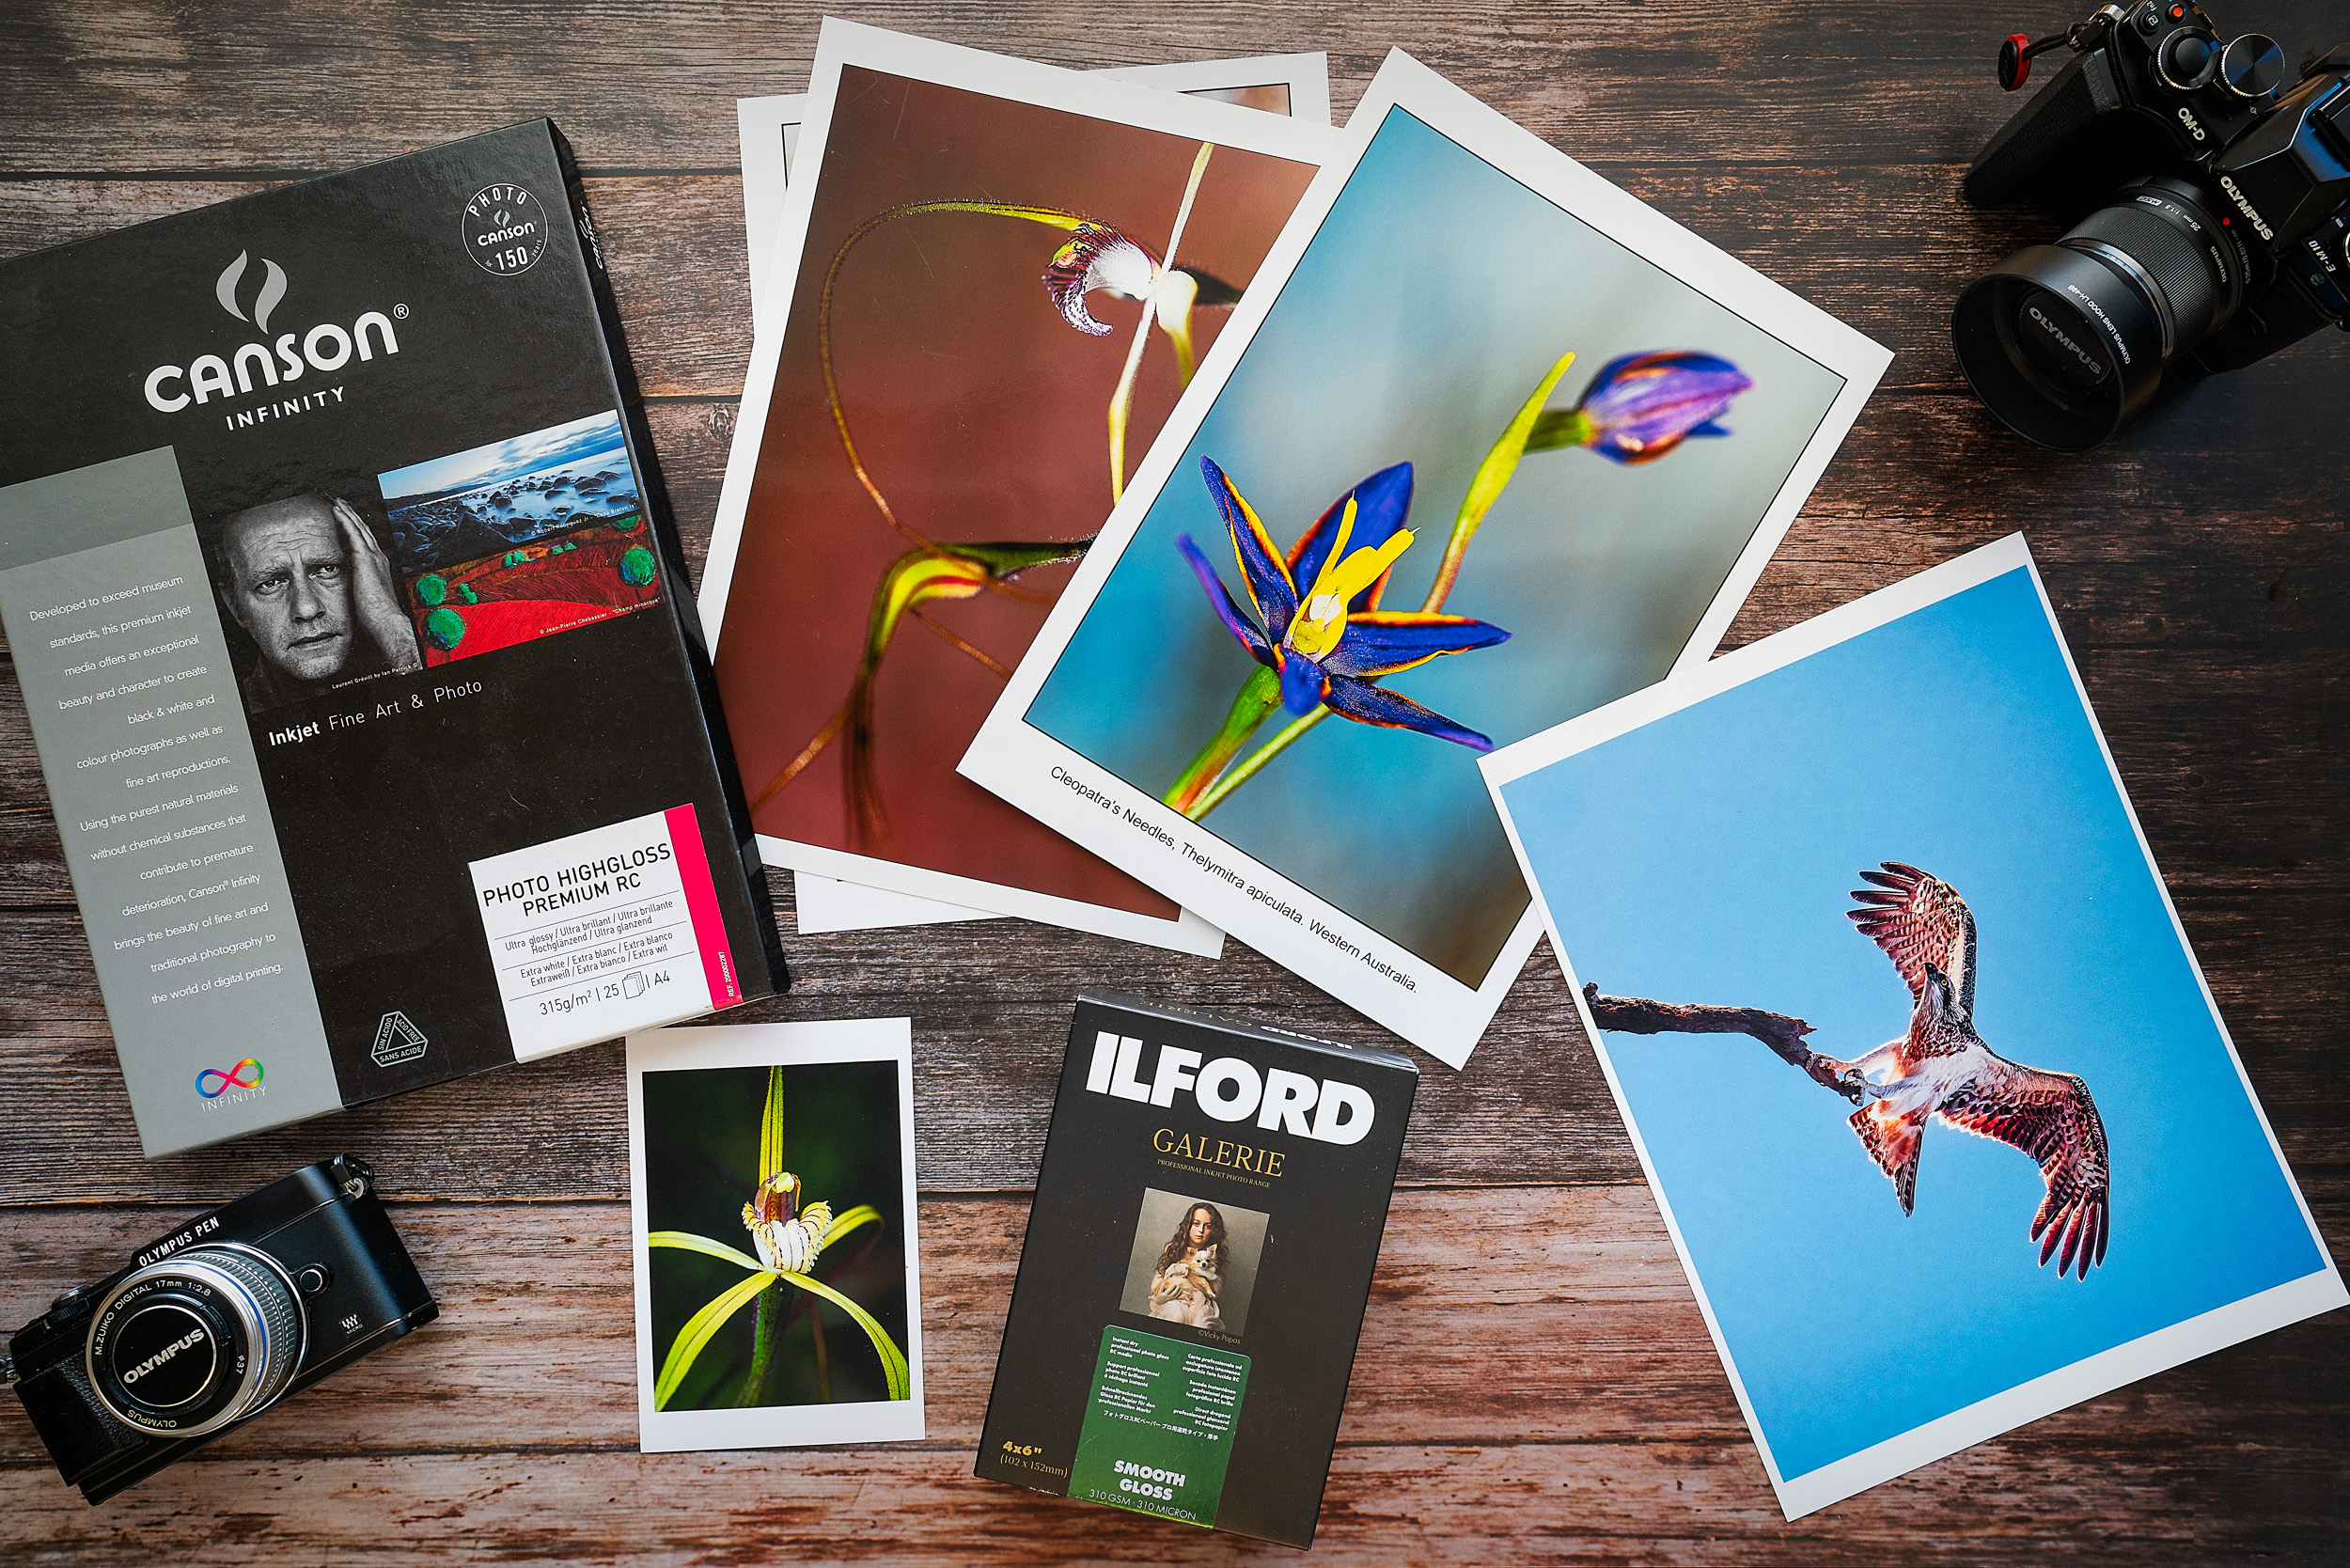
Making prints makes your efforts tangible.
Your printer and paper have a dynamic range that is much smaller than that of your camera and computer screen. So the trick is to literally squash all that image information so that it fits within the range of the printer and paper. One of the key tools to this is using the soft proofing feature of Photoshop or Lightroom. To use the soft proofing feature make sure that the profile you’ve just downloaded is selected and then activate it. Immediately you’ll see your beautiful image looks muddy and lacks contrast – in fact it looks horrid! Relax it only looks horrid because that is how your screen is interpreting it. Now’s the time for a test print. I make 6×4 (10x15cm) test prints ‘cause it’s cheaper. If you’re going the photo lab route things get a little protracted as you send out the image file in the format they prefer and then wait for the lab to send the print back. Home printers can feel smug at this stage as you wait for the printer to finish in a matter of seconds. Look at the print under daylight or an artificial light source balanced for daylight (5600K). Is it too dark, too light? Too much contrast, too little? Are the colours how you saw them? Make the necessary changes and test print again. Some advocate taking a break of a couple of days before making the final print while having the test print pinned up somewhere you can keep looking at it. I don’t do that – I’m too impatient I suppose. When you’ve got the final print leave it somewhere clean and flat and let it just dry out thoroughly before you frame it or put in an album.
This image of Little Pink Fairy Orchid aka the dwarf pink fairy orchid (Caladenia reptans subspecies reptans) was quite difficult to print as the flower was render as having a deep purple colour rather than ink. This meant masking the image and doing a colour correction. It didn’t look right on screen, but printed correctly.
This is a learning process. Some photos are harder to work on than others for example pictures of bluebells are notoriously hard to print so that you get a blue flower rather than a violet one. This is because your camera does not see them as you do. But as you go on you learn more and more and this becomes incorporated at the taking stage so your photographs begin to improve.
A surprising thing I’ve found is that when you start looking a prints up to 29x42cm (A3) is that it is very hard to see differences between images from 12Mp full frame, 16Mp m4/3 image, 18Mp APSC or a 42Mp full frame. Printing larger starts to show the deficits both in terms of equipment and technique, but it is possible to take an image from my old Canon EOS5d, which had 12 Mp, and print it at a size of 100x150cm and get a very satisfactory result.
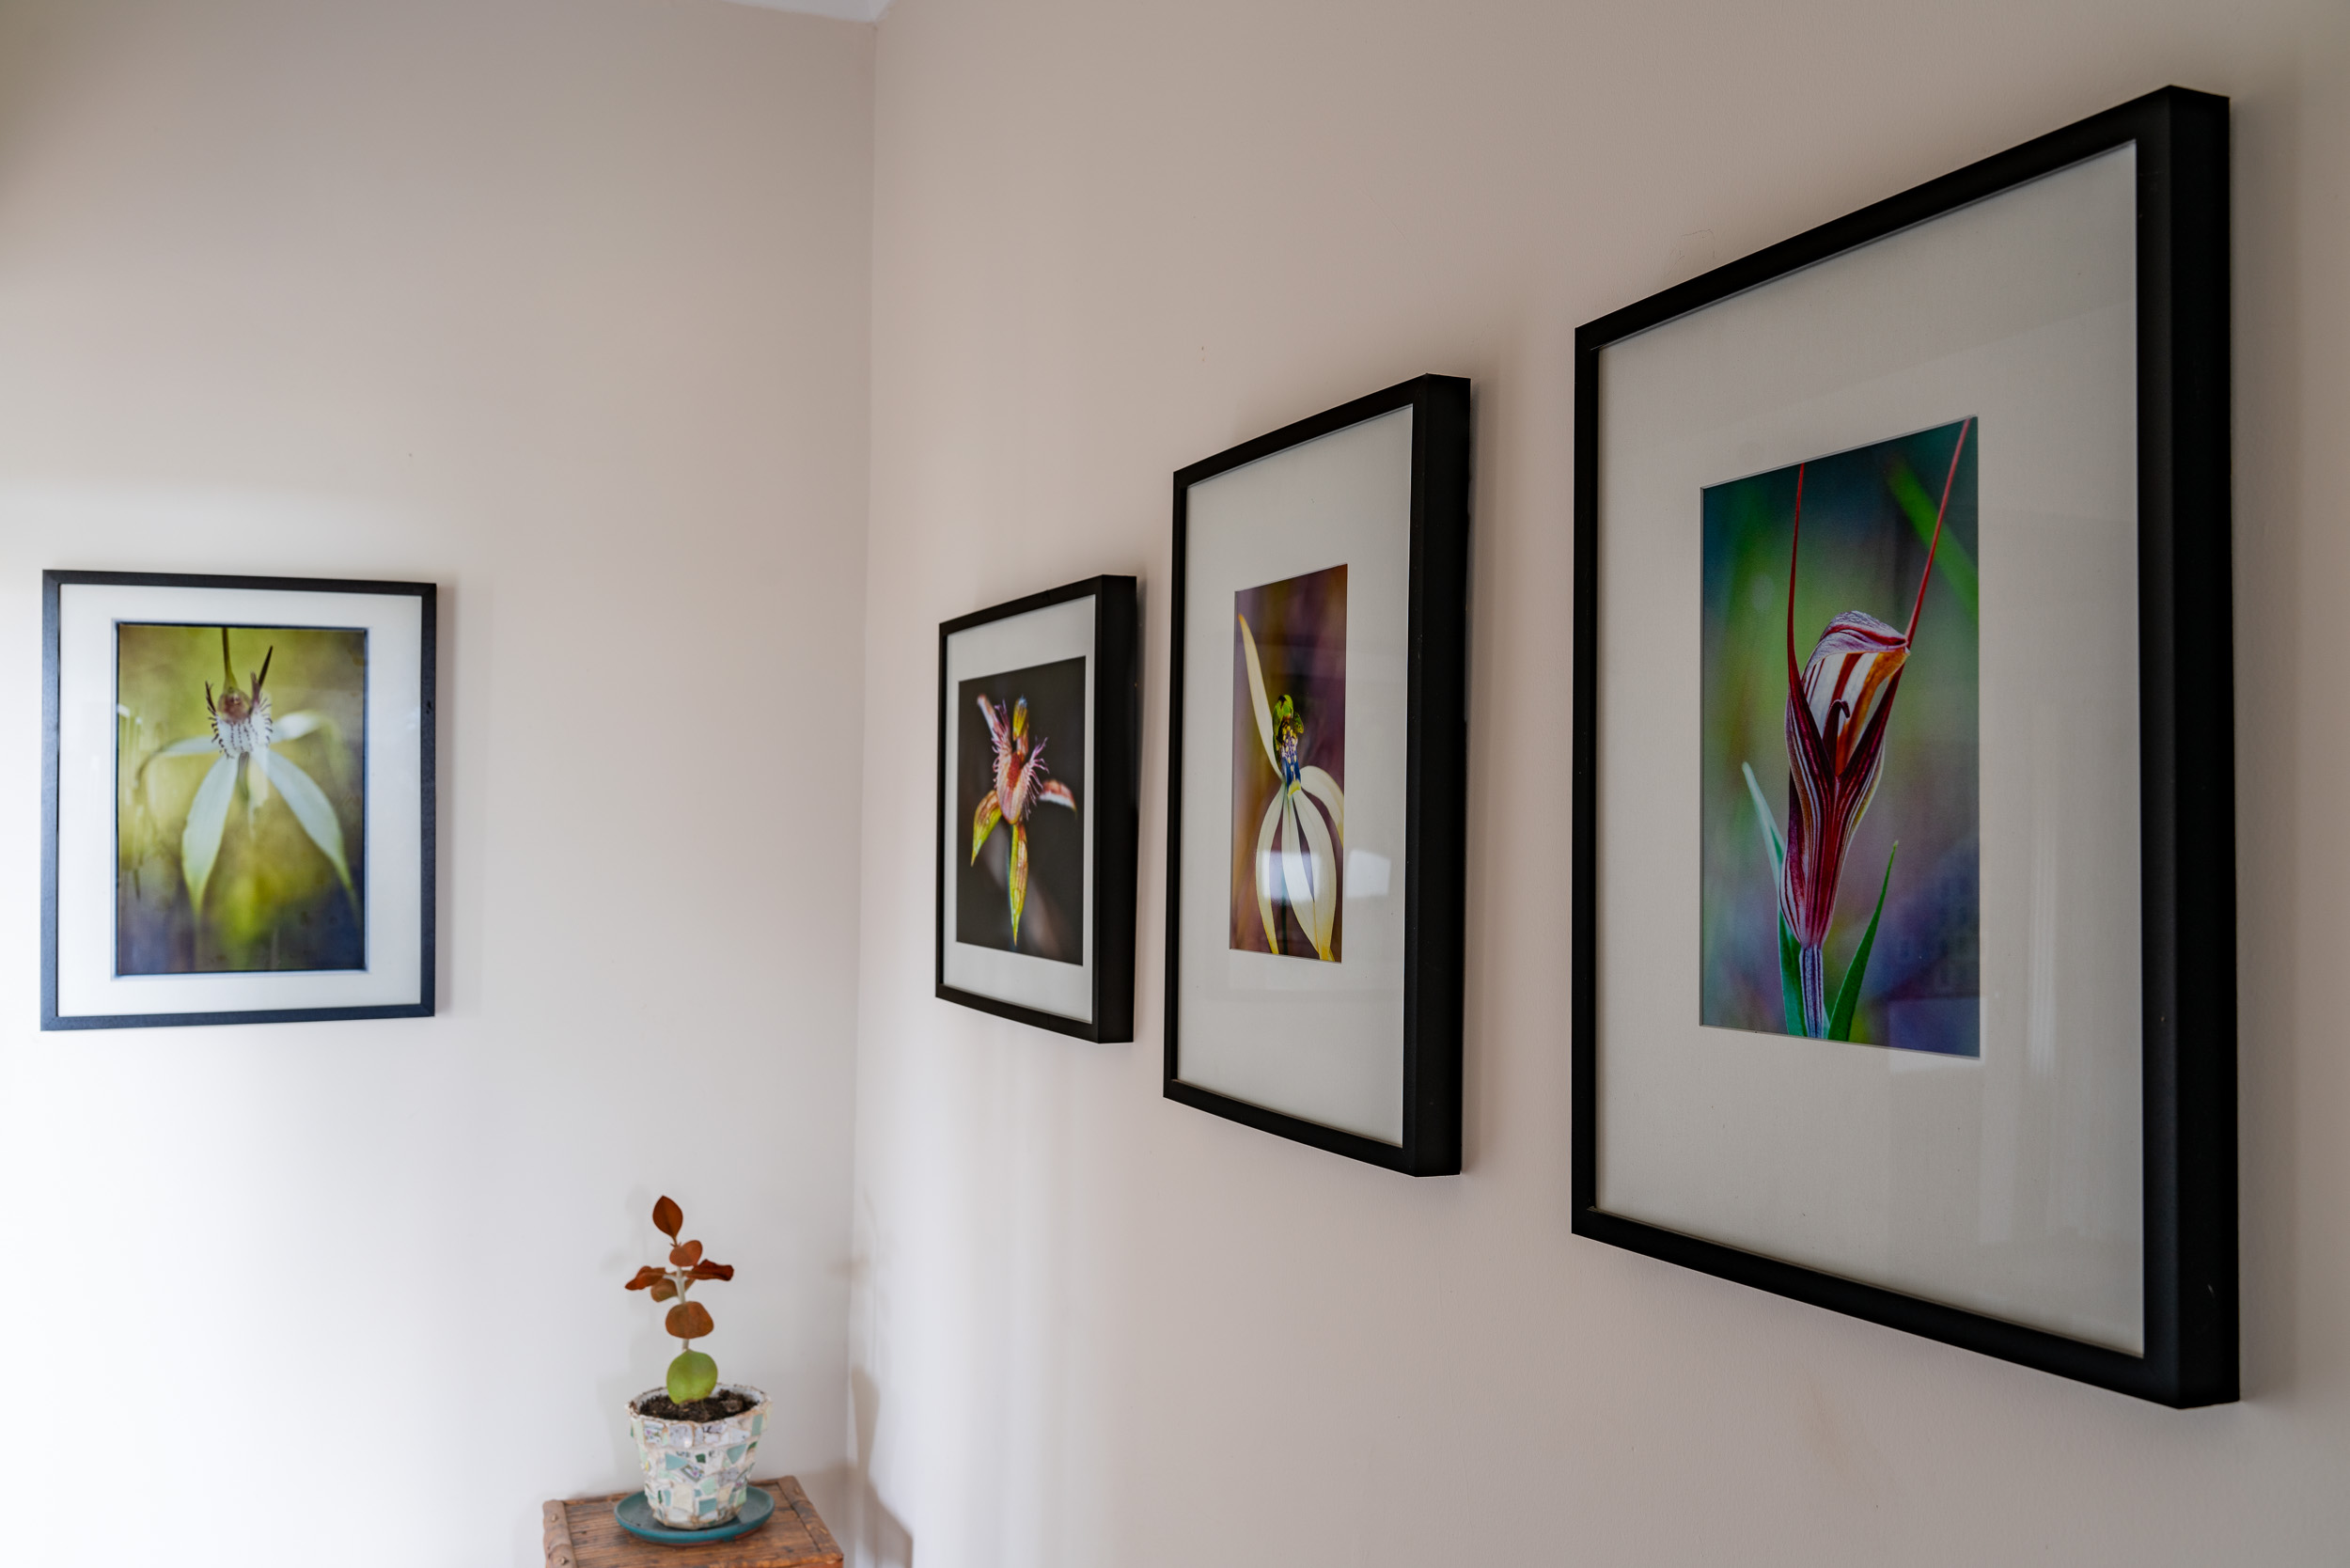
Framed prints of your work make a fine decoration for your home.
I’m a great advocate of putting prints up on the wall and living with. First because of their artistic or aesthetic value. Second because there is nothing like looking at a print day in day out to make you think how the photo works. Is the composition good, is the sharpness good etc etc. This will spur you on as you advance along your photographic journey. Not all the photos you print and display need to be works of art. My partner and I were sitting around one evening talking about when she lived in Stoke Newington in north east London. Out came the shoe box of photos and it was great looking through them and talking about them. We both realised that we had a bit of a gap in our family photos. Nothing after the start of digital photography. So we’ve both committed to making prints of family, friends, trips and holidays with the aim of creating a photo wall.
The whole process is a lot more involved than I’ve written here. To get you going here are a couple of useful websites:
Cambridge In Colour – this is a great site with lots of info and an active forum
Image Science – this is the web site for a business here in Australia, but the educational side has tons of useful information.
It seems like absolutely ages since I last made a post. The break came about because I moved house (yes again!) and as usual Telstra and iiNet cocked the whole re-location up resulting in me being without phone and internet for 6 weeks. Now I have signed up with Optus and I’m the proud owner of a fantastic broadband connection.
So in the last six weeks what have I been up to? Well I’ve definitely not been slacking off I can tell you! I’m pleased to announce that for the whole of September I will be artist in residence at Beverley Station Arts and I’ll also be showing a body of work entitled “Sex, Lies, and Flowers”. Sex, Lies and Flowers is a project on the terrestrial orchids of the Wheatbelt of Western Australia. The word orchid comes from the Greek “orchis”, which literally means ‘testicle’ (with reference to the shape of its tuber). Orchids are distinguished from other flowers by their uniquely shaped column which is composed of the fused stamens and pistils. Often the petals are modified to mimic the shapes of insects to attract male insects to mate with the faux female and pollinate the flowers. Some of the forms they take also resembles human genitalia Hence the title “Sex, Lies and Flowers”. Over the last eight years I have travelled within the region photographing the plants on location. Instead of taking the standard approach of photographing the plant in its environment showing its full structure I’ve chosen to photograph them in a style more used in portraiture so as to bring out the distinguishing features and characteristics of the plants. The aim is not to produce an exhaustive catalogue of the plants but to produce a series of images that show case the beauty of the plants and raise awareness of them and how fragile they are. Hopefully some of you can pop in and see me and the work, if you are unable then the images from the exhibition and many more can be seen here.
Below is a video clip I made a while ago about photographing orchids in the Avon Valley of Western Australia.
Thanks for your patience everyone and regular programming should now resume.
The Faversham vintage van in Avon Terrace, York, Western Australia. Olympus OMD EM1 with Olympus OM Zuiko 35-105mm f3.5-5.6 zoom. Exposure: 1/200 sec, f5.6 ISO 400.
… or not to print. That is the question.
I picked up the latest edition of my fave photo mag (Black And White Photography ) and it had a short snippet of news that made me sit up and pay attention. Jessops the large UK photo chain commissioned a survey which found that 20% of British adults have NEVER had a photo printed, 8% of British adults printed a photo at least once a month, and a whopping 44% have lost a digital photo they wish that they had printed. Amazing stuff.
It maybe an age related thing, but, I have always liked prints. Even when I shot slide film I had prints made. To me prints are the ultimate expression of my photographic endeavours. I realise that for many people who came to photography post the digital revolution prints are anachronistic hang over from a bygone era, but for me printing is an essential part of the photographic process. I think many people are put off by the apparent complexity of the process – look on the internet and it all looks so hard, but actually it is relatively simple to get good prints. The first step in the process is to profile your monitor – this ensures that are no strange colour casts. I use a ColorMunki Display which is ridiculously easy to use and is relatively inexpensive. For the second step you can either send or take your image files to a lab and have them do the next bit, or like me print your own at home. I choose to print at home because I live in a rural area where there is no local lab, I’m impatient and want to see the results immediately and the surge to print often happens at odd times. I chose a Canon Pixma Pro 100S as it is an A3+ sized dye based printer. I prefer my prints to be on glossy paper and dye based inks look better than pigment based ones. Also dye based printers are less likely to clog. I don’t profile my printer for the paper I use I just use the canned profiles from the paper manufacturers website. The video below shows how easy the whole process is.
Shortly after reading the piece in Black and White Photography I was perusing the BBC website when I came across a piece on the science pages that was warning that the world was facing a ‘digital Dark Age” . Apparently Dr Vint Cerf an internet pioneer and Chief Internet Evangelist for Google (and yeah I had to Google him to find out who he was) has become famous for his predictions on how technology will affect future generations. He reckons that a lot of the digital images created in the early Twenty First Century will be lost as current hardware and software become obsolete so future generations will have no records of the period. I find this ironic considering Google is really pushing Google Photos as an in the cloud archive system. Anyway Google are apparently spending shed loads of money to try to prevent this with some you beaut techno solution. Personally I think the answer is obvious. The one material we know a lot about with regards to its archival properties is paper. In fact I’ve got quite a few family photos that date from the later half of the Nineteenth Century. So if you want to make sure your precious photos survive print them. Use good quality papers and inks and a lifespan in excess of 100 years is easily attainable. The Wilhelm Institute gives archival ratings for most ink and paper combinations and advice on how to store your prints. If you print at A4 then should your digital archive disappear into oblivion with a great deal of wailing and gnashing of teeth then you can scan your prints and salvage the situation.
So there you have it. Now you’re not only making art but you are protecting your precious images from a digital apocalypse.
Photographic print on Canson Infinity Photo High Gloss Premium RC by a Canon Pixma Pro 100S printer. Shot on a Sony A7r with Voigtlander 35mm f2.5 Color-Skopar lens.





You must be logged in to post a comment.