Bread And Butter Lens

20260417-Canon35mm-0224-Edit
The Canon EOS 30 film SLR with a Canon EF 35mm f2 lens mounted.


Regular readers may recall that I have been shooting film again and it has been great fun going out with a single camera and a single lens. My camera of choice is my Olympus OM4 with the Olympus OM Zuiko 35mm f2 lens. That combination is over forty years old and I’m a bit worried that it may give up the ghost because there will be no chance of repairing it. I had thought of getting another OM4 body or even the later OM4 Ti, but they are all getting on a bit. I do have another film camera body that I can use and that is the Canon EOS 30, also known as the Elan 7E in North America and EOS 7 in Japan. I’ve been using it with either my Canon EF 24-70mm f4 or my Canon EF 50mm f1.8. The zoom lens and camera combination is a bit on the heavy side heavy for an every day carry and while the 50mm was suitably lighter it’s not a focal length I particularly like. So I had the bright idea of buying a Canon EF 35mm f2 lens. They have the benefit of being small and light while being cheap second hand. So I scoured EBay and found that Map Cameras had a suitable copy rated as “B – Has been used preciously. Showing a few marks, scratches of cosmetic surface. Functions perfect.”. When it arrived it looked like it was new, there were no marks on the lens barrel, front and rear lens elements, and the mount looked pristine.


Canon EF 35mm f2 lens
The Canon EF 35mm f2 was part of Canon’s consumer range of lenses. Here it is shown with the 24mm f2.8 and 50mm f1.8 mk ii.


Canon introduced their autofocus EF lens mount in 1987 and it took them until October 1990 to introduce a basic 35mm lens – the EF 35mm f2 a no frills prosumer grade lens. It’s got a plastic body with a metal lens mount. There’s a focusing ring and a switch to put it into manual focus. The lens extends as you focus in and out, but, the front element doesn’t rotate which is a boon if you like to use polarising filters. It feels quite dense in the hand, but it doesn’t exude quality.


Canon EF 35mm f2 lens
It is a very no frills construction with a plastic body, manual focus switch and a rudimentary ribbed manual focus ring. You do get a focus scale for zone focusing and an infrared focus point. Which is all very welcome on a budget lens.

;


Canon EF 35mm f2 lens
It does have a metal lens mount which is always nice to see as many budget lenses have plastic mounts.


Specifications 

Focal Length 35mm
Maximum Aperture F/2
Angle of View (diagonal) 63° 26′ (for full-frame format)
Optical Construction 7 elements in 5 groups
Minimum Object Distance 0.25m
Maximum Magnification Ratio 0.23
Filter Size Φ52mm
Maximum Diameter Φ67.4mm
Length 42.5mm 
Weight 210g
Diaphragm Blade Number 5 straight blades
Minimum Aperture F/22
Standard Accessories Lens caps
Compatible Mounts Canon EF


EF35mm f2 - Canon Camera Museum 2025-07-28 16-18-22-Edit
The optical construction is very simple with 7 elements in 5 groups and no fancy glass elements.


Performance

Sharpness


20260501-Canon35mm-0001


20260501-Canon35mm-0004


20260501-Canon35mm-0002


20260501-Canon35mm-0003


Wide open the centre of the image is soft, but has reasonable contrast. The corners were far worse – low contrast mush. At first I thought I had a lens that was  decentered, but, when I checked all four corners they were equally bad so it was field curvature . This is, apart from a lens by Holga, the worst lens I’ve ever tested. Two stops down from wide open is where a lens traditionally hits optimum performance, well someone forgot to tell the Canon optical design team that as although there had been a slight improvement in the centre the corners were still very mushy. At f5.6 the centre of the frame is as good as it gets, but the corners still aren’t sharp and lack contrast. The best performing aperture is f8 in terms of the full field of view. By f16 diffraction starts to kick in degrading the image and that just gets worse at f22.

Now this is a 36 year old design for a consumer grade lens so is this performance to be expected. Well the Olympus OM Zuiko 35mm f2 was designed was introduced in 1972 a full 18 years before the Canon EF 35mm f2 and it has a better optical performance and better bokeh – more about that later. The only advantage the Canon has over the Olympus is that the Canon manages flare a lot better. We’re also told that primes are better than zooms so I compared the Canon EF 35mm f2 to my Canon EF 24-70mm f4 IS L at 35mm, and the zoom is better. Not surprising really. An old consumer grade design compare to a more modern professional grade. So I wouldn’t look to replace a good zoom lens with the Canon EF 35mm f2 unless you were considering some other metric of comparison such as size and weight.

Bokeh


20250918-Canon35mmf2-0225
Wide open the bokeh balls are bad. The transitions to out of focus areas are quite pleasant.


Wide open the Canon produces nice large round bokeh balls that have no onion rings – the lens has after all no aspheric elements. At the edges the balls take on a more elliptical shape caused by mechanical vignetting. As you stop the lens down to f2.8 the balls cease to be balls and become pentagonal thanks to the five straight aperture blades. They become defined the further you stop down.


20250918-Canon35mmf2-0226
Stopping down to f2.8 and the bokeh balls cease to be balls and take on a pentagonal shape thanks to the 5 straight blades of the aperture diaphragm.


Flare Resistance 


20250815-Canon35mmf2-0236-Edit


A specular light source within the frame will produce quite pronounced veiling and reflective flare. The effect becomes more pronounced as you stop down. It is a good argument for a lens hood, but Canon never supplied their non ‘L’ lenses with one, you had to buy it separately. It would be worth looking for a second lens that came with one. The diffraction spikes or sunstars are ugly with little definition. 

Chromatic aberration


Canon EF 35mm f2
Wide open there is axial chromatic aberration. Stopping down will fix the problem.


Axial chromatic aberration, also known as longitudinal chromatic aberration is present wide open with magenta and green fringing. This is difficult to remove in post, the best way to deal with it is to stop down.

Transverse or lateral chromatic aberration is present and considering the age of the design and the fact there are no fancy glass elements it does remarkably well. If using the lens on a digital camera this is easily dealt in post.

Distortion


Canon EF 35mm f2
Barrel distortion is present, it’s not too extreme – I’ve seen much worse. It is easily corrected if you shoot digital. You can also see the vignetting. This diminishes as you stop down and can also be fixed in post if working digitally. Personally I quite like a bit of vignetting and will often add it in post or in the darkroom.


As with most wide angle lenses there is barrel distortion, but it is very mild. Again shooting on digital this can be fixed by applying the profile for this lens.

Vignetting

There is some vignetting when shooting wide open and this clears up pretty quickly as you stop down. The Canon EF 35mm f2 lens profile in Lightroom also removes it.

Autofocus

When this lens was designed autofocus systems were a lot more primitive than they are now. Firstly these first generation auto focus lenses have according to Canon “an arc form drive for focusing. This is a conventional small motor unit, shaped to fit inside the curved barrel of a lens.”. Consequently they are slow and noisy. When I say say noisy I mean it. Racking the lens back and forth produces a sound that is akin to angry wasp trapped inside a bottle. It is very noticeable. There is no full-time manual focus, as found on later lenses that used USM and STM motors, you have to switch to manual focus using the switch on the lens barrel. Talking about manual focus there is a narrow ribbed focus ring and a focusing scale. While the lens is in AF mode the ring spins freely and does nothing. Throw the switch and the focus ring drives the lens elements back and forth. There are hard stops at either end so repeatable focus moves are possible. While not the most pleasant focusing ring to use it’s not unpleasant either. It gets the job done.

For stills this lens was made when a camera with seven AF points clustered in the centre of the frame was considered sophisticated. Single point AF was usually a matter of keeping the subject in the centre of the frame or focusing and recomposing. The AF on the lens is adequate, mostly it is accurate, but it can be a little slow and hunt in low light or with low contrast subjects. Continuous AF is much the same story.

This lens was not designed with video in mind, but I gave it a go.  I tried it on an 80d the Dual Pixel CMOS AF but it wasn’t the best performance. Finally I bunged the lens on my Sony A7r2 via a Metabones adapter and to some extent the AF was a little better but the lens really struggled and made some awful noises as it focused.


In Use


20250815-Canon35mmf2-0225-Edit


Moylan Silos


20260124-York-0244-Edit


Bing's Visit


From the above you’d think that this lens isn’t much chop. In photography there is a tendency to obsess about specifications and lens resolution charts, but they don’t tell the whole story. Wide angle retrofocus lens for SLRs don’t really perform well at close distances unless they have a floating rear element which the Canon EF 35mm f2 does not. That may explain some of the results. Also answer these two questions. How many times do you compose a photo with the main subject in the extreme corners? Short of very precise copy work how many images do you take that require corner to corner sharpness? I know I don’t do any of those two things. The attributes this lens brings to the table are that it is small and light and is sharp enough where it counts. It is ideal on a compact SLR as an everyday carry.  Although I primarily bought it to use on my film EOS 30 to date I’ve not done so preferring to use it on either my Canon 5d or 6d. It’s been a very pleasant experience and I’ve enjoyed using for landscape, urban landscape and street photography.


Smile


20251229-Perth-0224-Edit


20251229-Fremantle-0226-Edit


Conclusion


Canon EF 35mm f2 lens


If like me you want a small compact lens to walk around with on a film or digital Canon SLR and you aren’t bothered by not having a red ring, the best specs and best optical performance then this lens is perfect. There are loads of them out there which makes it easy to pick up a reasonably priced second hand example. If you want something to shoot video I’d look for the Canon 35mm f2 IS, the Canon 35mm f1.4 L, or a Sigma 35mm f1.4 Art. They will all have more modern motors which will make the autofocus experience more pleasurable. If you want to adapt the lens to shoot on a modern mirrorless again look for something more modern.

 

Canon EF 35mm f2 lens


Purple and Yellow

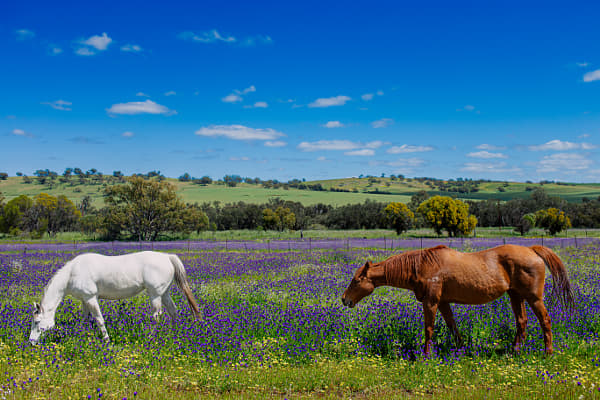
In spring some of the fields round here can erupt with a mass of purple and yellow flowers. The purple one is called Patterson’s Curse (Echium plantagineum) and the other yellow flower is called Capeweed (Arctotheca calendula). Unfortunately the plants are feral weeds and not at all welcomed by the local farmers. Patterson’s Curse is very toxic to non-ruminants causing liver failure. It is also a skin irritant for humans.  Despite that it can be spectacular to see fields covered in them.

The scene below was just a snap shot taken while returning home from the Wheatbelt metropolis of Northam.


Grazing by Paul Amyes on 500px.com
Two horses grazing amongst Patterson’s Curse (Echium plantagineum) and Capeweed (Arctotheca calendula). Northam, Western Australia.


Canola Time

It’s quite hard to believe that flowering canola can be a tourist attraction, but judging from the number of people taking selfies of themselves in front of fields of it certainly confirms it. So here are my gratuitous canola themed photos.


Canola Reflection by Paul Amyes on 500px.com
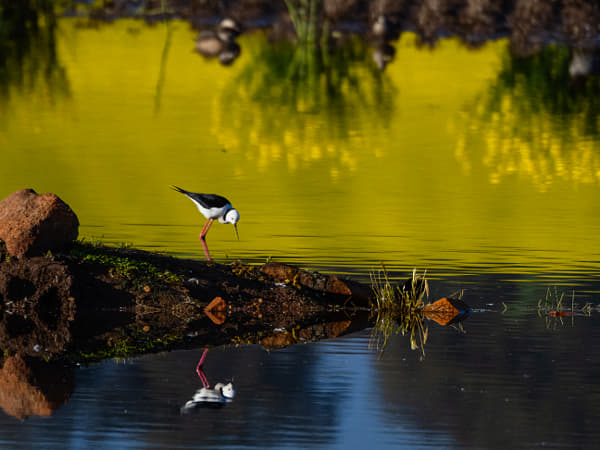
Djandjarak or Black-winged Stilt (Himantopus himantopus) with canola reflections.


Blue and Yellow by Paul Amyes on 500px.com
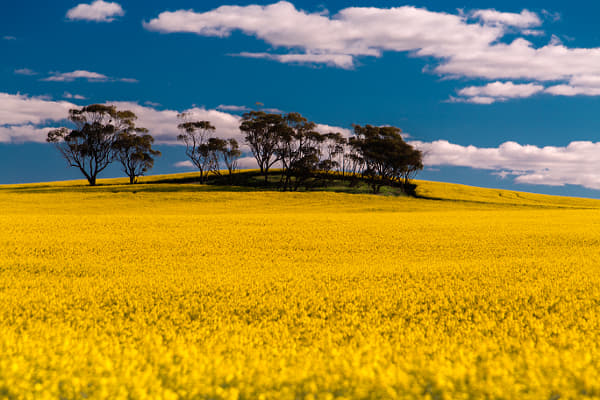
The yellow canola contrasting with the blue sky.


Blossom and Canola by Paul Amyes on 500px.com

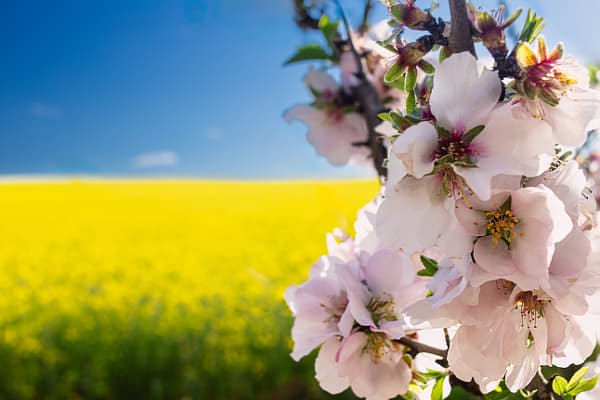
Almond blossom with a backdrop of canola.

A Steadying Influence

One of the great developments in camera design over the last few years has been in the area of image stabilisation. 
For me personally Synch IS (what Olympus/OM Systems call their combination of IS technologies) has meant that I seldom us a tripod anymore and that has been truly liberating. For video it is a different story. For short focal lengths I can just about handhold without inducing motion sickness in my viewers, but for long telephoto work just forget it, which is unfortunate as I do like filming wildlife. So I have taken to using a video tripod – a Sirui CT-3204 with Sirui VH-10X fluid head. The biggest problem is that it is heavy (3.56Kg) which is fine if I don’t want to walk far, but a real burden if I do. The other strike against it is that is awkward to use in the bush. So what has been happening is I make a decision – stills or video as a priority and more often than not it is stills and the tripod gets left behind in the car.
 

Too Heavy!!
Too Heavy!! My Sirui CT-3204 with Sirui VH-10X fluid head. While a great video tripod it is heavy (3.56Kg).


A little while ago I started thinking about monopods for video. I am no stranger to monopods I used to use them a lot for sports and events photography and I can’t remember a time when I’ve not had one. The one I have had for the last 25 years or so is the Manfrotto 679B with the stock Manfrotto 234RC head. A fantastic bit of kit but totally unsuited to video work. So as video was becoming more important (it was part of a unit I was teaching) I bought a Manfrotto 560b-1 monopod which featured a set of 3 feet at the bottom attached to the body of the monopod via ball joint with fluid cartridge. This means that horizontal pans are nice and smooth. The stock 234RC head meant that smooth vertical pans were impossible. Shortly after Manfrotto started making sets up with a better version of the monopod with a 500HLV video head so being a thrifty kind of person (my father would say I had deep pockets and short arms) I decided to get a second hand fluid head and found a cheap Manfrotto 700RC. For lighter set ups with short focal lengths it worked very well, but with the heavier longer focal lengths required for wildlife it just wasn’t up to snuff. So it was back to the tripod – or so I thought.


WimberleyMH-100Gimbal Head1
Exactly what I’m after. Shame about the price.


LefotoMPG-01
Looks like a direct copy of the Wimberley above. The price is more wallet friendly, but still a little on the steep side for me.


Fast forward a few months and I watched a video review on monopod heads and the reviewer talked very favourably about gimbal heads for monopods. In particular he raved about the Wimberley MH-100 Mono Gimbal Head. Now I’d never heard of it before and I quickly jumped online to find out more. It seemed to offer what I wanted in every way except price. $455 AUD, which was a bit much to take a punt on. So on looking around I found that Leofoto have their catchily named MPG-01 Mini Monopod Gimbal which was cheaper at $231 AUD but still too much to pay for an experiment. Further research turned up the Neewer GM39 Side Saddle Monopod Tilt Ball Head and that was a more reasonable $70 AUD. Now Neewer are one of the many Chinese photo accessory manufacturers that have sprung up in the last decade or so. Their products are generally what I would call cheap and cheerful. There are plenty of reviews out there that say the products are crap, but there also just as many that say they are good. I have used quite a few of their products and my experience has been largely positive. I like their LED video lights and replacement camera batteries. I’ve tried some of their filters and found them be not that great. So I decided to keep an open mind and try the monopod head.


Neewer GM39 Side Saddle Monopod Tilt Ball Head


I ordered the GM39 head off of the Neewer website and it arrived very promptly. The head was supplied in an eco friendly cardboard package with an Allen key, an Arca Swiss plate and a set of instructions in umpteen languages.


20250707-NeewerGM39gimbal-0227-Edit
The Neewer GM39 in all its glory.


First impressions were very good. The head appears on the surface as nicely finished in black anodised aluminium with the knurled knobs finished in grey. Quite smart. In the hand everything feels nice, solid and well put together. It has a compact low profile and weighs in at svelte 259g (without plate) and has a maximum load capacity of 4Kg. There are three knobs; one for tightening or loosening the Arca Swiss compatible clamp, one for adjusting the ball head, and one for the panning control. The base has a diameter  of 40mm with a 3/8” thread to allow mounting to a monopod or tripod. An interesting touch is that the base is cut so it will slide into an Arca Swiss quick release clamp. You can use the head with the clamp vertical as a traditional ball head, or you can rotate the clamp through 90º and use it as gimbal head.


20250707-NeewerGM39gimbal-0229-2-Edit
The base has a diameter  of 40mm with a 3/8” thread and it is also milled to be compatible with Arca Swiss type clamps.


20250707-NeewerGM39gimbal-0226-2-Edit
The standard of finish appears very good.


In Use


20250707-NeewerGM39gimbal-0228-Edit
The Neewer GM39’s Arca Swiss Type clamp.


On their website Neewer says that clamp on the GM39 is compatible with “most Arca Type QR plates” . That is my first bugbear. I’ve got numerous Arca plates knocking around and beside the one it came with it wasn’t compatible with those from Sirui, Smallrig or Sunwayfoto. Also the safety notches cut into the clamp to engage with the screw heads on the base to the quick release plate  don’t stop the plates from sliding out if clamp isn’t done up tight enough.


I decided to test the GM39 with the following four combinations:-

  • Canon EOS 6d with battery grip and Sigma 150-600mm Contemporary weighing in at 3.88Kg
  • Sony A6500 with Sigma 150-600mm Contemporary weighing in at 2.99Kg
  • Olympus EM1x with OM System 100-400mm weighing 2.47Kg
  • Panasonic G85 with battery grip and Panasonic Leica 100-400mm weighing 1.88Kg


20250716-NeewerGM39gimble-0224-Edit
Canon EOS 6d with battery grip and Sigma 150-600mm


20250716-NeewerGM39gimble-0228-Edit
Panasonic G85 with battery grip and Panasonic Leica 100-400mm


All of the combinations came in at under the 4Kg maximum load and yet it was impossible to cinch down the ball head to prevent movement, but more importantly there is no friction control. What I mean by friction control is that there is no way to control how the head moves – whether slowly or quickly which means that the camera and lens can flop about in an uncontrolled manner. Now I’m no engineer but looking at the ball it has a diameter of 20mm which is pretty small and that makes it hard to resist the torsional forces exerted by the heavy lenses. For example my Sunwayfoto FB-44II ball head has a 44mm diameter ball and that is hard pushed to lock down my Canon 6d and 150-600. With the included quick release plate it is possible to balance the G85 and EM1x combinations, with larger lenses you’ll need to buy a longer plate taking into consideration it is not compatible with all brands of Arca Swiss compatible QR plates.


20250716-NeewerGM39gimble-0230-Edit


The diameter of the base of the head is 40mm. This is something to be aware of. My Manfrotto 560B-1 has a head diameter of 34mm and everything is fine. My Manfrotto 679B has a head diameter 60mm and you have be careful when using the head in the gimbal mode that the release knob for the clamp is upper most or it will foul on the monopod and restrict your movement.

I tried using the GM39 on a tripod where I used its already installed ball head as a levelling base and and attaching it using the Arca Swiss rails that milled into it. It’s quite an interesting function and for the most part it does very well the only down side is that my head, a Sunwayfoto FB-44II is quite tall and having the GM39 on top of that makes it quite top heavy and unbalanced when using a long lens. This would be more suited to an inverted or low profile ball head.


20250716-NeewerGM39gimble-0232-Edit
The Neewer GM39 clamped onto a ball head on a tripod. This lets the ball head become a levelling head.


20250716-NeewerGM39gimble-0235-Edit
The problem being that it becomes a little top heavy and the weight of the camera and lens is not over the tripod’s axis so it all feels a little unbalanced.


Out in the field I used the GM39 primarily on my Manfrotto 560B-1 which has a fluid base that allows for smooth horizontal pans. So I had the gimbal set up  just to do the vertical pans. Despite some of the short comings mentioned above I found that it worked quite well. I particularly like the combined weight of 890g. This means I’m more inclined to take it with me. For photography I didn’t really use it much, but where I did use it a lot was with video. No it’s not a match for a proper video tripod and head but it is 2.6 Kg lighter than my Sirui CT-3204 with Sirui VH-10X fluid head. When using a combination of the GM39 on my monopod, Synch IS image stabilisation and correcting for camera movement in my video editing software I can get good results and that is all I wanted.


That's Better!!
That’s Better!! The Manfrotto 560b-1 monopod with Neewer GM39 is 0.89 Kg which is much easier to carry while walking through the bush.


Conclusion

On line I’ve read and watched reviews from people who have either really liked the Neewer GM39 Side Saddle Monopod Tilt Ball Head or hated it with a passion. It seems to be quite polarising. What do I feel about it? Well I think it’s important to understand it’s strengths and weaknesses. 

You can’t expect Wimberley MH-100 Mono Gimbal Head performance from a product that costs a sixth of the price. Both Wimberley and the Leofoto use a different mechanism that involves bearings mounted round a spindle and there is only up or down movement which would mean that it is easier to lock down the head when needed. This mechanism is then contained within the structure and not subjected to the ingress of dirt or water meaning better longevity.The GM39 has a freely rotating ball head that give 360º motion in any plane. The locking mechanism is cruder and the mechanism is open to the elements which means grit could enter it and cause malfunction.

Below I’ve listed the pros and cons as I see them:

Pros:

  • Cheap
  • Lightweight
  • Arca Swiss compatible

Cons:

  • It’s not possible to lock the head out or control the movement in the head
  • The camera and lens aren’t mounted over the axis of the monopod so can feel unbalanced in certain circumstances
  • The ball head could become easily fouled by ingress of dirt and water
  • The clamp is not completely Arca Swiss compatible which could make finding replacement plates or longer plates difficult.
  • Not the best choice for heavy camera and lens combinations

On using the GM 39 for a while I realised that there is nothing to stop you using an existing ball in this manner and so you don’t need to buy anything.


20250707-NeewerGM39gimbal-0231-Edit
As long as the ball head has a notch to one side to allow 90º positioning any ball head could be used as monopod gimbal.


From the above it would seem that I didn’t like the Neewer GM39 Side Saddle Monopod Tilt Ball Head and that is not correct. What I appreciate about it  is that it is cheap, light and does the job well enough. It works very well with my M4/3s setup. Whether it is right for you that I can’t answer, but what I can say is that the Neewer GM39 is cheap enough to take a punt on.


Hotter Than…

… than a Vindaloo Curry with extra chilli and a side serving of chilli. Man has it been hot. I mean it’s been so hot that your eye balls sweat. Try and take a cold shower to cool down and the water coming out of the cold tap is hot. The dog refuses to go for a walk because the pavement is blisteringly hot. We did get a little respite for a day, the temperature dropped by 10º to 34ºC and everyone said it was chilly enough to look for a sweater. The third round of the seventh circle of Dante’s Inferno is a great Plain of Burning Sand scorched by great flakes of flame falling slowly down from the sky and it is an apt description of this summer here in the Wheatbelt of Western Australia. Cyclone Sean has a lot to answer for.

Kaa-kaa or Laughing Kookaburra by Paul Amyes on 500px.com
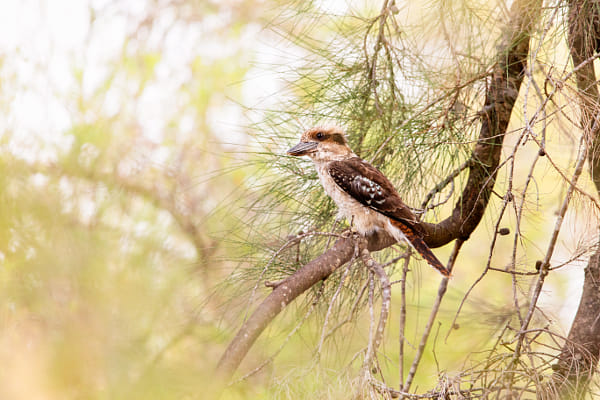
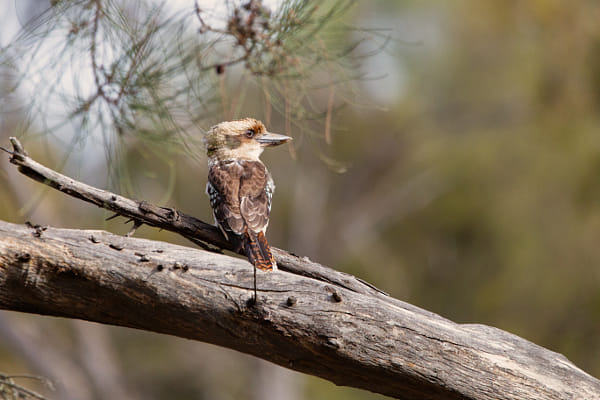
A very happy looking Kaa-kaa or Laughing Kookaburra (Dacelo novaeguineae).Avon Trail, York, Western Australia.


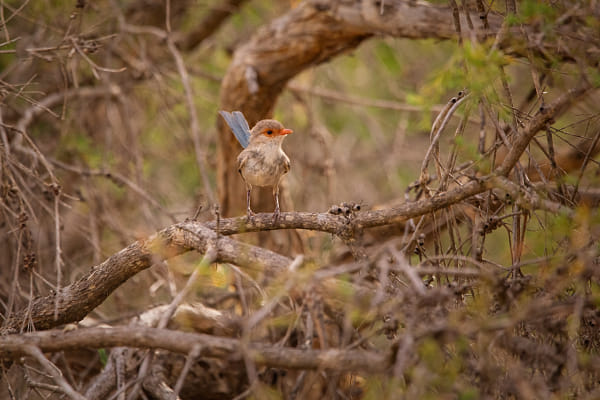
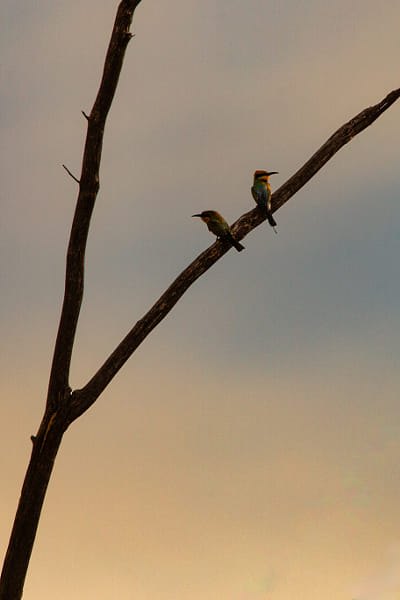
Yet I’m amazed how the natural world carries on. The Rainbow Bee-Eaters chicks have successfully fledged and are busy building themselves up for the long flight north at the end of March. Splendid Fairy Wrens, Thornbills and Silvereyes still look for insects in the undergrowth. Kookaburras, crows and magpies can be seen looking for the unwary to feed upon. The farmers paddocks are now just bleached stubble. The mice and other small animals that live in them have nowhere to hide and are easy pickings for the Black Shouldered Kites and Nankeen Kestrels.


Djer-djer by Paul Amyes on 500px.com
Female Djer-djer or Splendid Fairy-wren (Malarus splendens subs splendens). Avon Trail, York, Western Australia.


Birin-birin by Paul Amyes on 500px.com
Birin-birin or Rainbow Bee-eaters (Merops ornatus) in the last light of the day. Avon Trail, York, Western Australia.


Walking along the river in the early morning or late evening it’s possible to see the birds, but they quickly retreat to places of deep shade as the temperatures rise. Come about 10 o’clock in the morning until about five in the afternoon they are almost totally silent. Despite the heat there is still quite a volume of water in the river. It is the water that enables the wildlife to survive.


Kaa-kaa or Laughing Kookaburra by Paul Amyes on 500px.com

Kaa-kaa or Laughing Kookaburra (Dacelo novaeguineae).Avon Trail, York, Western Australia.

Christmas Spider

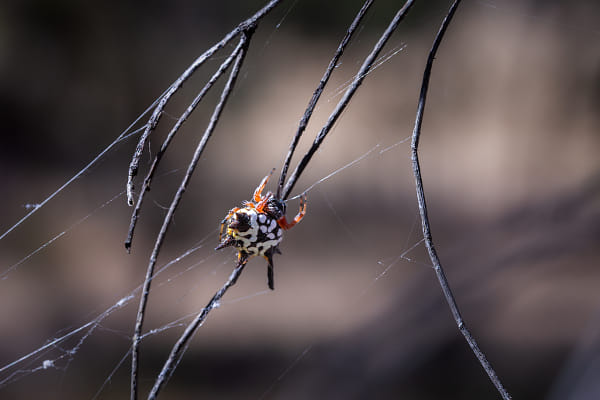
What could be better than spending Christmas morning than looking for Christmas Spiders aka Jewel Spiders.


Christmas Spider by Paul Amyes on 500px.com

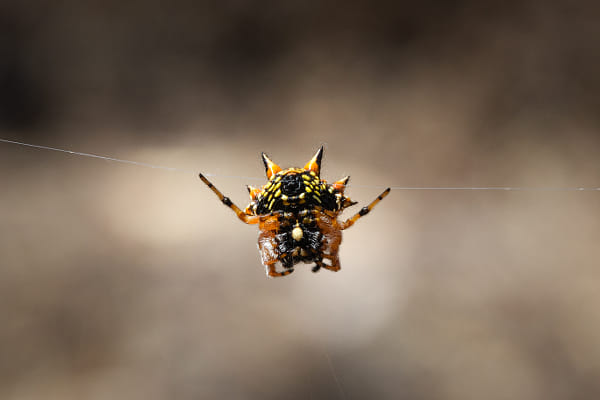
The Christmas Spider or jewel spider (Austracantha minax) is associated with the comming of Christmas in Western Australia.
Christmas Spider by Paul Amyes on 500px.com


Awwwww….

…crap!


This about sums up the last couple of weeks. Kakak or Little Pied Cormorant (Phalacrocorax melanoleucos).


I haven’t felt like posting anything for the last couple of weeks. I’ve been taking photos, but for a number of reasons haven’t had anything positive to say.

The minor issues have been consumer affairs related. I use Adobe products and have done since Adobe Photoshop 4. That’s not CS4 but the 1996 version of Photoshop. Adobe have an incredible disdain for their customers and seem to forget that without us they would be nothing. I like their products, especially Lightroom, it’s Digital Asset Management is fantastic, but being hobbled to Adobe is a right royal pain in the posterior.   Anyway before I start ranting and foaming at the mouth I’ll get on and say that I’ve already started to shift my whole workflow to different software which has resulted in quite a steep learning curve. The next consumer problem that has proved incredibly frustrating is that I bought a new Apple iPhone and it was wasn’t working properly straight out of the box – the battery won’t hold a charge and the home button doesn’t work. Apple have proven that like Adobe they too hold their customers in complete contempt. I’ve been batted back and forth between various Apple departments who are arguing over who is responsible. The only thing that they agree on is that they won’t replace my phone, won’t repair it, and won’t give a refund. Again I’ve been using their products for decades and have liked the Apple ecosystem, but now it looks like I’ll be changing. I haven’t used a Windows computer since Windows 98 and I’m not looking forward to switching back.

The major problem has been with our beloved dog – Frida. She was due to have her teeth cleaned by the vet, and as that involved having an anaesthetic the vet did a few tests to make sure she’d be OK. The results showed that she has stage 2 renal failure which left us gobsmacked. Bull Terriers are notorious for kidney problems and she is getting old. The vet was very good and suggested putting her on a renal diet for 8 weeks and see whether she improves. So this saw me searching on the internet for a reputable diet for her. We ruled out quite a few because they suggested things like elk and reindeer which aren’t very abundant here in Australia. The main worry was finding something she’d actually like to eat because one of the symptoms of renal disease is that the patient can become quite nauseous and go off their food. She has started her diet and things on the surface look to be improving already so we’re keeping our fingers crossed.


Relaxing in her favourite chair.


Watching BritBox TV.


Hopefully normal service will be resumed as soon as possible.

Revisiting Work

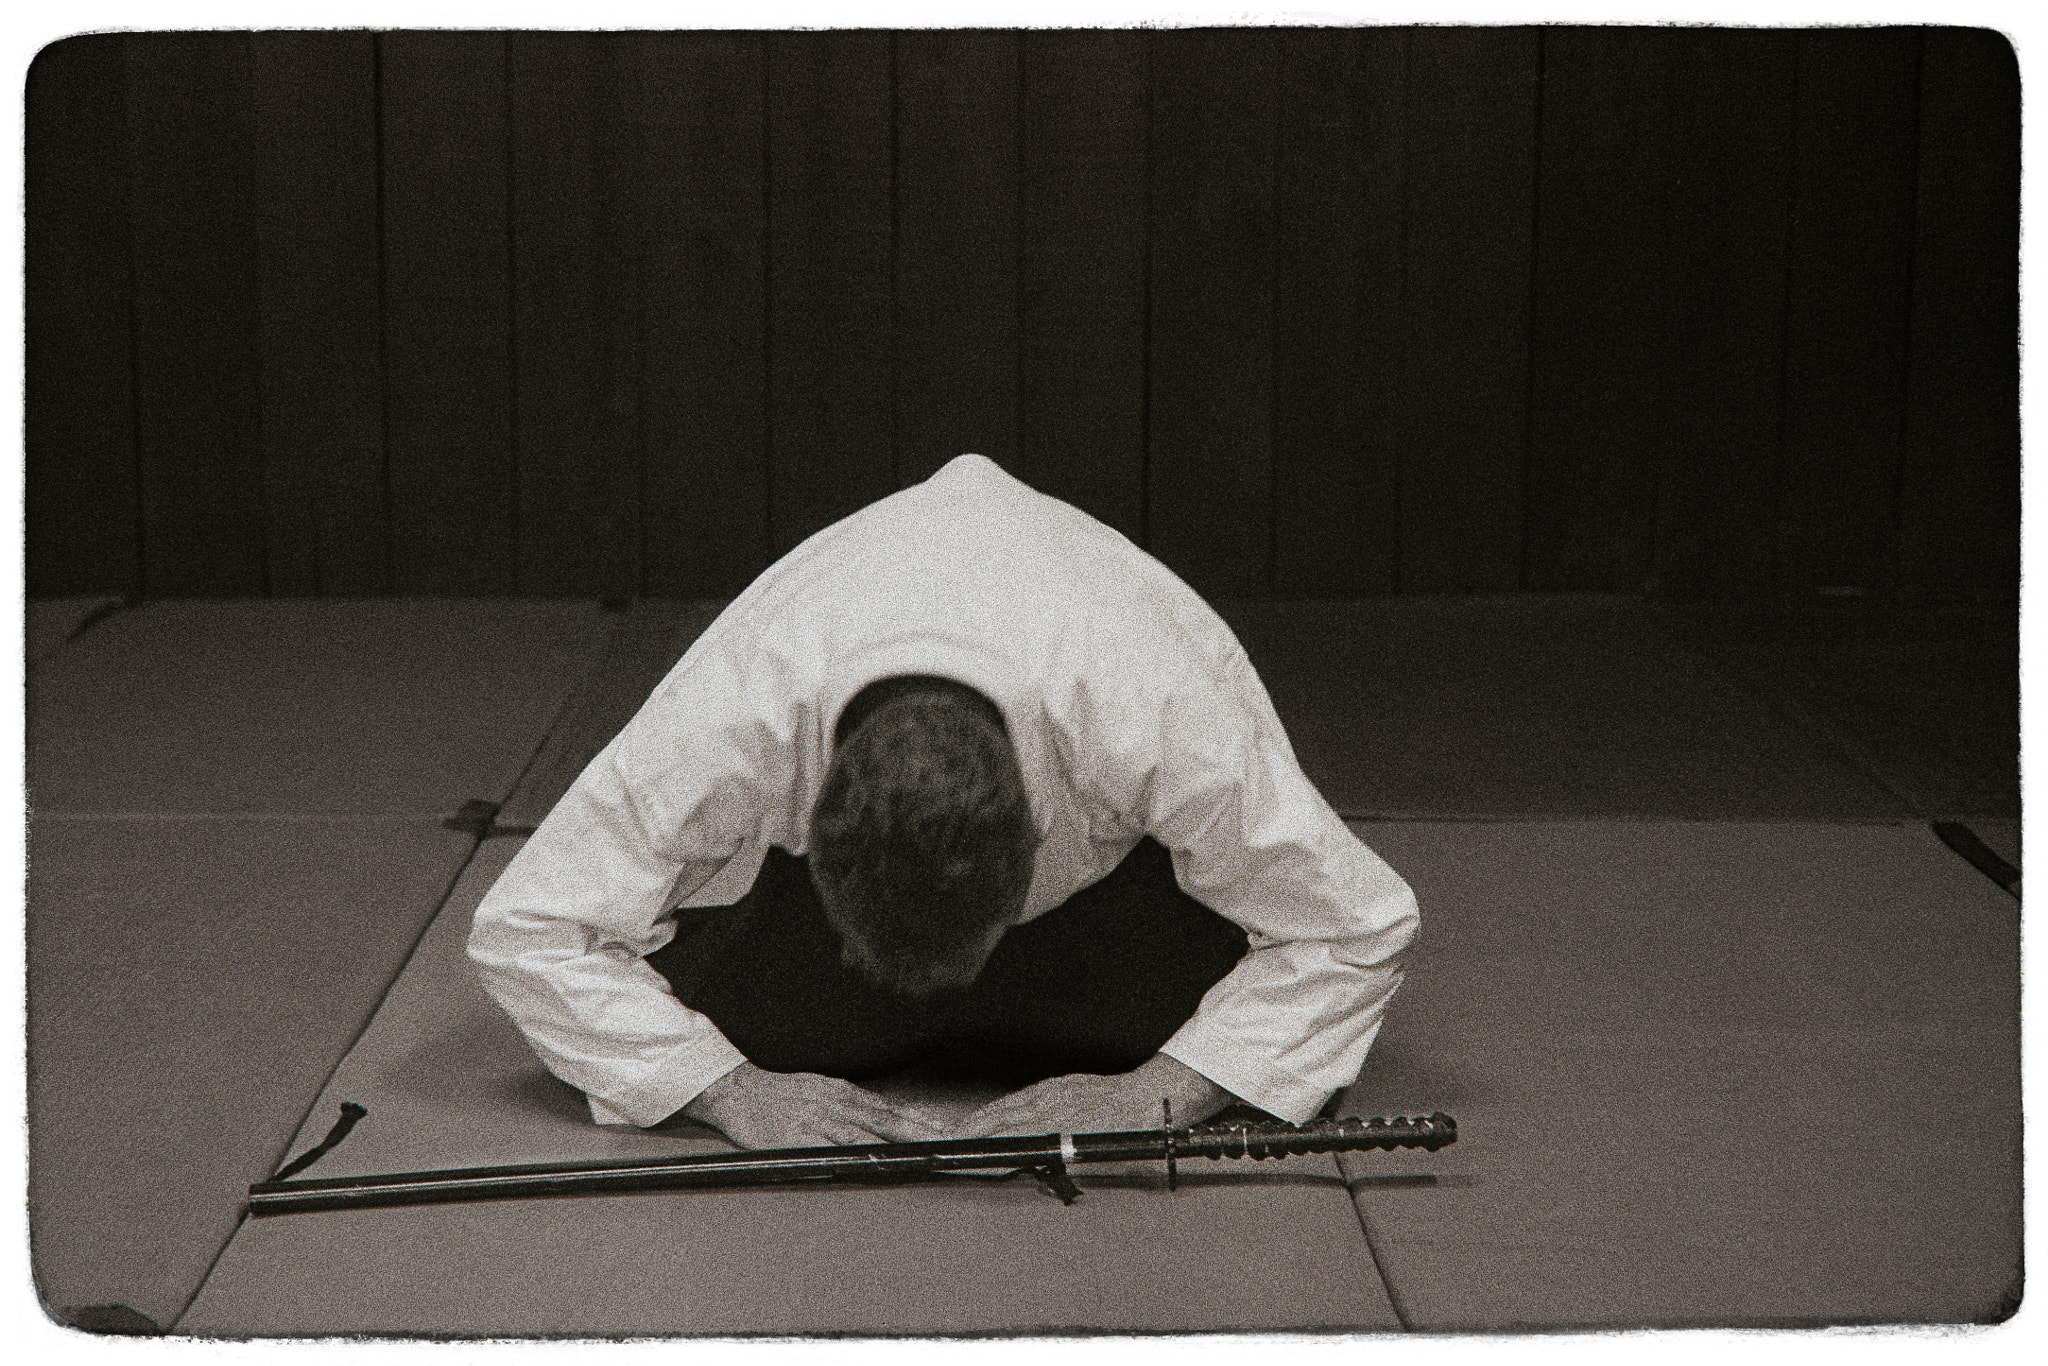
Iaido by Paul Amyes on 500px.com

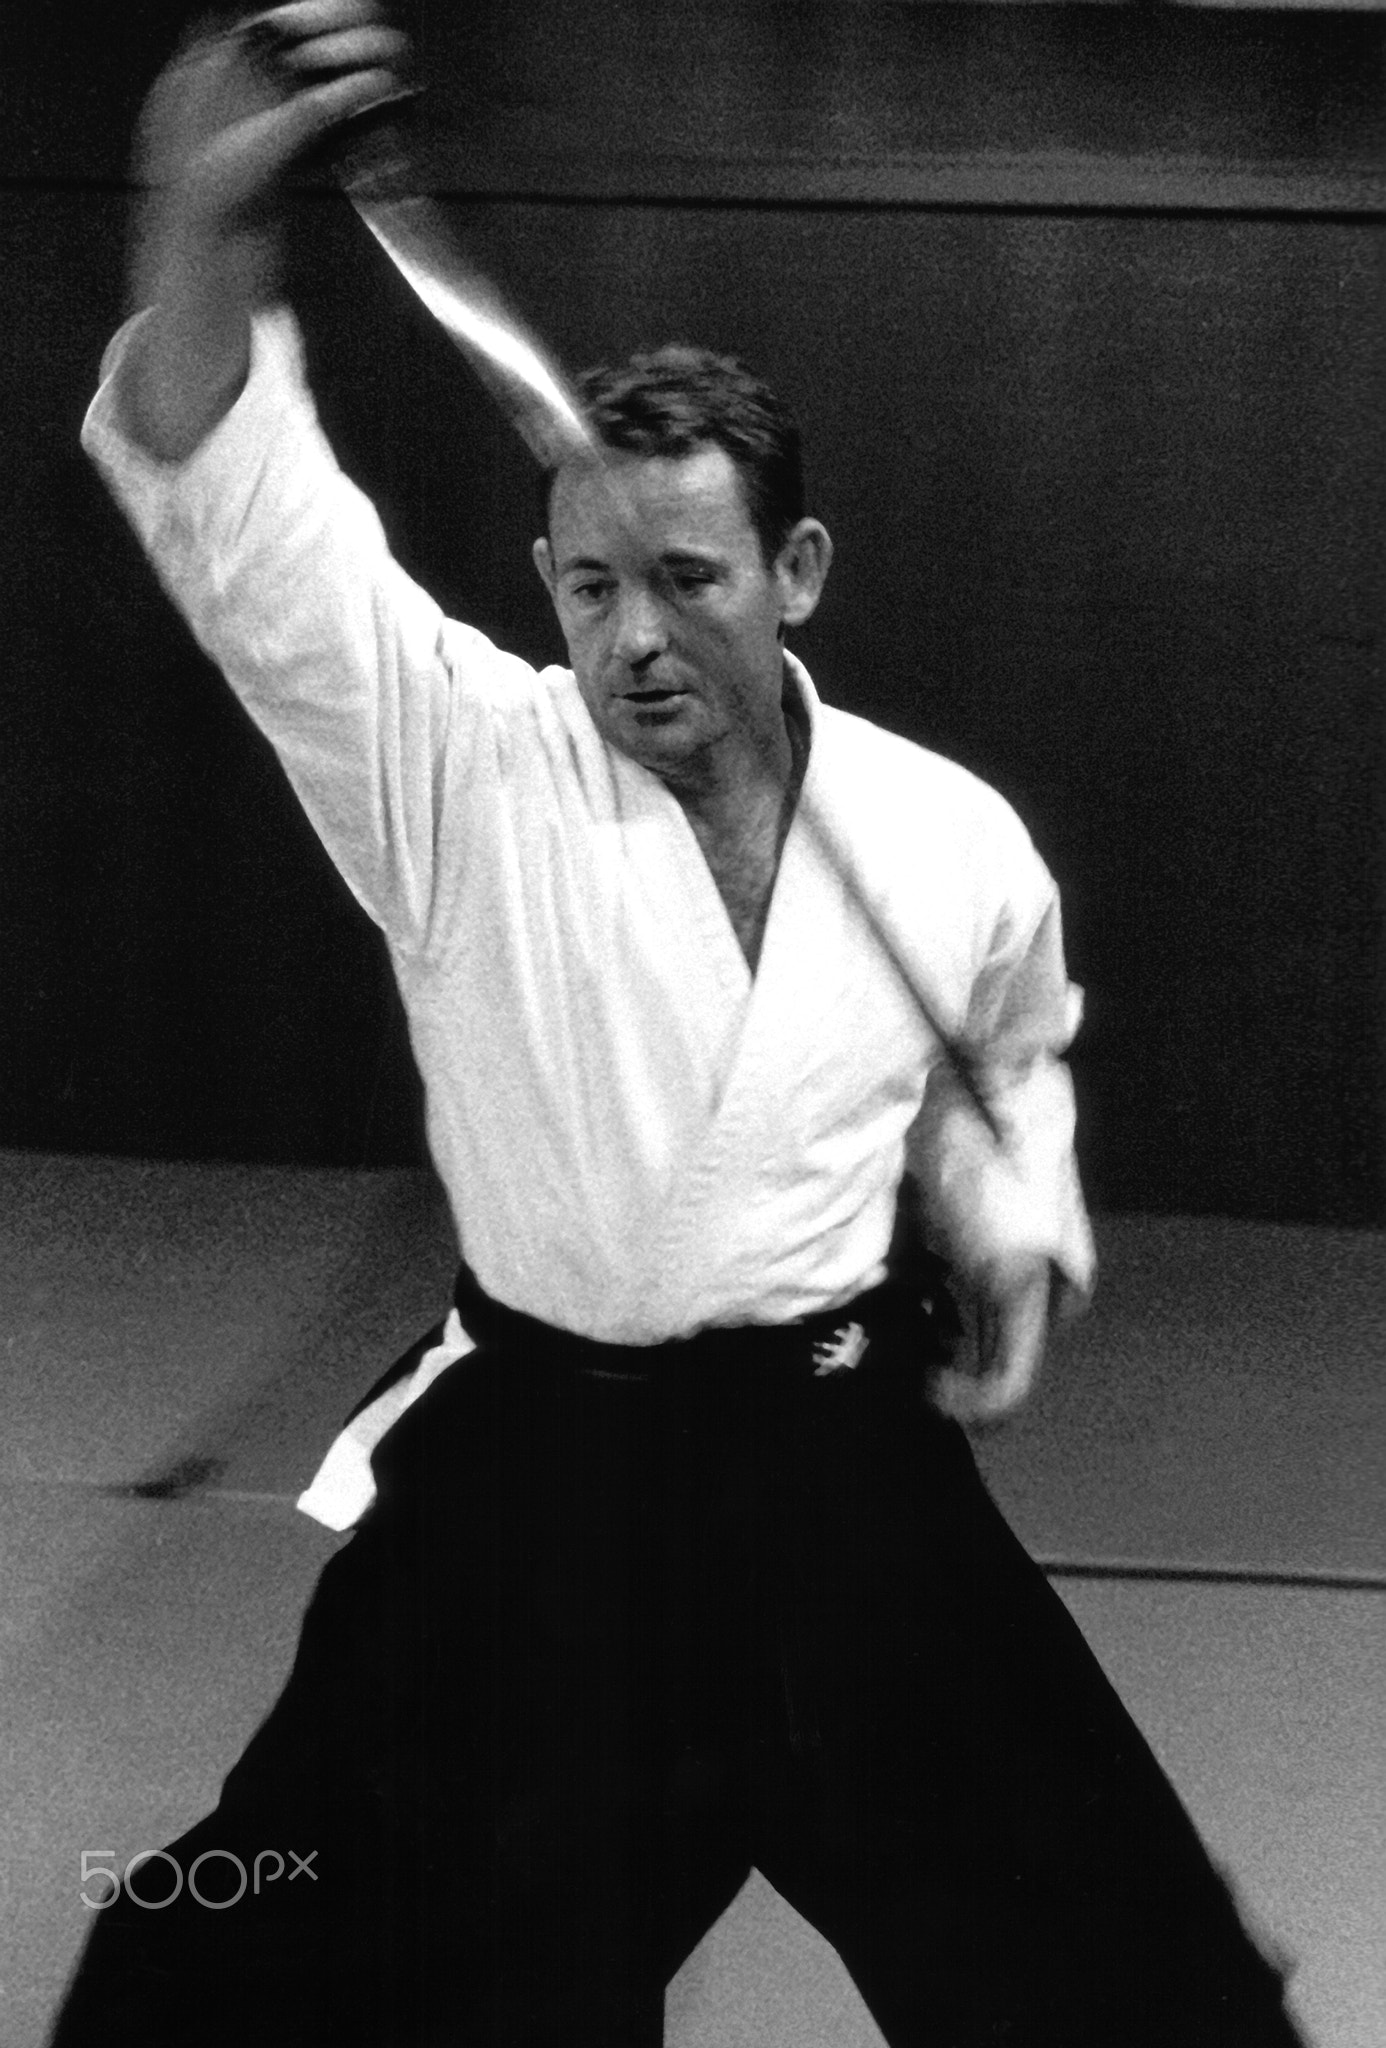
My friend Adrian practicing the Japanese art of sword drawing. Taken with an Olympus OM 4 with a Tamron 28 mm lens, using Ifford Delta 3200. Scanned using an Olympus ES-10 scanner and edited using Adobe Photoshop Elements 2 and Genuine Fractuals.


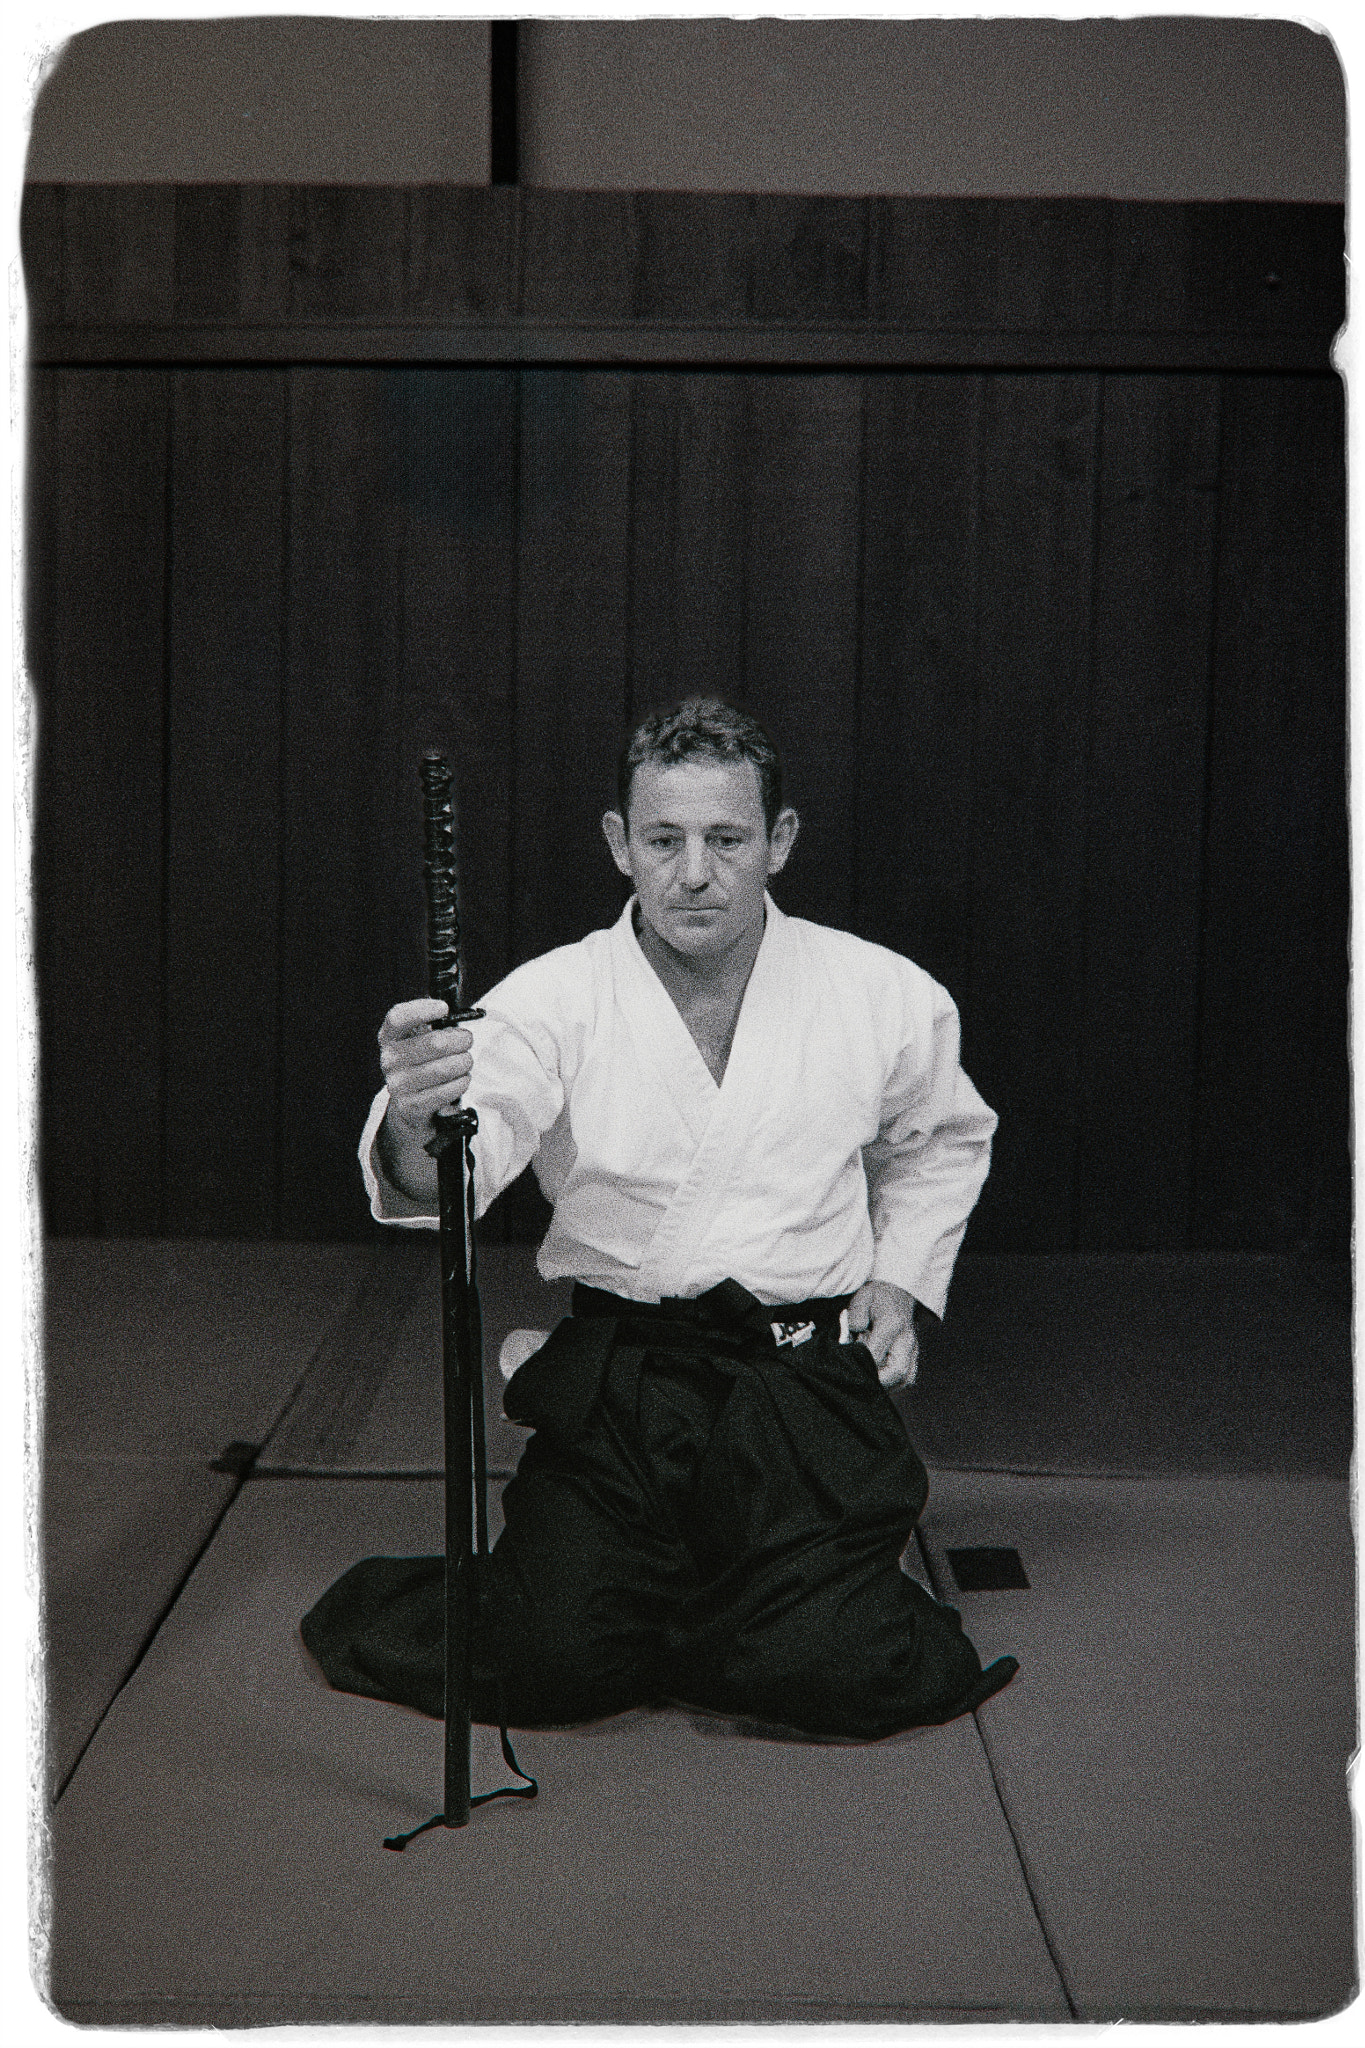
I first posted this photo of my late friend Adrian ten years ago, but it was already 10 years old then. I’ve not had a look at the rest of the negatives since then. It was scanned with an Olympus ES-10 scanner which I owned for a number of years, by then it was already long in the tooth and struggled to produce a file suitable for printing an A4 print. Fast forward 20 years and I’m experimenting with scanning negatives and slides with a camera and macro lens. It’s early days so far – mainly because you need to hold the film perfectly flat. There are quite a few contraptions on the market that claim to be able to do this, but quite a few of them cost more than a dedicated film scanner which to me negates the whole process entirely. The other factor is converting the negative into a positive. So far I’m just limiting myself to black and white film and am doing the conversion manually in Lightroom. If I decide to move onto colour film then I will have to look at some form of software solution to do this to get good quality results. So anyway here a few photos of Adrian I’ve scanned using my Canon EOS6d and the Canon EF 100mm f2.8 L macro lens.


Adrian by Paul Amyes on 500px.com
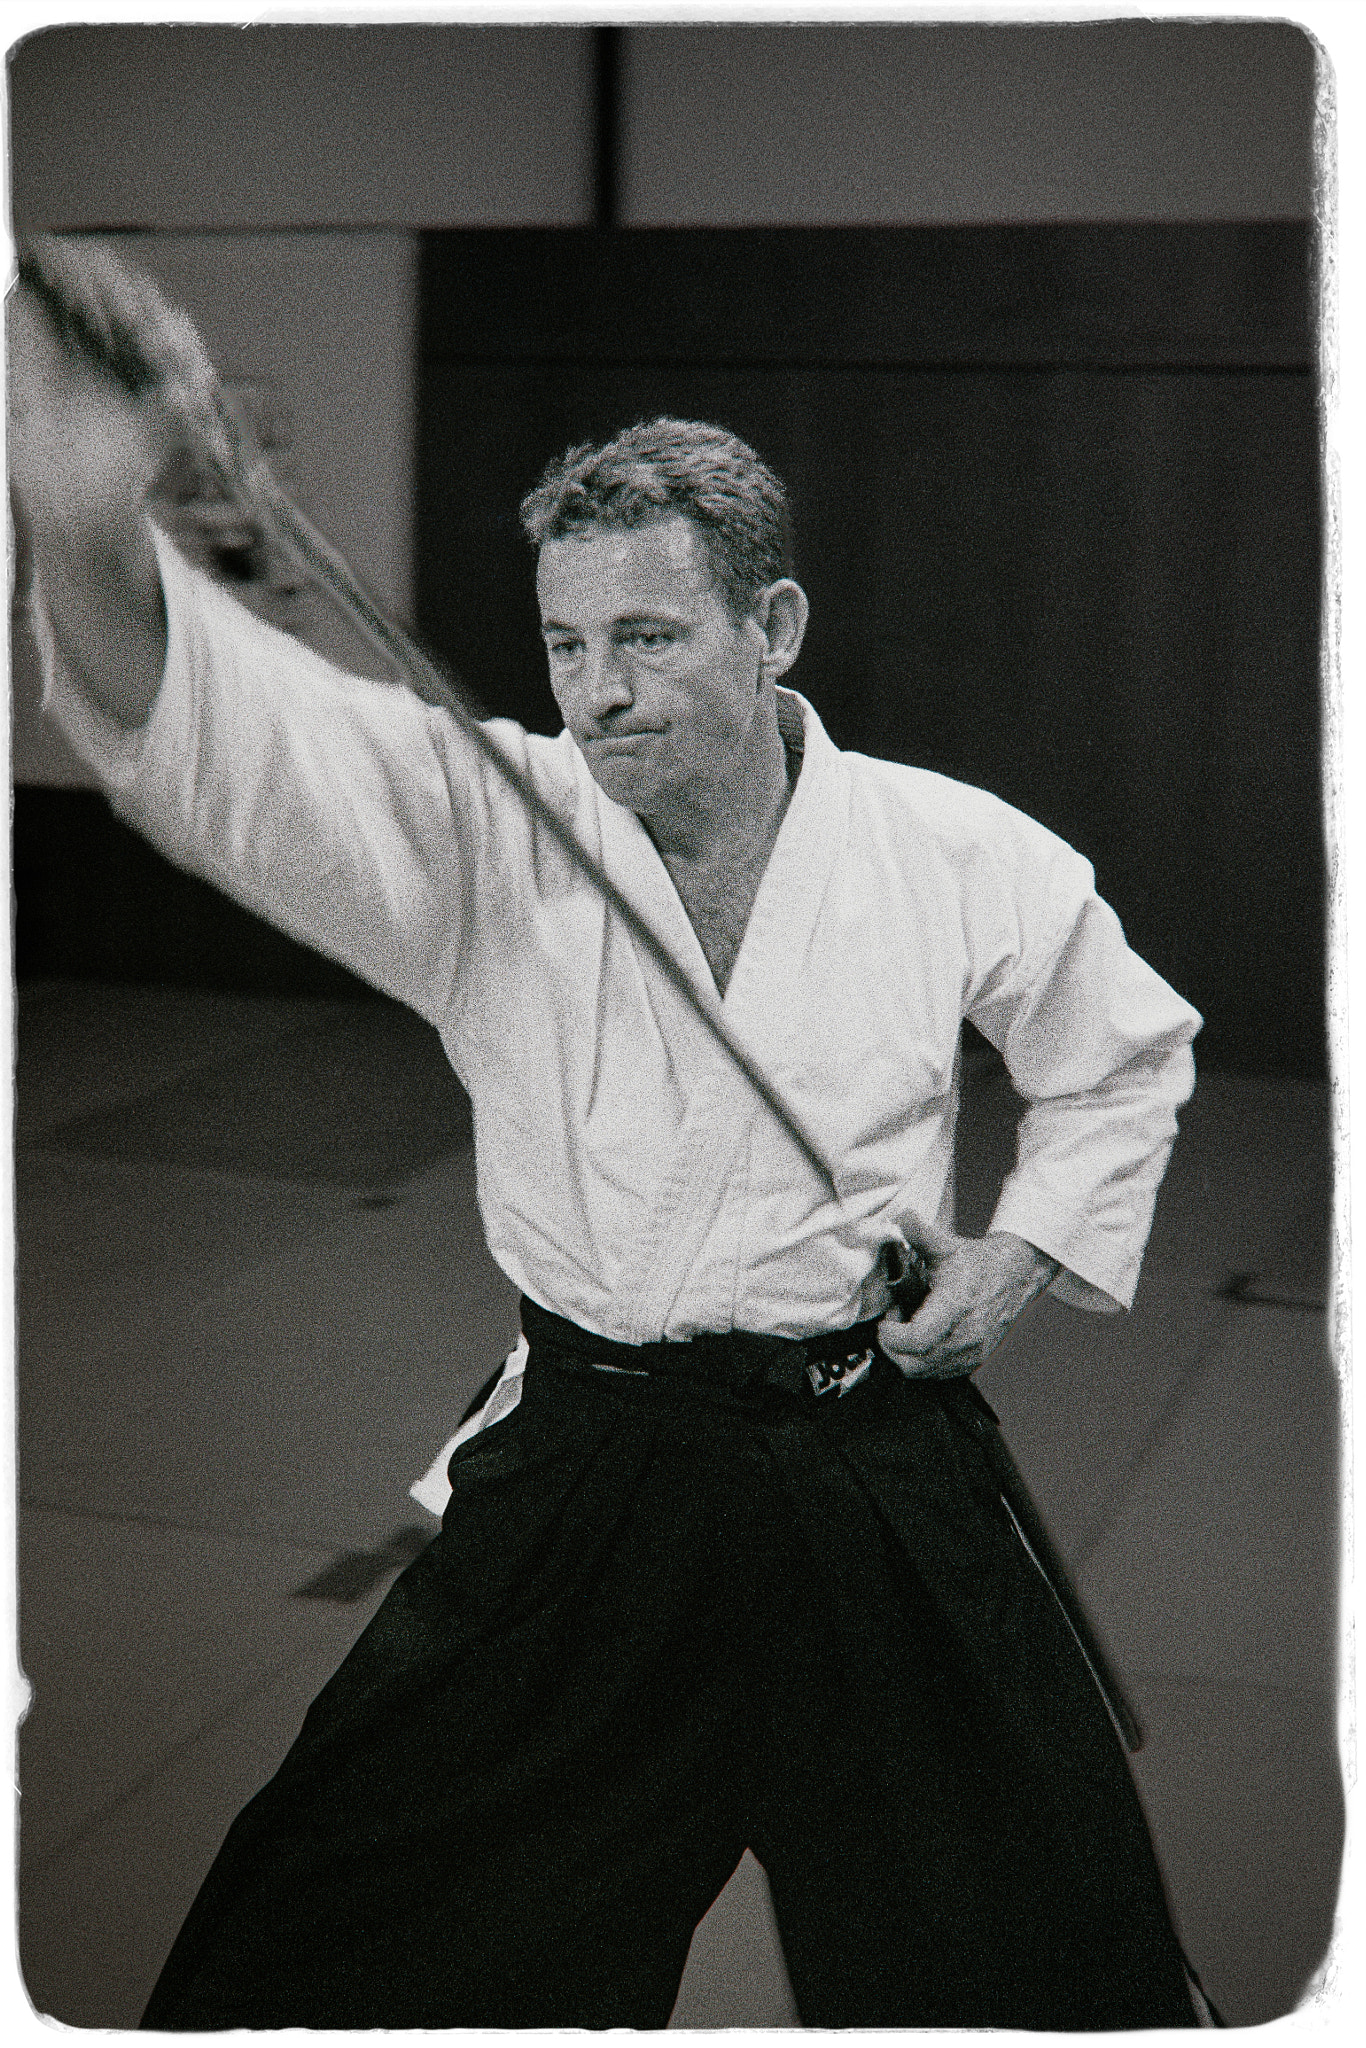
Adrian Dobson practicing the Katori Shinto Ryu sword kata for Ikkyu Tsutsumi Jujitsu. Olympus OM4 camera and Ilford Delta 3200 film.


Adrian by Paul Amyes on 500px.com


Adrian by Paul Amyes on 500px.com


These were tricky to scan – Delta 3200 is pretty grainy, although not as bad as HP5 pushed to 3200 ISO, and developing the film in Rodinal hasn’t helped. But overall I’m happy with the result so far. They are certainly better than that original scan and are better than those I used to produce with my CanoScan 9900f flatbed scanner.


“A Wonderful Bird…

… is the pelican

His bill will hold more than his belican,

He can take in his beak

Food enough for a week

But I’m damned if I see how the helican.”

 Dixon Lanier Merrit, 1910 


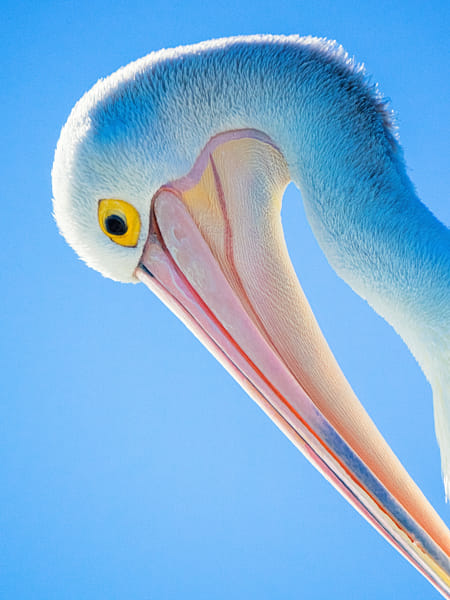
Boodalang by Paul Amyes on 500px.com
Boodalang is the Nyoongar name for the Australian Pelican (Pelecanus conspicillatus). Woodman Point, Western Australia.


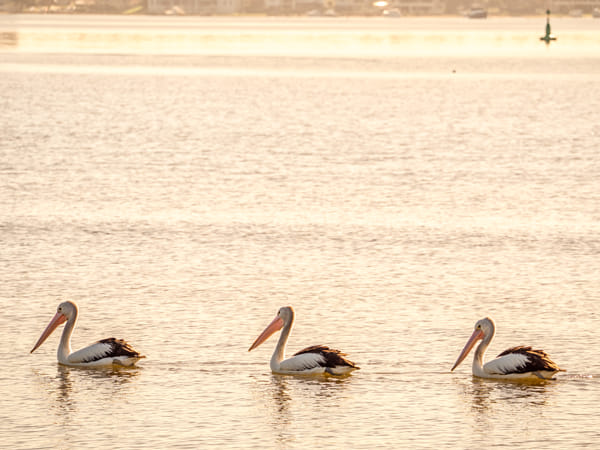
Point Walter - Blackwall Reach Walk by Paul Amyes on 500px.com
A trio of Australian pelicans swimming in formation off Point Walter on the Swan River.


The Australian Pelican is a familiar sight and can be found in waterways and coastal areas all around Australia. Basically where there are fish there are pelicans. I’m sure that I’m not alone in being slightly amused by the sight of them. That large beak and pouch looks somewhat comical and birds that size shouldn’t really be able to fly – how do they get airborne? 


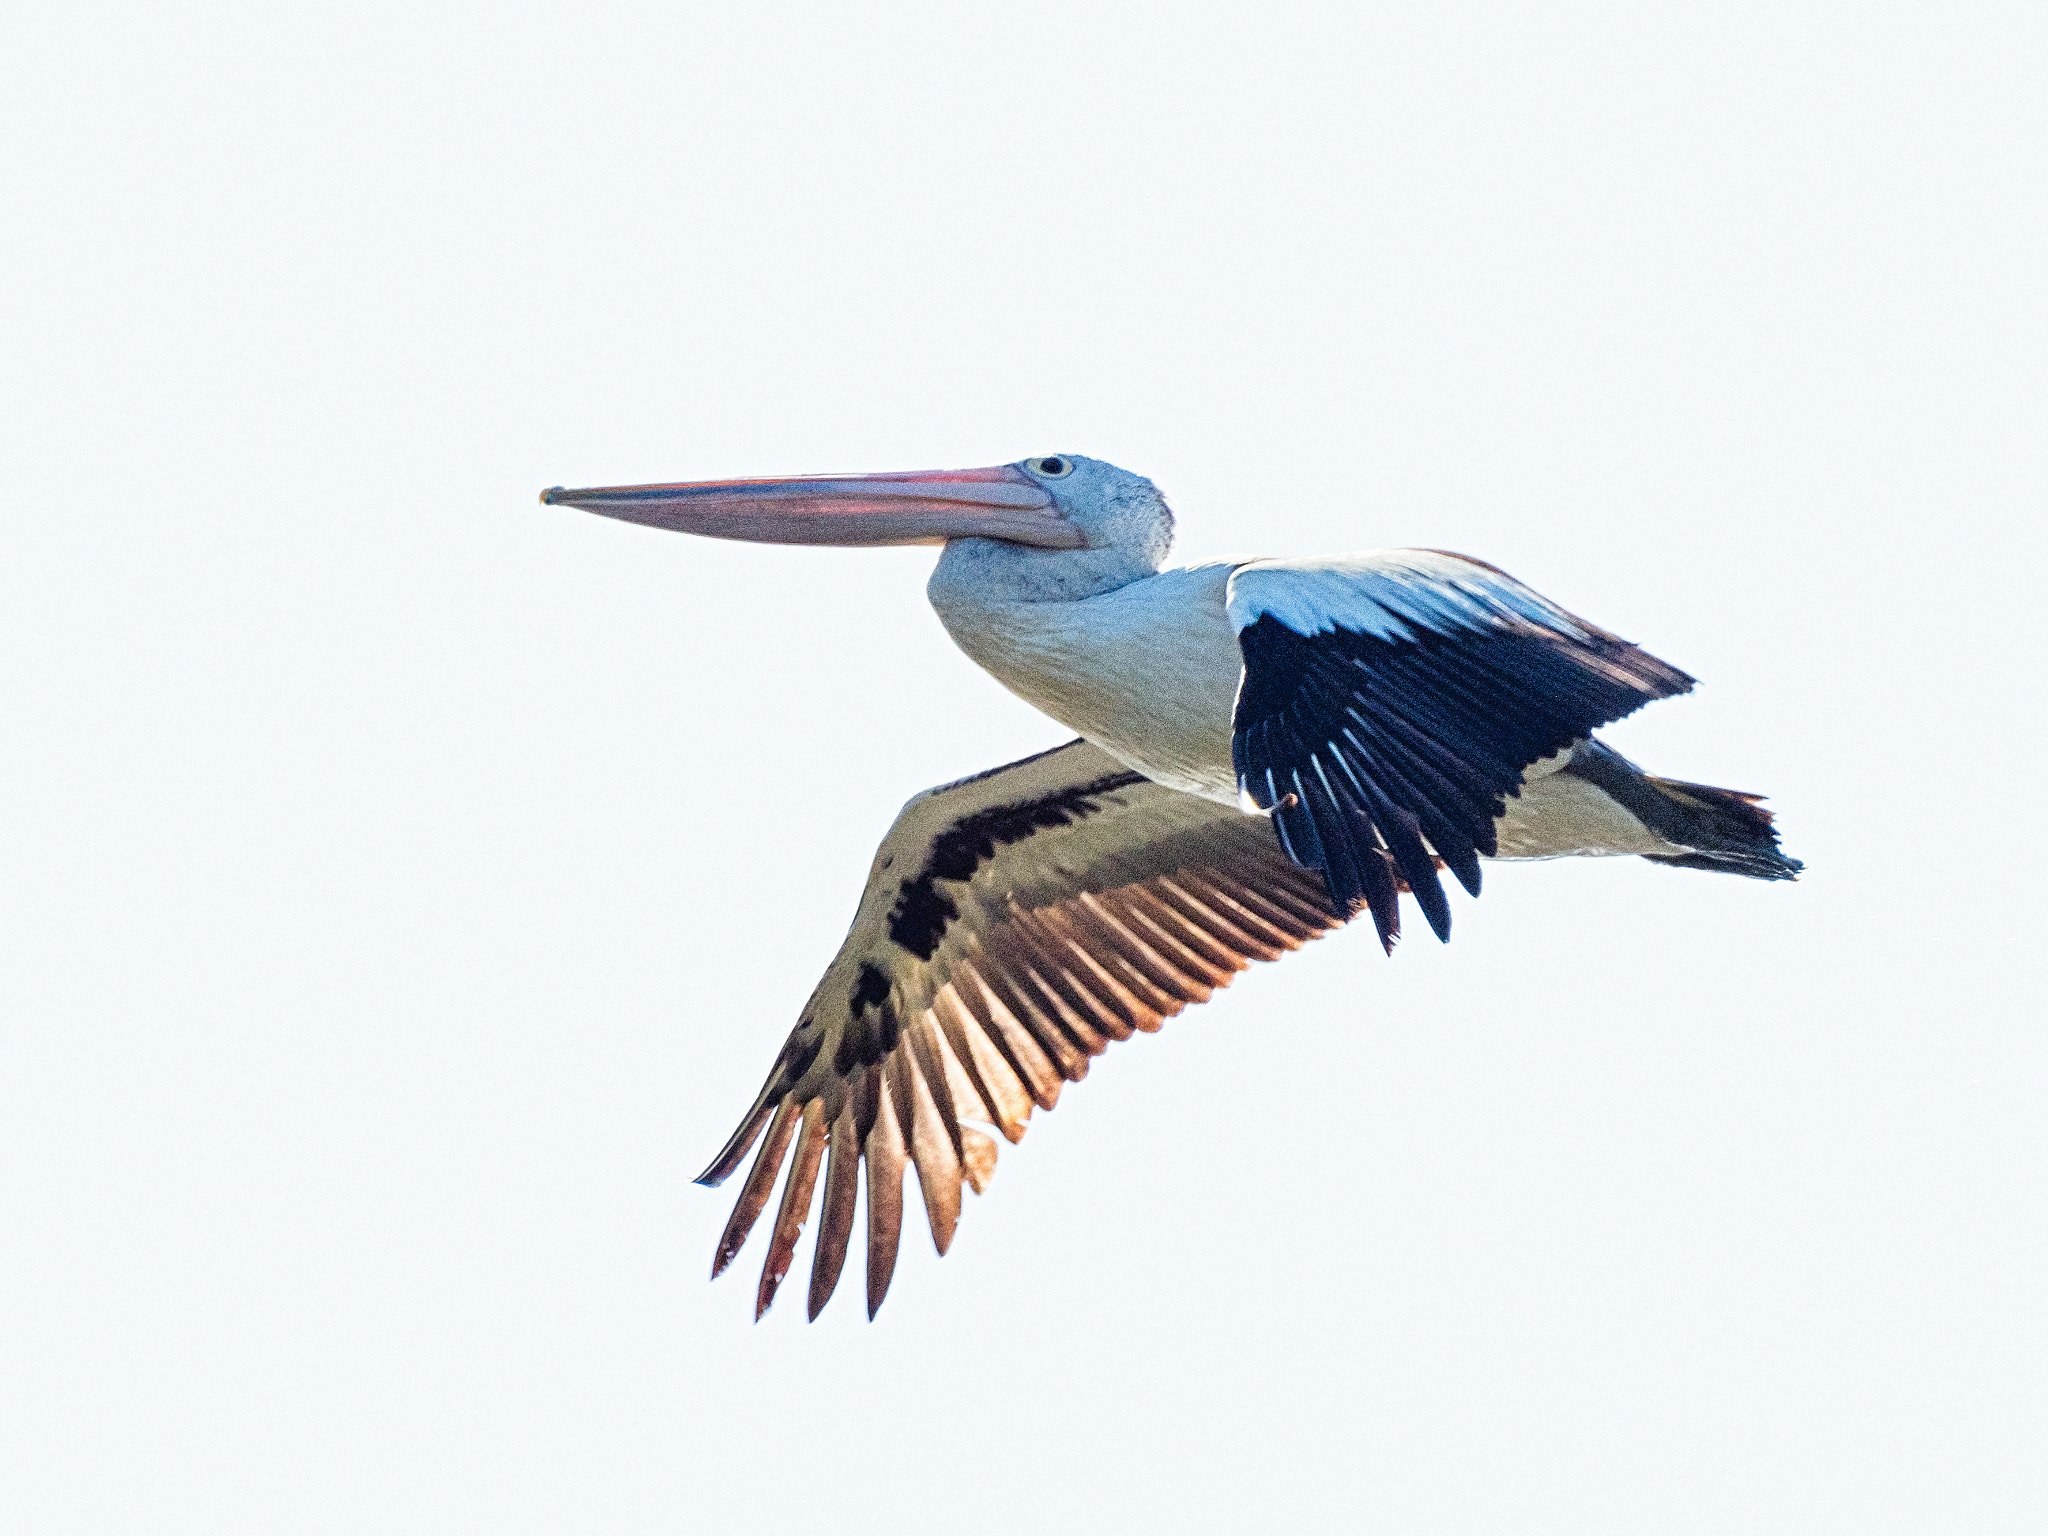
Australian Pelican by Paul Amyes on 500px.com
Australian Pelican, Pelecanus conspicillatus, Lake Seppings, Western Australia.


Australian pelicans are the second largest flying bird in Australia, only the brolga is bigger. Although on the small size compared to other pelican species the Aussie comes in 4-13Kg (males are larger than females) and have a wing span of up to 2.5m. That’s a lot of bird. That bill is the largest of any bird measuring up to 50cm in length. They are highly evolved animals that owe their success to a number of strange features. 


Boodelong by Paul Amyes on 500px.com
Trawling at Two Peoples Bay, Western Australia.


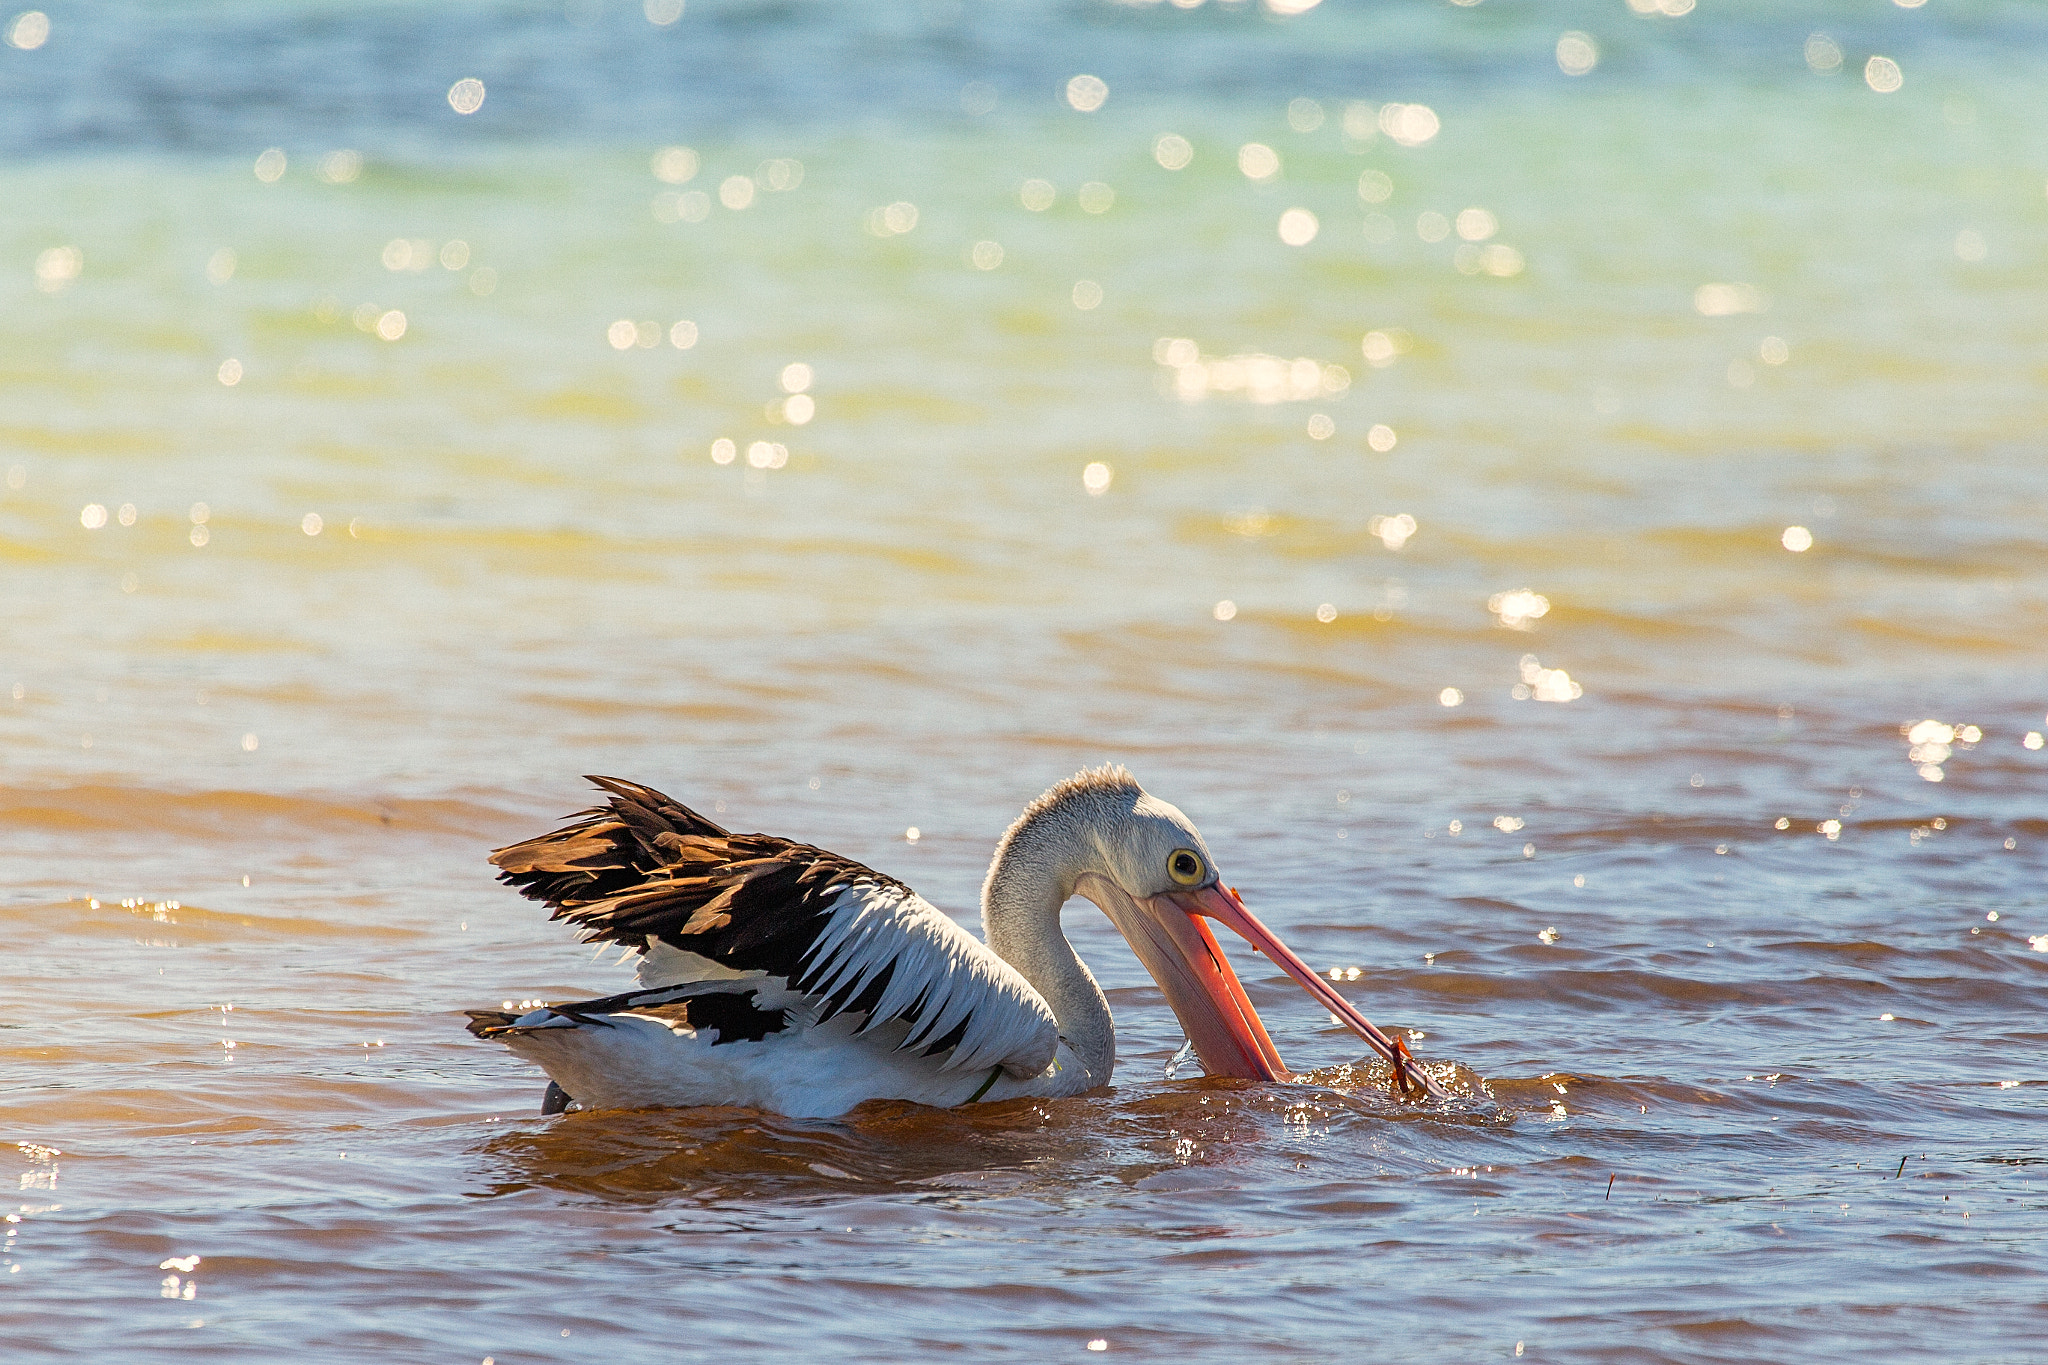
That distinctive bill and pouch is not for storing fish to eat later, but is rather used as a net to trap fish and other marine life. As the pelican trawls the pouch can hold up to 13 litres of water and food. When it is time to eat the bird lifts its bill out of the water and pushes it against its chest to expel the water and then it flips its prey around so that it can be swallowed head first. They don’t just eat marine life, they will eat small ducks, seagulls and small mammals. They will even steal the fish that other birds, such as ospreys, have caught. In all an adult pelican will eat up to 2Kg of fish a day. On a hot day the pouch is also used as a cooling system – the bird swings it about to cool down.


Australian Pelican by Paul Amyes on 500px.com
Effortlessly swimming along the Serpentine River in Mandurah, Western Australia.


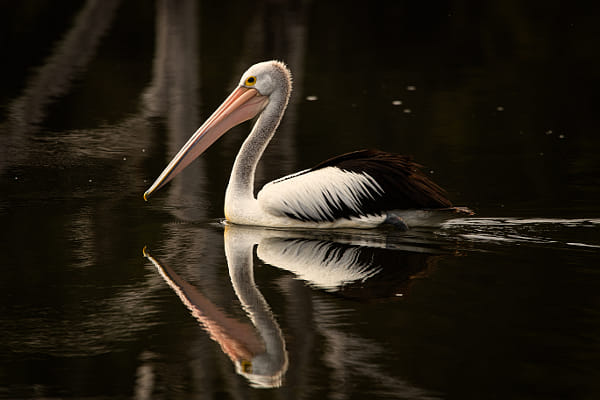
Despite their size they have a light weight skeleton that has air pockets. This means that it weighs less than 10% of the total body weight which enables them to fly and remain buoyant in water. They also have a number of air cells under their skin which are connected to the respiratory system and act as floats. This gives the pelican the ability to float with very little of its body below the surface of the water which has the effect of minimising energy expenditure when swimming. 


Boodalang by Paul Amyes on 500px.com
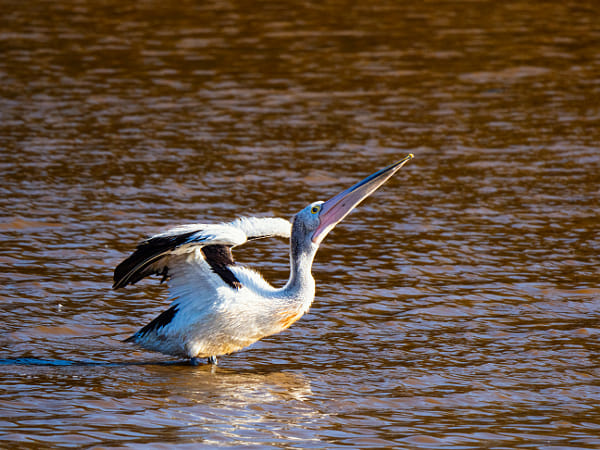
Getting ready. Alcoa Wellard Wetlands, Western Australia.


Boodalang by Paul Amyes on 500px.com
“We’re off!”


Boodalang by Paul Amyes on 500px.com


Boodalang by Paul Amyes on 500px.com
Heading home.


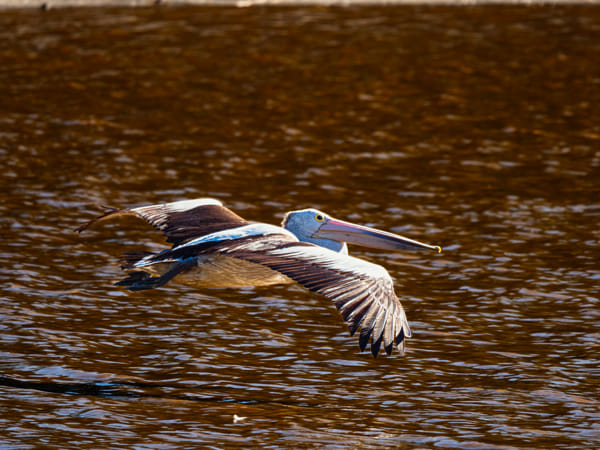
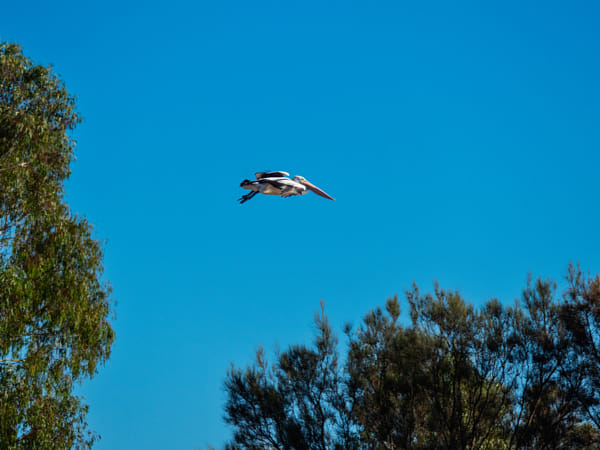
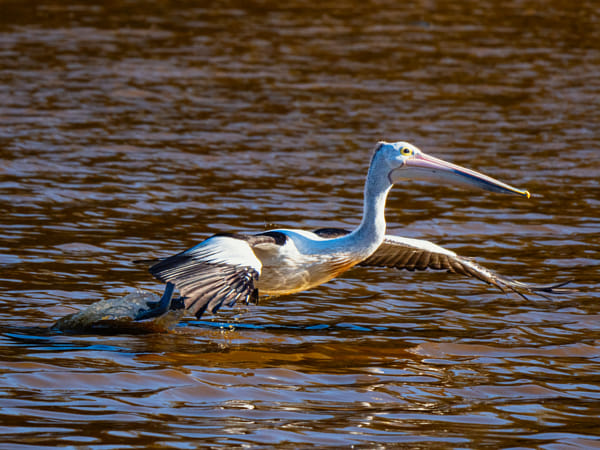
Perhaps the most amazing facts about the Australian pelican are when it comes to flight. Their large wings enable them to soar on thermal currents at altitudes up to 3000m and they can stay airborne like this for up to 24 hours. It makes for an incredibly efficient means of flying. When taking off a pelican will often fly incredibly low over water – they almost skim the surface. By this they take advantage of the “ground effect” which reduces drag and increases lift. The air flows between the wings and the water’s surface where it is compressed and exerts a strong upward force pushing the bird up and this again minimises the amount of energy expended. This energy efficiency is important because an adult pelican will often commute from its nesting site 150Km to find food.


Penguin Island by Paul Amyes on 500px.com
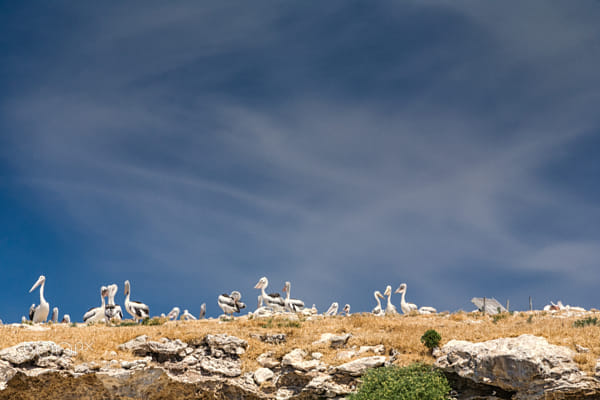
Nearly a thousand Australian pelicans use Penguin Island as a nesting site and breeding colony.


The Australian pelican maybe cut a comical figure, but they look like that for very specific reasons.