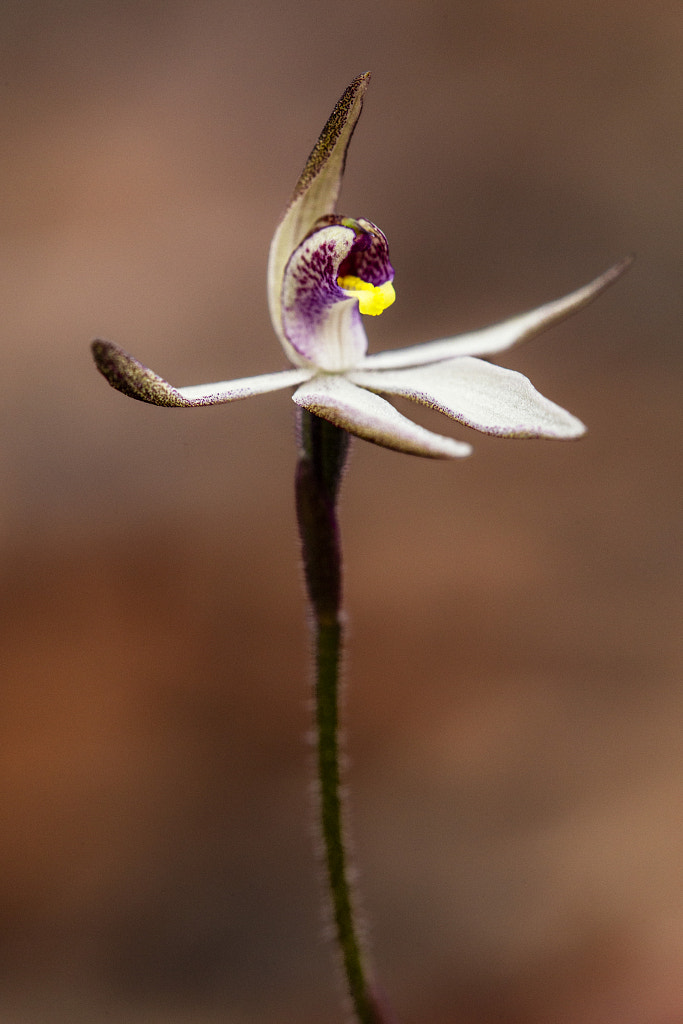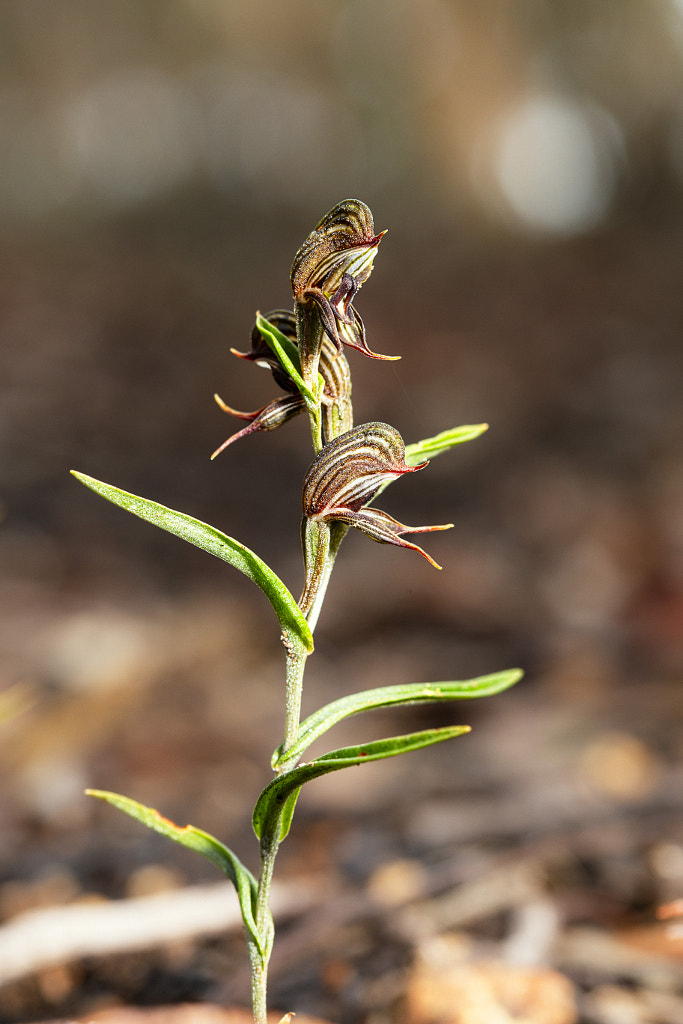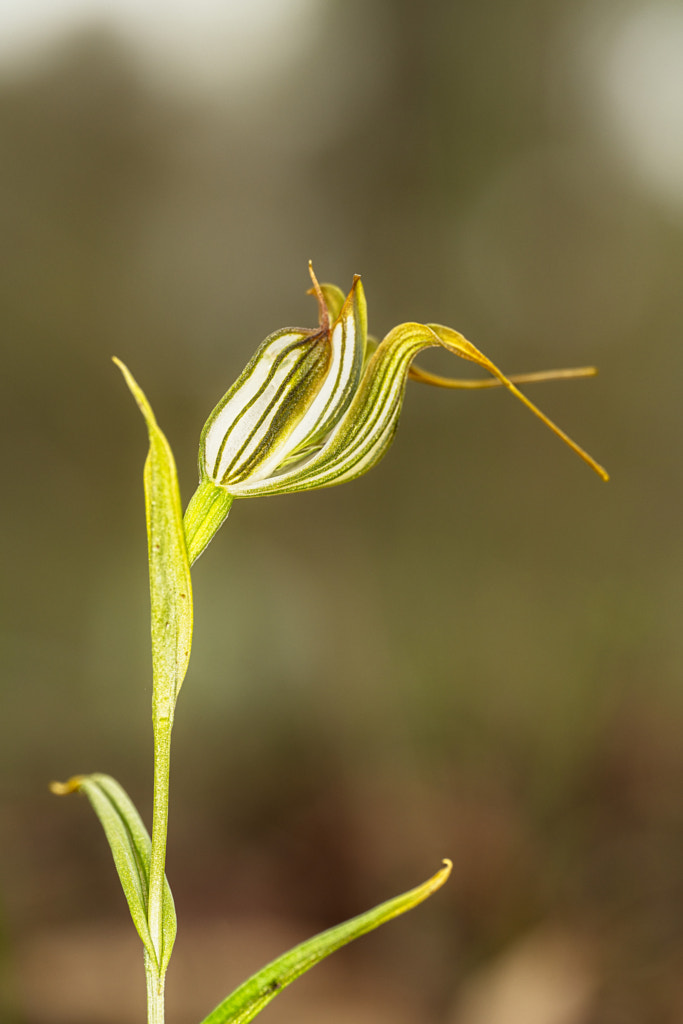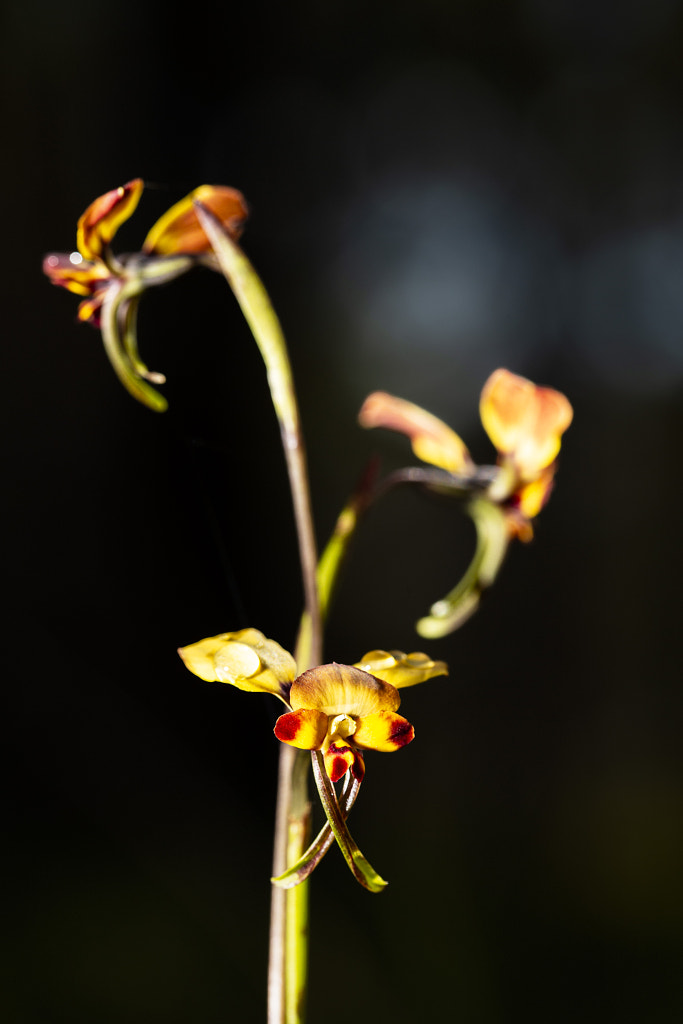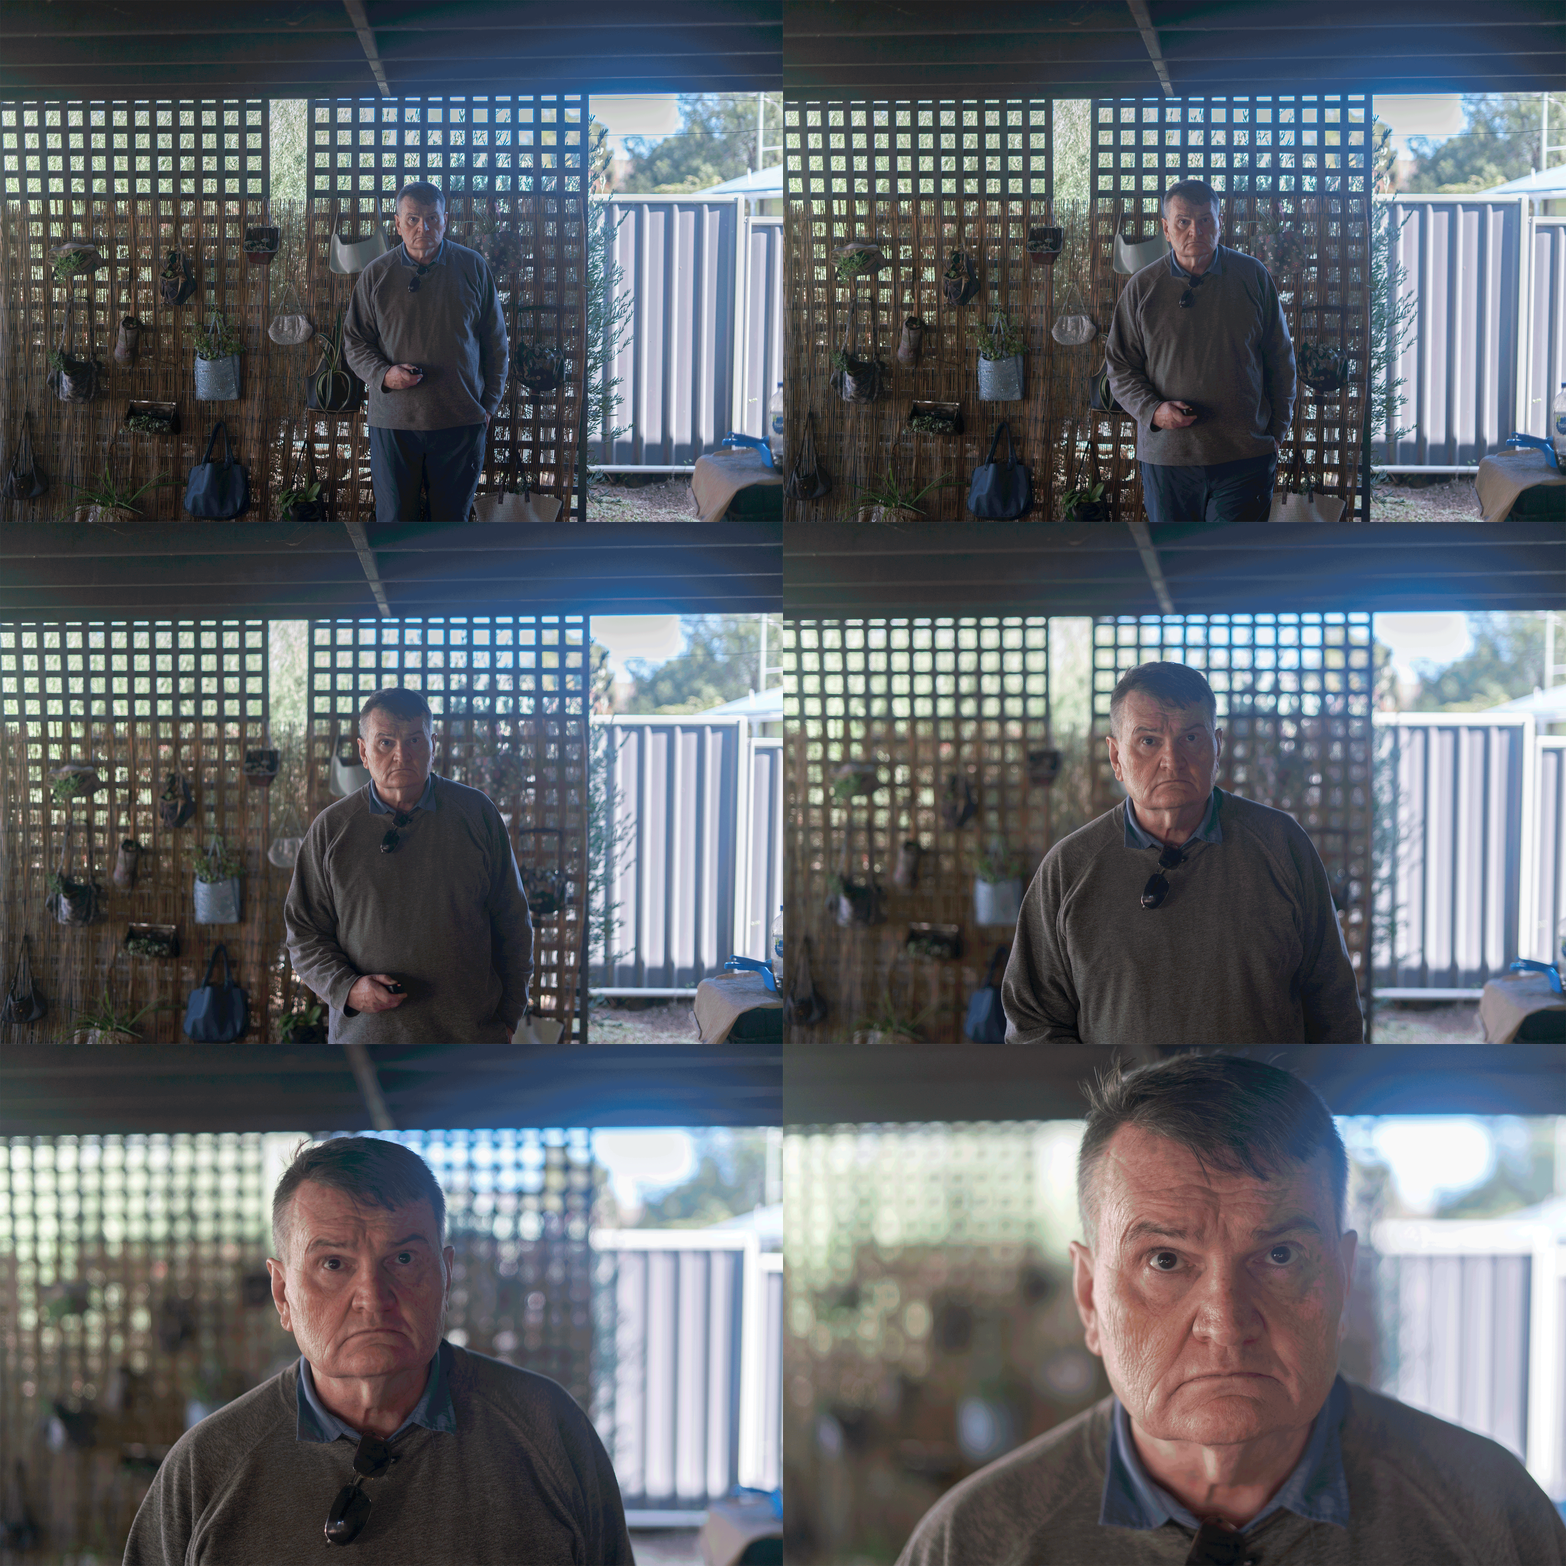
Evolution Of Technique And Style

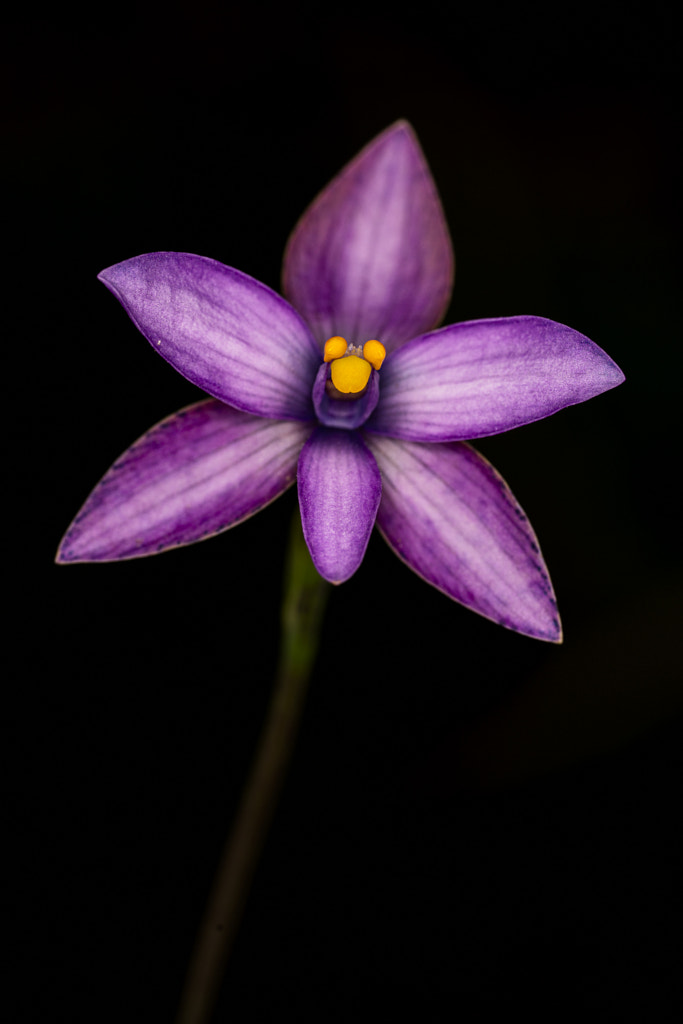
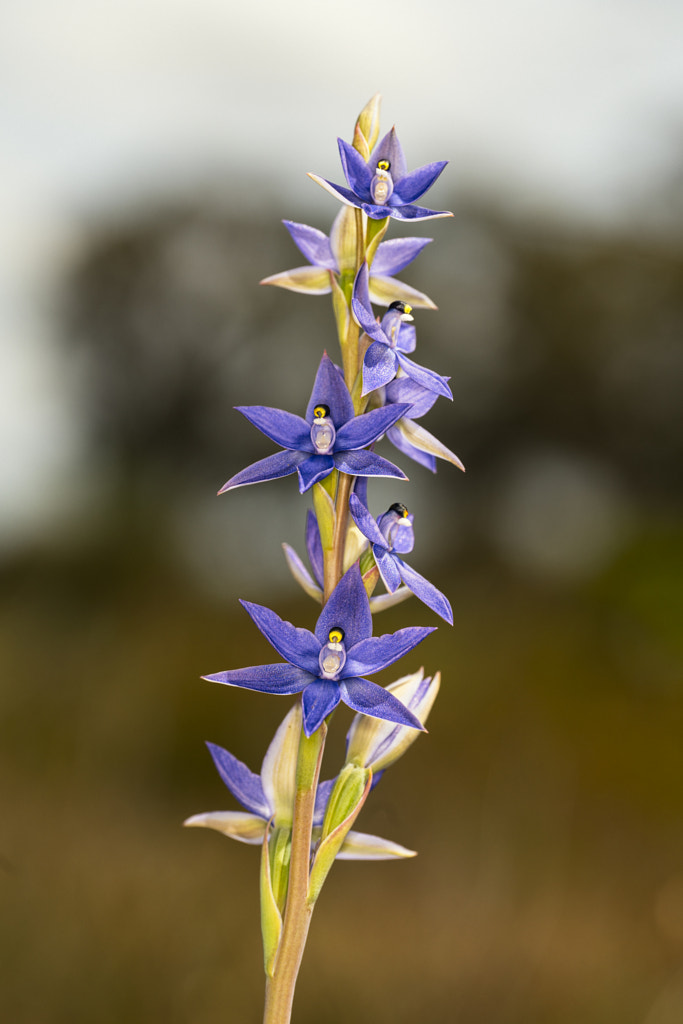
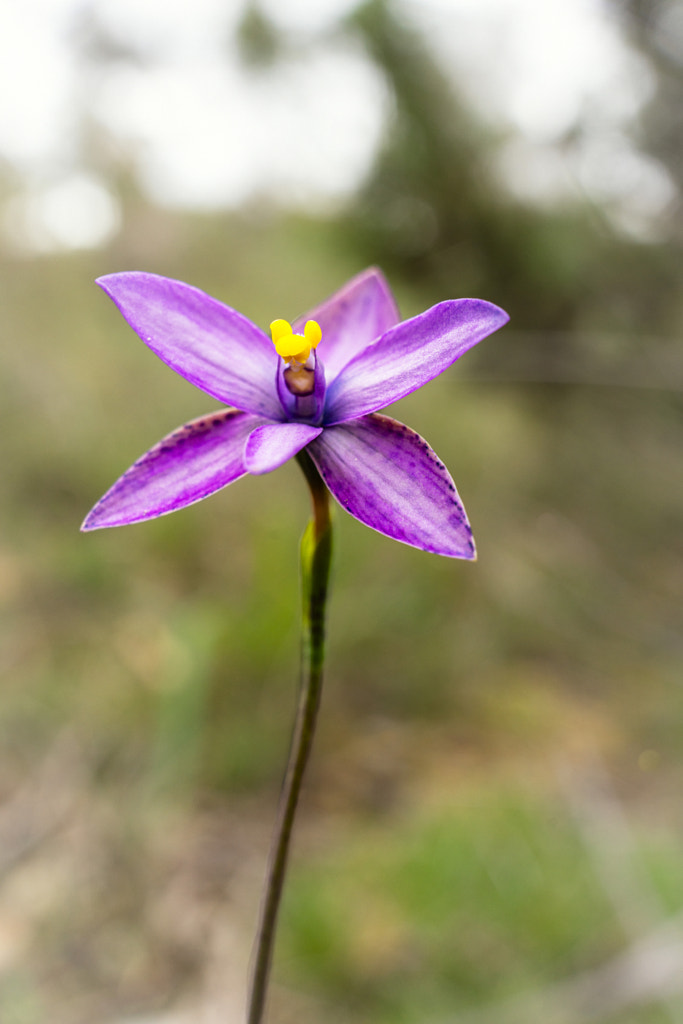
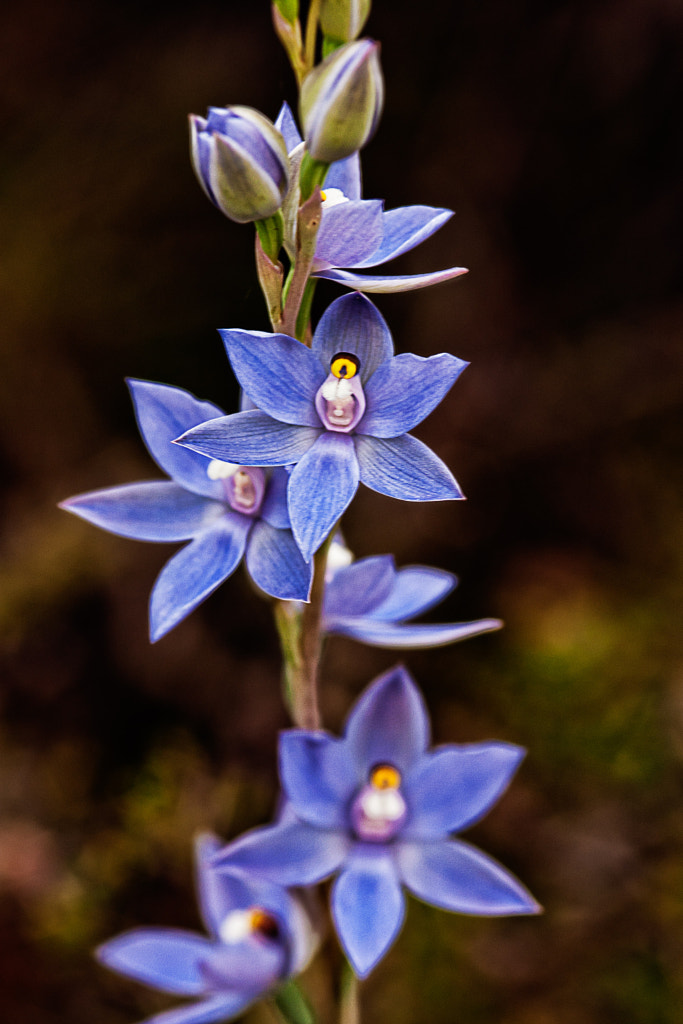
Scented Sun Orchid by Paul Amyes on 500px.com
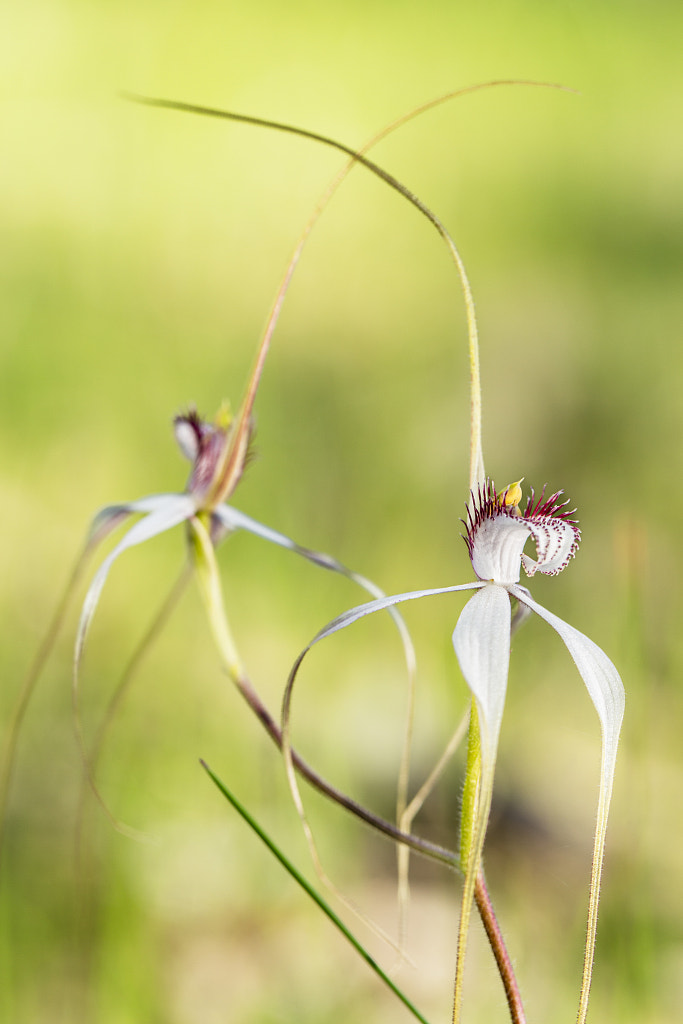
This shot of a Scented Sun Orchid was what I considered my first successful photo of an orchid. The subject is separated from the background making easy to see.


I took what I call my first proper shot of an orchid back in 2008. Back then my technique was very simple – handheld with a macro lens. The problem was that it was often very difficult to isolate the flower from the background while having sufficient depth of field and a low ISO. For every successful photo there were hundreds of duds.
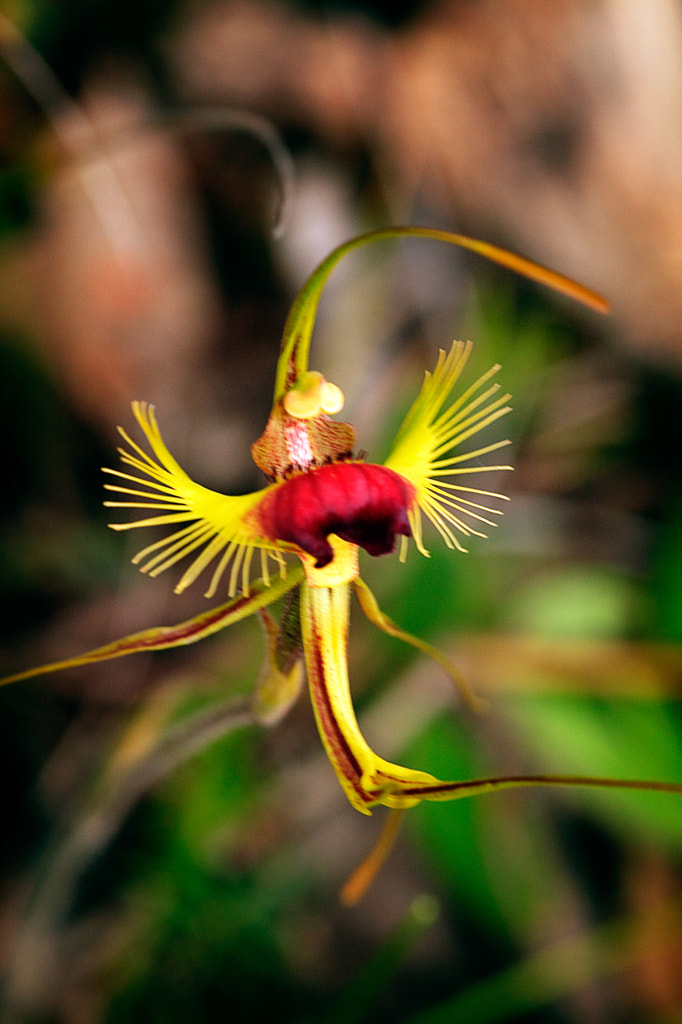
 

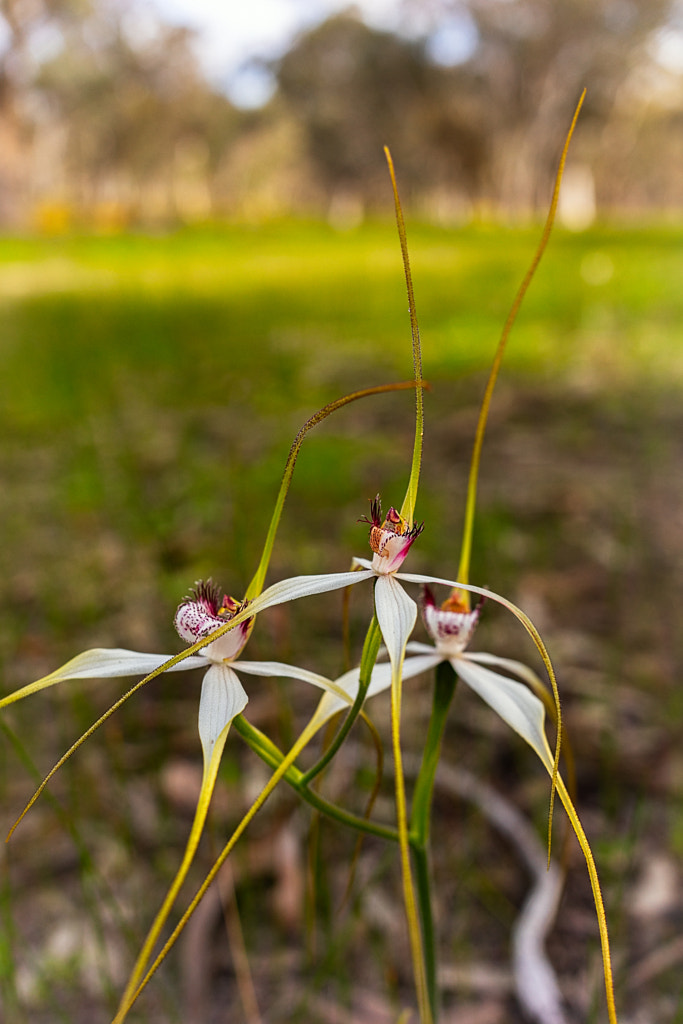
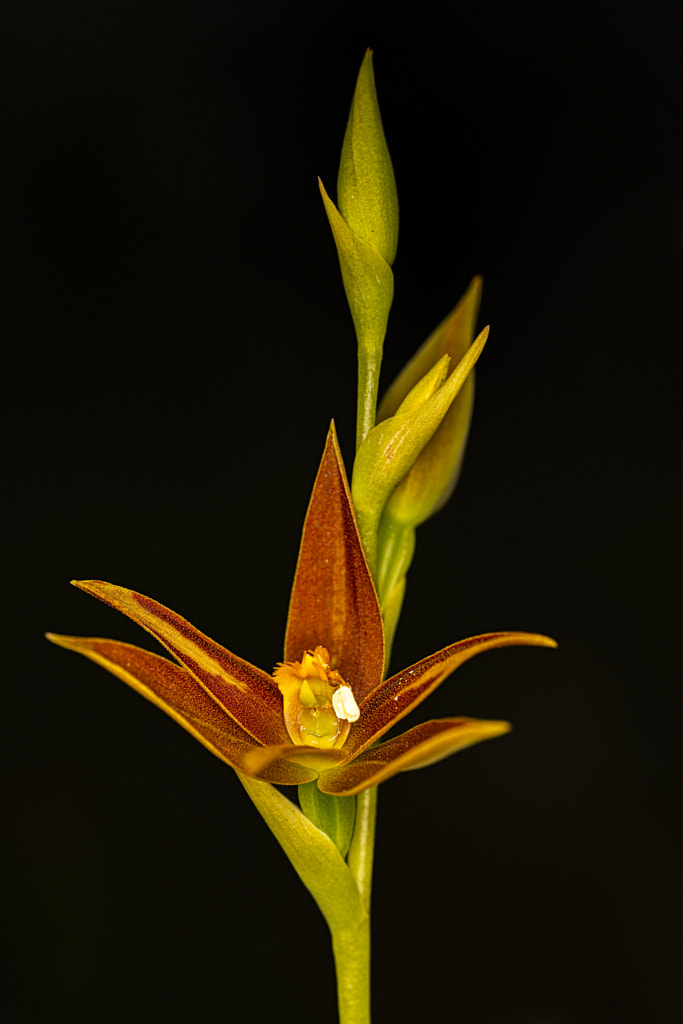
Butterfly Orchid by Paul Amyes on 500px.com
This shot of a Butterfly Orchid is one of the hundreds of duds. The messy background threatens to overwhelm the subject.


After about a year of trial and error (mostly error) I decided to photograph the orchids in the same way I would take a portrait of a person. Get down at “eye” level, use an off axis flash to provide the key light and have the natural light as my fill light at -1 to -2 stops. This was a huge improvement, but I still wasn’t getting the clarity and sharpness in the images I desired.


Photographing Orchids
My first flash rig for photographing orchids. Using a flash brake allowed me to get the flash off of the lens axis and get a more pleasing lighting effect.


120907-York-1324
The next attempt at better lighting was a heavy tripod and light stand. My back hurts just looking at this photo.


The next evolution was to mount the camera on a tripod and then mount the flash to one of the tripod legs via a “magic arm”. This allowed greater choice in the positioning of the flash and allowed me to use different flash modifiers such as soft boxes, grids and snoots. The arrival of affordable and reliable wireless flash triggers  meant I could use multiple speedlights for more sophisticated lighting. This came a tremendous cost. I have a chronically bad back and all that kit was heavy, the tripod and “magic arm weighed just under 6Kg. Then there was the futzing about setting everything up, taking the shot, breaking it all down, walking to the next subject and then repeating it all again. Suddenly it wasn’t fun anymore. Something had to give and it was my back.


Olympus Pen EP-2
The diminutive Olympus EP-2. Just what the orthopaedic surgeon ordered.


Three Way Comparison
A size comparison of my DSLRs (Canon 5d and 550d) and the Olympus EP-2 which replaced them.


In 2013 I bought an Olympus EP-2 mainly for travel and street photography. It was a revelation – small size, In Body Image Stabilisation (IBIS), and excellent flash implementation. It quickly became my orchid camera of choice. I could chuck out the tripod and become more mobile. It wasn’t all beer and skittles though. The 12Mp sensor wasn’t the best in terms of high ISO performance and dynamic range, the lack of a viewfinder made usage in bright sunlight problematic (solved with the addition of the optional EVF) and the contrast based autofocus system was a bit on the temperamental side. But the positives were enough to keep me using it and when the EM10 came out with a built in EVF, a better IBIS system and an improved sensor then I knew that the system would be just about perfect for what I did. I could walk around in the bush for hours at a time without back pain which meant I could explore further afield. This freedom allowed me to experiment a lot more.


Sigma’s 105mm f2.8 DG DN macro lens attached a Sony A7Rii.


The Tamron 35mm f2.8 lens has excellent macro capabilities.


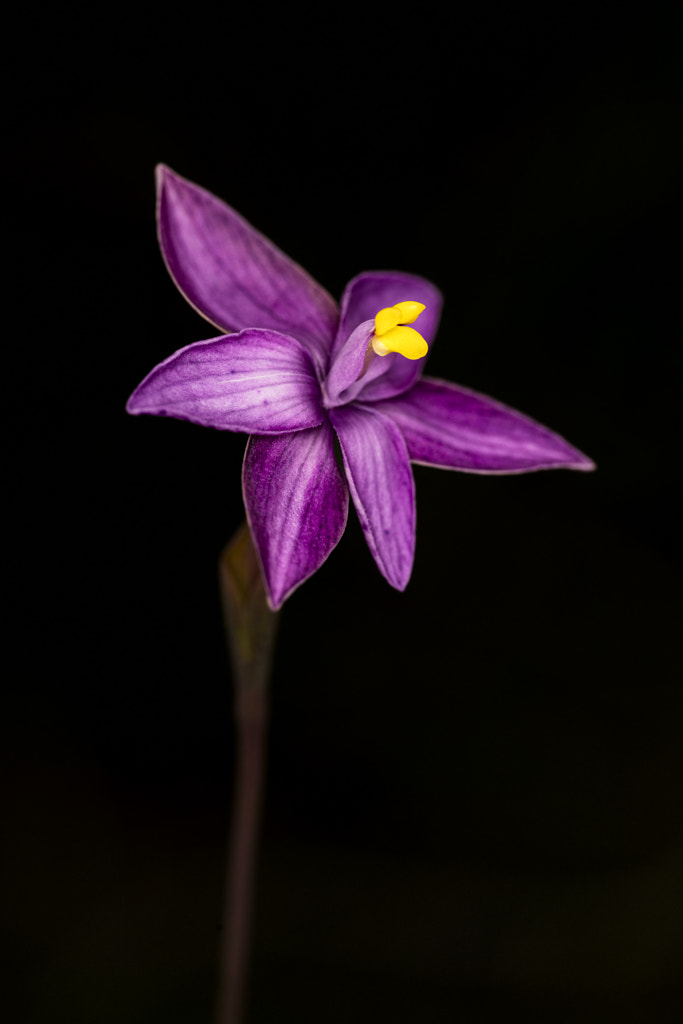
Curly Locks by Paul Amyes on 500px.com
Curly Locks, Thelymitra spiralis. Wandoo National Park, Western Australia. Sony A7r2 with Sigma 105mm f2.8 DG DN macro lens.


White Spider Orchid by Paul Amyes on 500px.com
White Spider Orchid, Caladenia longicauda subsp longicauda. Wambyn, Western Australia. Sony A7r with Tamron 35mm f2.8 lens.


In 2021 I felt that I wanted more resolution than the 20Mp EM1 mk ii was giving me. So I tentatively dipped my toe into the world of full frame mirrorless and I went with a second hand Sony A7r2. The image files produced by the camera were absolutely gorgeous. Alongside my usual working method of using flash with macro lens I decided to experiment with environmental portraiture of orchids. For this I used a 35mm lens with a half size macro capability and the results were pleasing. The downsides were as follows. The rear LCD is hopeless in bright light and it has no touch control facility. The IBIS wasn’t as effective as that on my Olympus cameras and the sensor resolution emphasised very tiny camera shake. A tripod was the solution. The sensor is a dust magnet which means that changing lenses enables dust bunnies to proliferate. The answer was to have one camera with the 105mm macro and one camera with the 35mm. Arrrrrgh! I was back carrying a load of heavy equipment. So it was back to the Olympus kit.
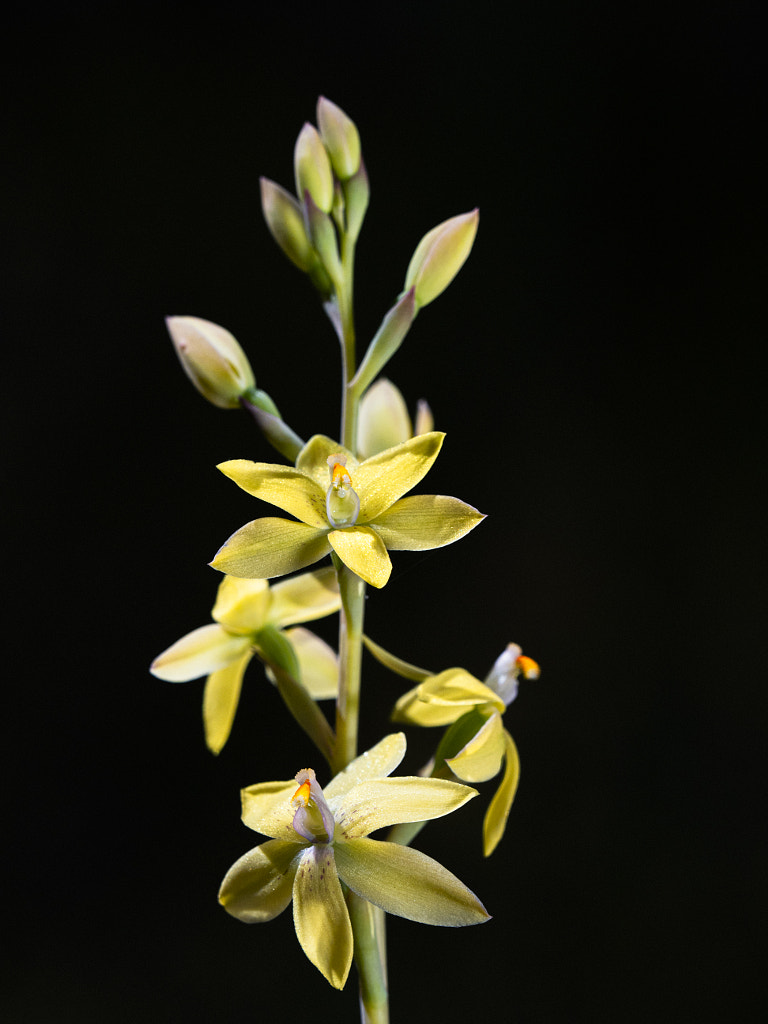
 

Lemon Scented Sun Orchid by Paul Amyes on 500px.com
This shot of a Lemon Scented Sun Orchid was made with the Olympus Em1 mk ii, Olympus 40-150mm f2.8 lens with 1.4 x teleconverter and the Olympus FL600R flash using the focus stacking function.


I’m still trying to evolve a style which produces a nice clean portrait of an orchid. One of the great benefits of Olympus’s cameras and lenses is that it allows very long telephoto lenses to have an almost macro capability. The use of such long lenses allows you to throw backgrounds well out of focus by dint of their increased magnification which reduces depth of field. The problem is that that decreased DOF means that it is hard to get your subject rendered sharp whilst retaining all that loverly bokeh. The counter to this is focus stacking which involves taking a series of pictures of the subject while moving the focus point and then blending the images in post. Olympus has a very neat feature that allows you to do this automatically in camera which is fantastic. Unfortunately the function limits your flash usage by restricting your maximum flash sync speed to 1/50th second and you have to manually set the flash exposure. I tried doing this for a while and it was a right royal pain. So now I don’t use the flash and just make the exposure using ambient light. The lens I’m using is the Olympus 40-150mm f2.8 with the the mc-14 1.4 x teleconverter. This gives me a 210mm f4 lens (420mm in full frame terms). Despite shooting wide open this invariably means shooting at a low shutter speed. So while the IBIS is fantastic on my EM1 mk ii using it with a long lens while focus bracketing wasn’t the best way to proceed. So it was back to a tripod. My aluminium Manfrotto 055 tripod is a good tripod but it is that heavy you could use it as a boat anchor. It was time to get a bit of fibre in my life – carbon fibre. So I bought a nice Sirui  AM-254 carbon fibre tripod which weighs just a smidge over 1Kg. It doesn’t have a centre column and so a minimum working height of 7.8cm which means you can get down and close to the subject. The results have been excellent and now I feel that using both my normal macro lens and the telephoto zoom with converter I’m getting closer to what I have envisioned.


20200818-Beverley-0002-Edit
The Sirui AM 254 tripod in action.


So this has been my journey of finding what works for me. I’ve discovered that learning how your equipment works is just as an important step in developing vision and style as is technique. Continual learning and experimentation will help you develop as an artist and we shouldn’t be afraid to do so. A few times I’ve felt that I was going backwards, but it was worth persevering. I’ve still got a couple of things to sort out, but I feel now I’m on the right track.

The following shots were made this last week.
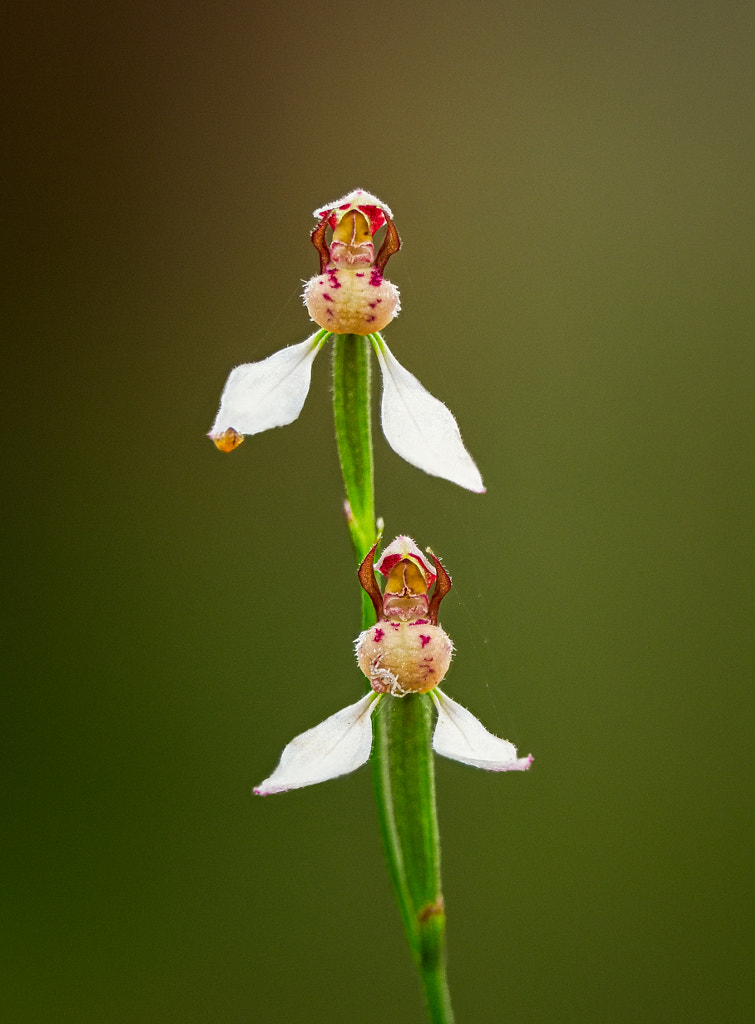
 

Common Bunny Orchid by Paul Amyes on 500px.com

Common Bunny Orchid, Eriochilus dilatatus subsp. multifloris. Oswald Sargent Reserve, Western Australia.A focus stack using the Olympus EM1 mk ii with the Olympus 40-150mm f2.8 lens and 1.4 x teleconverter.
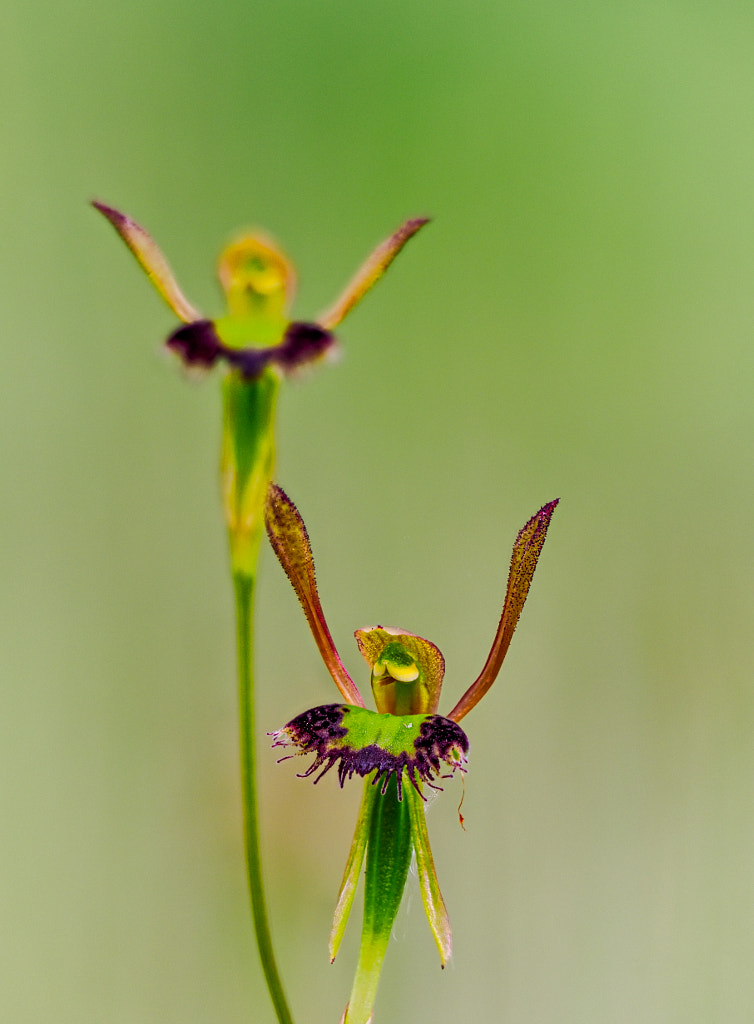
 

Hare Orchid by Paul Amyes on 500px.com
Hare Orchid or Fringed Hare Orchid (Leporella fimbriata). Oswald Sargent Reserve, Western Australia.


Nisin MF18 Macro Flash


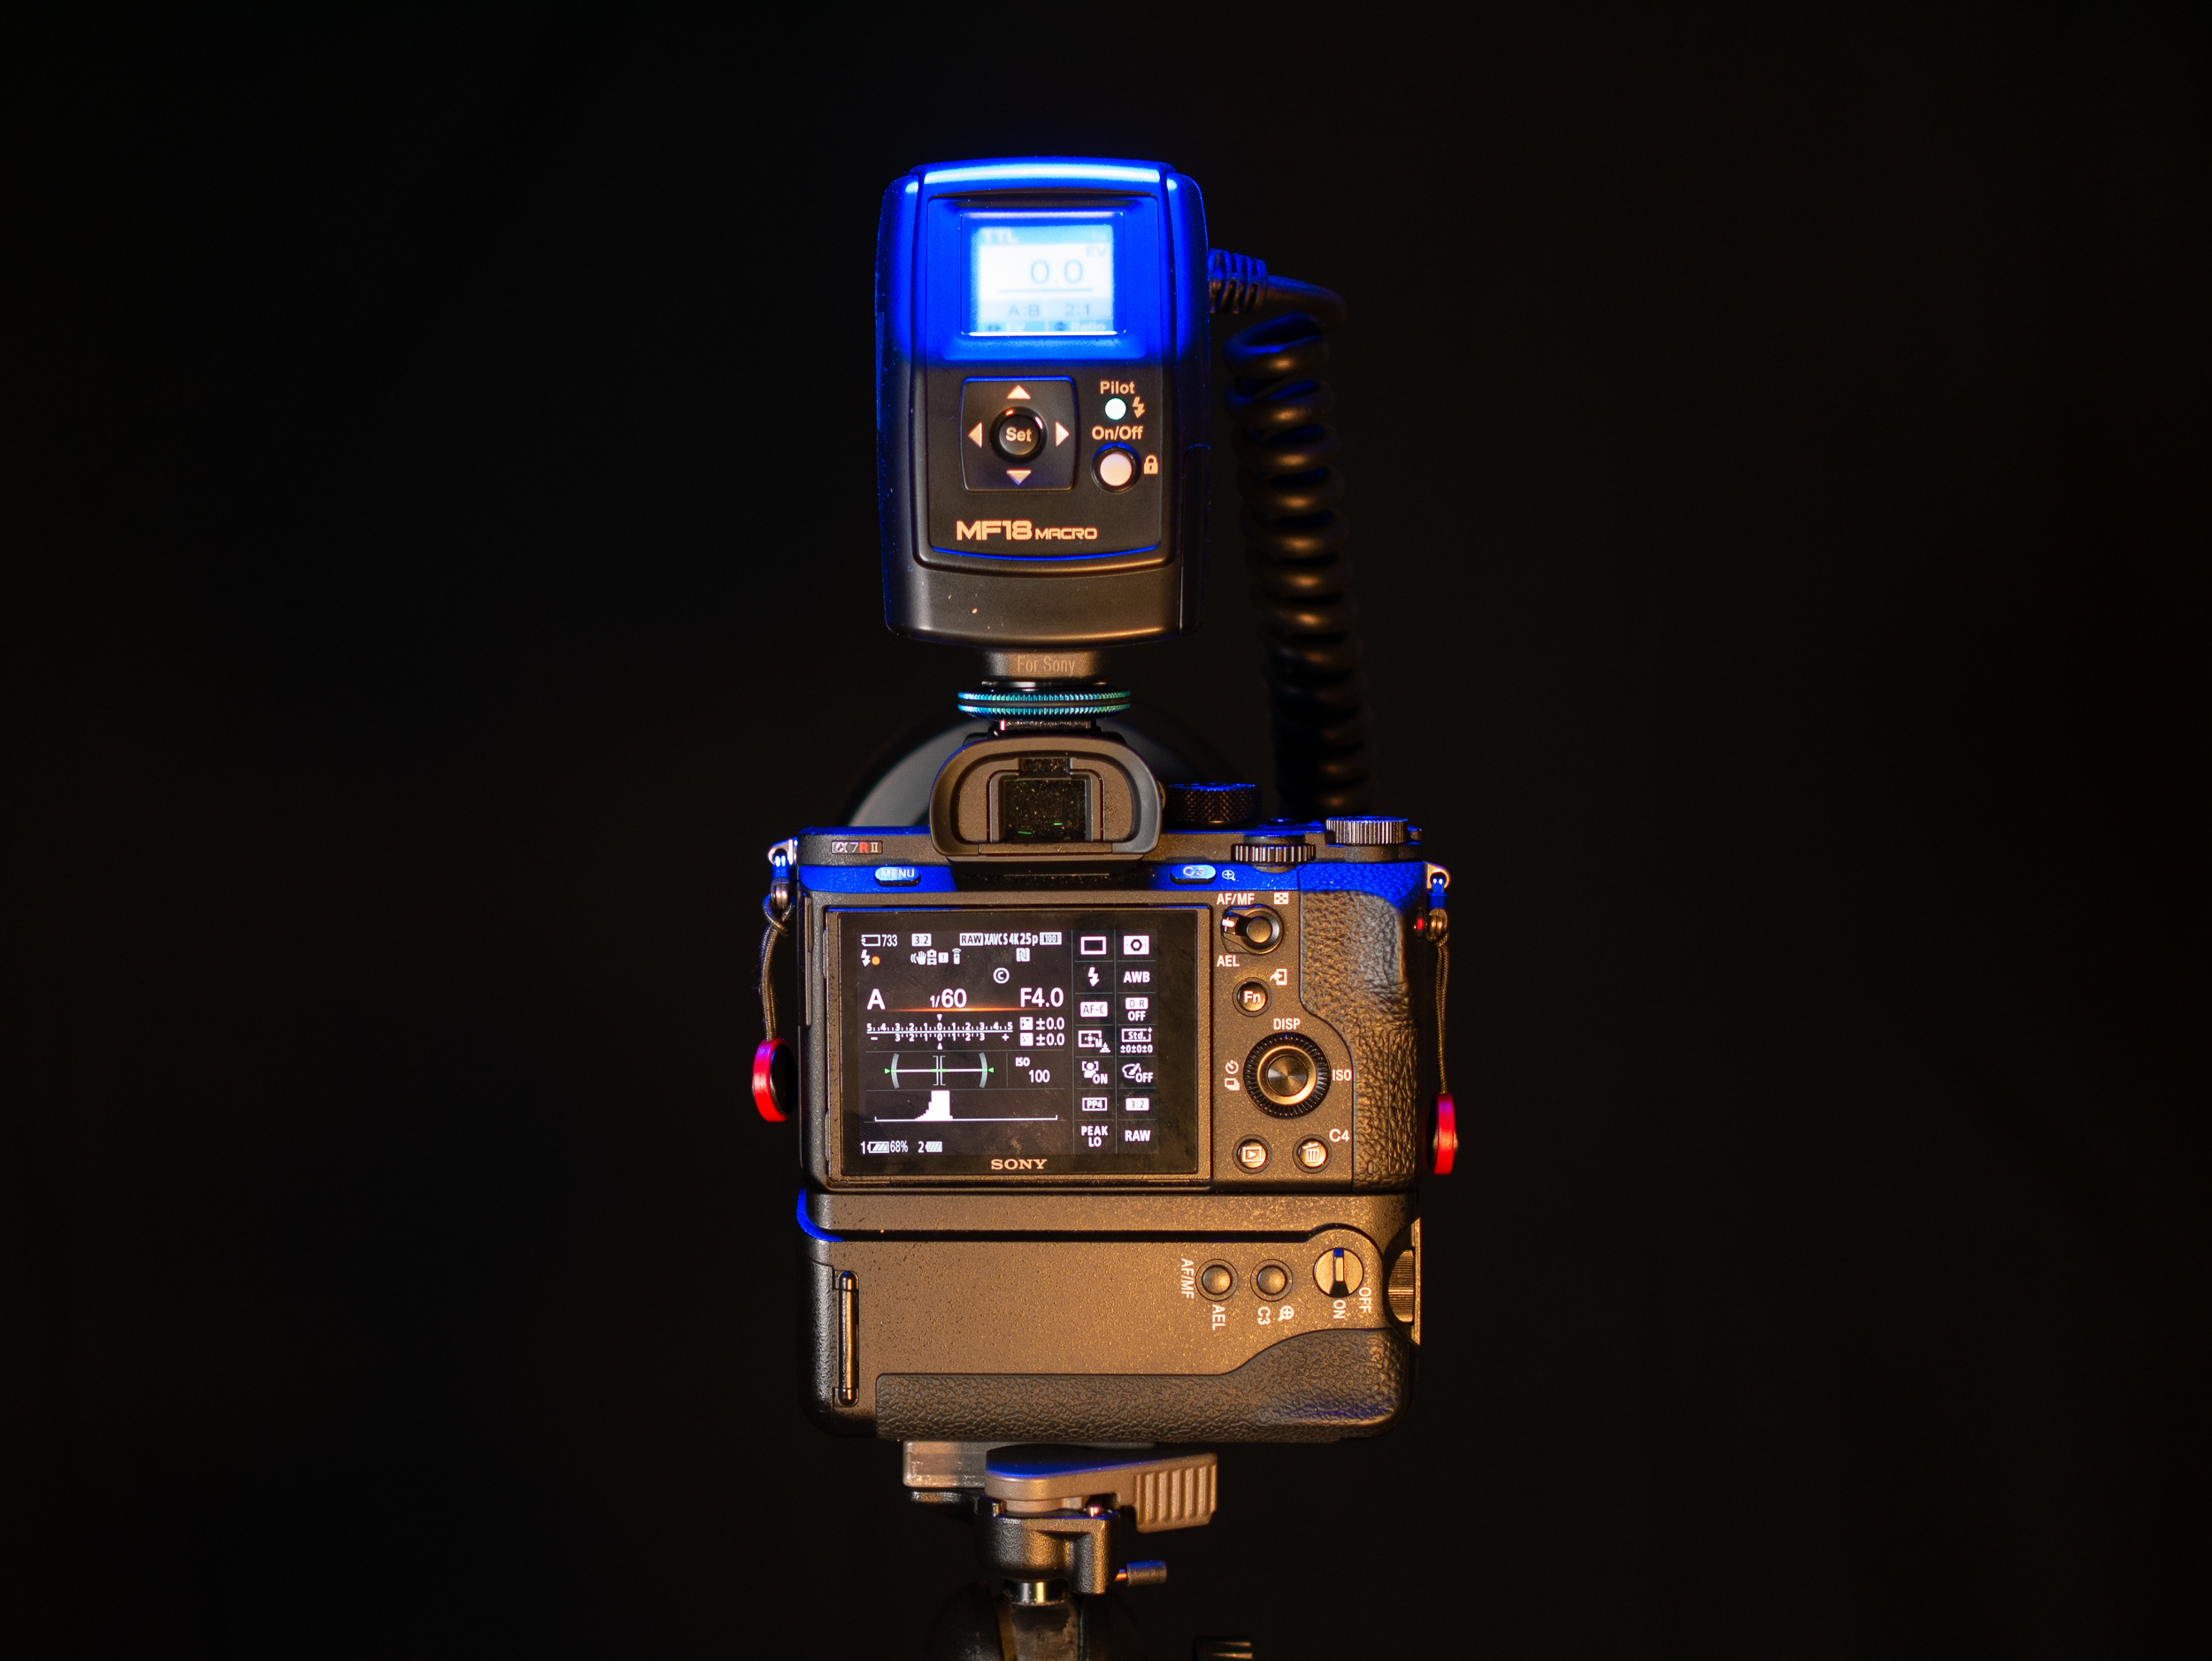
The Nissin MF18 macro flash mounted on a Sony A7R and Sigma 105mm f2.8 comination.


Before we get going I’m going to be a little bit pedantic. The Nissan MF18 Macro flash is not and I repeat NOT a ring flash. A ring flash such as the Profoto ProRing2 Plus UV has a continuous light tube that forms a circle. The MF18 has two separate flash heads (A + B) in two semicircular diffusers.


The Nissin MF18 macro flash mounted on a Sony A7R and Sigma 105mm f2.8 comination.with the flash heads positioned at their widest setting.This also shows that the head is comprised of two separate flash tubes in their own semi-circular diffusers.


What I’m looking at in this review is the Nissan MF18 for Sony cameras. This is important because the features and the included accessories vary somewhat depending on whether you have the Sony, Canon or Nikon models. Also while this unit is capable of wireless control I didn’t have the where withal to test that as I don’t own a suitable controller.


TLDR


Specifications

The MF18 is compatible with the following flash protocols:-

Canon ETTL and ETTL ii

Nikon i-TTL

Sony ADI/P-TTL

Having said that some cameras from Sony, Canon and Nikon aren’t compatible.

Canon:-

1dx mk ii, 5d mk iv, 6d mk ii, 80d, 900d, 1d, 1ds, and all the EOS M series of cameras.

Nikon:-

D2Hs, D2H, D100, D1H, D1. Firmware updates are required to ensure compatibility with the Z series cameras, the D6 and the Zfc.

Sony:-

RX100 mk ii

For Sony cameras the wireless strobe will not fire unless the flash mode is set to [WL(wireless)] in the camera menu or the wireless flash function is set to [ON].

Guide Number (GN) 16/53 (ISO 100 m/ft)
Flash output 83 Ws at full power
Power Source Internal – 4 x AA alkaline/Ni-MH batteries

External 

Nisin PS300 battery pack

Nikon SD-8a or SD-9 battery pack

Canon CP-E4 battery pack

Battery Life (approx.) AA batteries 120-800 flashes

Nisin PS300 500 flashes

Nikon Sd-8a or SD-9 200 flashes

Canon CP-E4 260 flashes

Recycling time 0.1-5.5 seconds with AA batteries

0.7 sec with the Nisin PS300

1.5 sec with the Nikon SD-8a/SD-9

1.5 sec with the Canon CP-E4

Colour Temperature  5600 K at full power
Flash duration 1/700 sec at full power when using both flash heads and 1/300 sec when using one.
Wireless flash Optical system relying of line of sight only
Sync Hot shoe or PC sync
Modes of operation Auto, TTL, full manual (power ranges from full to 1/64 in 1/6th increments) and fine macro (1/128 to 1/1024 in 1/6th increments).

1st curtain sync

2nd curtain sync

High speed flash sync (dependent on whether the camera allows this).

Dimensions Body 115 x 65 x 85mm

Head 120 x 134 x 41mm

Weight 446g without batteries
Included accessories Adapter rings to mount the flash head to the lens.

For Canon and Nikon 52, 58, 62, 67, 72, and 77mm.

For Sony 49, 55, 62, 67, 72, and 77mm. 

It is possible to buy adapter rings individually in all sizes from 49mm to 82mm.


First Impressions

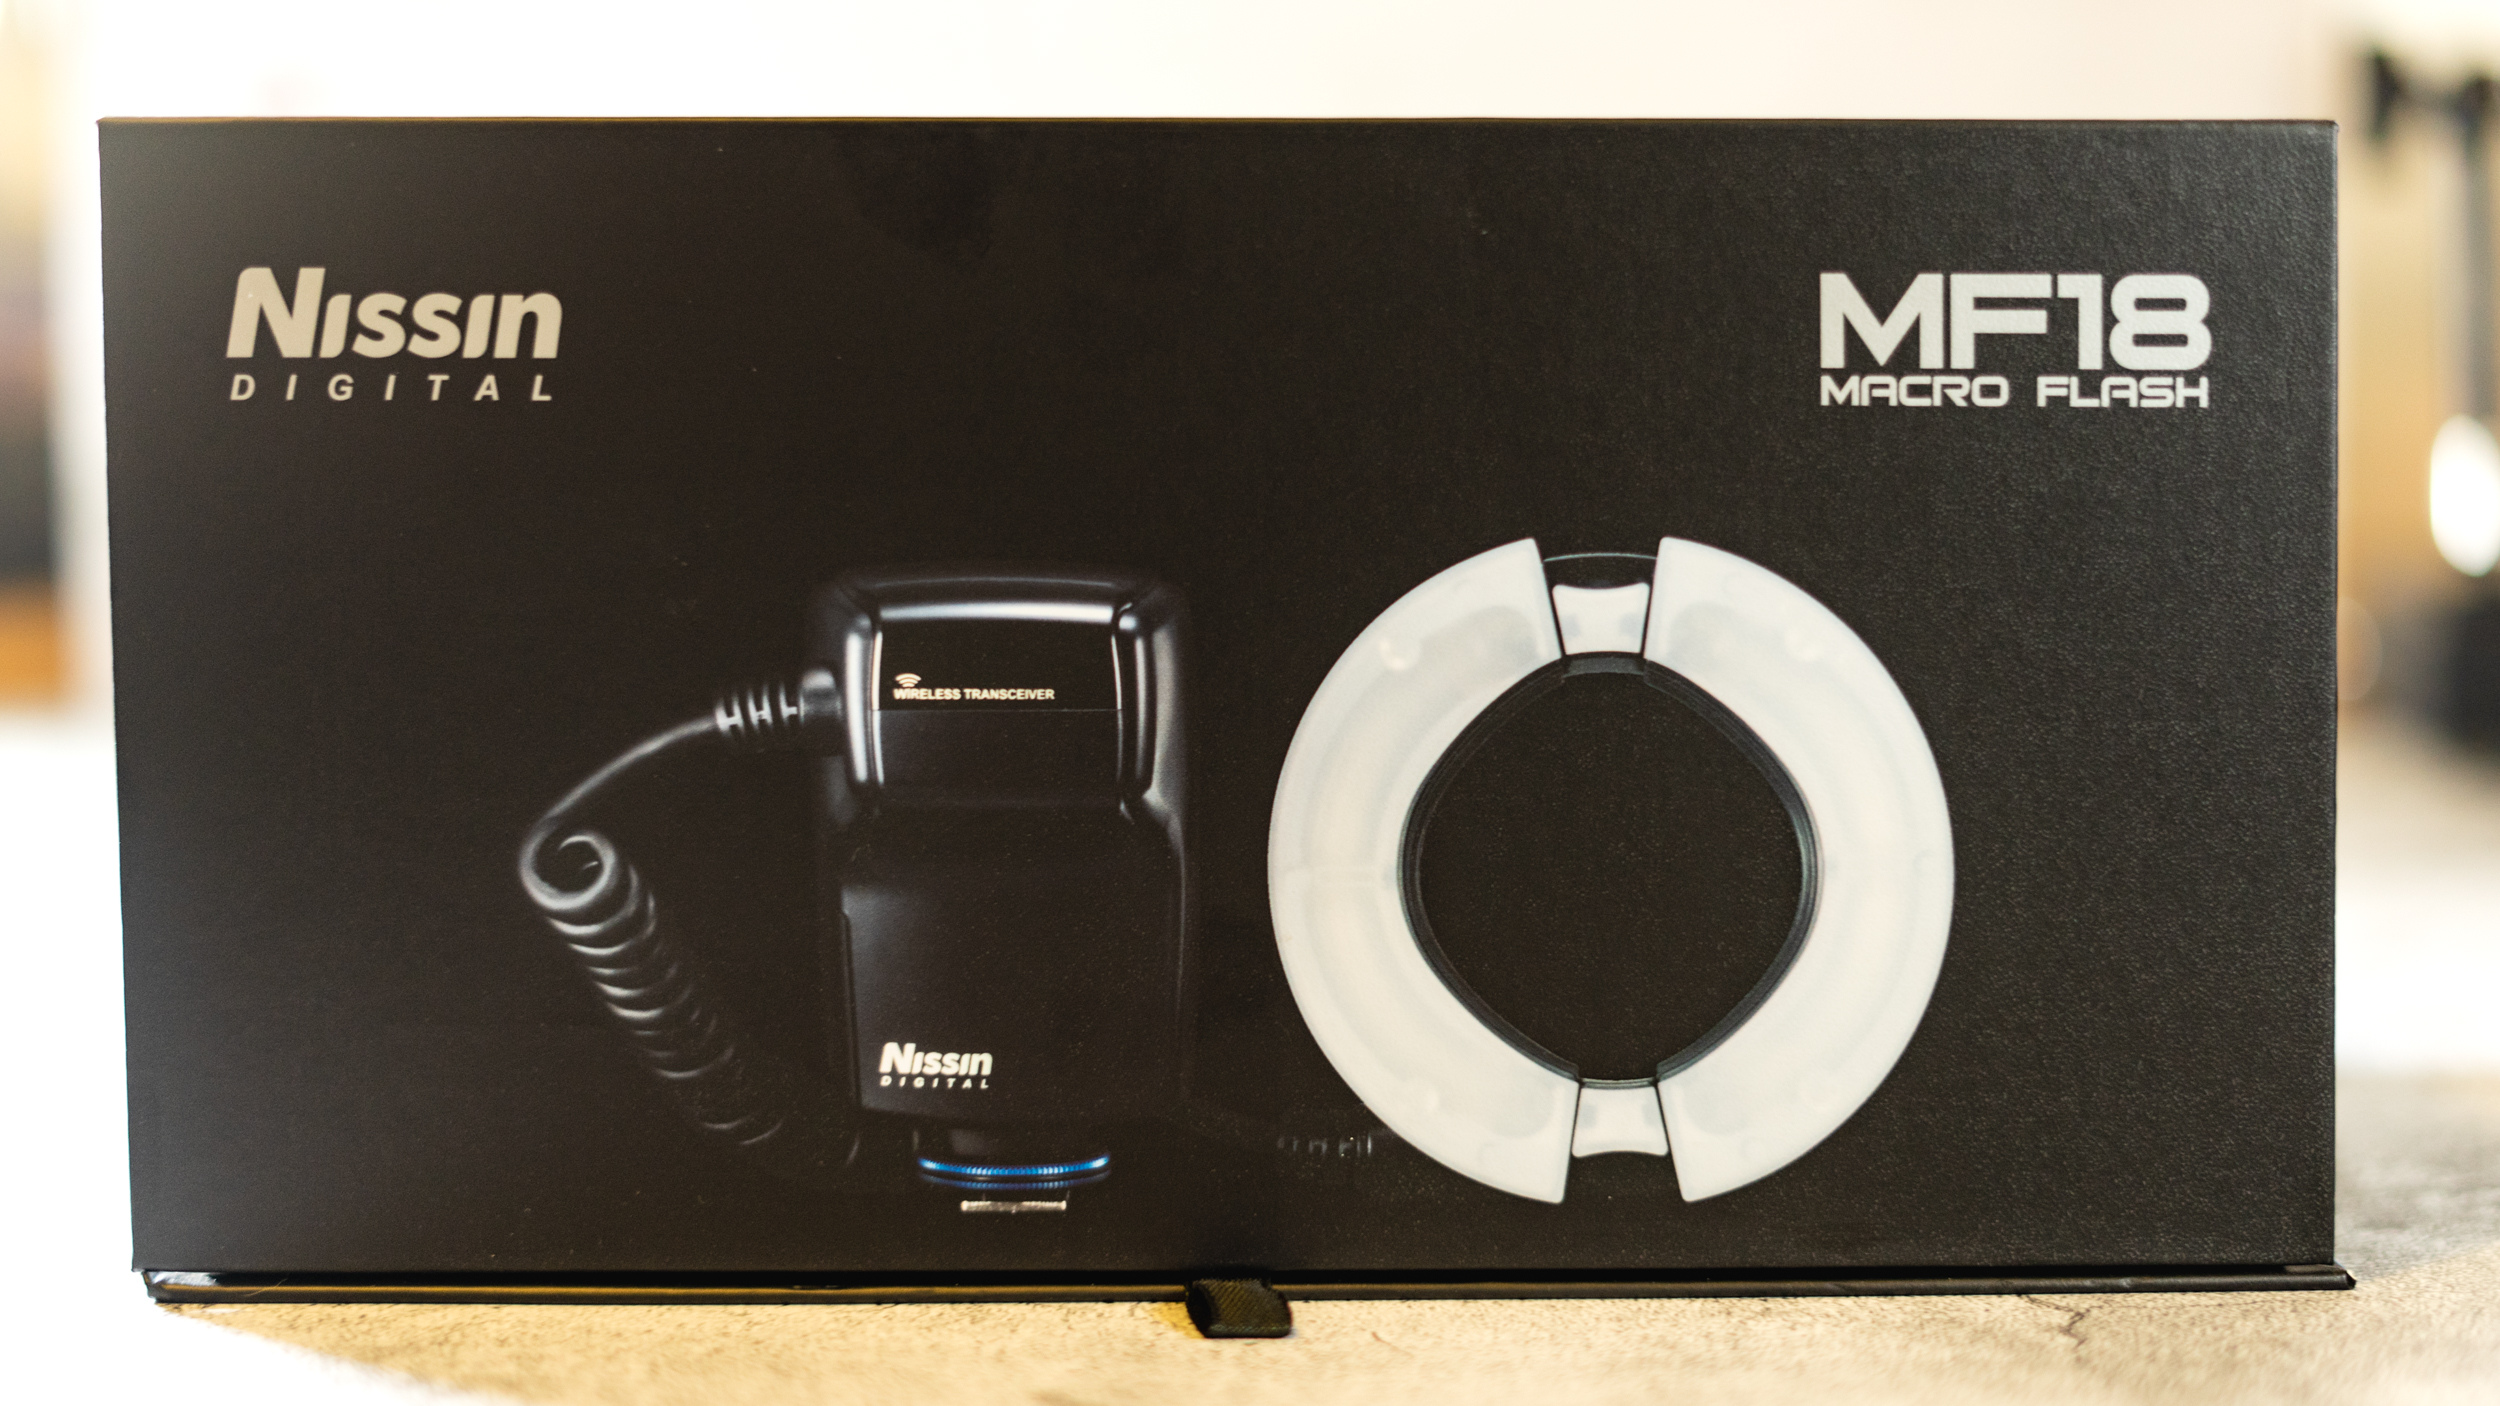
The box the Nissin MF18 comes in.


The contents of the box. The flash body and head plus 6 adapter rings. The sizes of the included rings depends upon on whether your camera is Sony, or Canon/Nikon.


The quick start guide printed on the inside of the box lid.


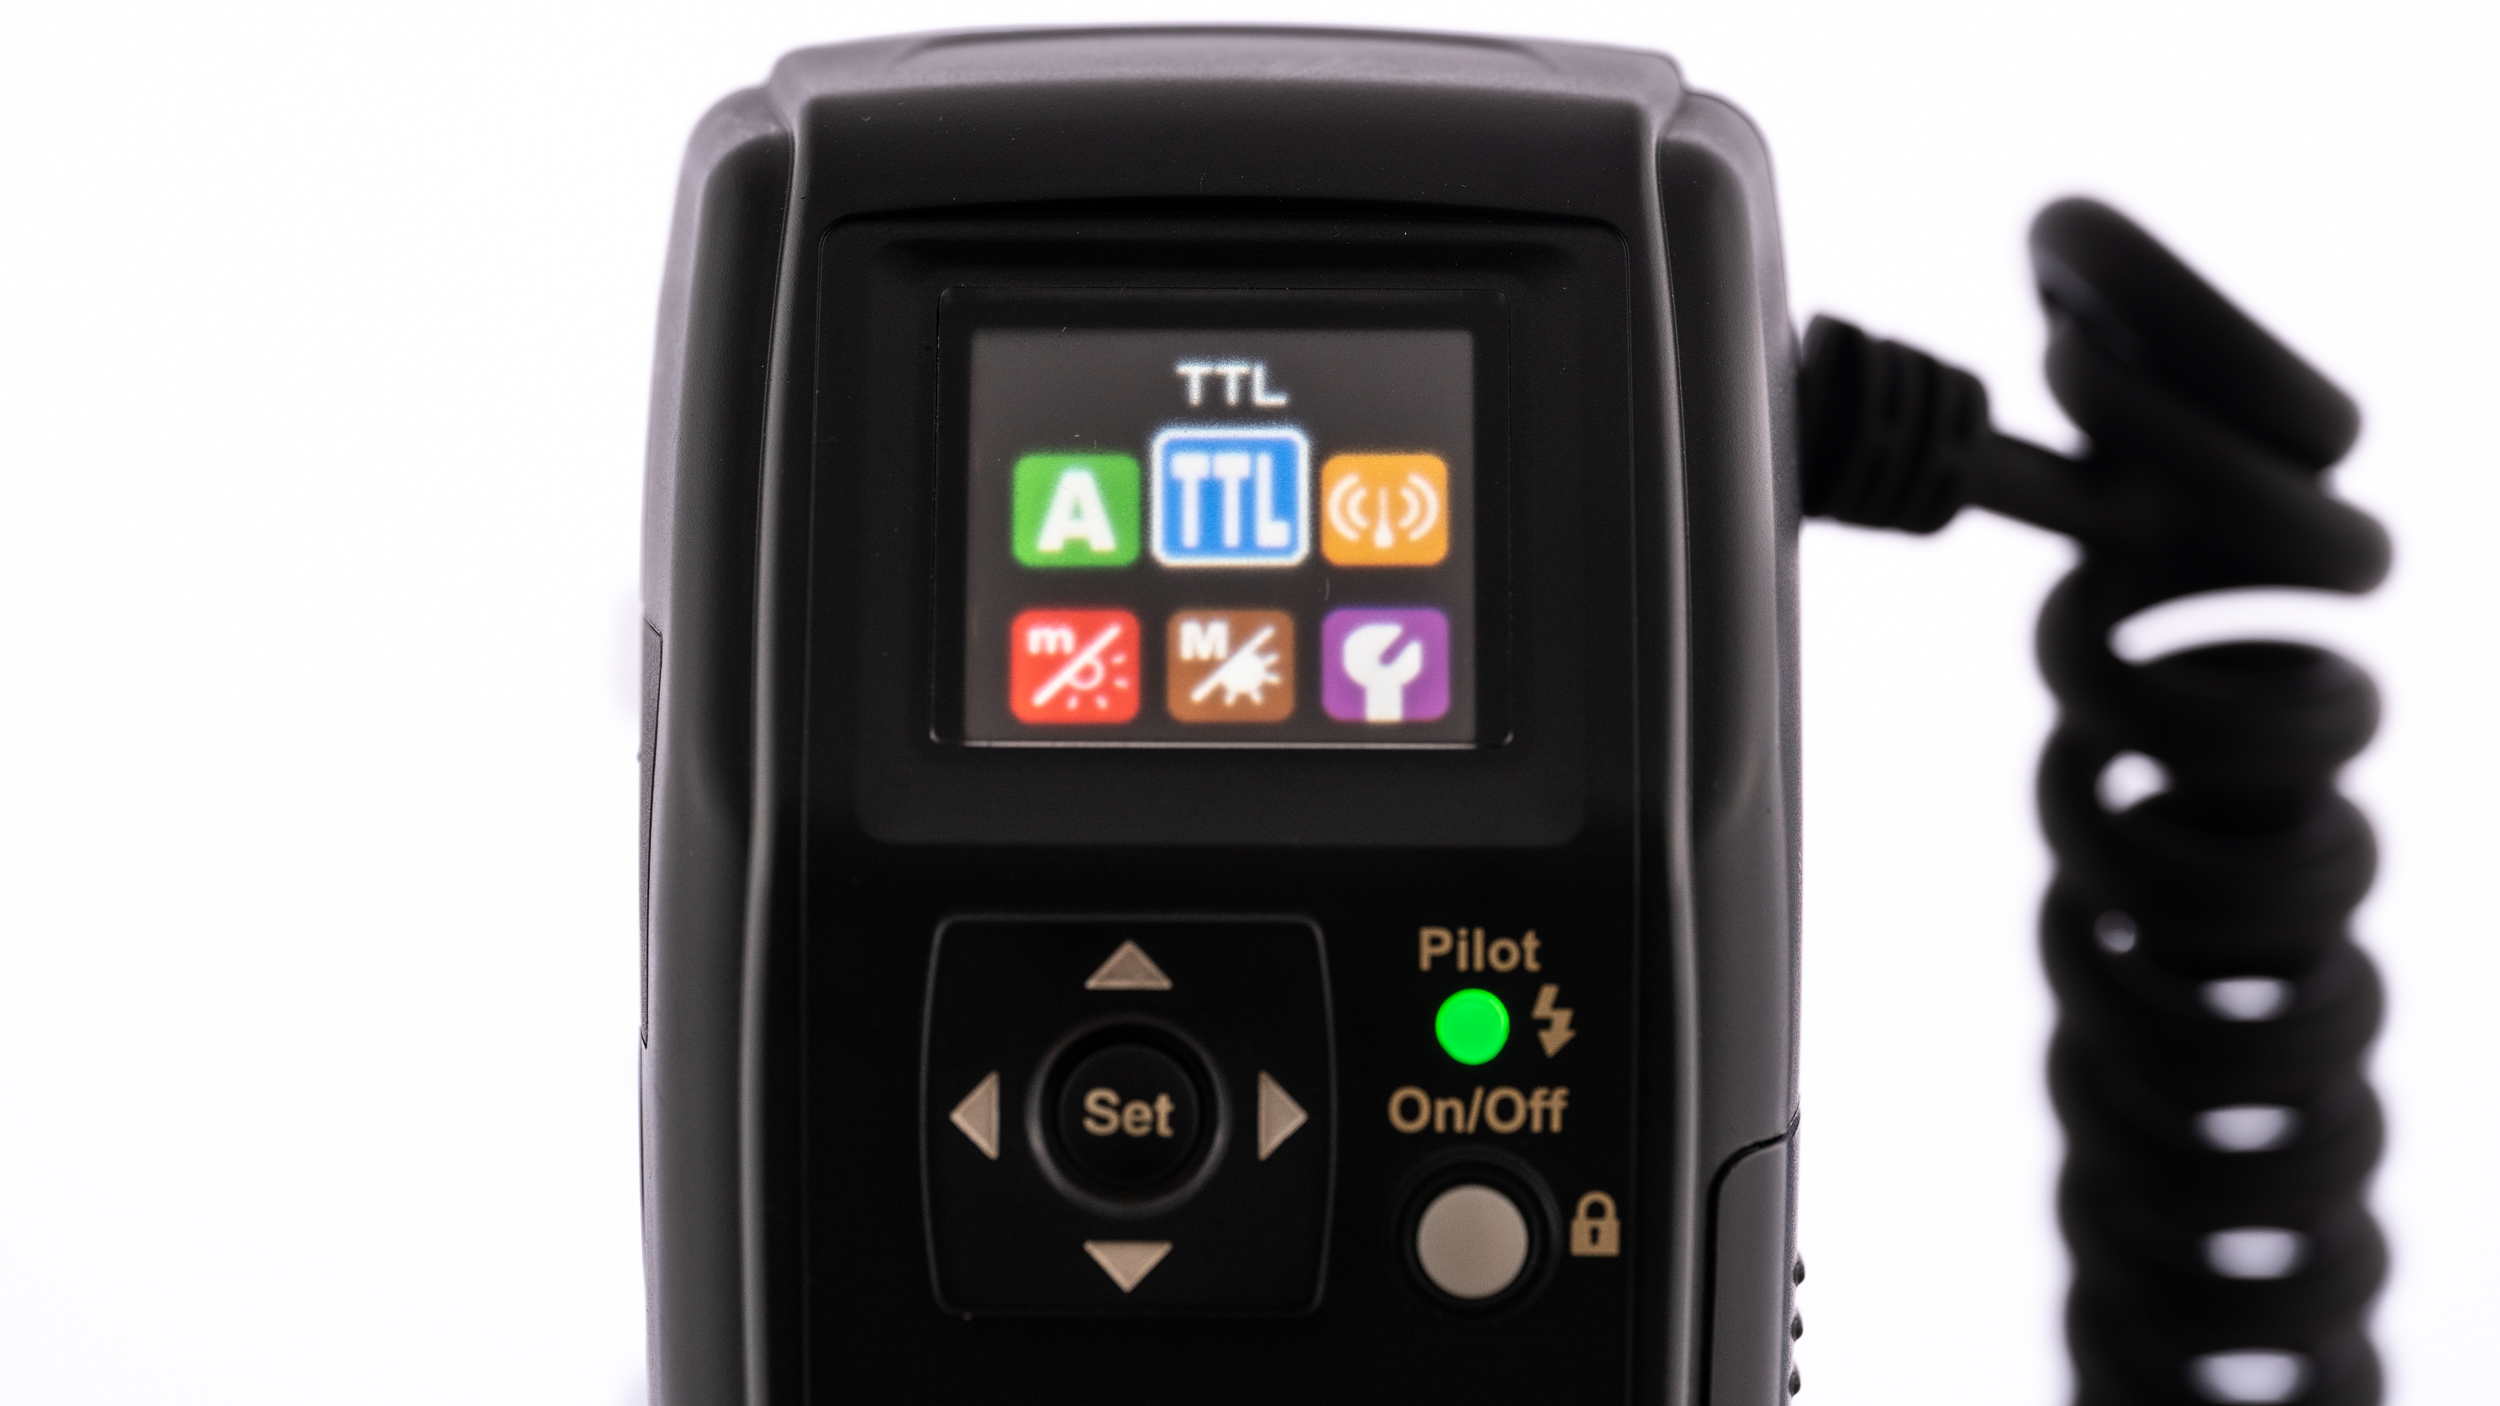
I don’t normally talk about packaging but in this case I’ll make an acceptation. The box and its overall presentation were very nice – almost “Applesque” – and showed nice attention to detail which I thought boded well for the flash itself. Overall the MF18 feels very well made. Like all flashguns/speedlights it is of a plastic construction. There is no mention of any weather sealing on the Nisin website so I’ll assume there is none. The body is connected to the head via a chunky coiled cable that feels nice and secure at both ends. In the case of problems with the cord it doesn’t look user replaceable but this is not unusual. The batteries are held in a magazine that slides out of the side. It is a very neat arrangement and spares are available (Nisin BM-01) for those who want a fast reload capability. The flash body is held in the camera hot shoe via blue anodised knurled ring. Not as fast as a lever that is sometimes found on other brands but perfectly satisfactory. On the rear of the body you’ll find a 3cm square colour LCD panel which is sadly not touch compatible. I really like the touch capabilities on my Metz flashes and it is a shame Nisin didn’t include it. Underneath the screen you’ll find an on/off/lock switch, a four way ‘D’ pad with central button, and a combined pilot and status indicator light/button. On the flash head are four buttons – the two vertical ones release the head from the adapter runs, and the two horizontal  allow the flash tubes to positioned further out. This prevents vignetting and also allows more even lighting over some larger subjects.


The rear of the MF18. The A and B buttons allow the flash head to open up to prevent vignetting and provide a wider coverage.


Overall everything is very confidence inspiring.


Performance

Nissin claim that the MF18 has a Guide Number of 16 (ISO 100 in metres). Here the subject is 1m from the camera sensor, the power has been set 1/64 and the aperture set to f2. As we can see the photo is approx two stops under exposed. Also Nissin claim that the white balance of the flash is 5600K. The camera white balance was set to 5600K and this resulted in warm cast.


Nisin quote a Guide Number (GN) 16 (ISO100 m) but my testing has found this to rather fanciful as you can see from the table below:

Power setting GN per Nisin Measured
full 16 6.9
1/2 11.3 4.9
1/4 8 3.6
1/8 5.6 2.7
1/16 4 1.9
1/32 2.8 1.5
1/64 2 1.4
1/128 1.4 N/A

The measured guide numbers are between 2 and 21/3 of a stop lower than Nisin’s figures which is quite disappointing. The only positive I can say about it is that running the test 3 times the measured results were very consistent. 

I measured the colour temperature using a grey card and setting the camera’s white balance to 5600K and found that the actual colour temperature was 4750K.

Checking recycling times using a fresh set of AA Ni-MH batteries saw recycle times average out at 8.9 sec when shooting at full power and 4.55 sec at 1/2 power. This falls short of Nisin’s claimed figures.


In Use


York Sun Orchid by Paul Amyes on 500px.com
York Sun Orchid, Thelymitra yorkensis. Wandoo National Park, Western Australia. Using high speed synchronisation means I can overpower the sun and render backgrounds dark while illuminating the flower.

OK testing is one thing how does real world performance stack up. I’ve been using the MF18 since August 2021 on a Sony A7r2. The only manual shooting I’ve done with it is just testing it for this review. The rest of the time I use it in TTL mode for photographing flowers. More often than not I use it in high speed sync mode as well so I can have the flash as my key light and the ambient light as my fill. For this it has worked extremely well.


York Golf Course by Paul Amyes on 500px.com
Shy sun orchid, Thelymitra graminea. York Golf Course, Western Australia.


Operating the MF18 is simplicity itself. The basic functions are controlled by the camera. The only time I have to go into the menu is select high speed sync. You can also select 1st or 2nd curtain flash there as well. It is so easy to use that I really don’t have to think about it


The MF18 control menu.


The menu for selecting advanced features such as second curtain sync power saving modes etc.


Conclusion

Pros Cons
  • High speed flash synch
  • Simple to use
  • Fine macro mode allows power output down to 1/1024 power
  • A spare battery magazine is available (Nisin BM-01 and it costs approx $20 USD
  • Can be powered from the mains
  • Can be powered by Canon and Nikon external battery packs
  • Firmware can upgraded via a USB port
  • No case provided – other brands I’ve used provided a case
  • Only a limited range of adapter rings supplied in the box and while the rings are available as separate items they are quite pricey at $30 USD each.
  • Compatibility issues with certain models of camera
  • No weather sealing
  • GN not accurate
  • Colour temperature not accurate


The Nissin MF18 macro flash mounted on a Sony A7R and Sigma 105mm f2.8 comination.viewed in profile.


I bought the Nisin MF18 with my own money. At the time it was the only macro speedlight compatible with Sony that had high speed flash synchronisation. While some of the performance issues such as the GN, recycling times and colour temperature are a bit disappointing they have had no impact on how I use the flash. 


The Nissin MF18 macro flash mounted on a Sony A7R and Sigma 105mm f2.8 comination.viewed from the rear.


In terms of value for money, compared to the Olympus and Metz equivalents it seems quite keenly priced. It is better specified than the Metz unit but doesn’t have the overall flexibility and the weather sealing of the Olympus. 


Blue China Orchid by Paul Amyes on 500px.com
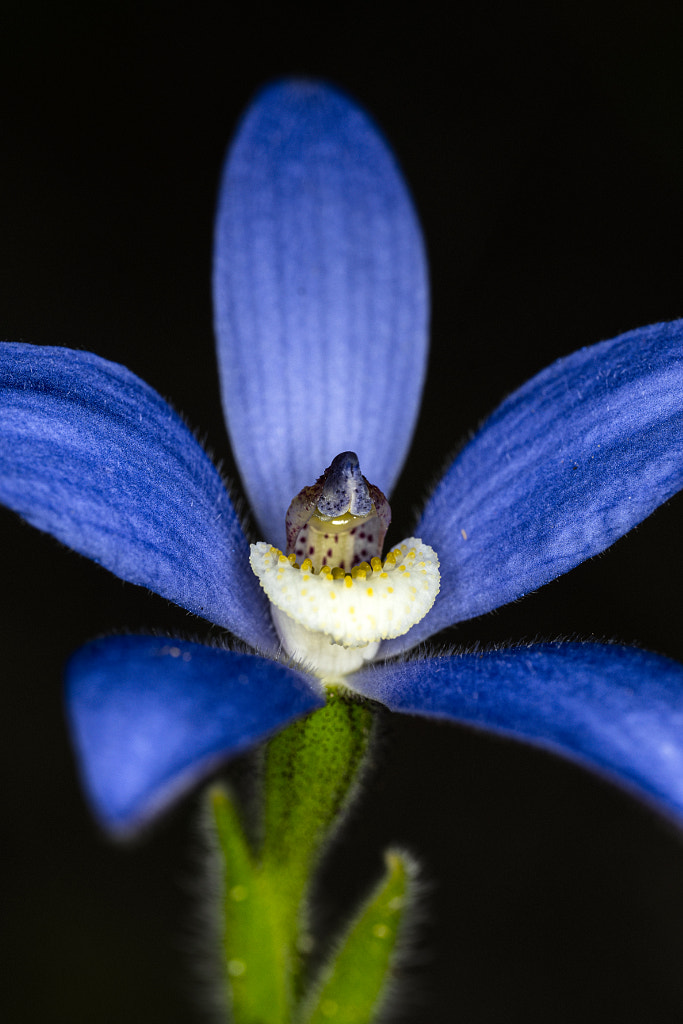
Blue China Orchid, Cyanicula gemmata. Wandoo National Park, Western Australia.


Would I recommend it? Well if you are just going to use it as I do and are happy with the compatibility issues then yes I would. But if you are still using cameras such as the Canon 5d vi or the 6d ii then I would look elsewhere.

Olympus m.Zuiko 17mm f2.8 lens – a belated review

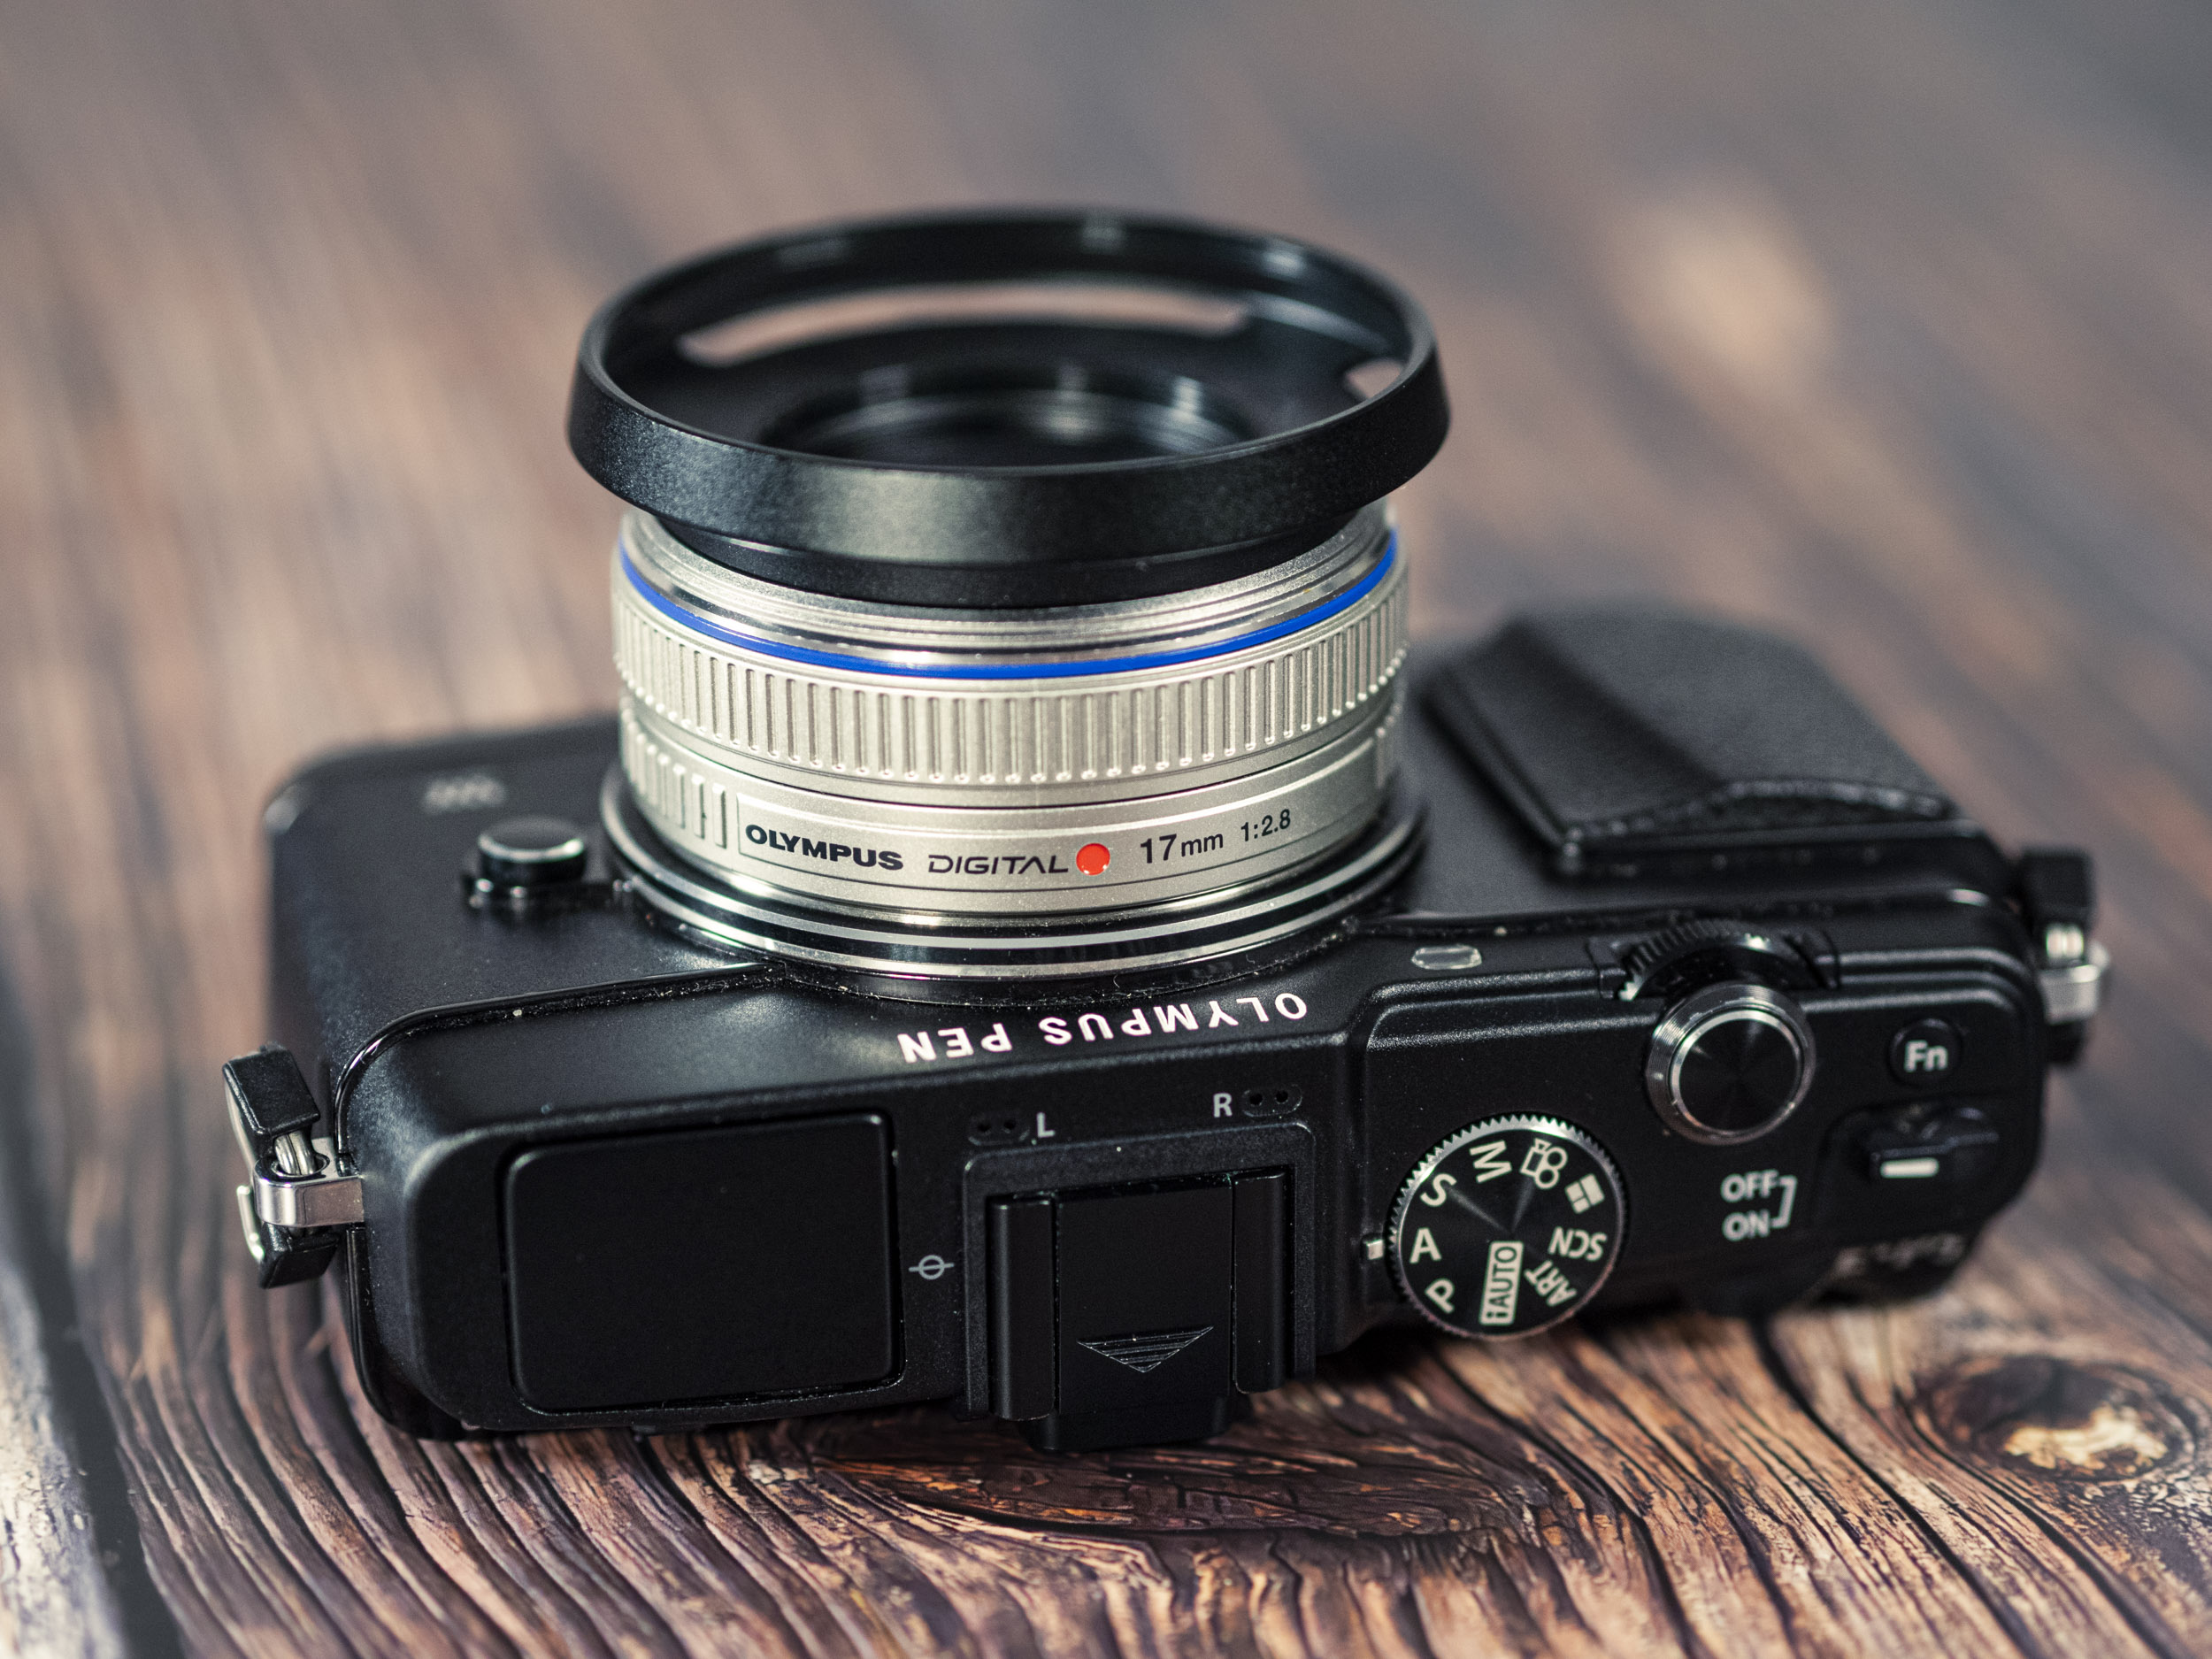
The Olympus 17mm f2.8 lens mounted on an Olympus Pen EP-2.


The Olympus 17mm f2.8 lens was the first prime lens from Olympus for its new Micro Four Thirds System and was launched in 2009 with the Olympus Pen EP-1 their first camera. I didn’t buy the EP-1 when came out, I was deeply tempted but I wanted a camera with a viewfinder. Less than a year later the EP-2 was launched and it had provision for accepting an auxiliary EVF and I promptly bought one and the 17mm f2.8 came as part of the kit and I’ve used it ever since.


The 17mm f2.8 is what is termed a pancake lens. This is where the lens specs are sacrificed to produce the smallest possible lens.


The Olympus 17mm f2.8 wasn’t well received – a lot of people felt that its minimum aperture of f2.8 was somewhat underwhelming especially compared to the Panasonic 20mm f1.7 which was launched in the same year. The Panasonic while sharper in the centre of the frame and having a faster minimum aperture (1.7 compared to 2.8) was larger, heavier, more expensive had slow noisy AF, marked chromatic aberration and didn’t behave very well with the sensor stack of Olympus cameras. There was a strange banding effect when it was used on the EM5 at higher ISO. In 2012 Olympus introduced the 17mm f1.8 which addressed all the short comings  of the older f2.8 lens which was allowed to slip silently into oblivion.


The Olympus 17mm f2.8 lens mounted on an Olympus Pen EP-5.


I wanted to upgrade to the new f1.7 but I could never find a dealer who had it in stock. The same was true when I thought I wanted the Panasonic Leica 15mm f1.7 as a replacement. In the end I bought the Sigma 16mm f1.4 DG DN which is optically a huge improvement over the little Olympus, but is physically enormous.  I kept the Old 17mm f2.8 because it served several purposes. It had a very useful close focusing capability when compared to the Sigma (0.11x compared to the Sigma’s 0.07x) and when mounted to my EP-5 it was small, unobtrusive, and would fit in a jacket pocket. The same could not be said for the Sigma.


A size comparisson between the m.Zuiko 17mm f2.8, the Sigma 16mm f1.4 which offers a similar field of view and the Olympus OM Zuiko 35mm f2 for full frame cameras.


TLDR


Vital Statistics


Lens construction of the m.Zuiko 17mm f2.8 lens.


Focal length 17mm equivalent to 34mm on full frame
Diagonal angle of view 65º
Optical construction  6 elements in 4 groups with 1 aspherical lens
Diaphragm  5 rounded blades
Minimum aperture F2.8
Maximum aperture f22
Minimum focusing distance  20cm
Maximum magnification ratio 0.11x
Filter diameter 37mm
Dimensions  ⦰ 57mm x 22mm (h)
Weight 71g
Internal focusing No
Lens hood No


The Olympus 17mm f2.8 is the same size as this Canon EF rear lens cap and body cap.


This lens is small – really small – just 22mm high and 57mm in diameter at its widest. To put that into perspective the lens is only just a little bigger than a Canon EF body and lens cap and weighs just 43g heavier. For such a small and lightweight lens it does feel surprisingly dense in the hand. The lens mount is metal and the body is plastic with no weather sealing. The only control on the lens is the focusing ring which is of the focus by wire type and is nicely dampened. Filter size is weenie – just 37mm. Olympus did not supply a lens hood and nor did they make one. I bought an after market vented metal hood which looks very spiffy when the lens is mounted on my EP-5.


The Olympus 17mm f2.8 lens with vented lens hood mounted on an Olympus Pen EP-5.


Optical Performance 

f2.8


Wide open at f2.8 in the centre of the frame the image lacks a little “bite” . Stop down to f4 and sharpness and contrast improve and it remains good until f11. After that diffraction softens the image. In the corners wide open the lens is tiny bit softer than the centre. Sharpness improves at f5.6 but it is not as sharp as the centre at this aperture. 


100% crop showing Chromatic aberation at f2.8.


Wide open lateral chromatic aberration is very apparent with magenta and cyan fringing. The modest minimum aperture of f2.8 and the wide angle of view means that there is longitudinal chromatic aberration visible. When Olympus and Panasonic established the Micro Four Thirds standard they made the lens with built in profiles which correct for distortion and vignetting. Consequently looking at an image straight out of the camera with the profile applies there is no sign of distortion or vignetting on the Olympus 17mm f2.8. Switch that profile off and the barrel distortion is very noticeable as is very slight vignetting.


At f2.8 with lens profile disabled. Note the lack of contrast and the prominent barrel distortion.


Diffraction spikes or sunstars at f22.


Veiling flare and reflections are quite prominent shooting into the sun wide open. The result is a significant loss of contrast.

Veiling flare and ghosting are prominent when shooting into the sun as is the loss of contrast. The diffraction spikes (aka  sun stars) are a bit pedestrian and nothing to write home about.


Bokeh balls wide open at f2.8.


When it comes to bokeh well this lens is never going to be the “Bokeh King”. The bokeh balls are consistently shaped throughout the frame but were not quite perfectly circular. While the rendering of out of focus areas is smooth it is not the most attractive that I’ve seen.


Close up of the bokeh


Autofocus Performance

When the EP-1 was introduced it and the Panasonic G1 were heading the rise of a new class of camera – the mirrorless interchangeable lens camera. The autofocus was contrast based and still in its infancy. In fact dodgy AF was one of the things that was always levelled at mirrorless cameras by DSLR users in those far off days. The AF performance of the Olympus 17mm f2.8 certainly reflects this. For point to point AF using single shot mode the lens is quick and accurate if a little noisy. It is when you switch to continuous autofocus and tracking that things become dodgier than a Balinese Rolex. The performance is very hit and miss. Even when you put it on a phase detect auto focus camera (EM1 mk ii and later) the results are only marginally better. The fault is the because of the type of motor used to move the lens elements.  It just can’t keep up with information being sent by the camera. This is why Olympus later introduced its MSC technology. MSC stands for Movie and Stills Compatible and consists of a high speed motor that can provide very small precise adjustments. So while it appears poor compared to later models this is not a lens you’re going to shoot sports with.

Video AF is also a bit pants. The lens makes a horrible noise as it rocks back and forth. It does find focus eventually its just not very elegant or confidence inspiring in the way it does it.


Conclusion

The Olympus 17mm f2.8 lens mounted on an Olympus Pen EP-5.


This lens is not what you call optically brilliant – if you want that look at the Olympus m.Zuiko 17mm f1.2 Pro which costs $1900 AUD – but that’s not what this lens is about. This is a fun lens to use. It’s so convenient to slap it onto an Olympus Pen EP-5 or EM-10 and have a great small camera lens combo that can go with you anywhere. This is what micro four thirds was all about when it was introduced. Team it up with the ridiculously compact Olympus 45mm f1.8 and you have a nice two lens outfit that will fit in a jacket pocket and produce good photos. Unfortunately 17mm f2.8 is out of production, but it can be bought second hand for about $200 AUD. Factor in $10 AUD for a lens hood and you’ve got a nice little walk about lens.


Sample Images

Royal swans near the bridge to Eaton.


Getting in touch with his inner Elvis on Brighton Beach.


Fishing boat pulled up onto the beach at Bognor Regis.


Urban Cowboy waiting at the Perth Rail Station.


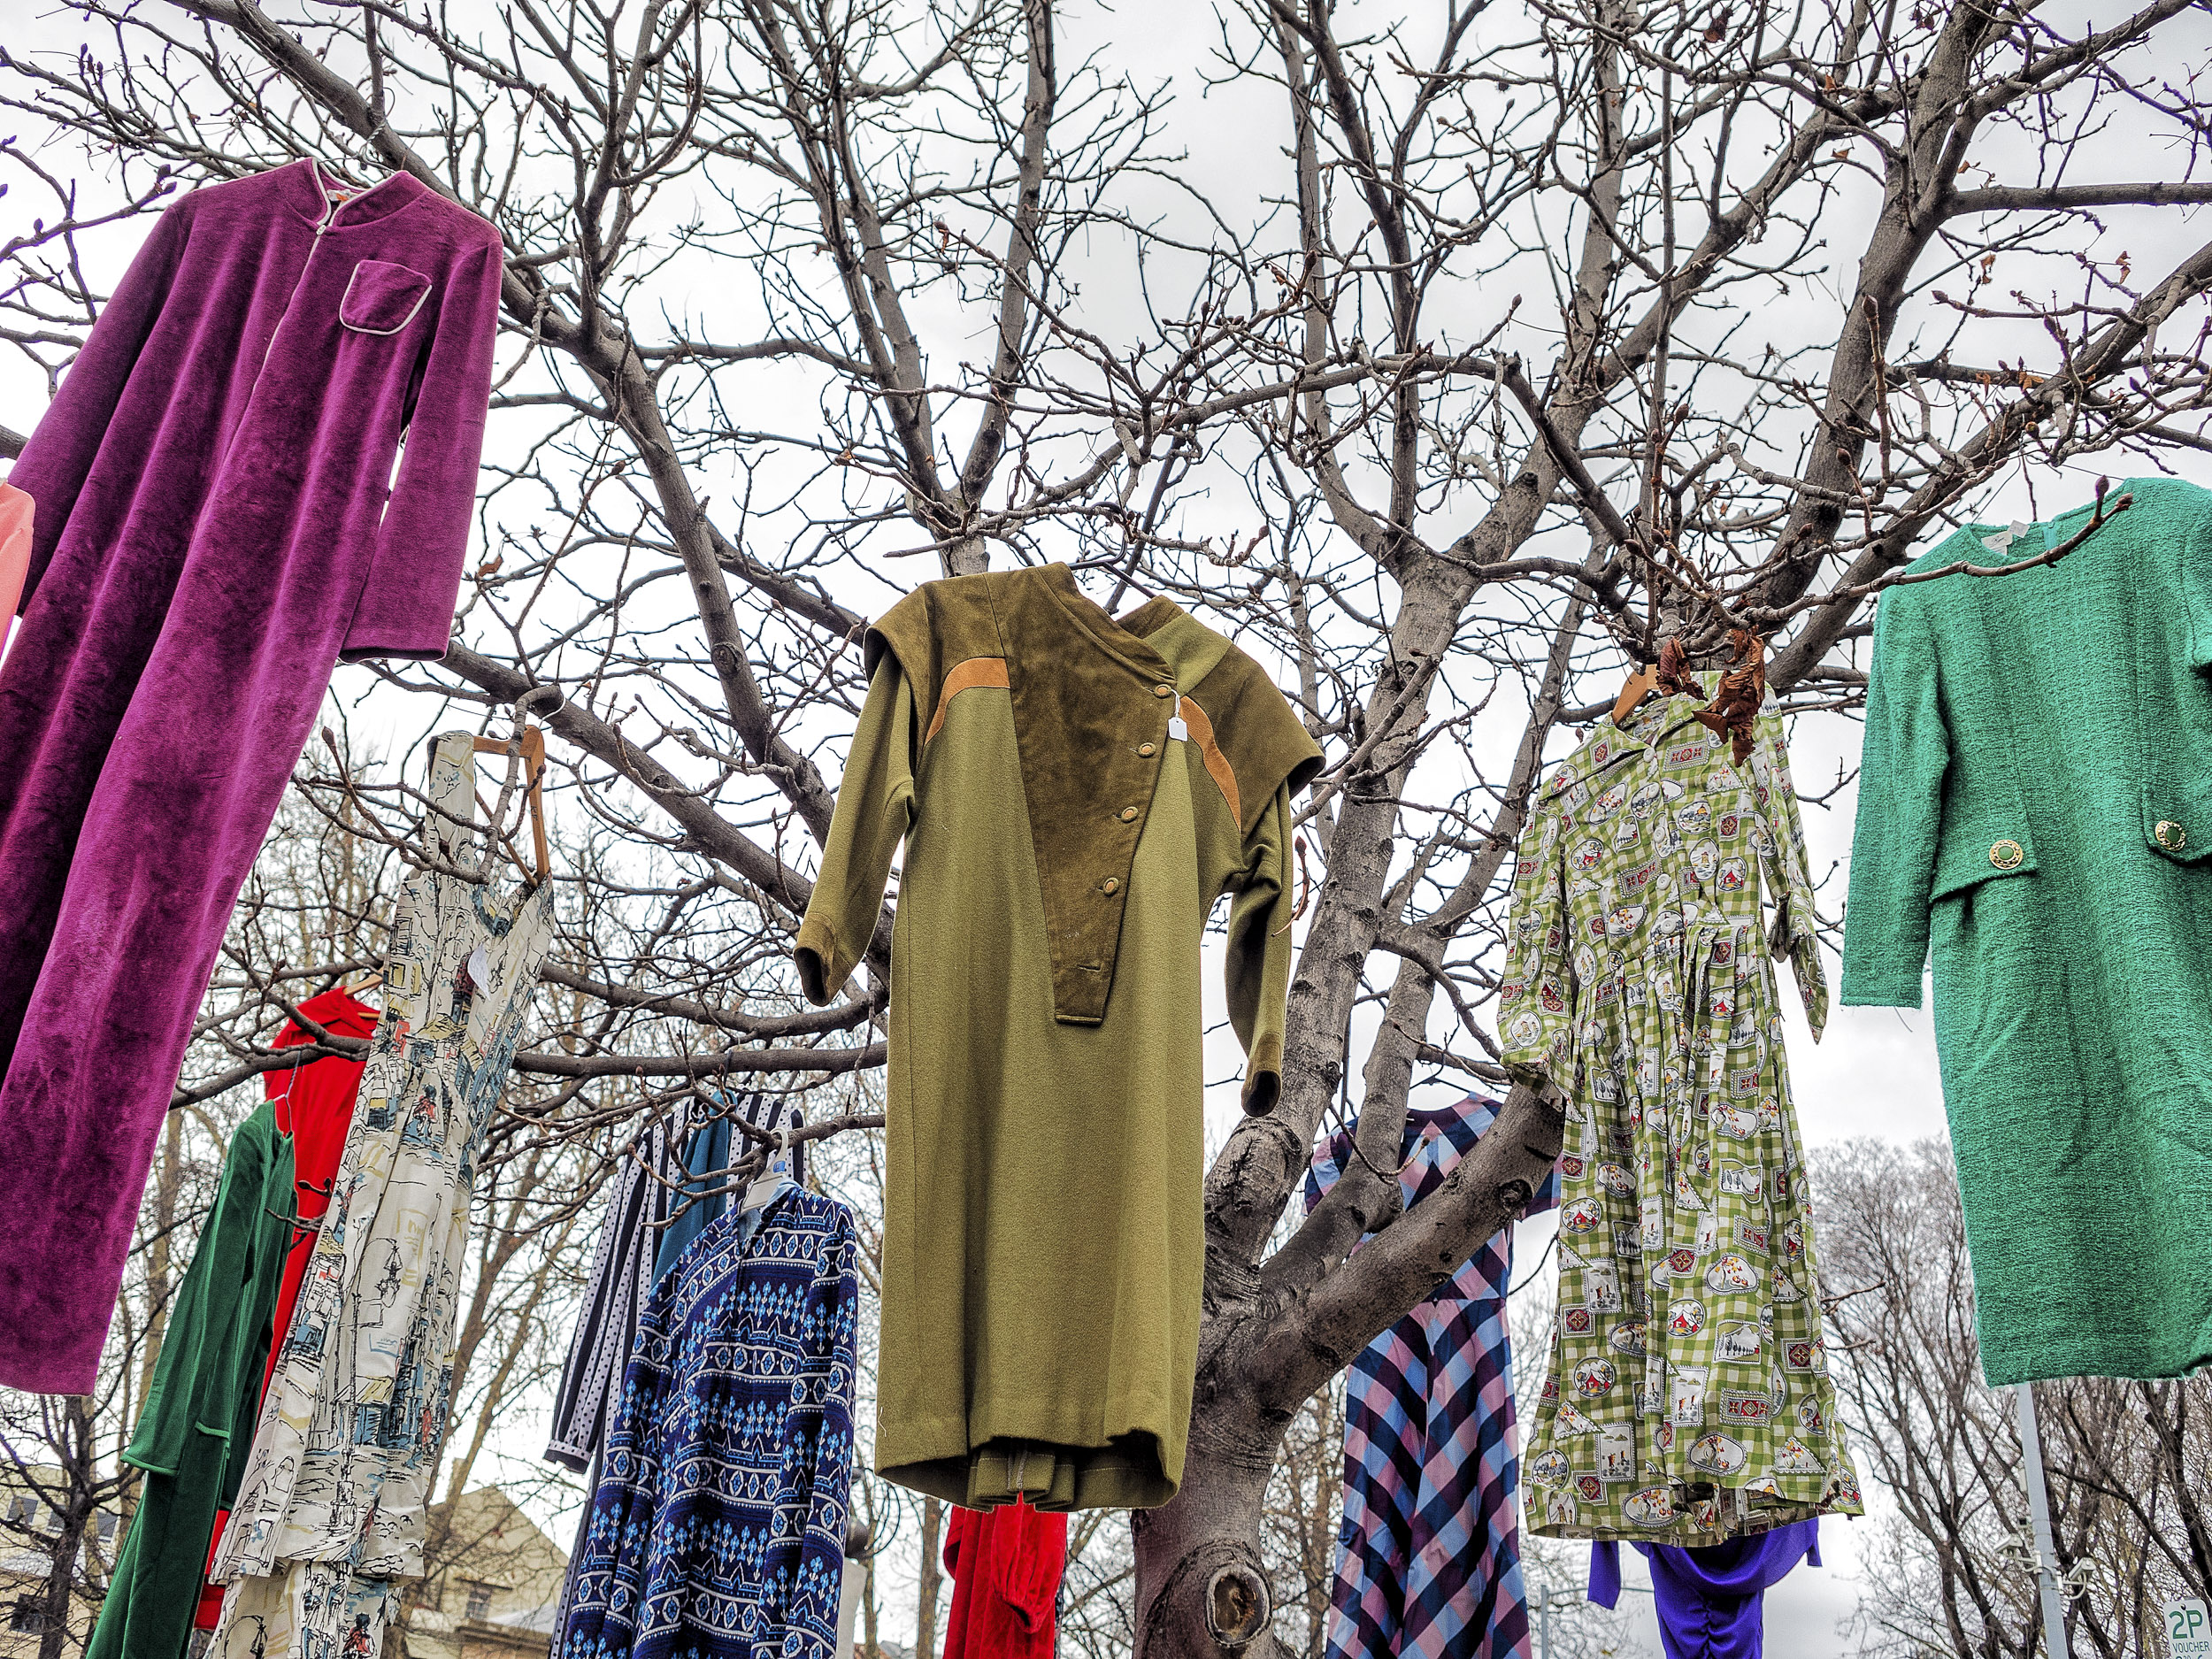
Salamnaca Market, Hobart, Tasmania.


Frida thoroughly approves of having a sofa on the verrandah.


On location filming at the Bellerive Yacht Club with the Olympus EM-10 and 25mm f1.8 lens.


St Luke’s Anglican Church .Richmond, Tasmania.


Lavender ice cream in a waffle cone for sale in Richmond Tasmania.


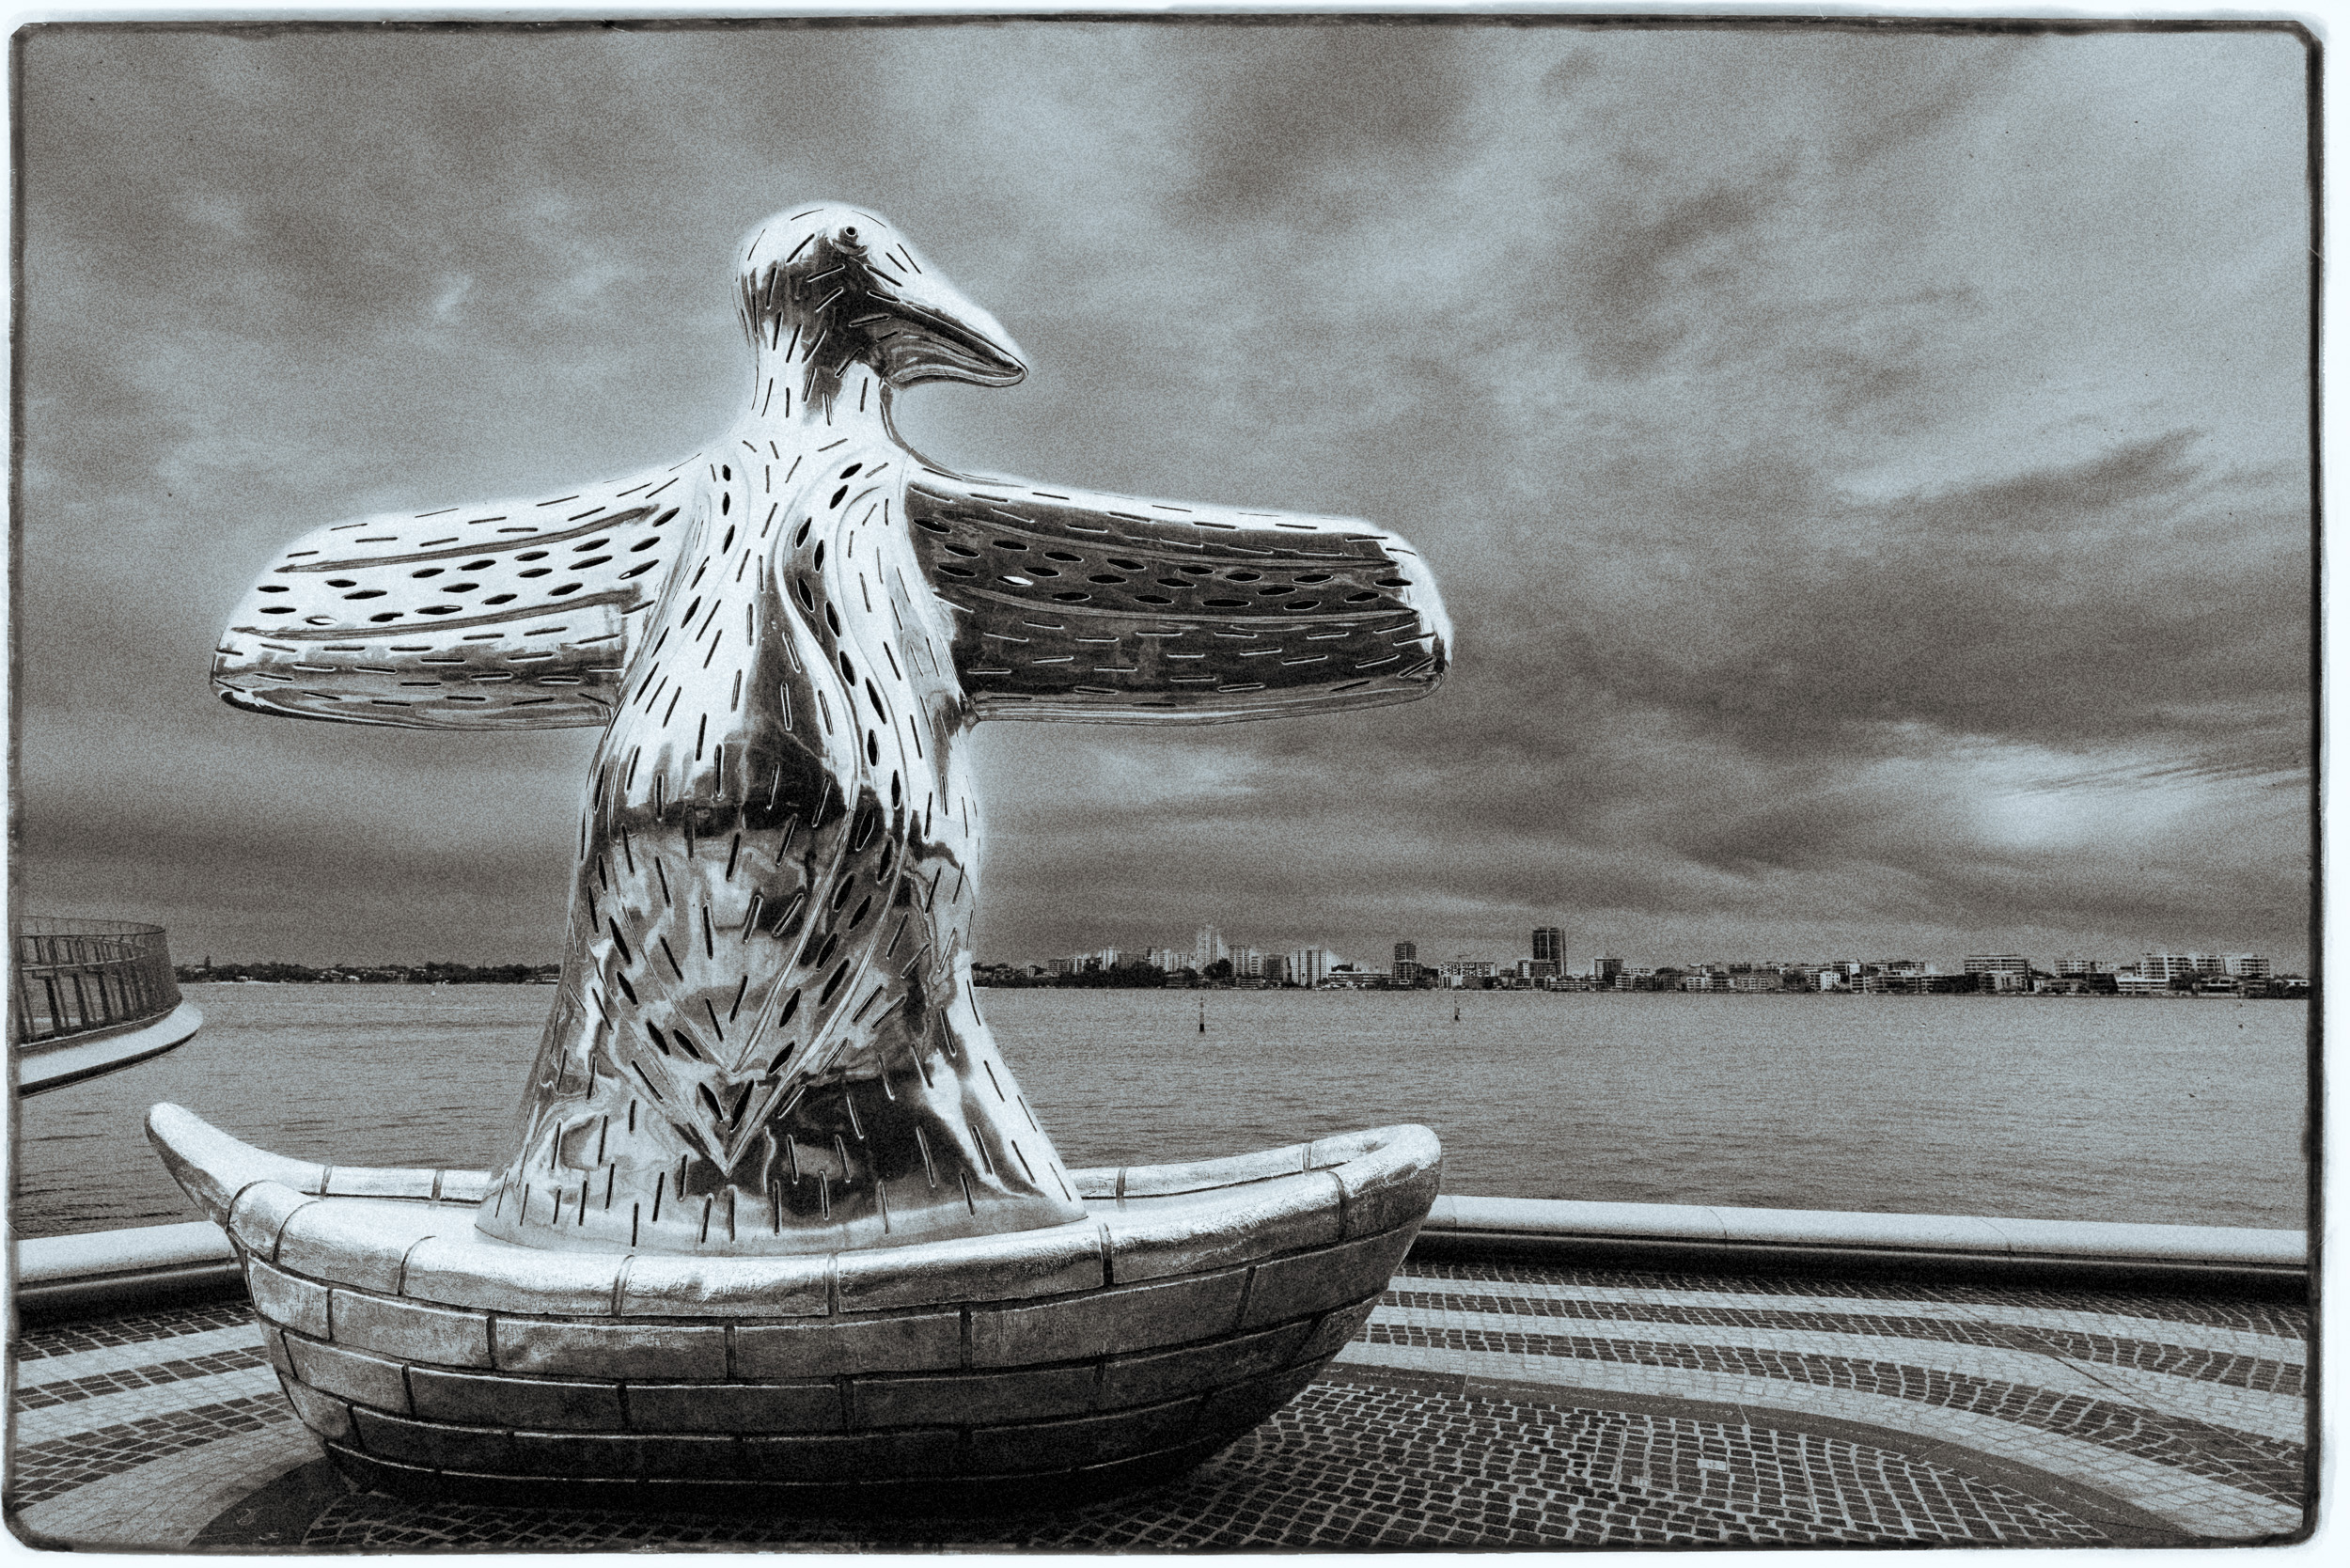
First Contact , Elizabeth Quay in Perth, is a five metre tall artwork by Nyoongar artist Laurel Nannup.


St George’s Cathedral reflected in windows of a high rise building. Perth, Western Australia.


Decorating the Christmas tree on Perth Esplanade. Perth, Western Australia.


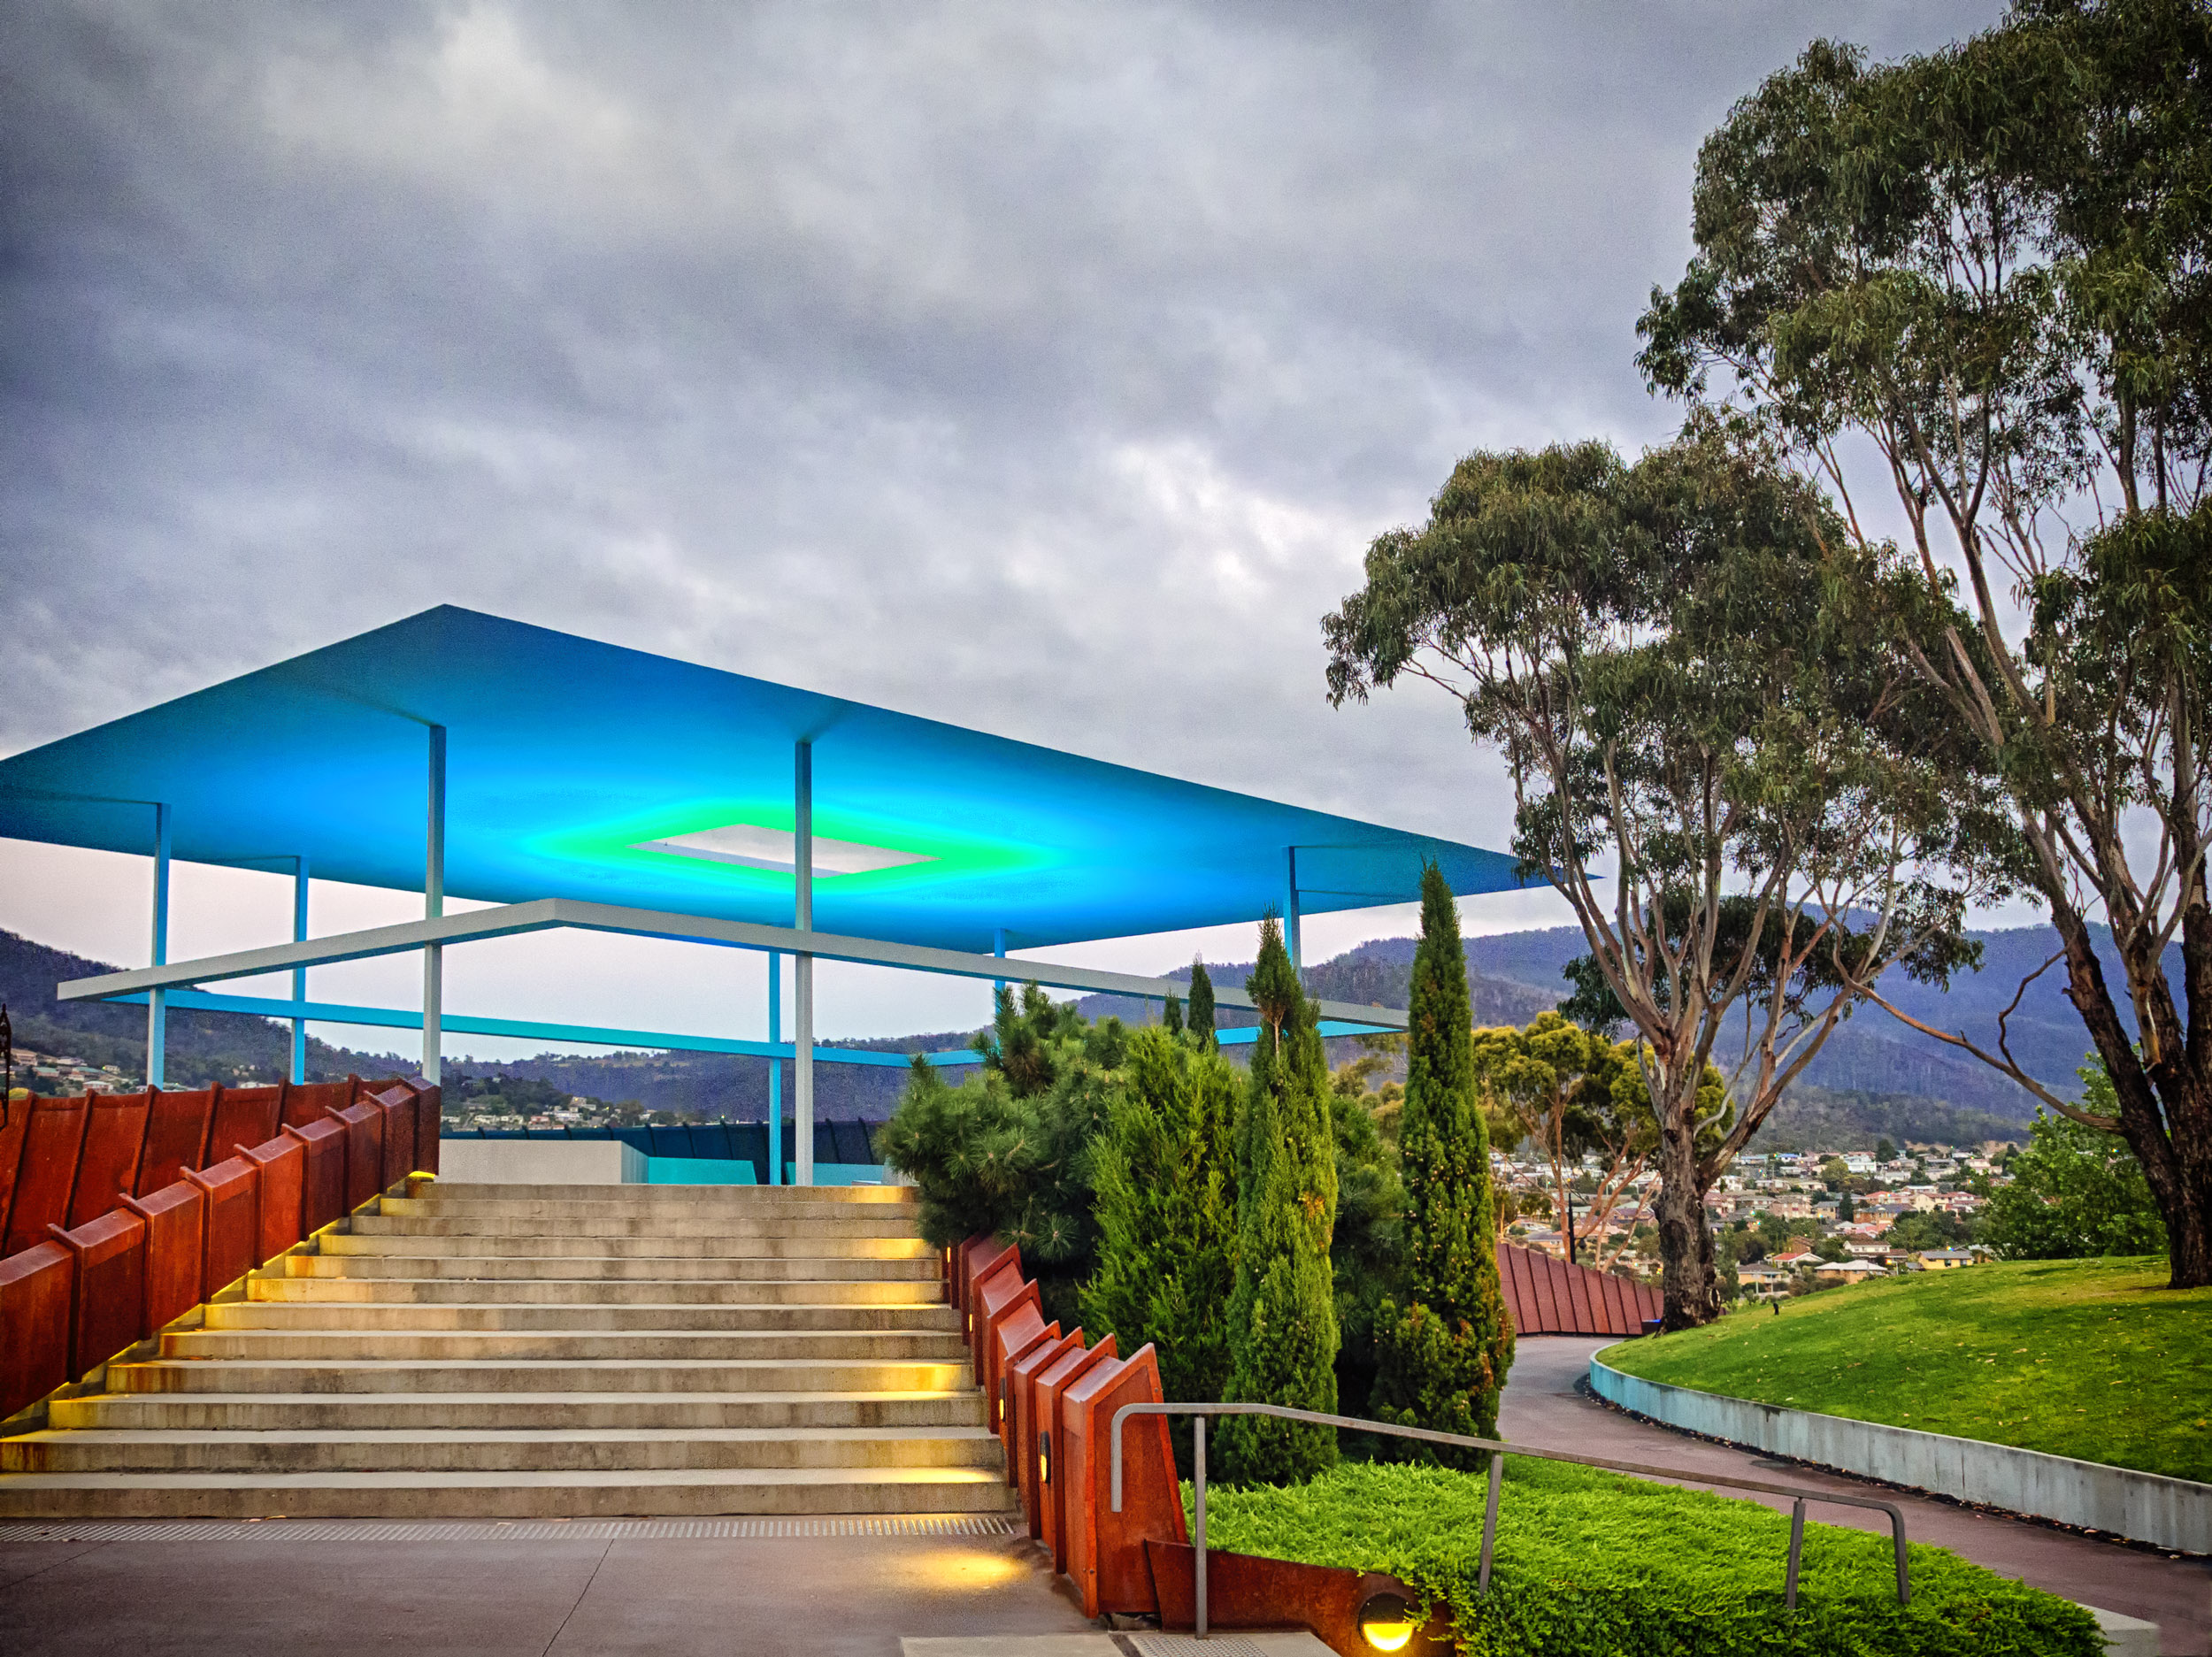
James Turrell’s Amarna at dawn. MONA, Hobart, Tasmania.

Orchids Are Like Buses

Yep you read that right. You know how you can stand at a bus stop for ages and not see a single one and then suddenly three come along together? Well orchids are like that. I’ve been walking the same patch of woodland looking for the Curly Locks Orchid for years without seeing a single one and then the other day low and behold there were three of them just standing there.


Curly Locks by Paul Amyes on 500px.com

Curly Locks, Thelymitra spiralis. Wandoo National Park, Western Australia.


Curly Locks by Paul Amyes on 500px.com

Curly Locks, Thelymitra spiralis. Wandoo National Park, Western Australia.


Curly Locks by Paul Amyes on 500px.com

Curly Locks, Thelymitra spiralis. Wandoo National Park, Western Australia.


I’ve spent the last couple of weeks walking the Wandoo forest looking for various orchids. I’ve bumped into a male emus and his brood (too quick to photograph), met bob tailed lizards and countless Western Grey Kangaroos (again too quick to photograph). So even if I’ve not found the particular flower I’m looking for it has still been quite an experience.

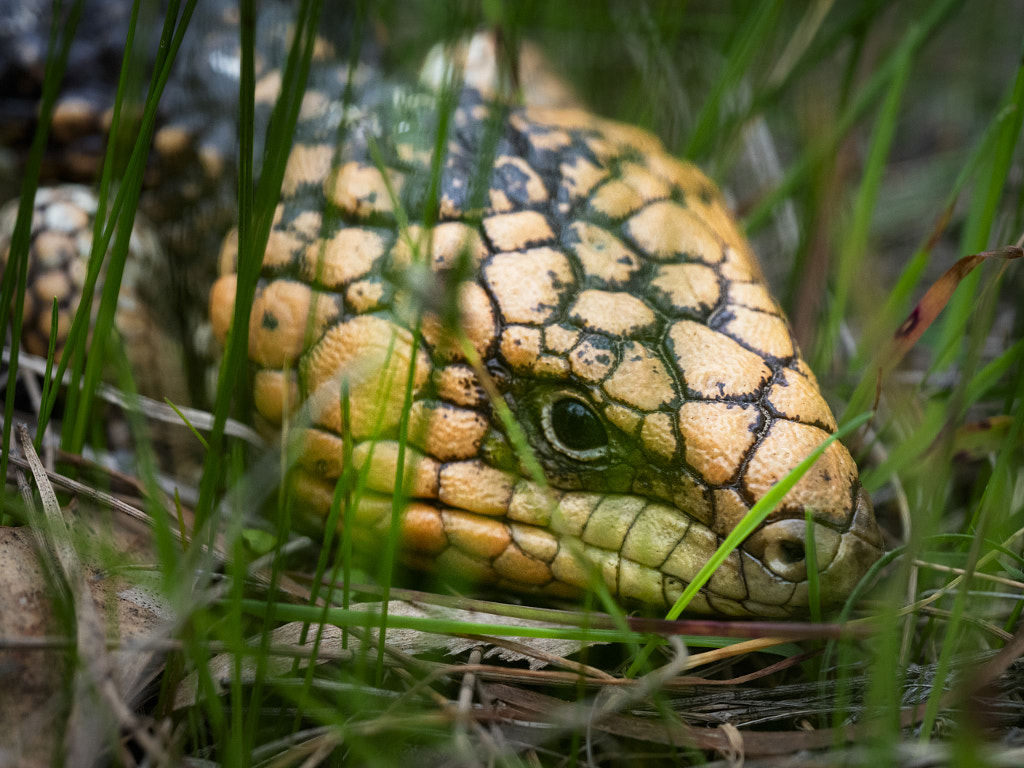
Bobtailed Lizard by Paul Amyes on 500px.com
The slower bob tailed lizards are easier to photograph than fleeing emus and kangaroos.


Speaking of finding orchids well I’ve seen plenty. On Thursdays outing to Wambyn Reserve I saw eleven different species and was amazed by how early some of them were.


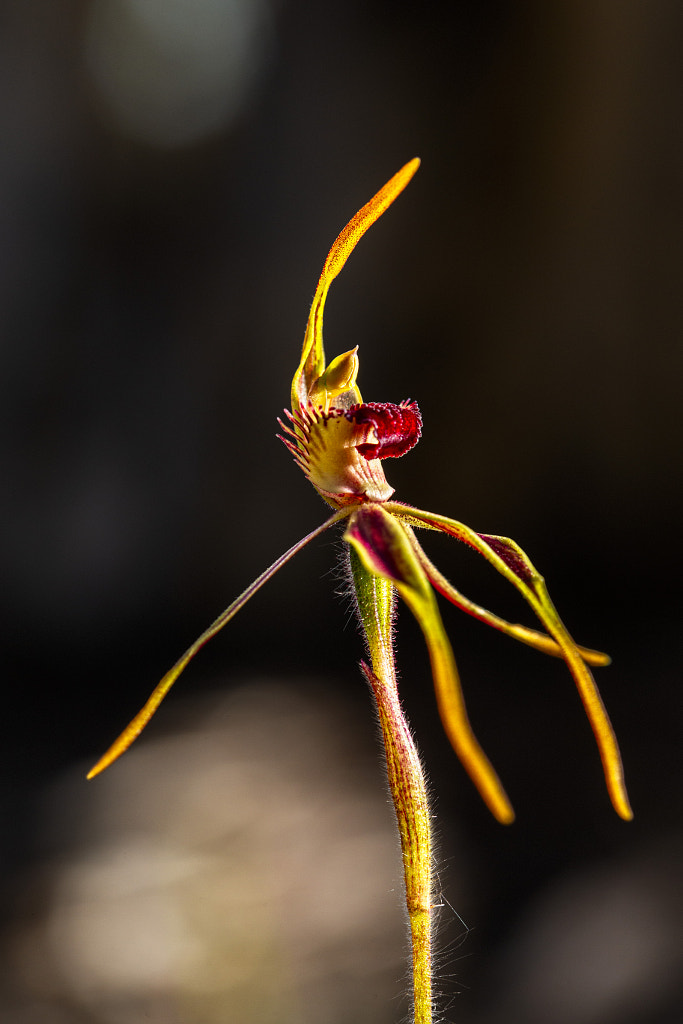
Clubbed Spider Orchid by Paul Amyes on 500px.com

A very early flowering Clubbed Spider Orchid, Caladenia longiclavata. Wambyn Reserve, Western Australia.


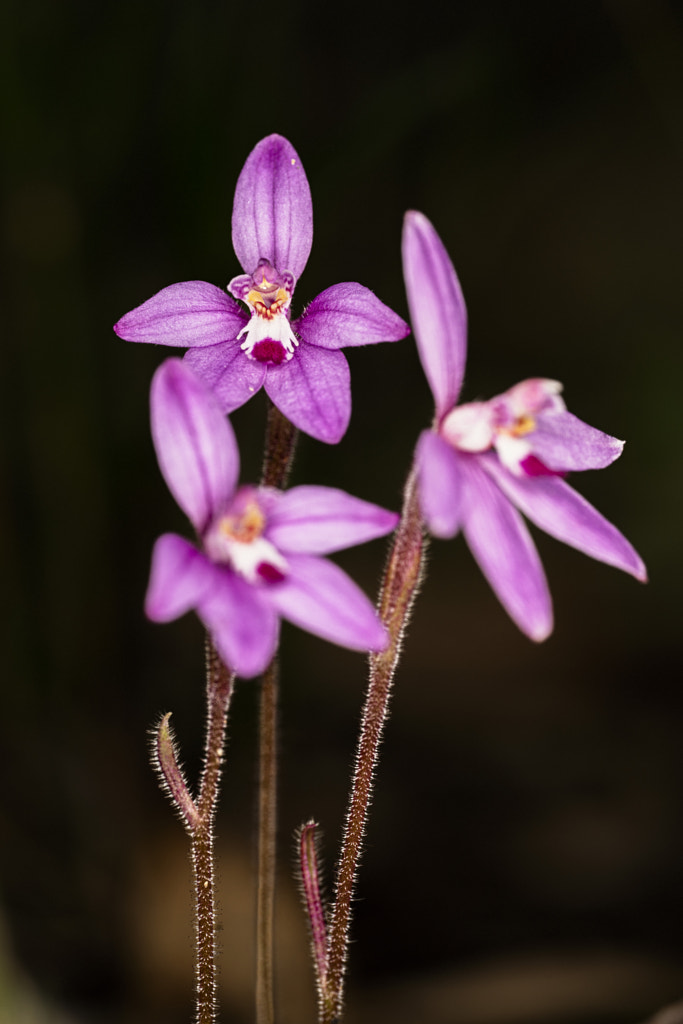
Little Pink Fairy Orchid by Paul Amyes on 500px.com

Little Pink Fairy Orchid or dwarf pink fairy orchid, Caladenia reptans subspecies reptans. Wandoo National Park, Western Australia.


Sugar Orchid by Paul Amyes on 500px.com

Sugar Orchid, Ericksonella saccharata. Wambyn Reserve, Western Australia.


Frog Greenhood by Paul Amyes on 500px.com

Frog Greenhood, Pterostylis sargentii. Wambyn Reserve, Western Australia.


Jug Orchid by Paul Amyes on 500px.com

Jug orchid or recurved shell orchid, Pterostylis recurva. Wandoo National Park, Western Australia.


Common Donkey Orchid by Paul Amyes on 500px.com

Common Donkey Orchid or wallflower orchid, Diuris corymbosa. Wambyn Reserve, Western Australia.


Stark White Spider Orchid by Paul Amyes on 500px.com

Stark White Spider Orchid, Caladenia longicauda subsp eminens. Wambyn Reserve, Western Australia.


Photographically I’ve been on a bit of a full frame kick preferring to either use the Sony A7r ii and sigma 105mm macro lens or the Canon EOS6d with Canon 100mm macro lens. All the shots are lit with a flash being used as the key light and natural light as the fill. I’ve enjoyed the change but my back doesn’t. There’s a huge weight difference between the full frame cameras, lenses and flash equipment compared to the usual  Olympus micro four thirds system I usually use. But to be honest shooting at base ISO using artificial lighting and only printing at A3+ I can’t see any real advantage to shooting full frame so this next week I’ll go back to using the Olympus kit.

Another Garden Visitor

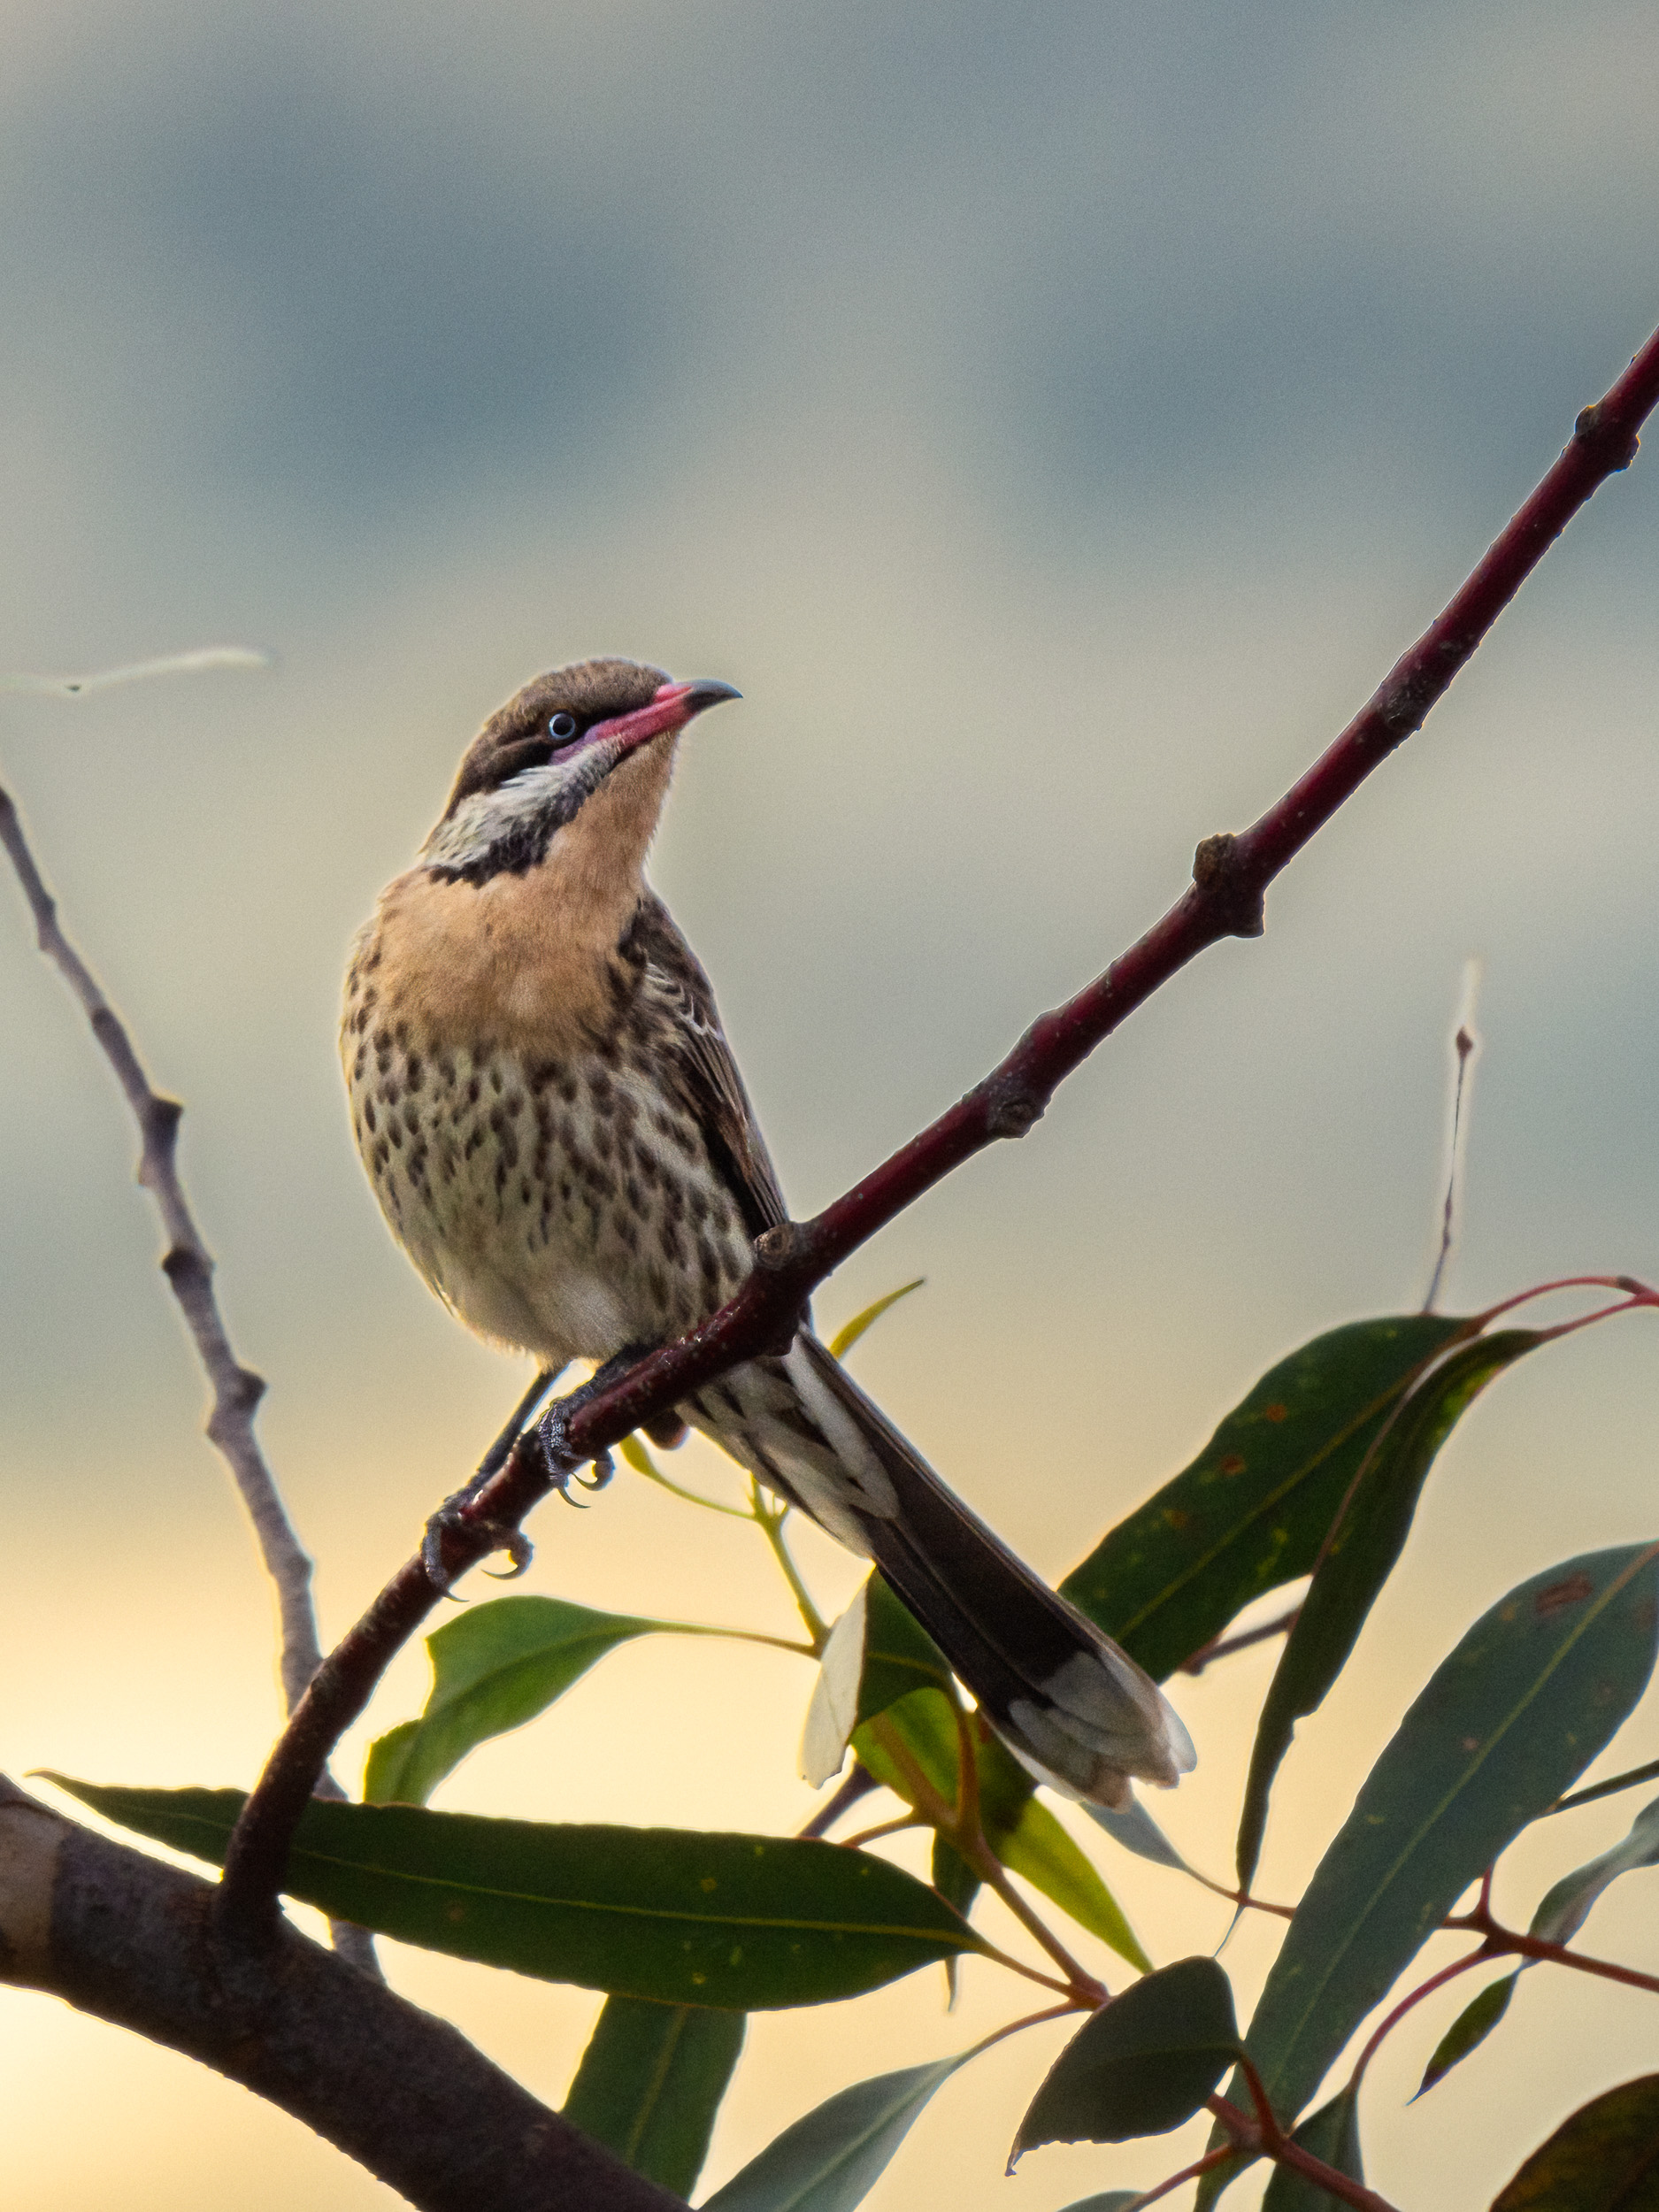
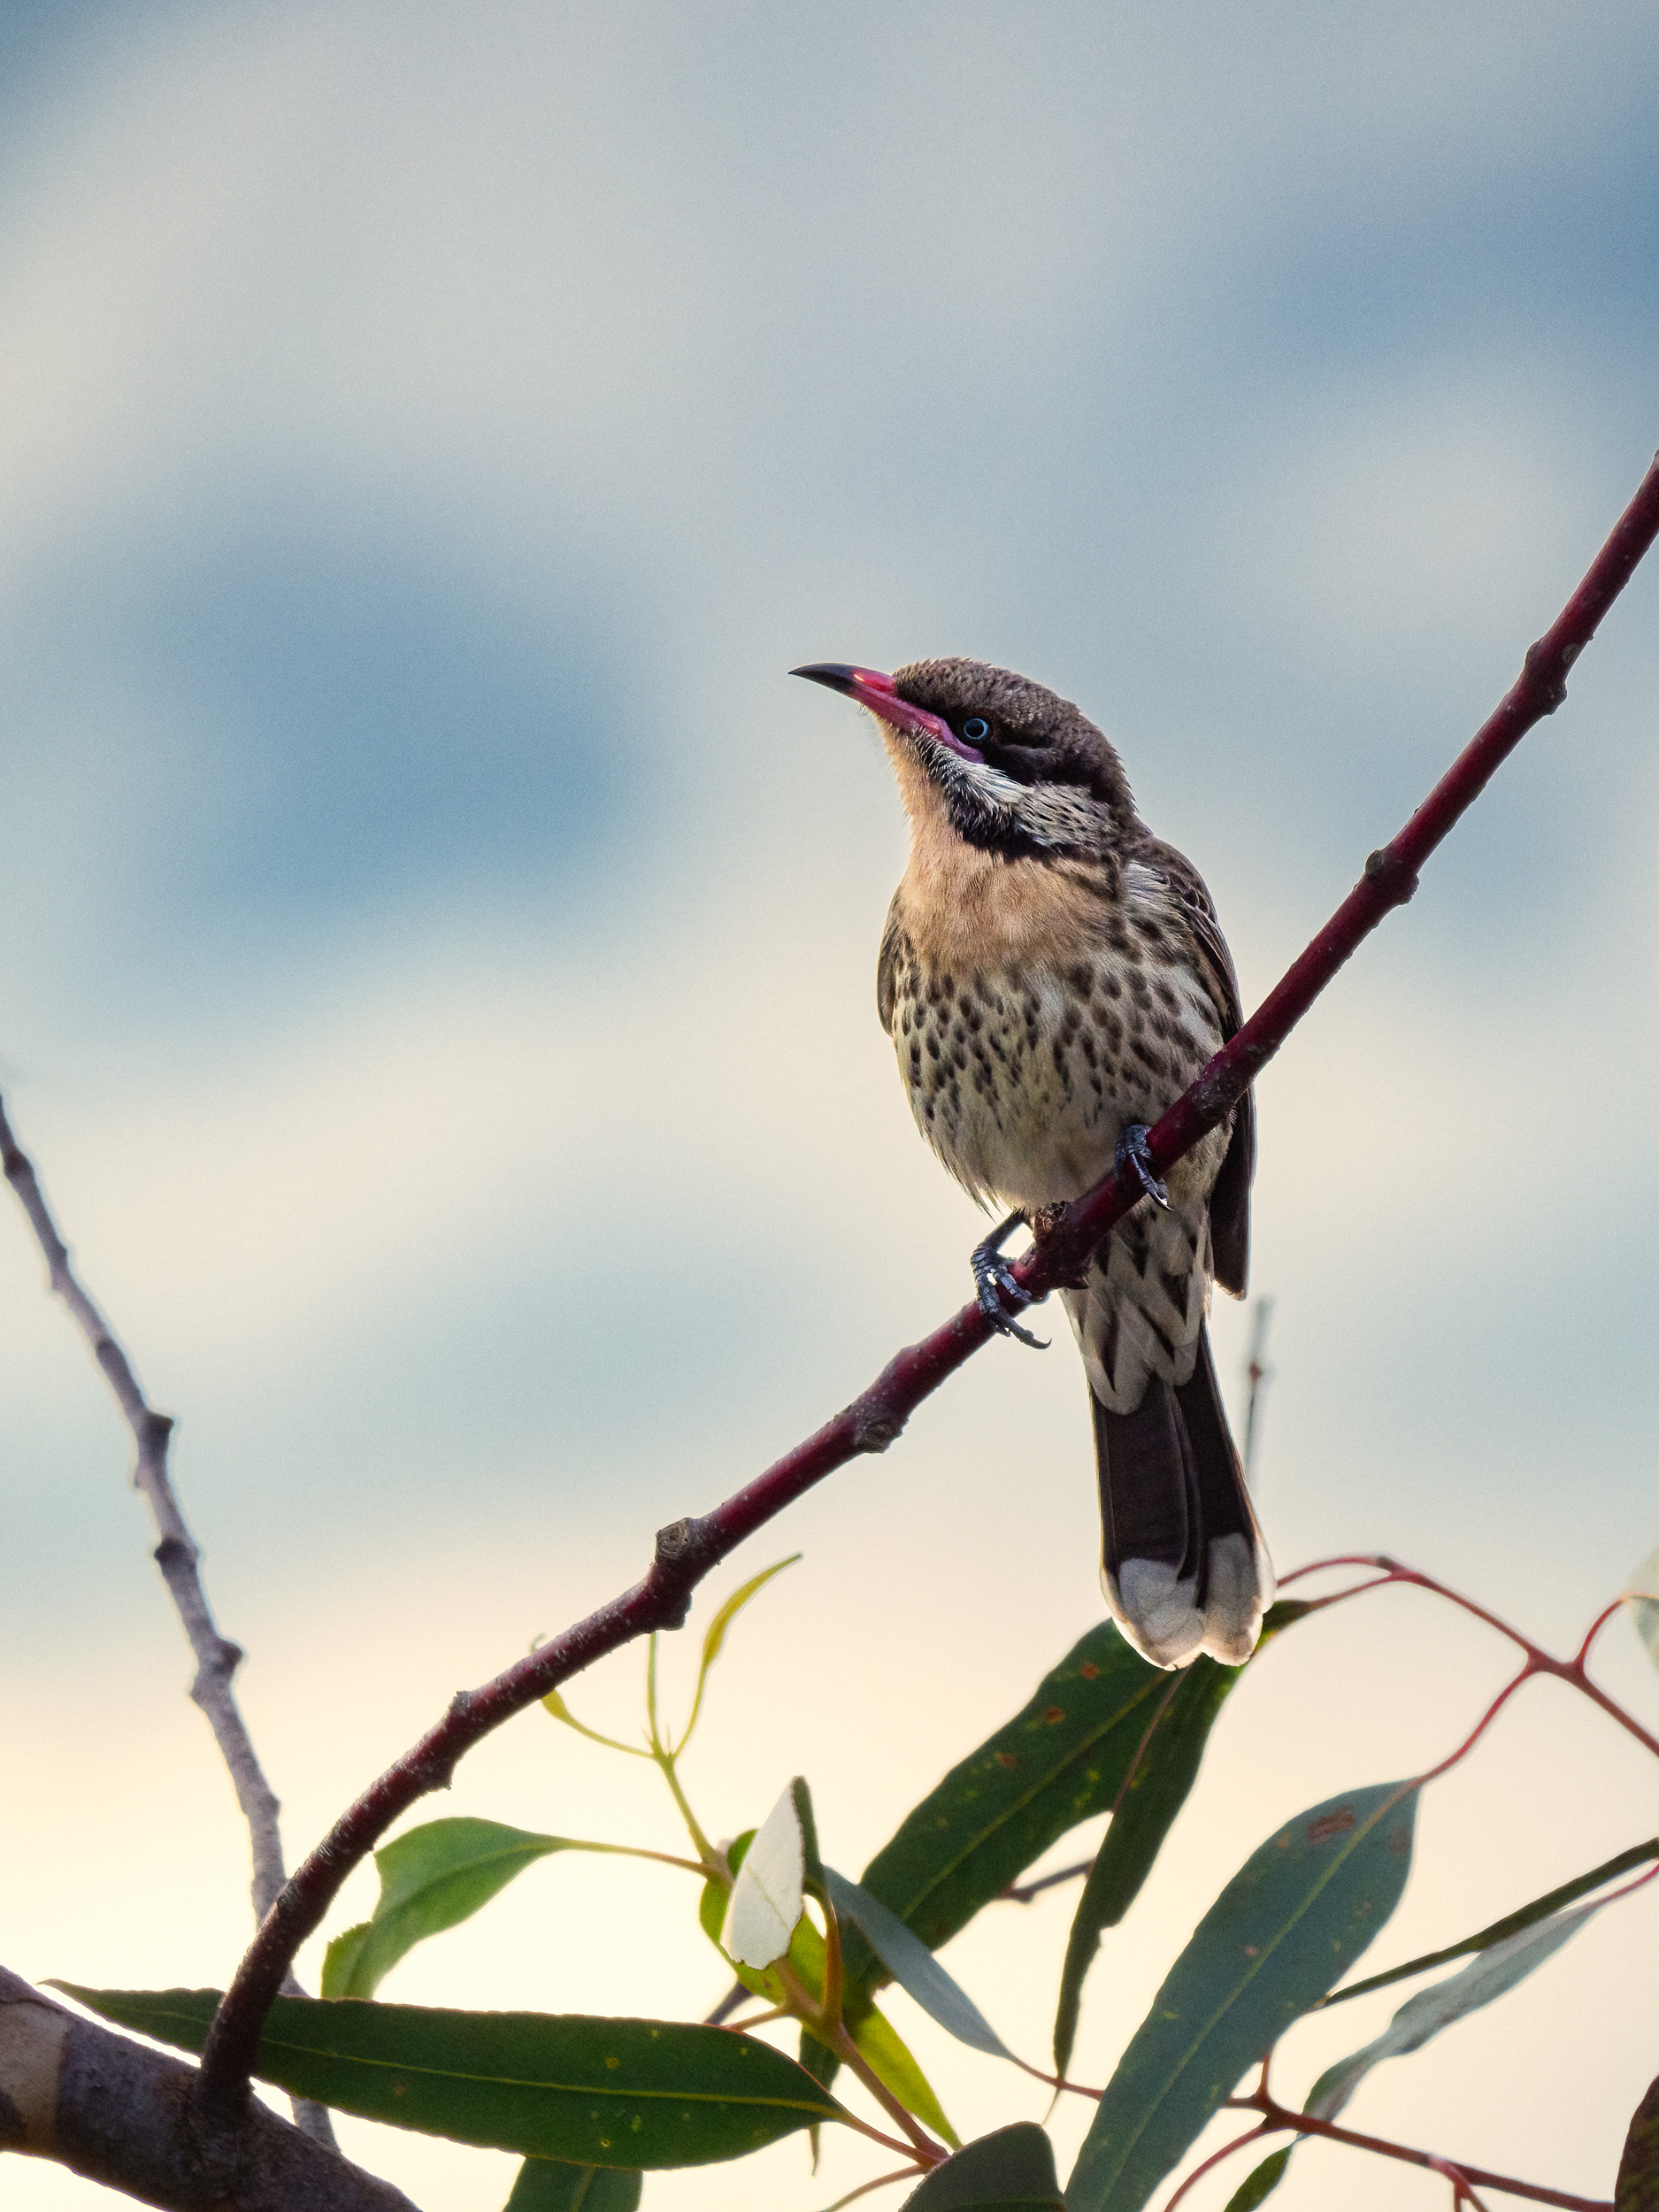
We were sitting on the front veranda the other evening when we heard this amazing bird song. Looking up was a bird we’d not seen in the garden before – a Spiny-cheeked Honeyeater. Of course this warranted getting a camera and taking a few shots.

A Spiny-cheeked Honeyeater, Acanthagenys rufogularis, singing his heart out. Olympus OMD EM 1 mk ii with Panasonic Leica 100-400mm lens.


Spiny-cheeked Honeyeater, Acanthagenys rufogularis. York, Western Australia.


Spiny-cheeked Honeyeater called Kwordilyang by the Nyoongar of Western Australia.

Variations On A Theme

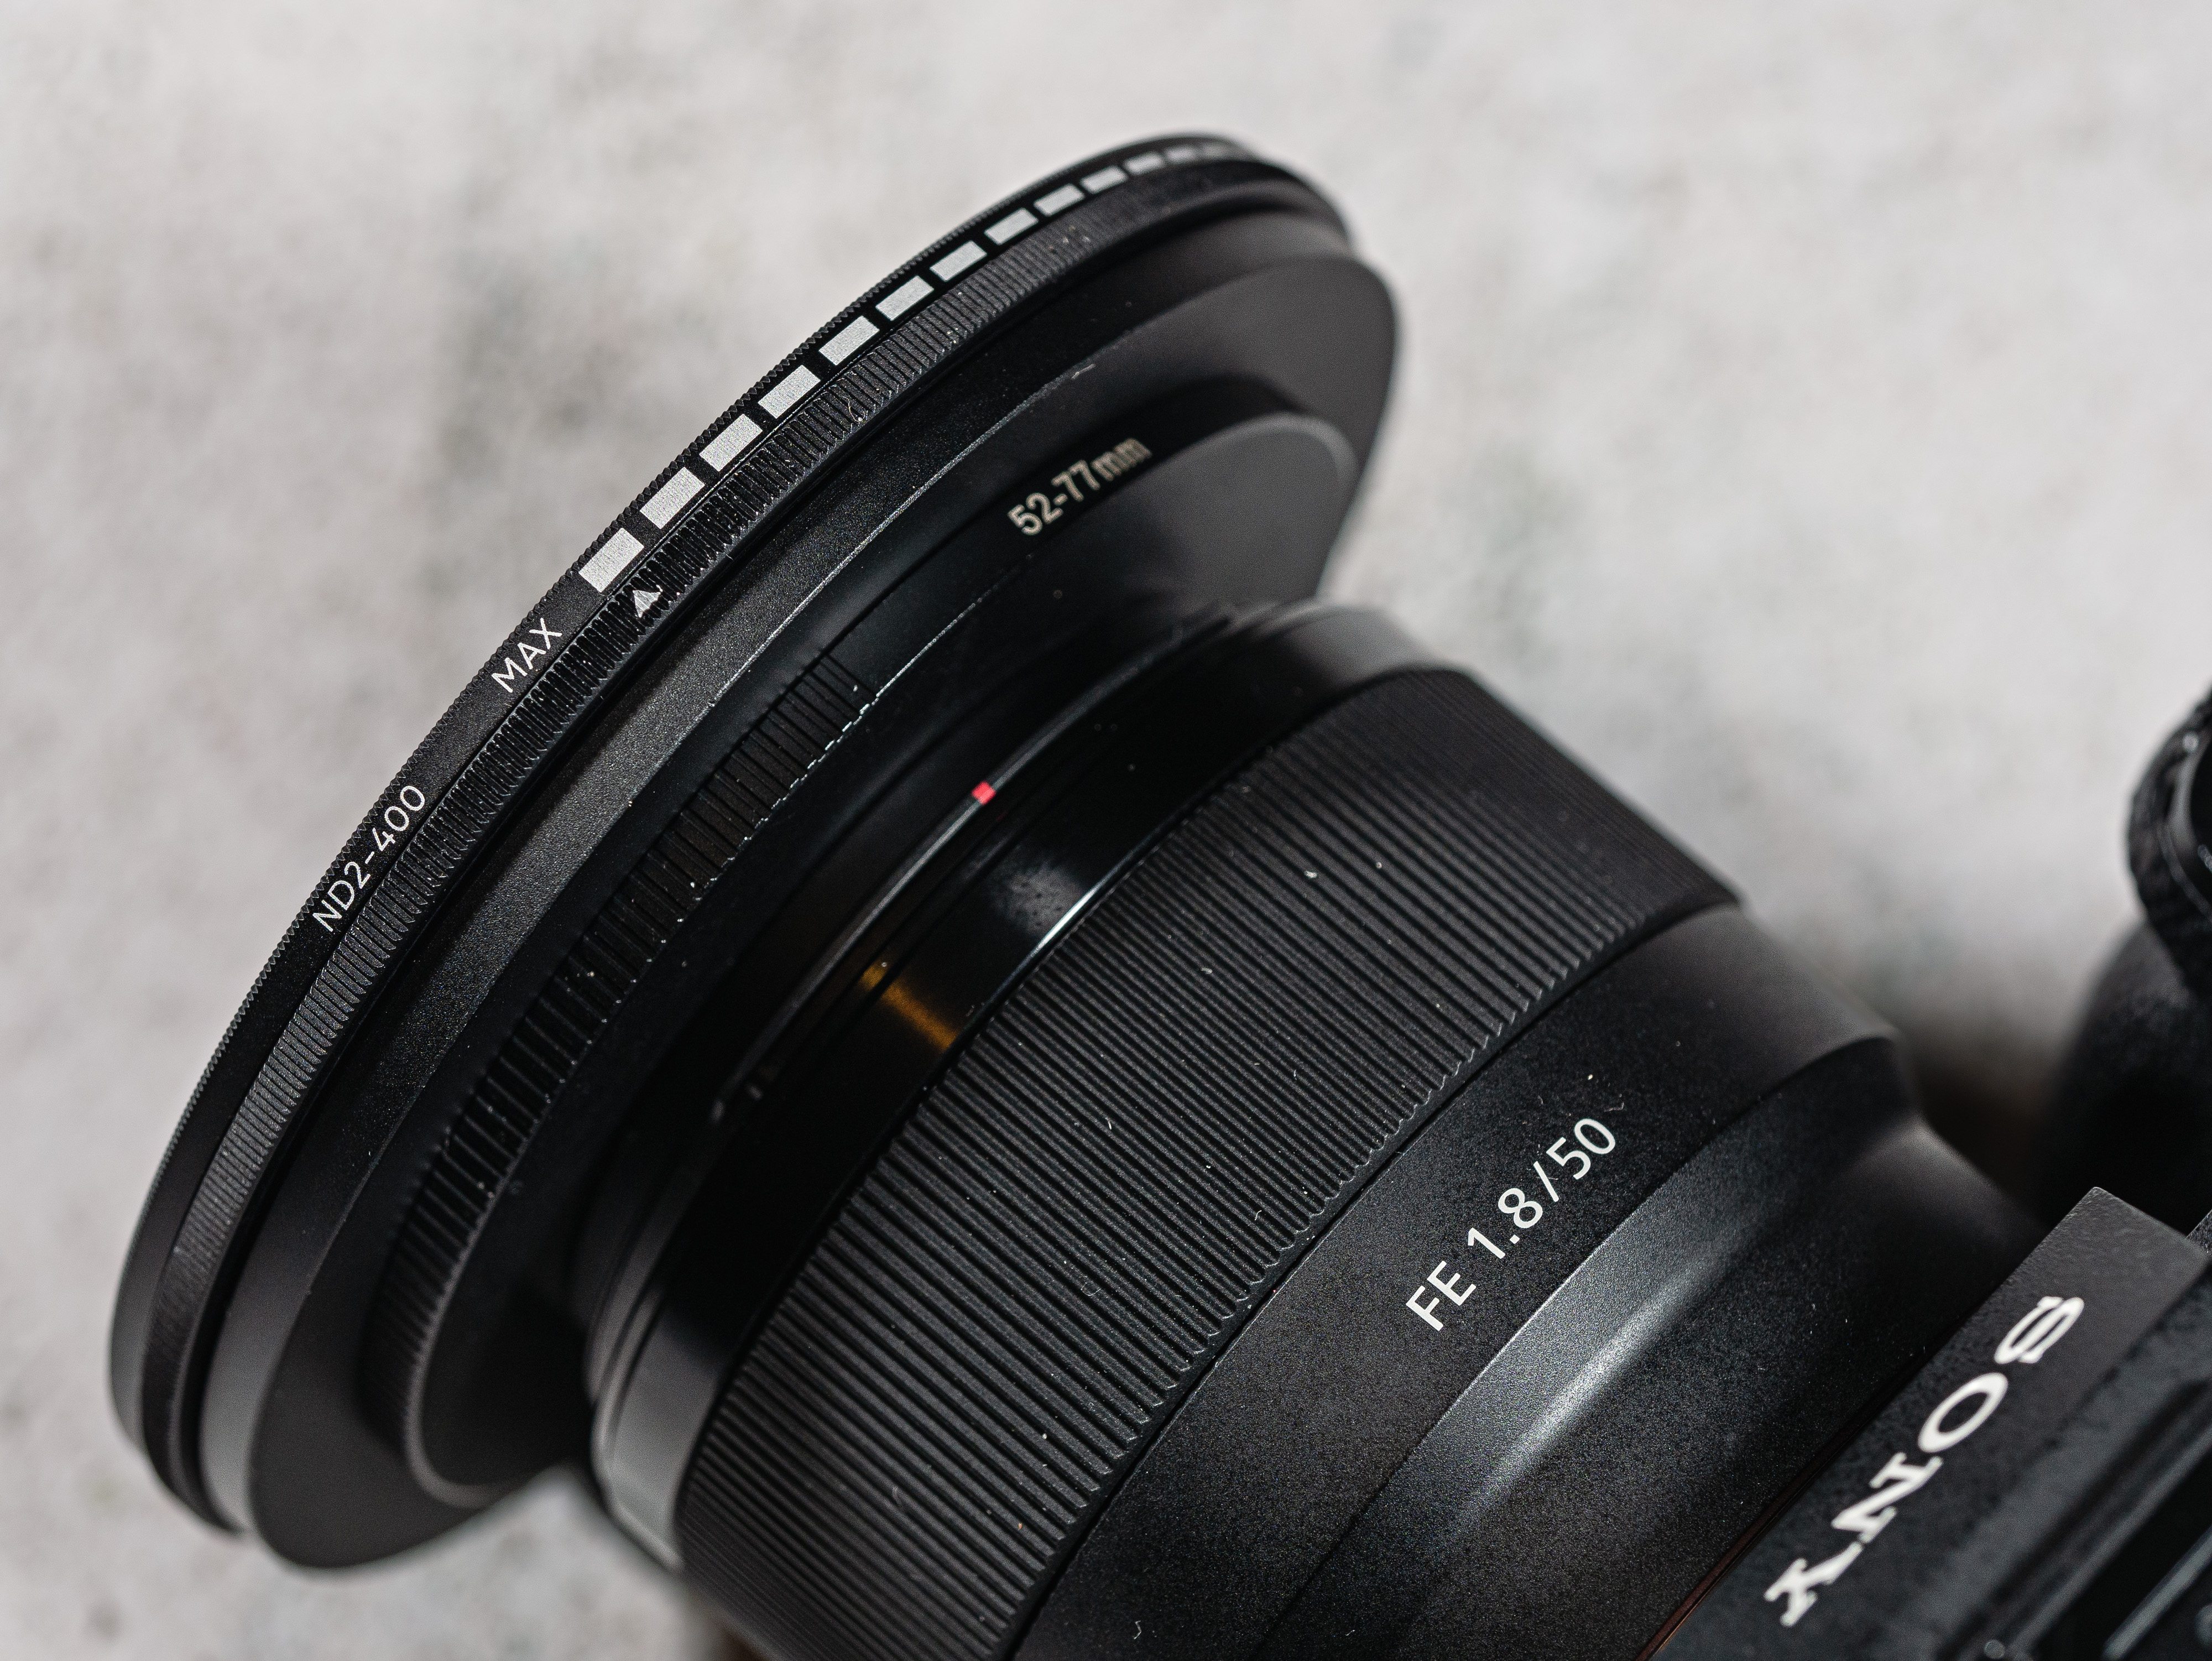
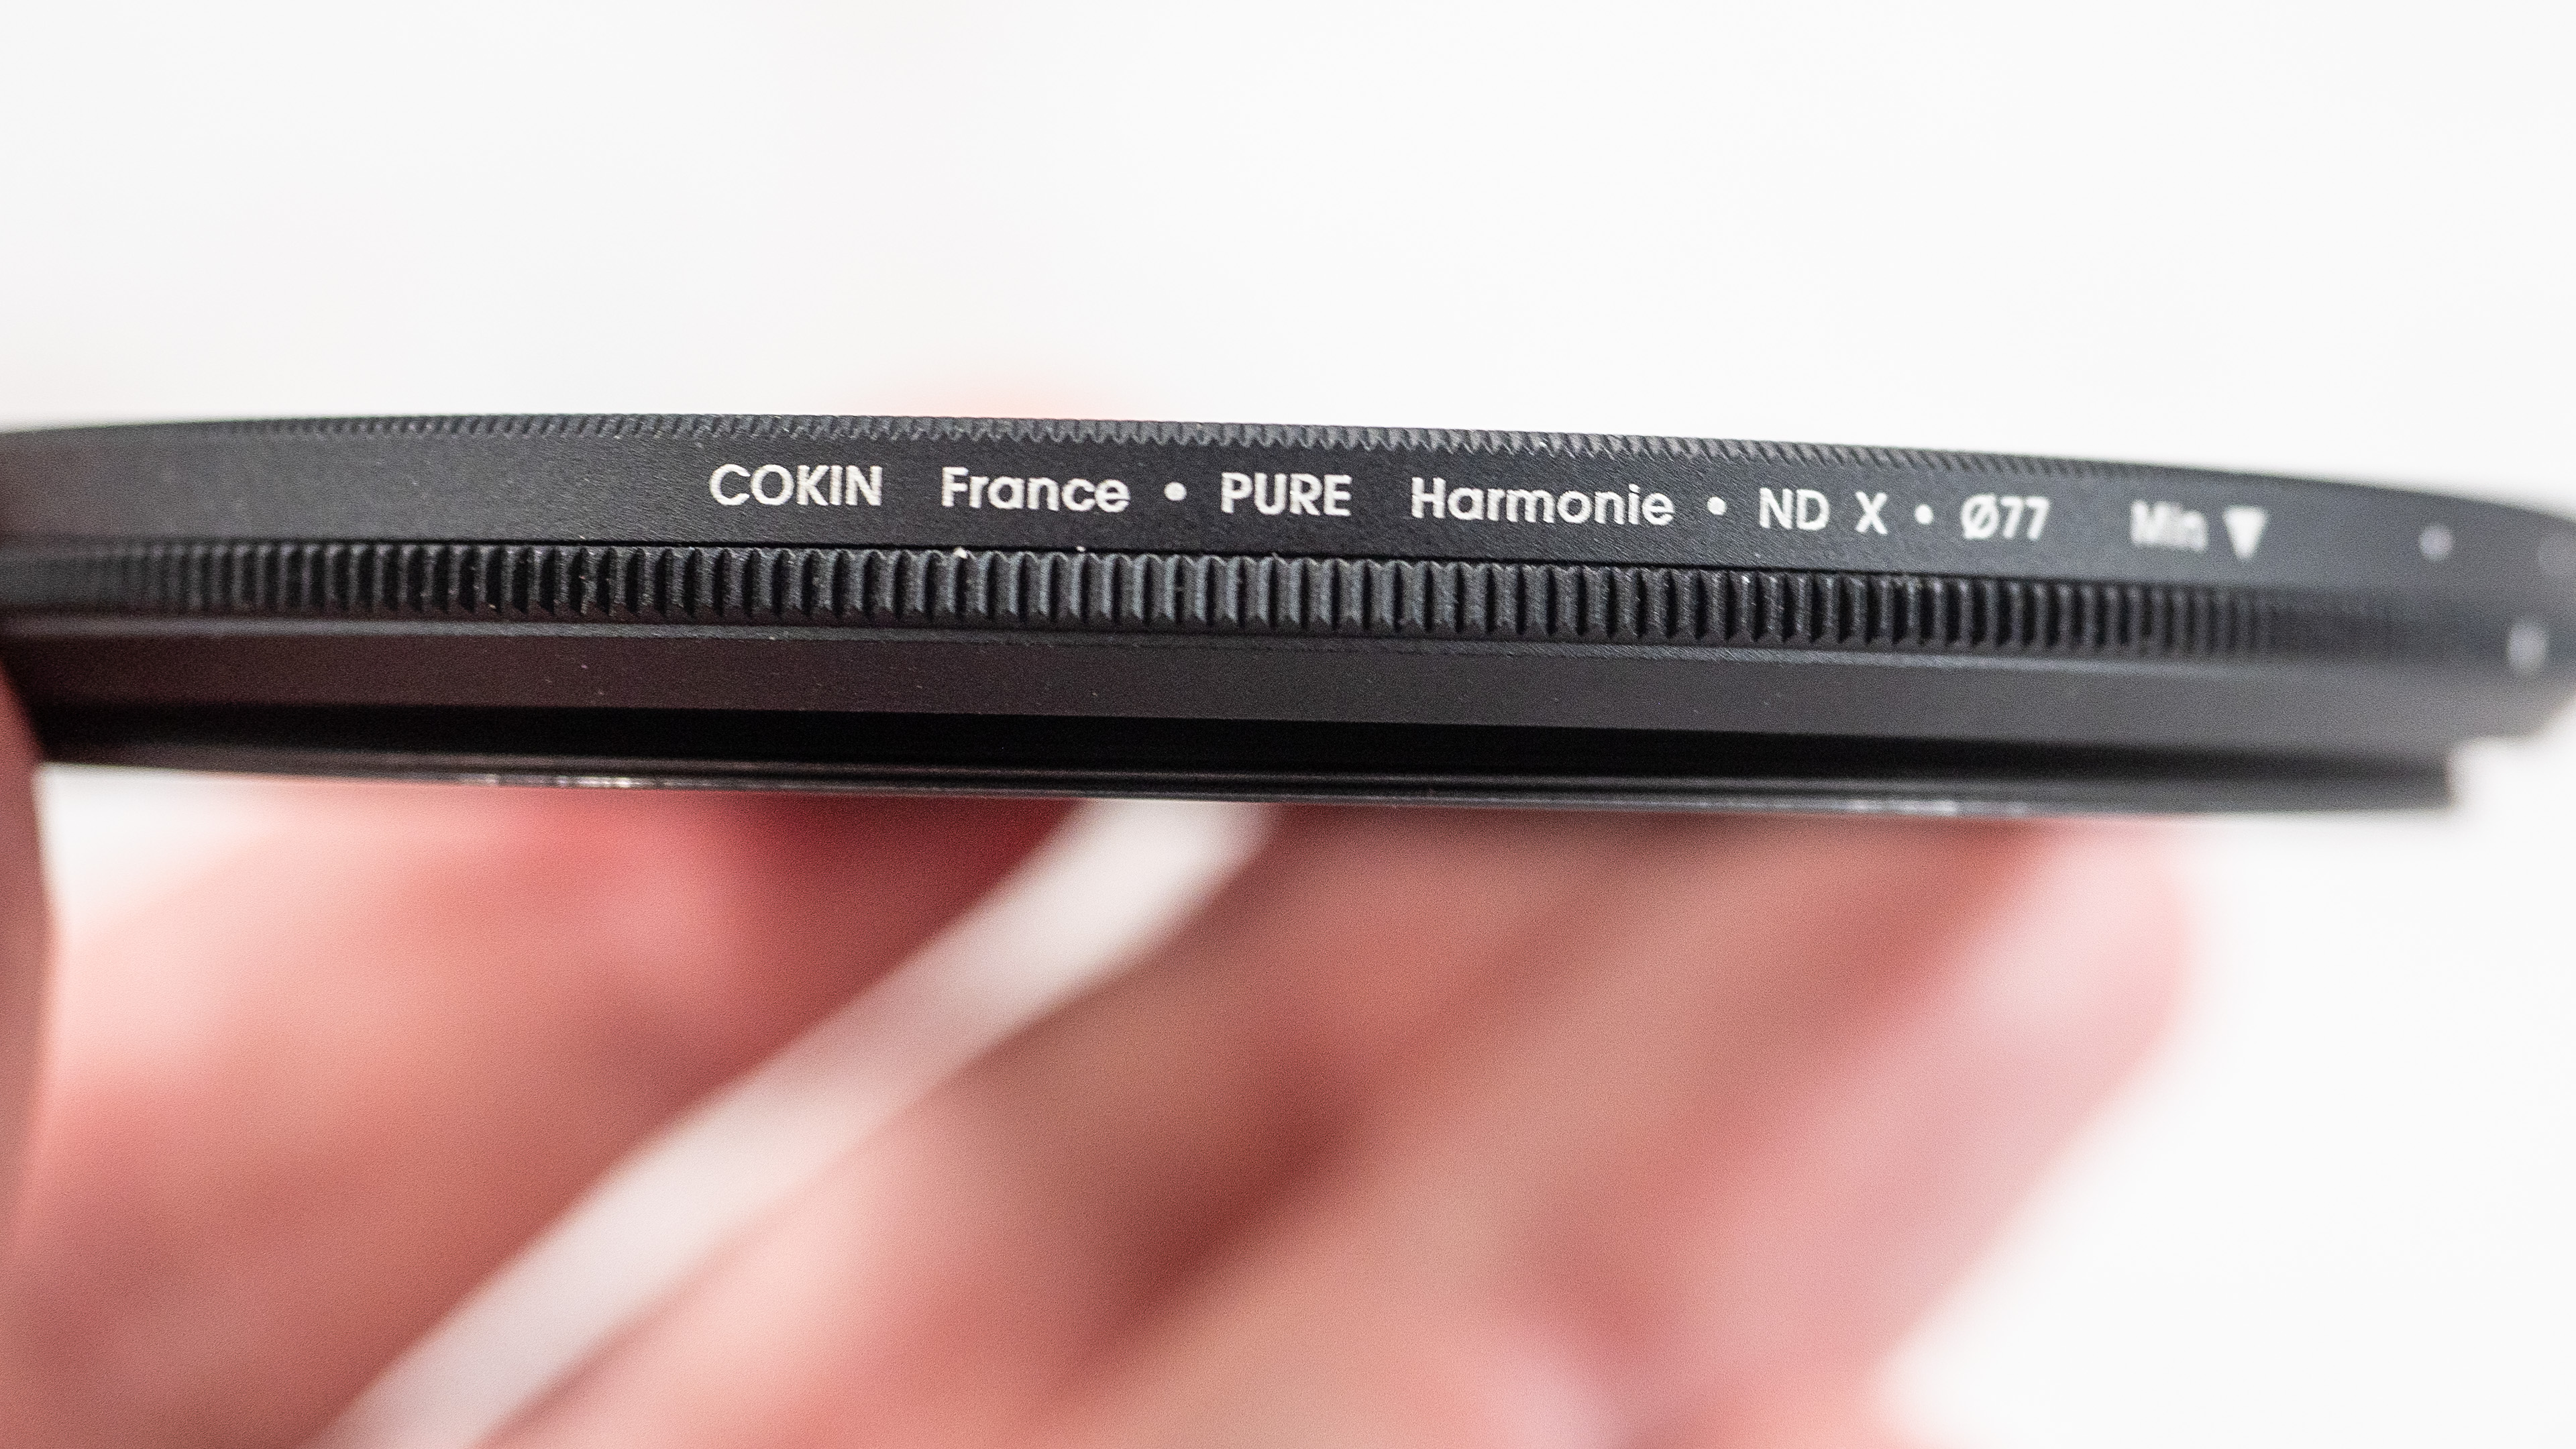
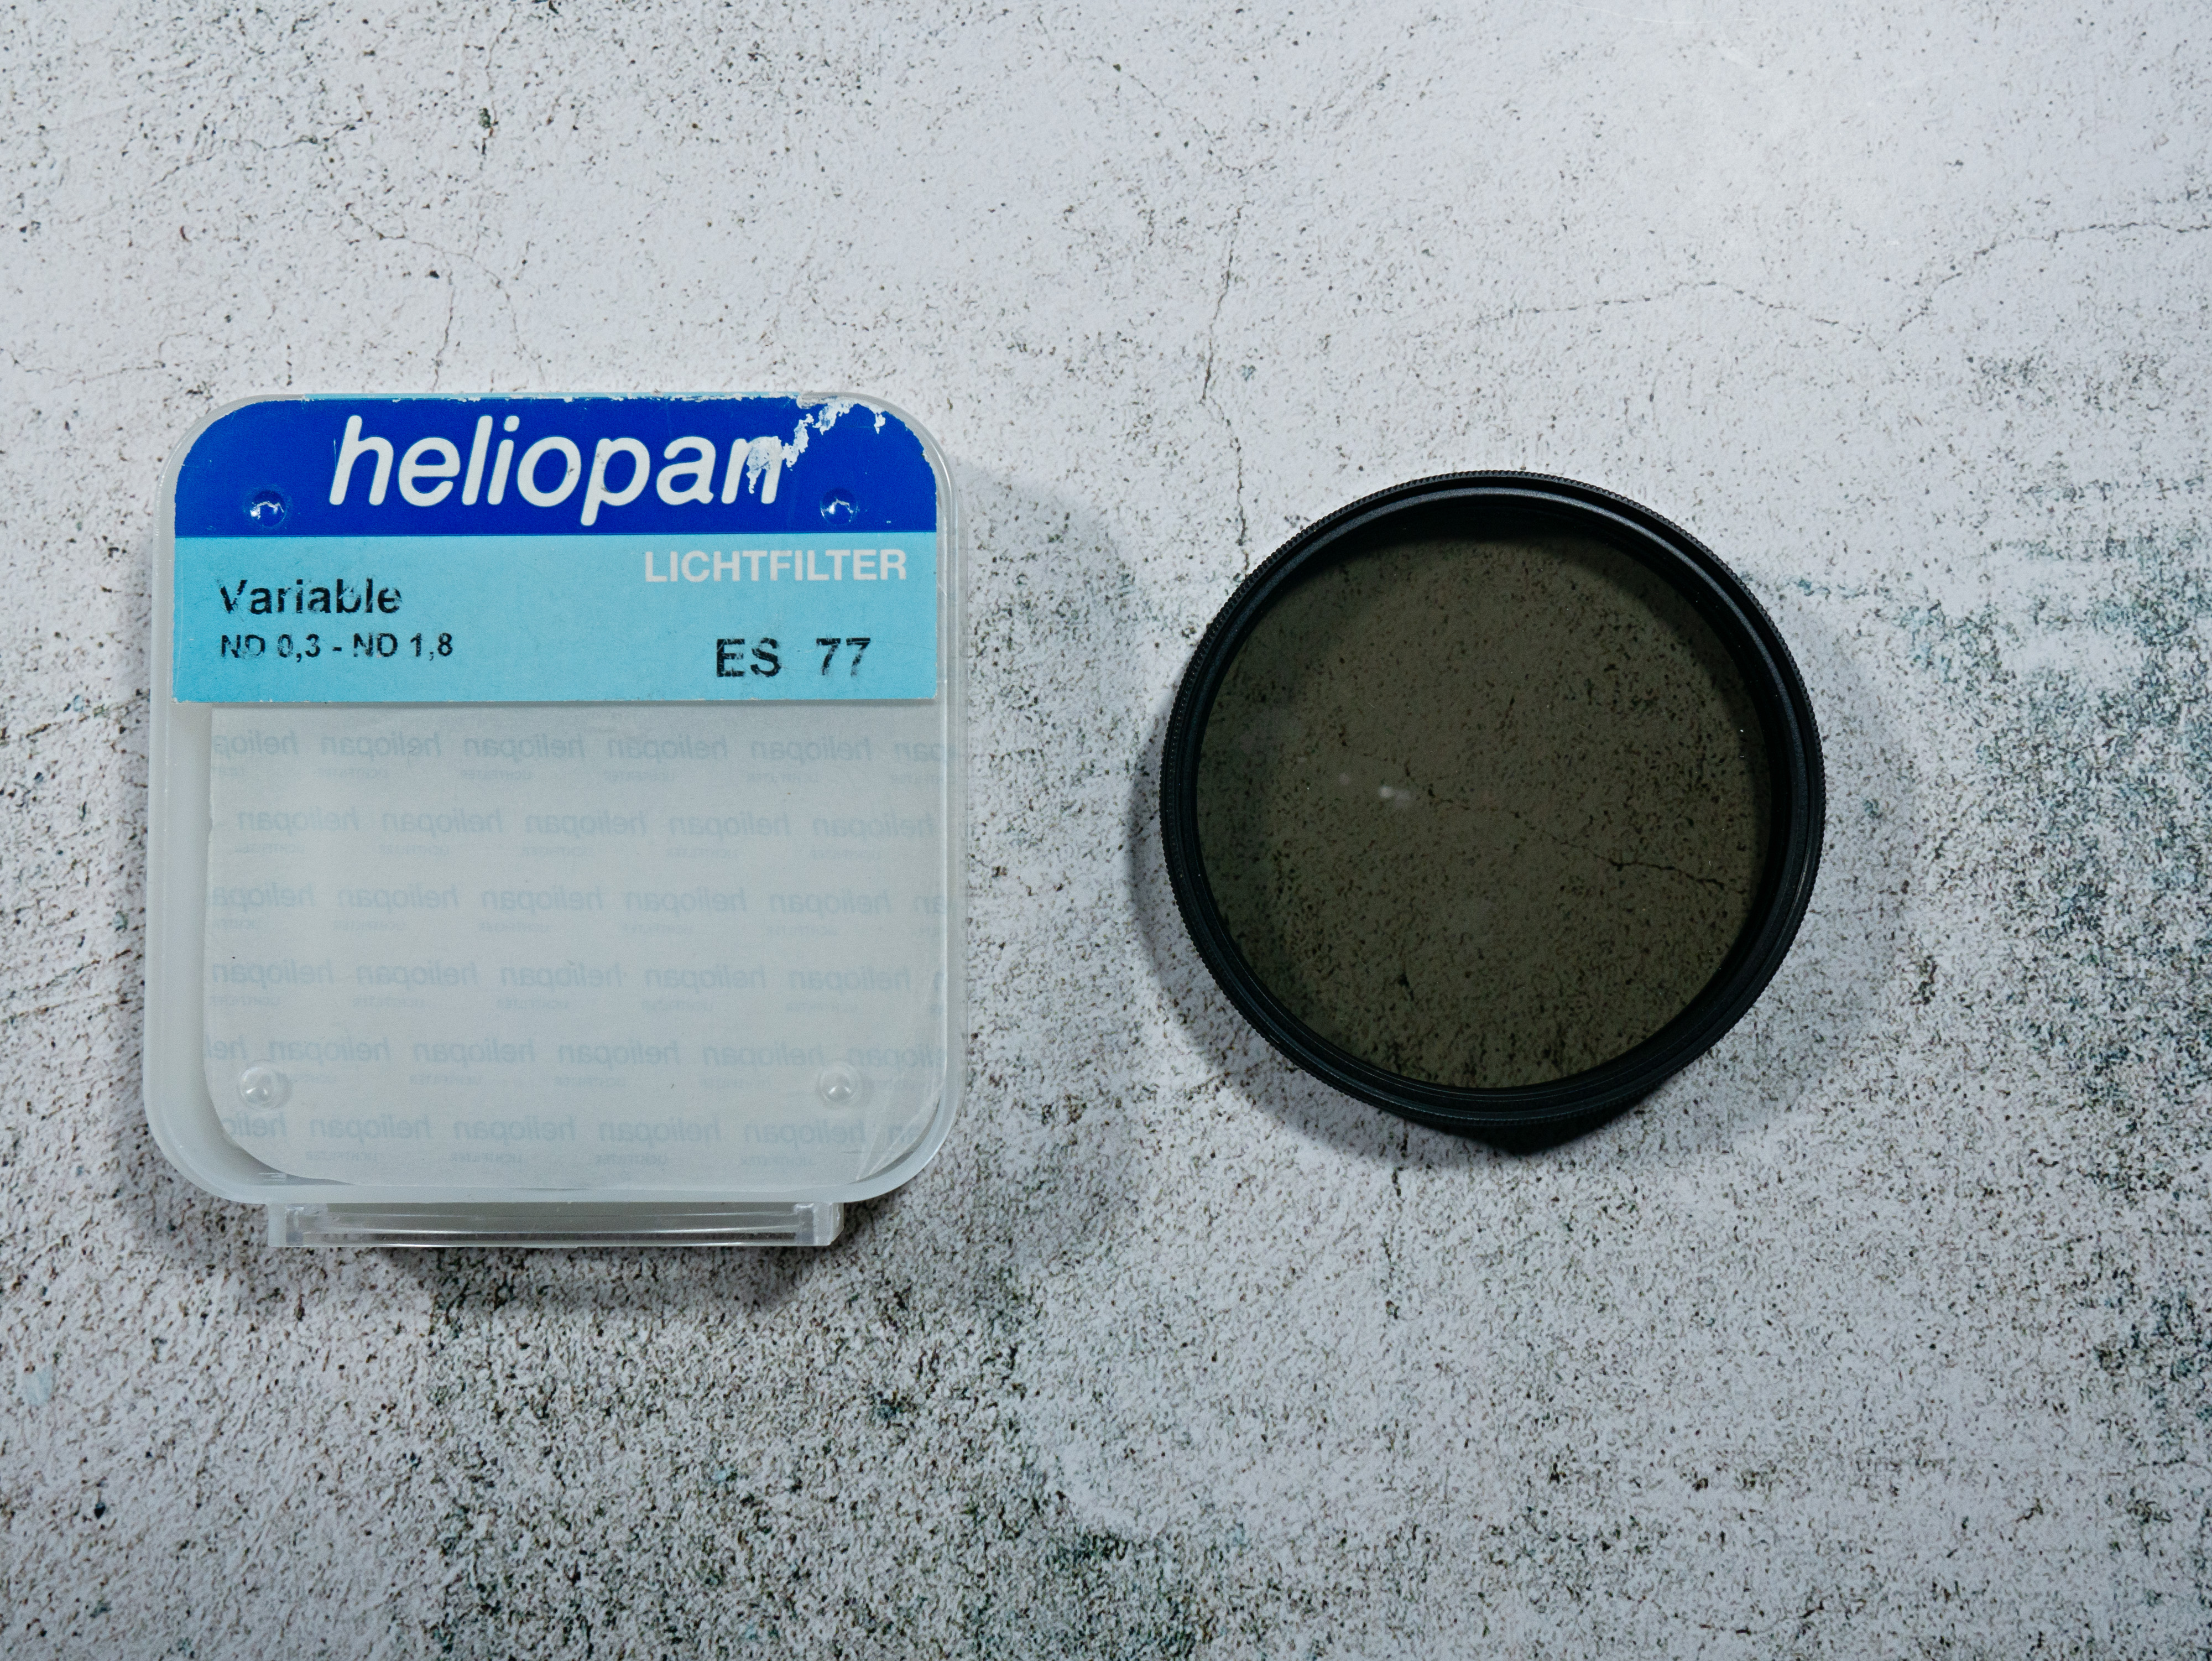
I’ve thinking about variable neutral density filters a lot lately. When I started to get a bit more interested in video I decided to invest in a good Variable Neutral Density filter and as I’d always bought B+W filters I bought a B+W 77mm XS-Pro Digital ND Vario MRC-Nano Filter. It was beautifully made in Germany with a brass frame and hard stops. It didn’t offer anything spectacular in terms of range just 1 to 5 stops but it was very good. Unfortunately I was filming a waterfall and slipped on the rock and went into the river. I ended up with a week in hospital with septicaemia and the filter was smashed. I was unable to get a replacement so bought a Cokin NUANCES NDX 2-400 Filter which was considerably cheaper, not as well made but the images were good. Over time I decided I missed the hard stops and so as the B+W was still unavailable in Australia bought a Heliopan variable grey neutral density ND 0.3 – ND 1.8 filter which has served me very well. 

Recently I decided that I wanted a new one in 95mm size. Normally I’d buy the best quality one and be done with it, but this time I was unprepared to spend that eye watering amount for what just amounts to an experiment. Looking online I saw there is a huge variation in prices and I couldn’t help but wonder whether paying more actually meant a better quality filter. So I’m looking at four filters and the price range goes from $24 AUD to $350 AUD. I’ll look at whether they impact image quality, whether they are prone to flare and whether they effect autofocus performance.

Testing Methodology 

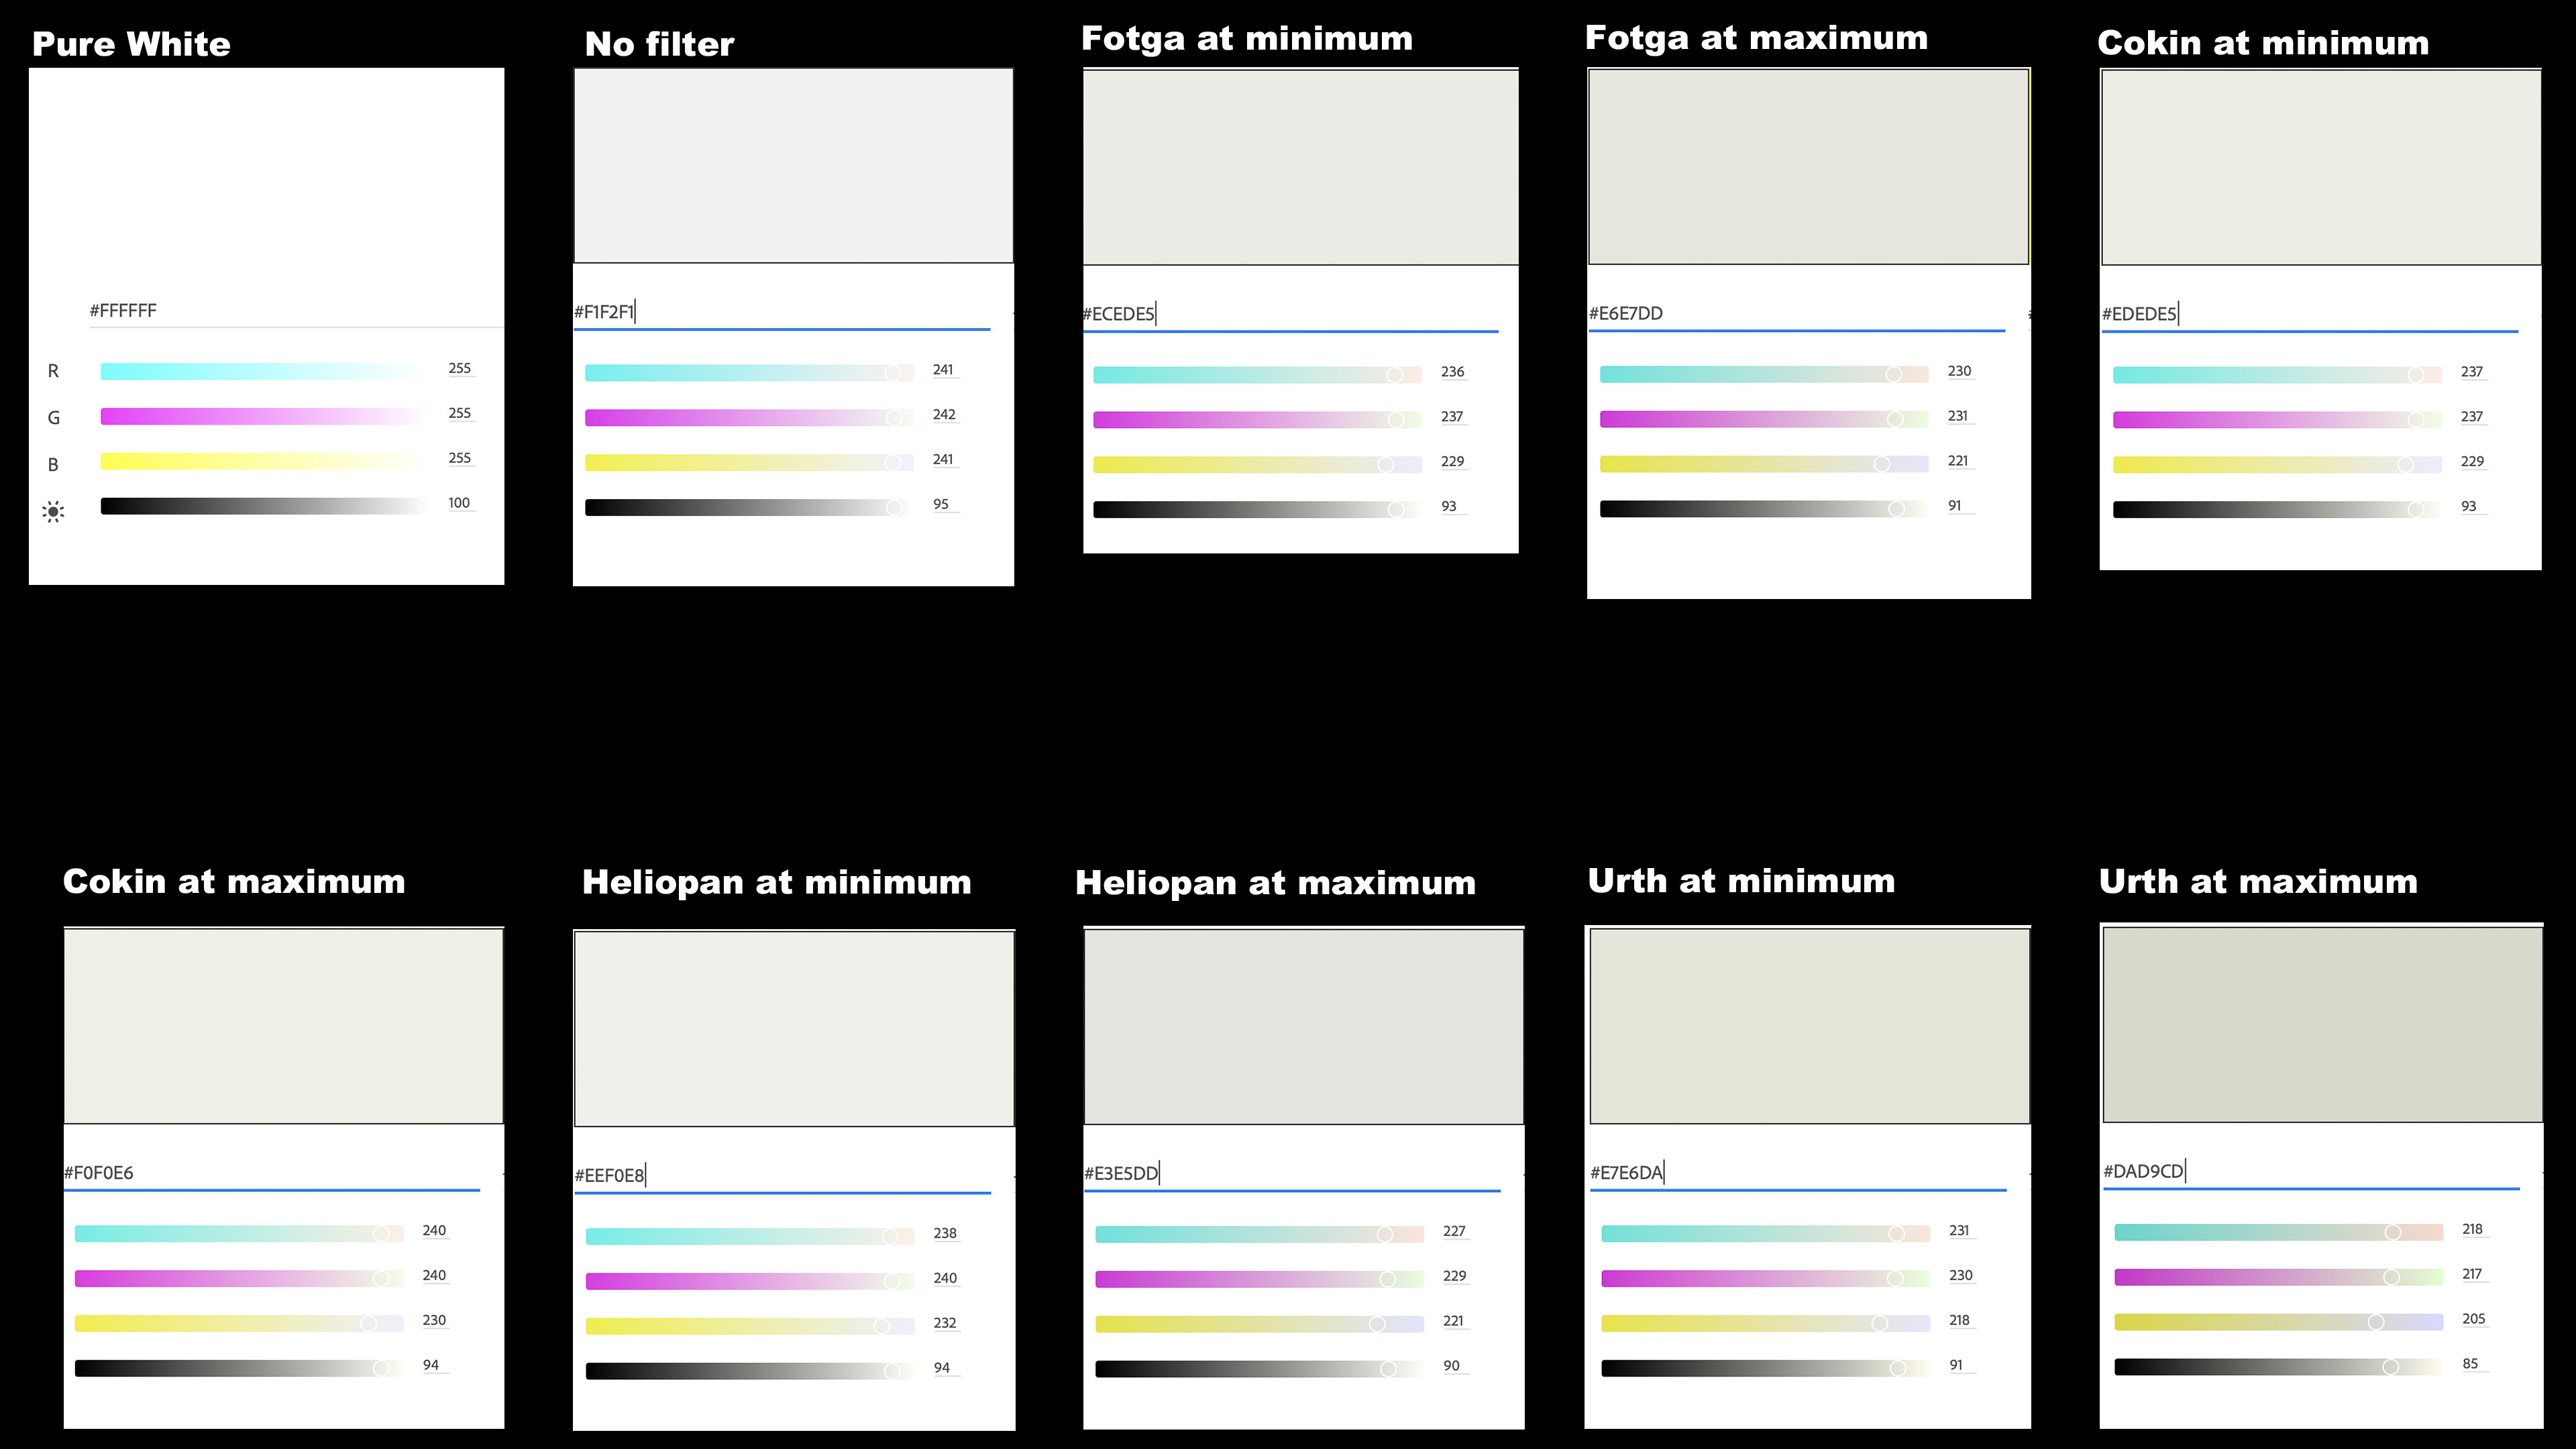
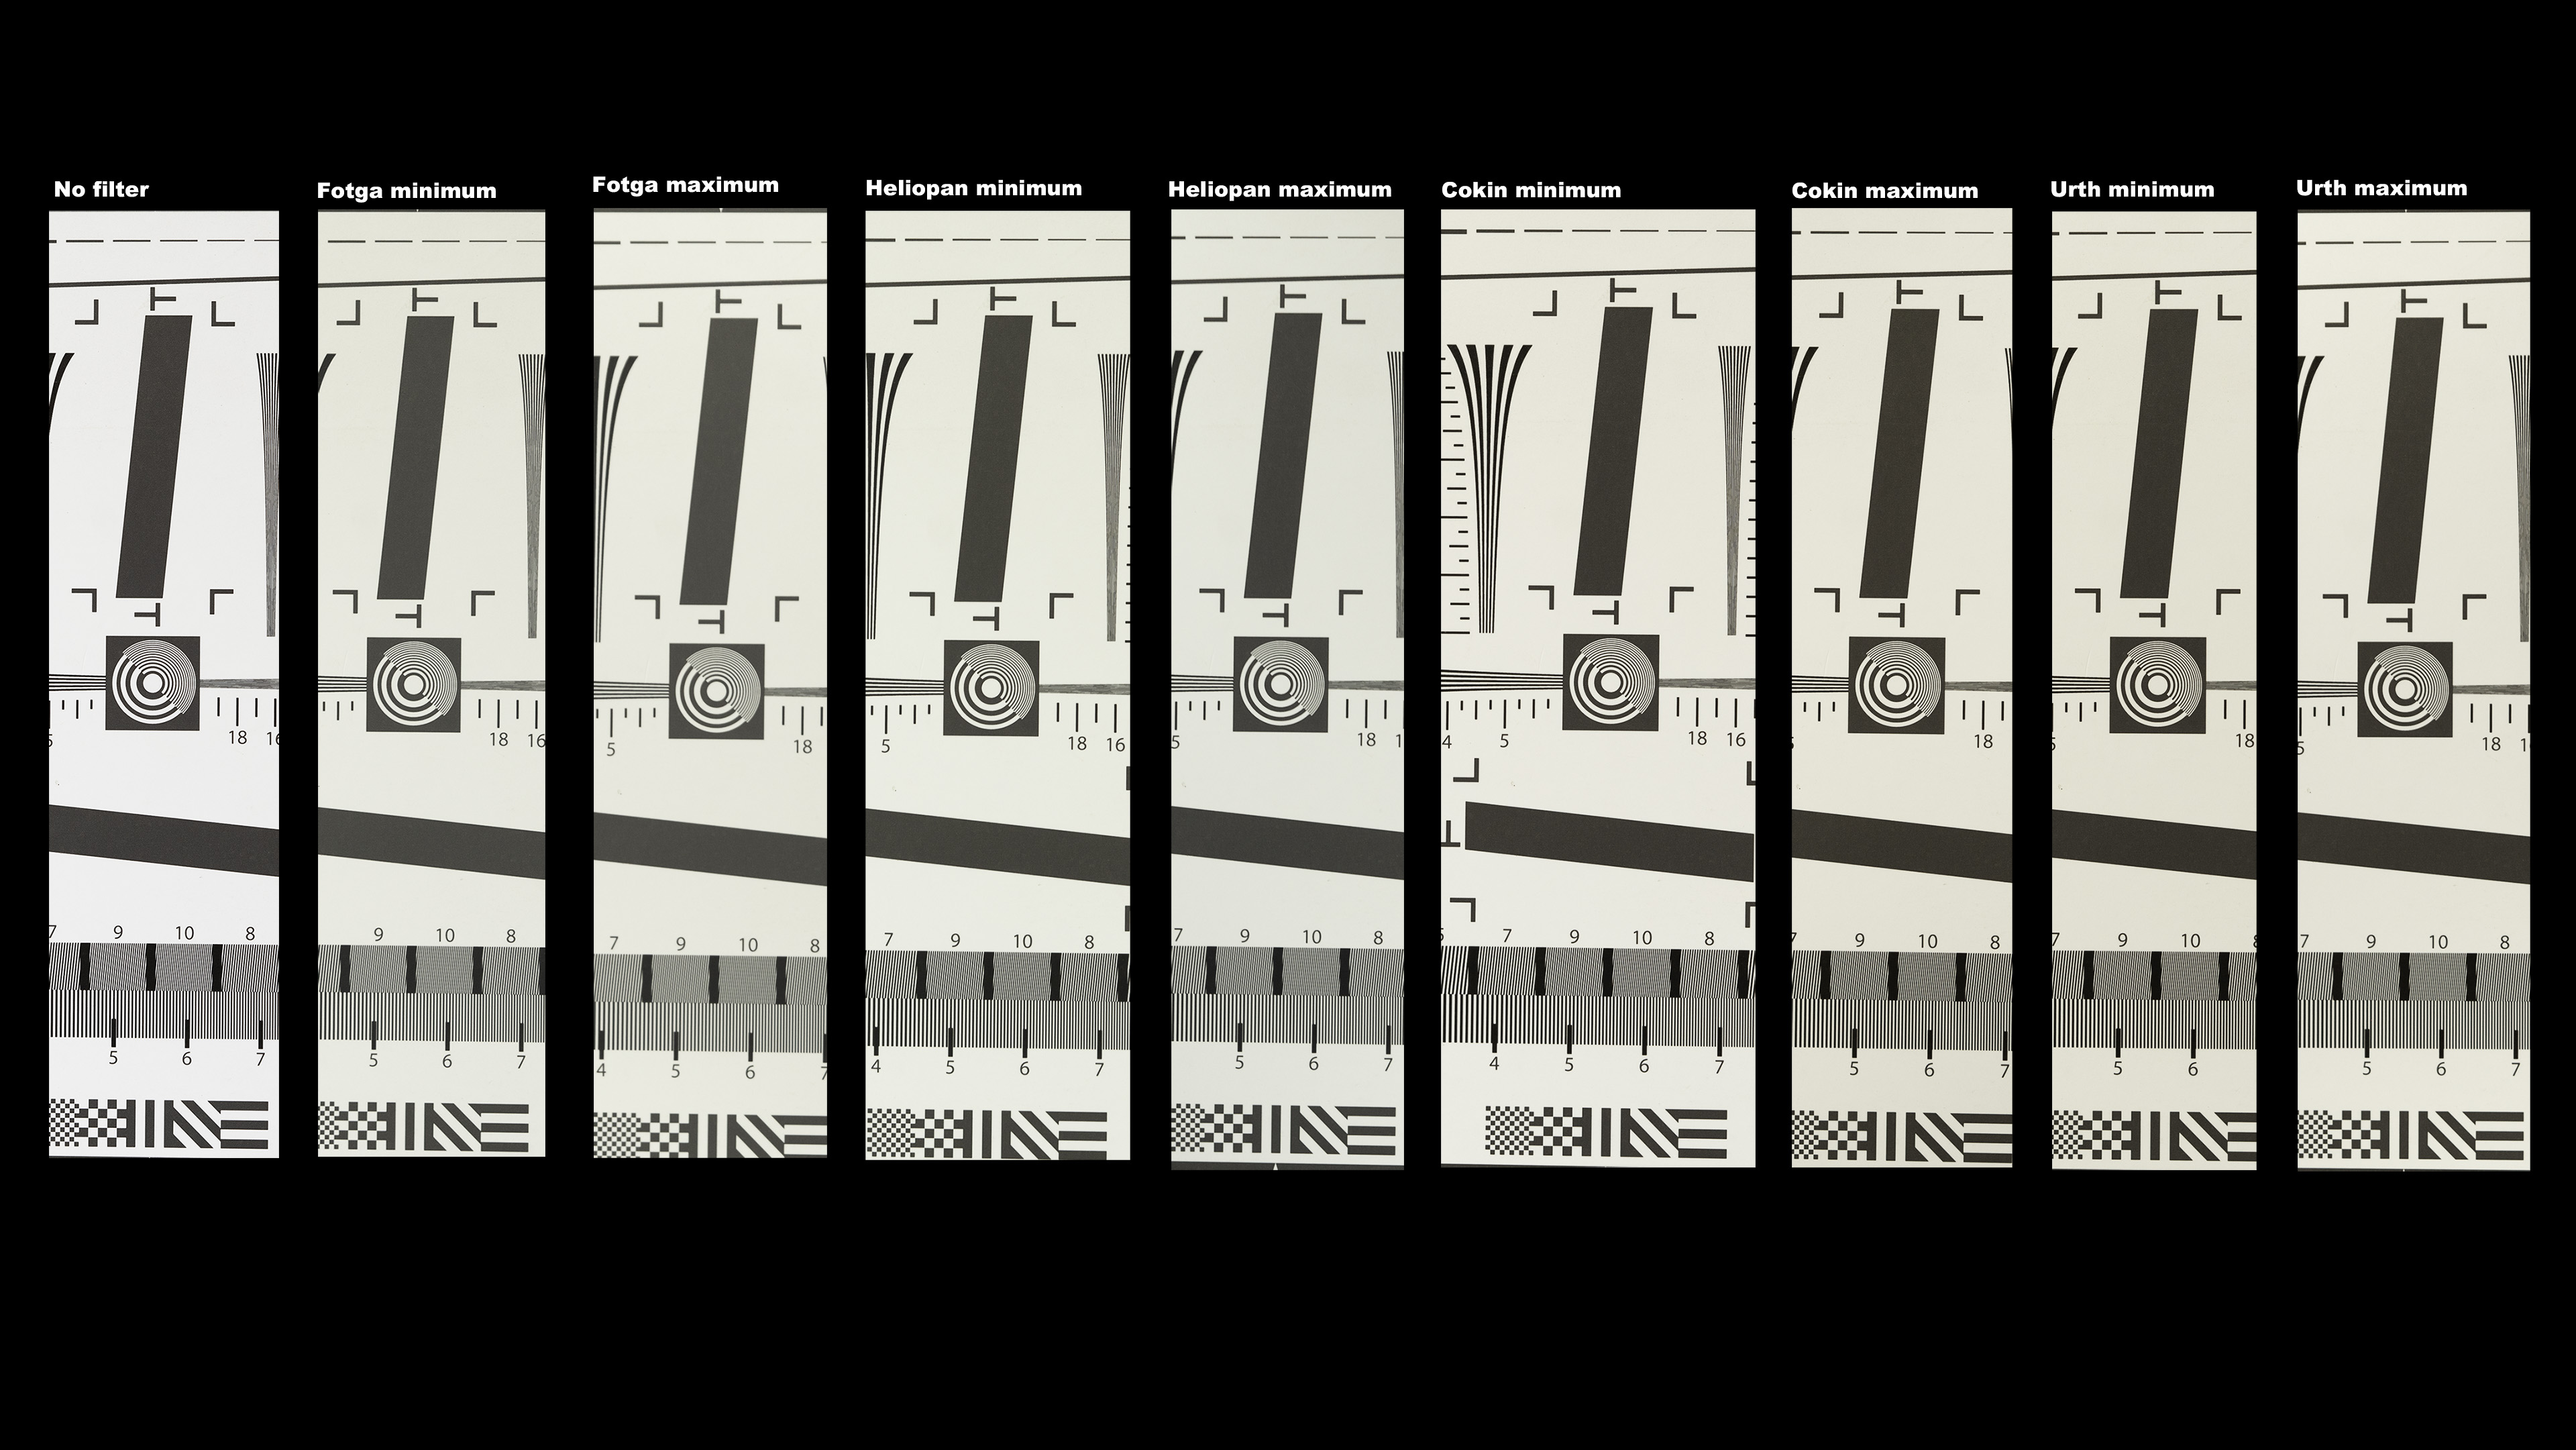
Colour casts produced by the filters at their minimum and maximum settings. Click on the image to see larger.
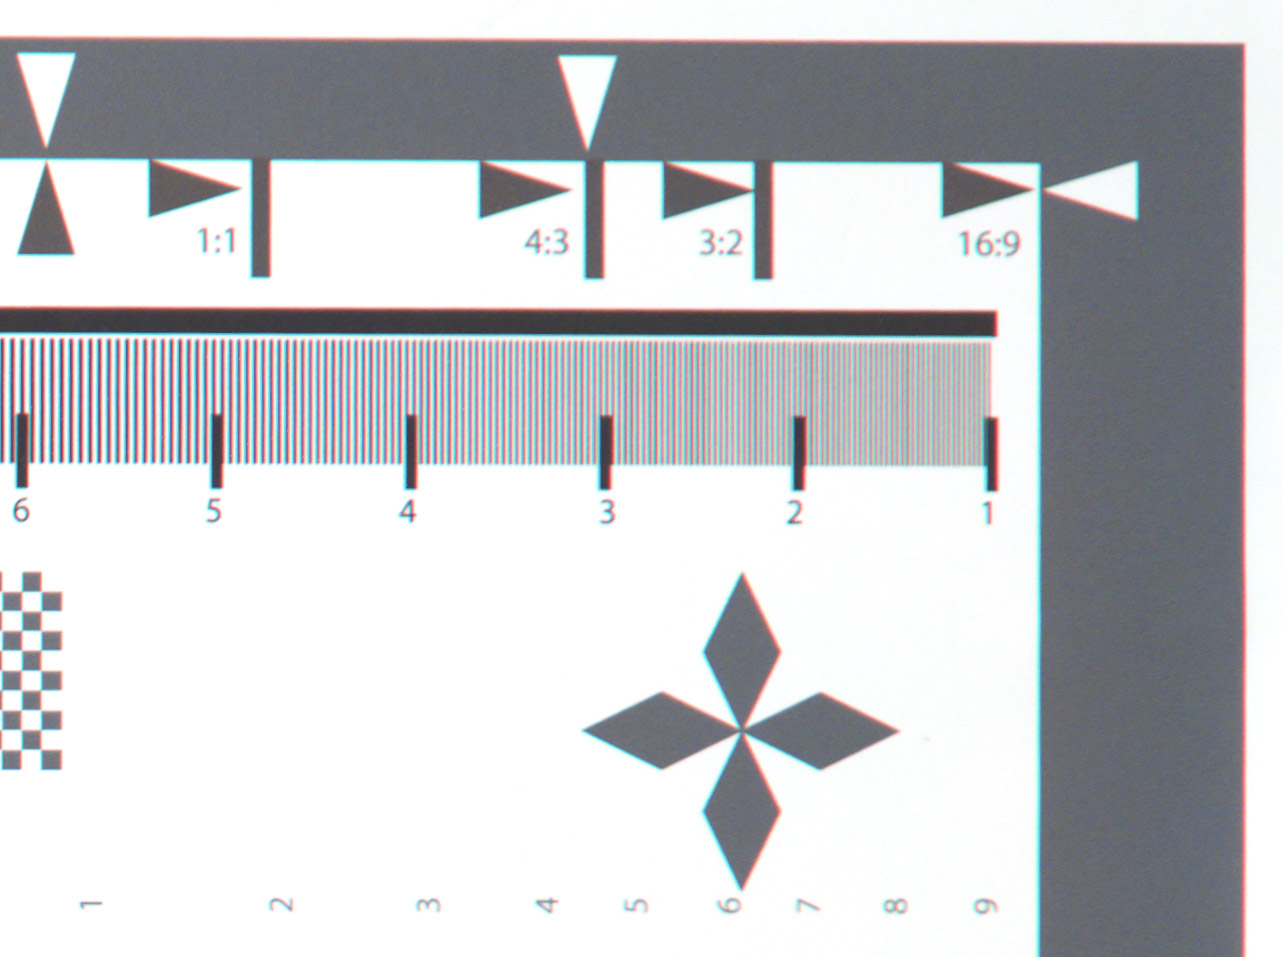
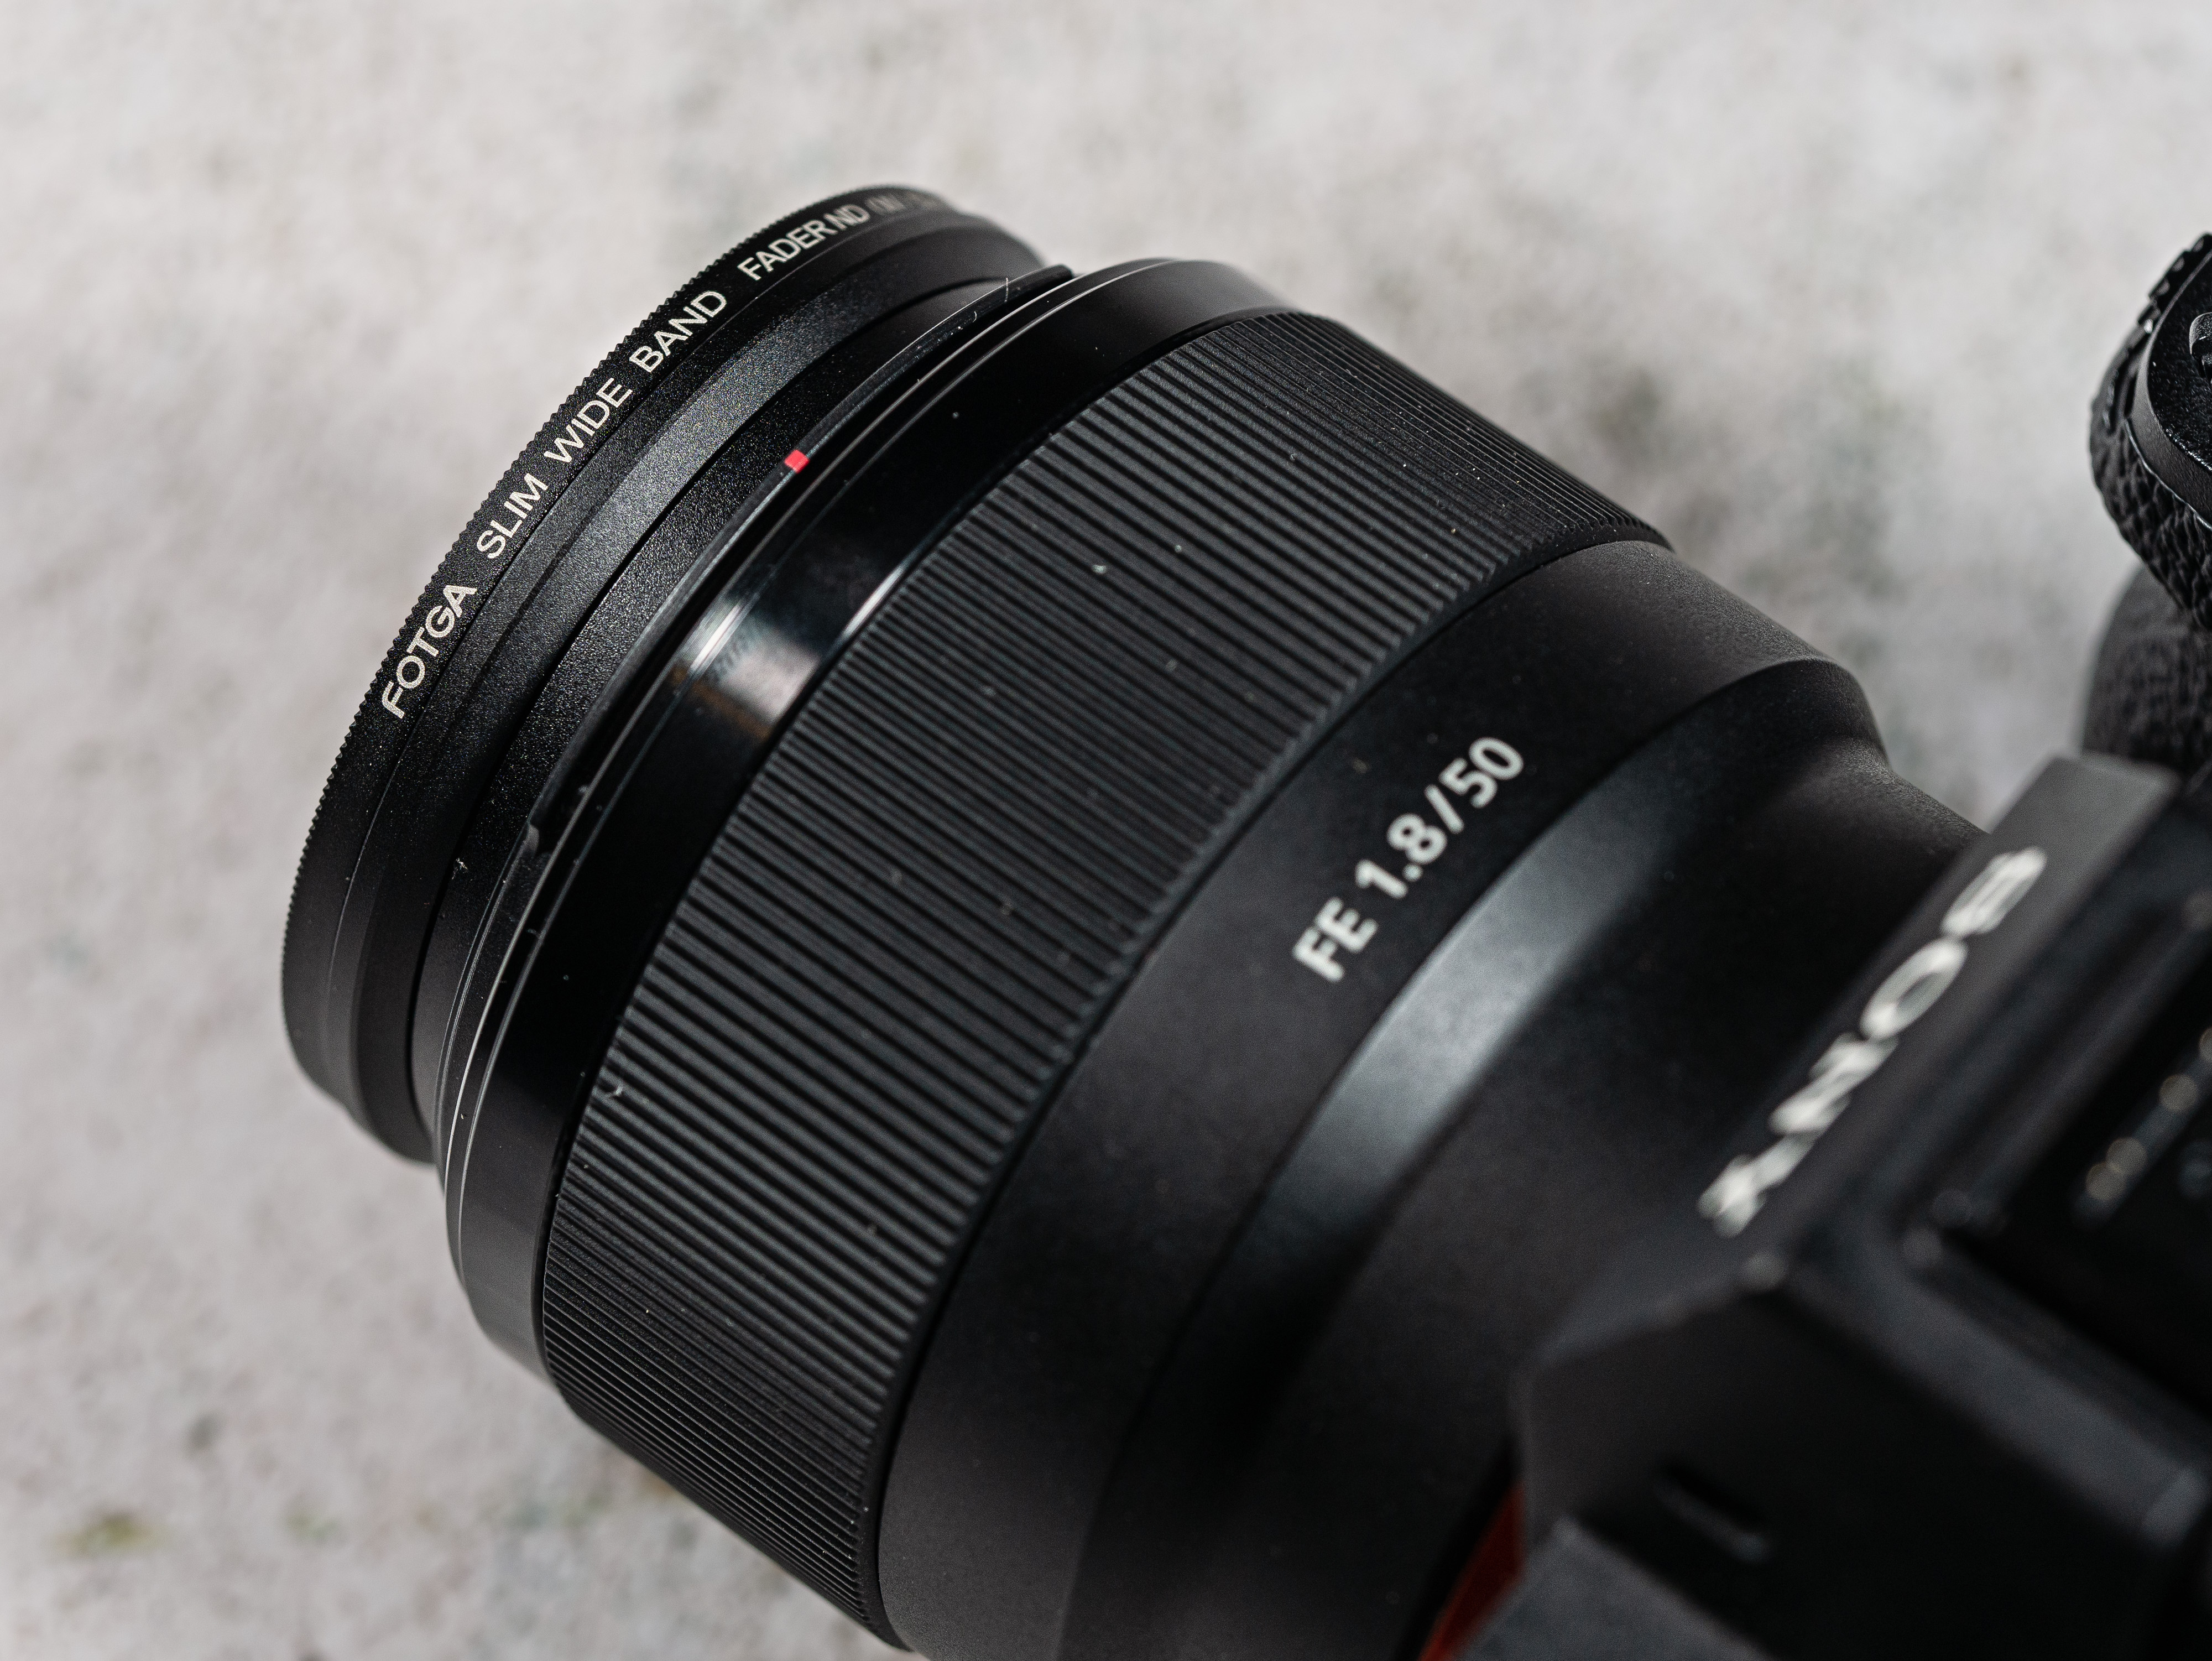
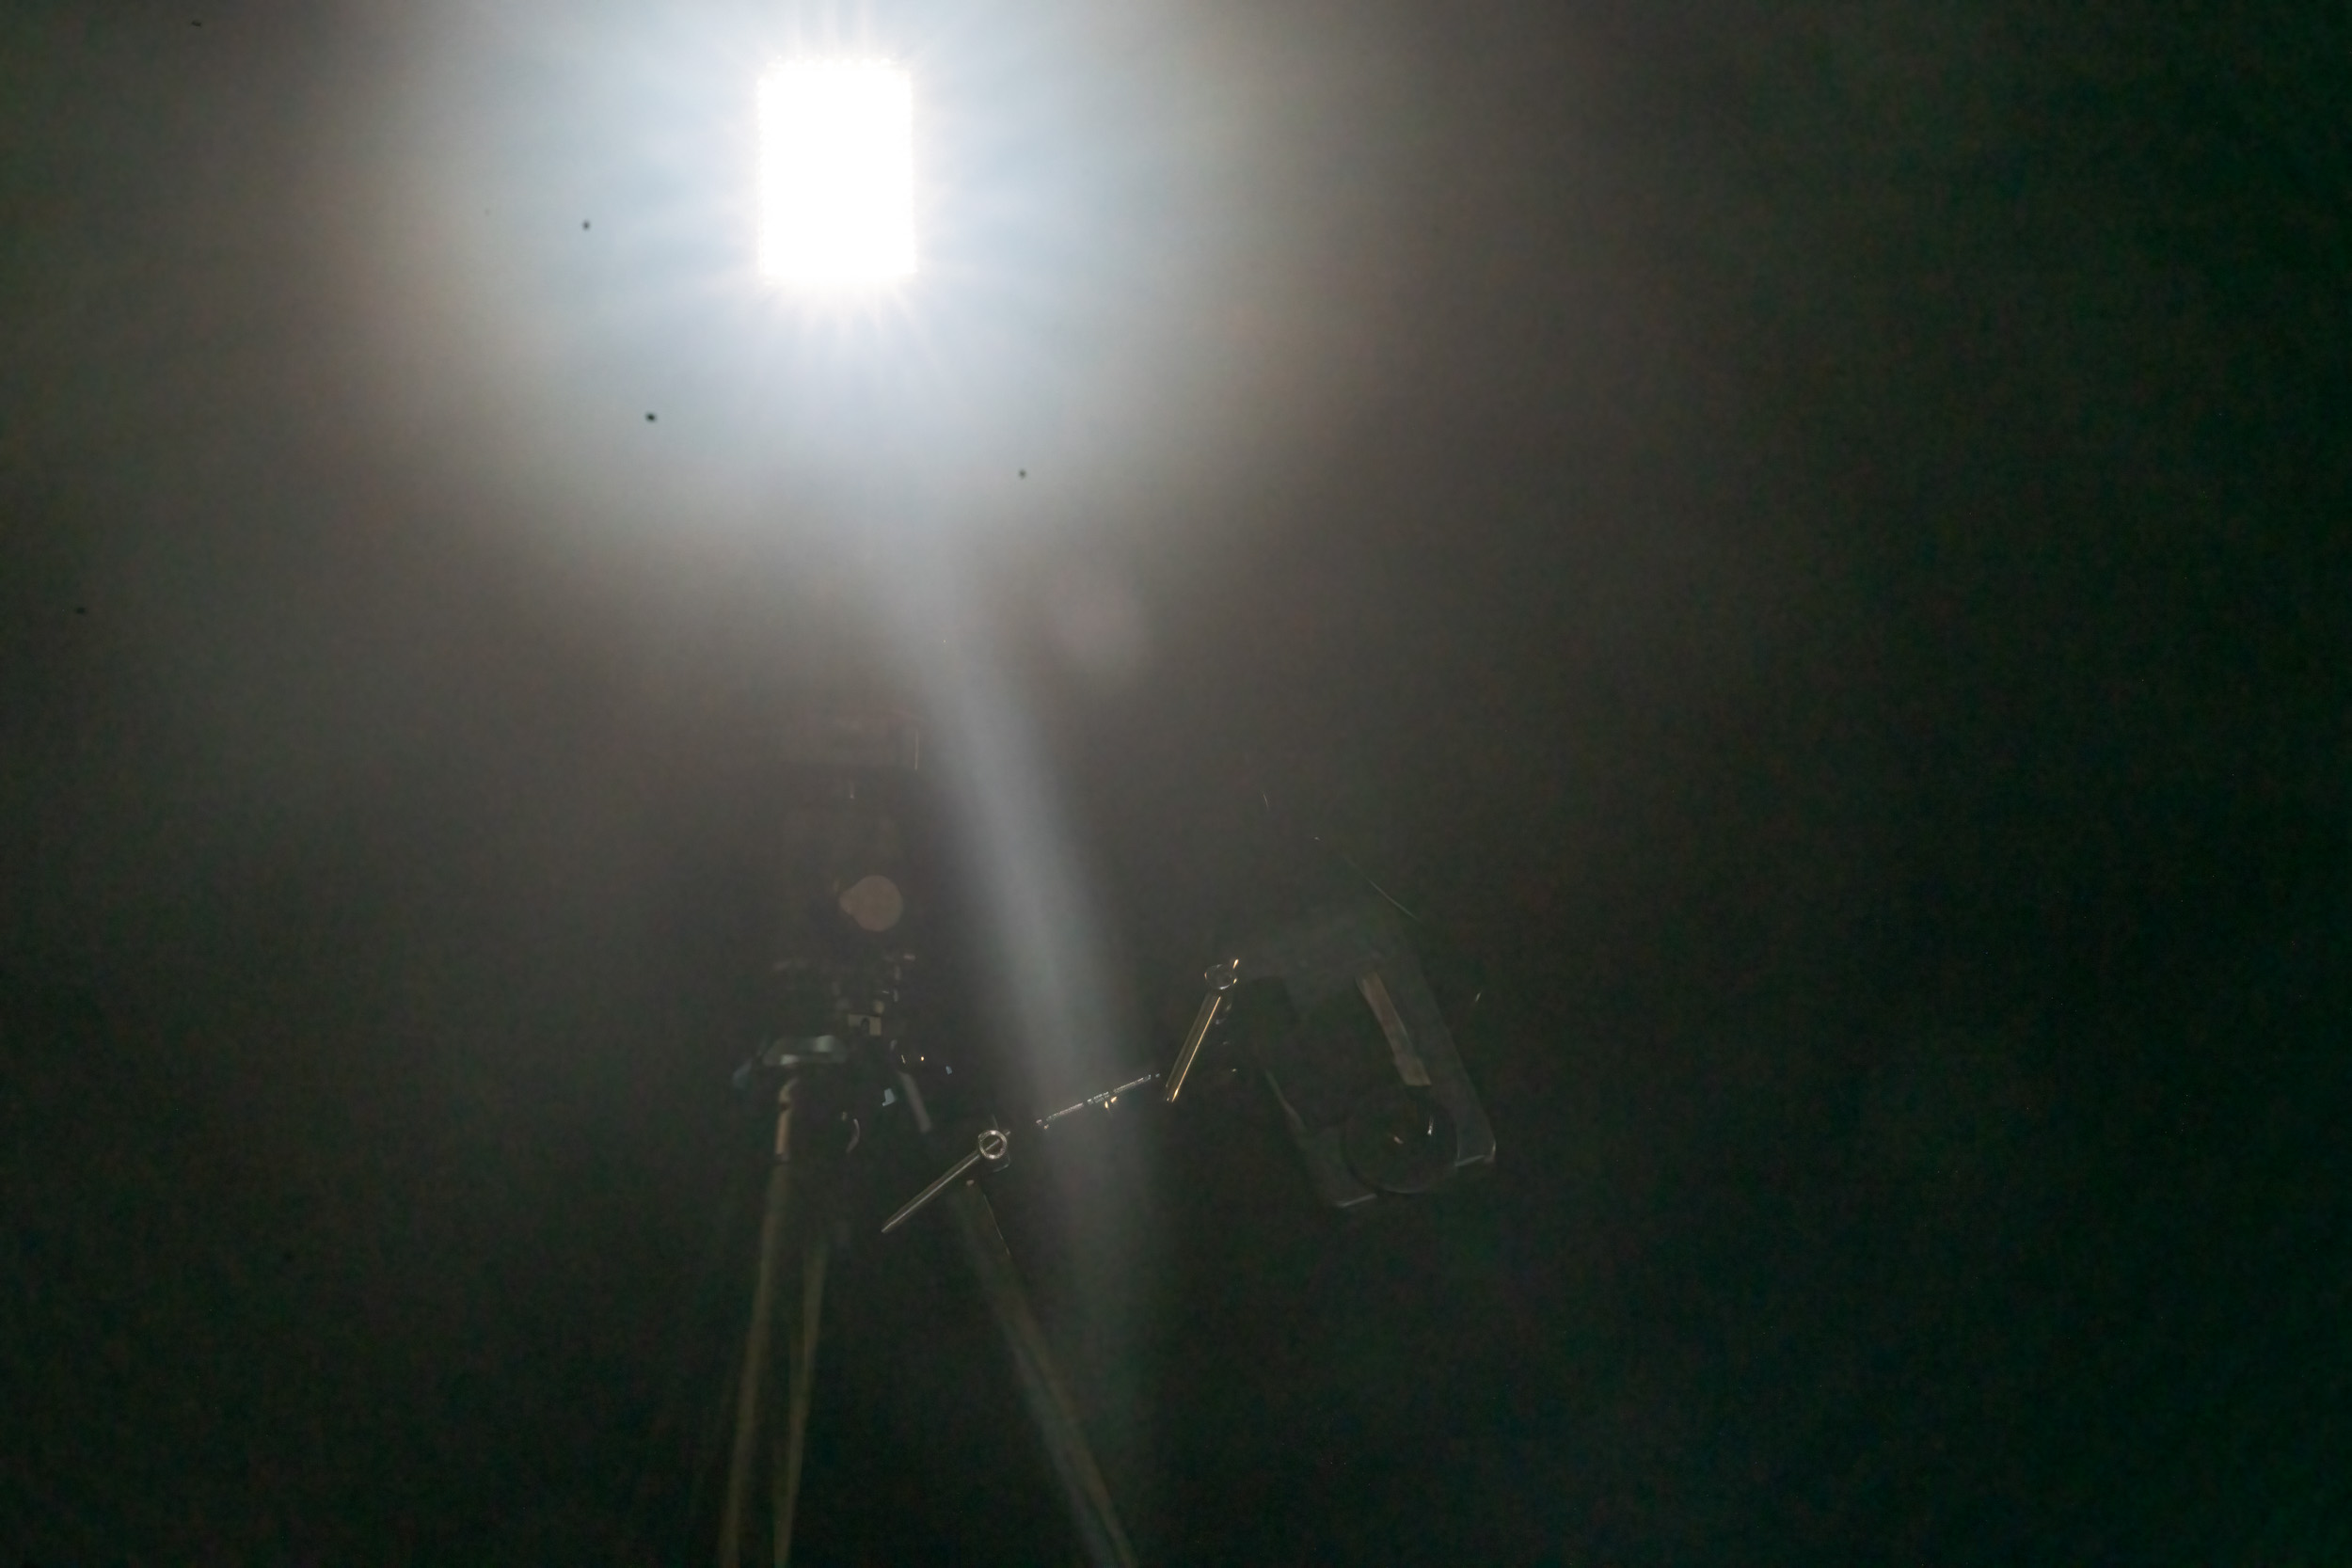
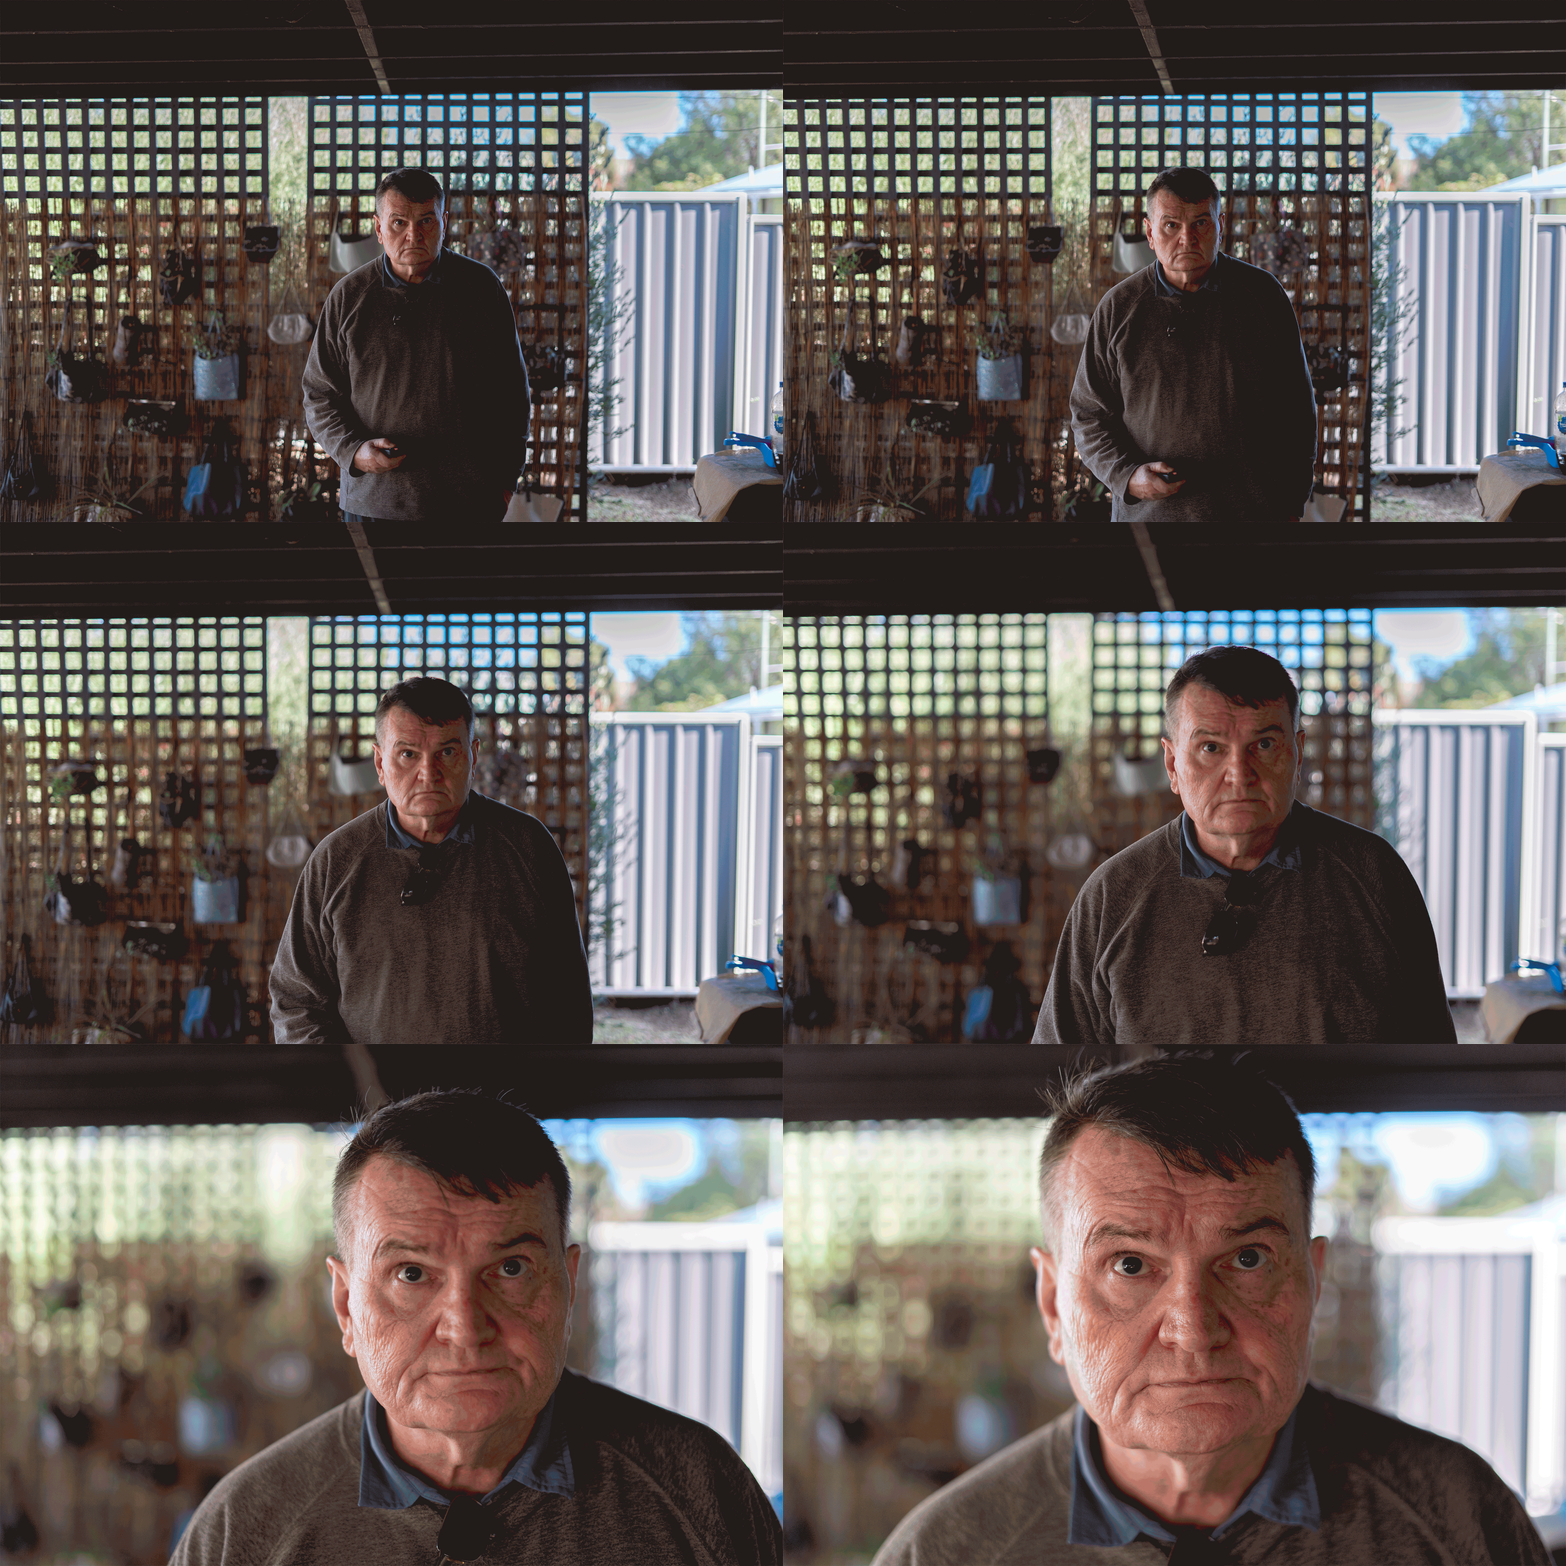
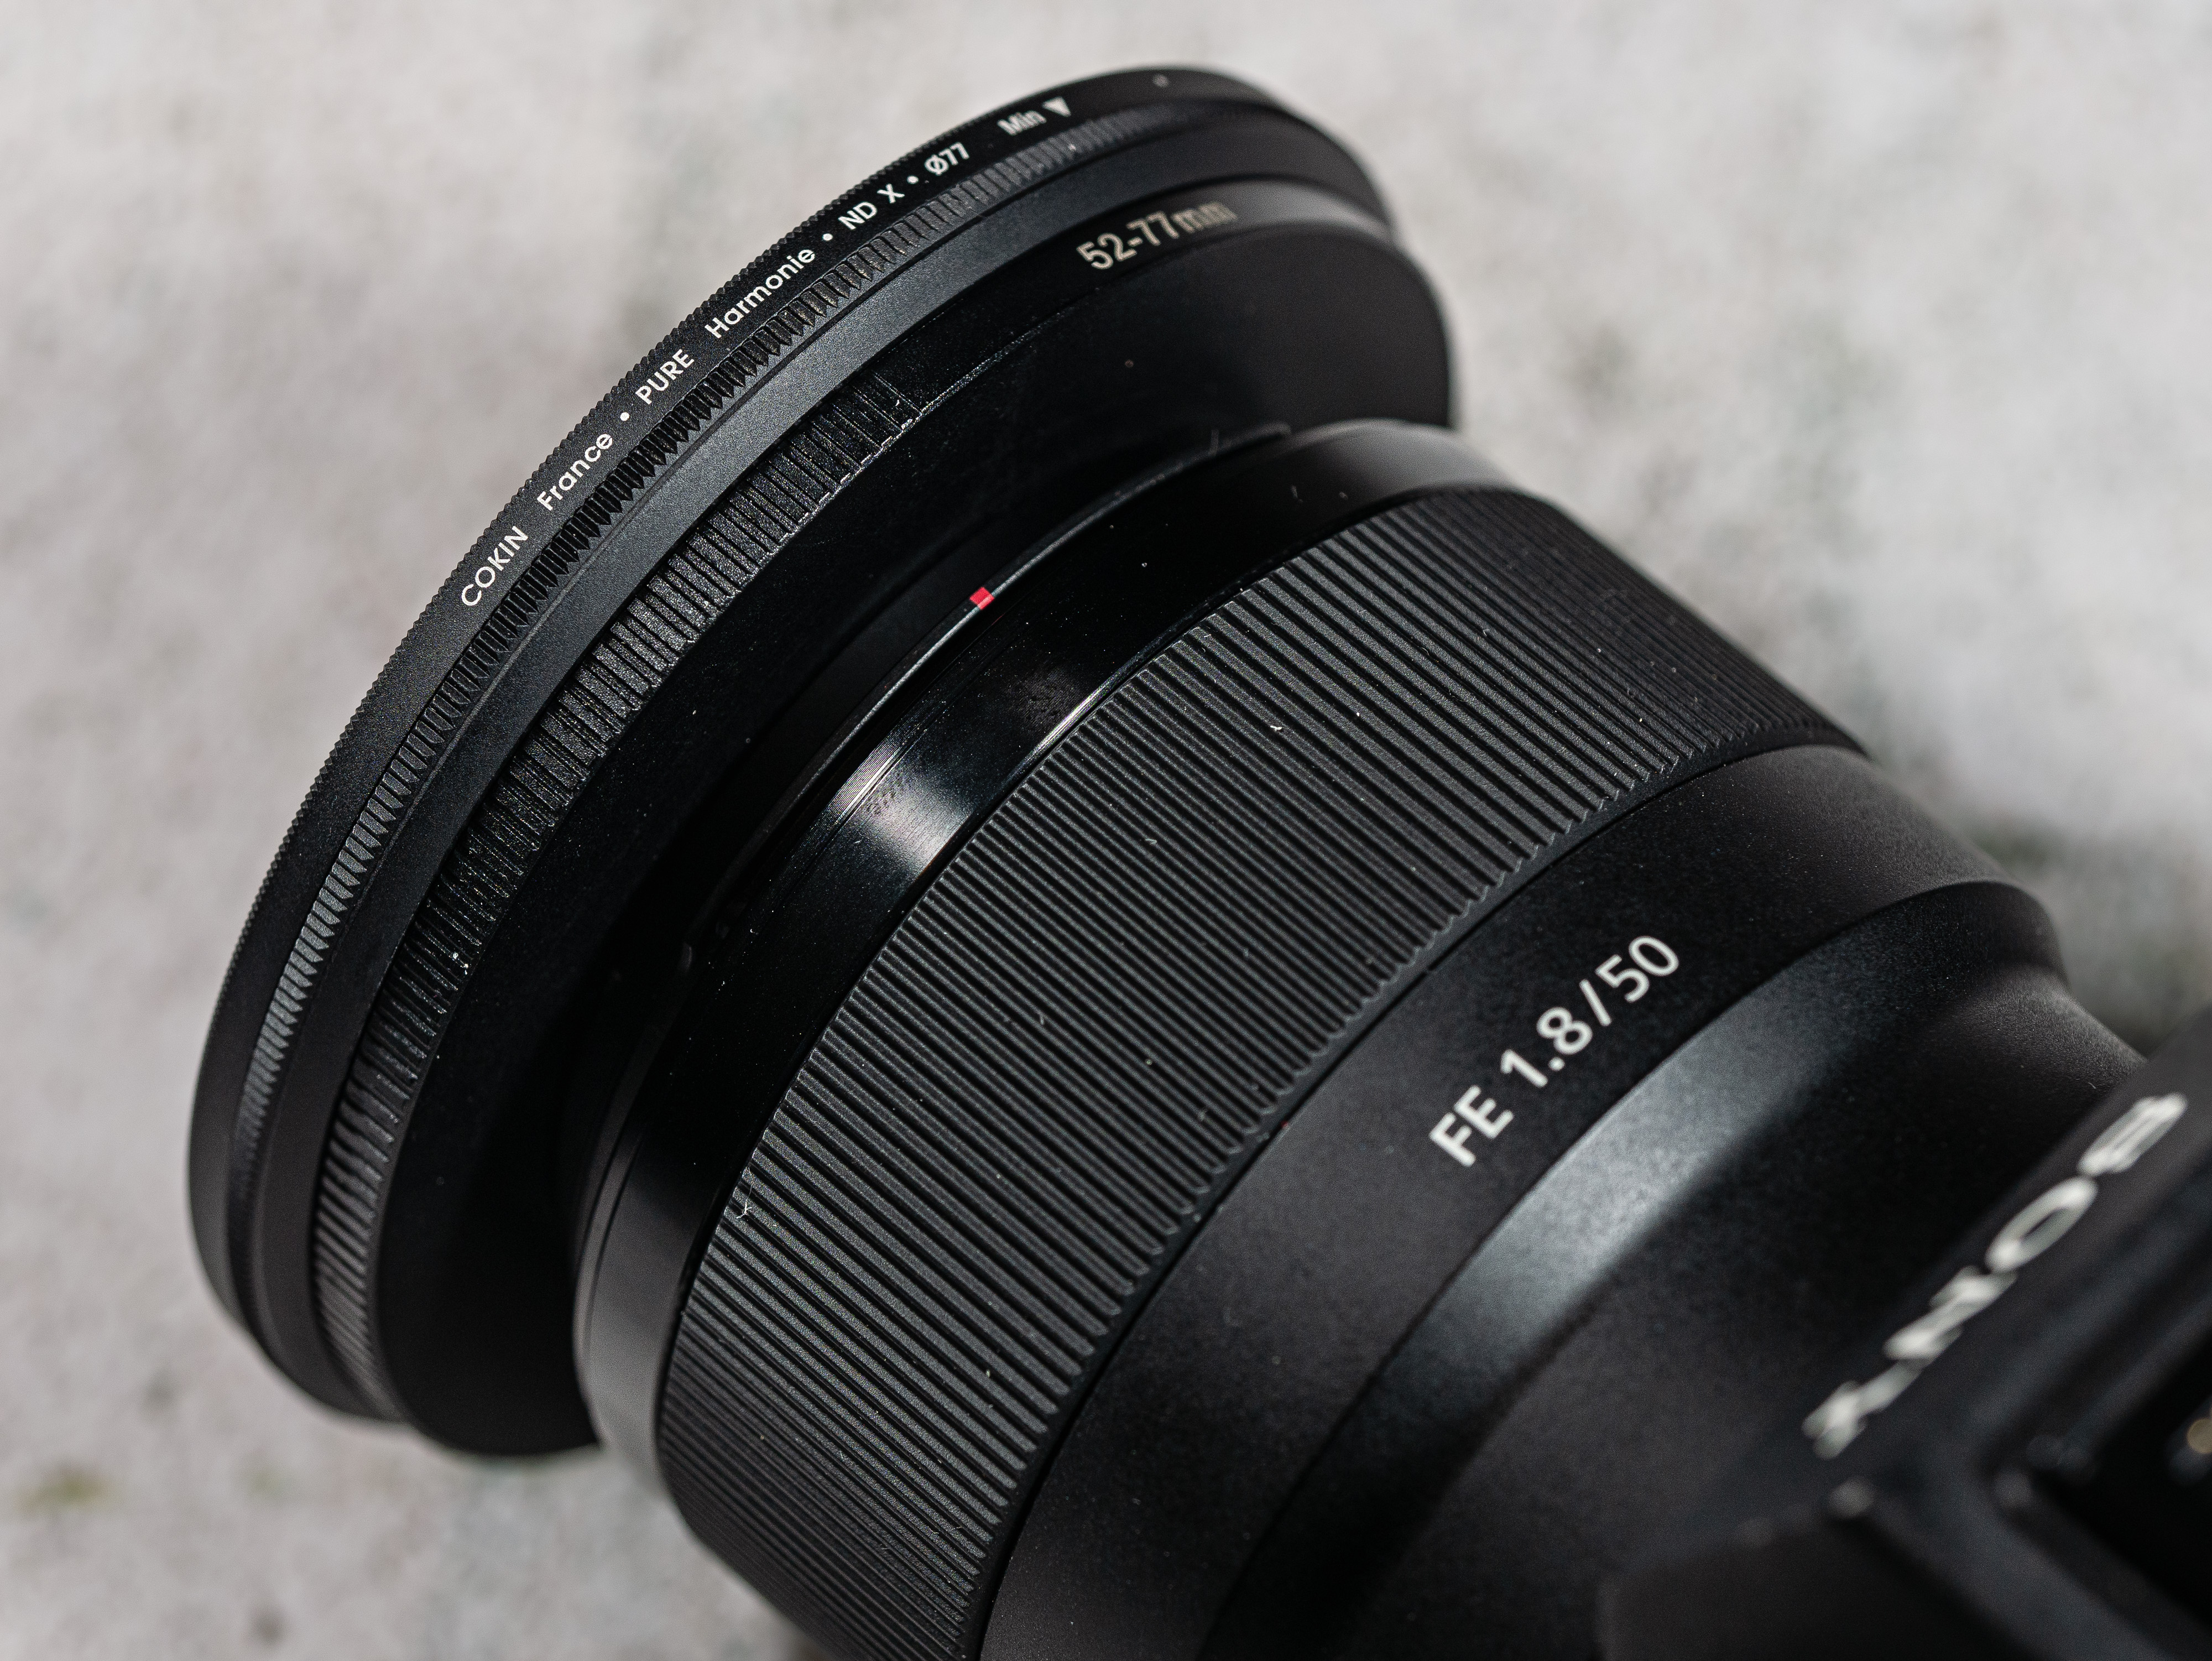
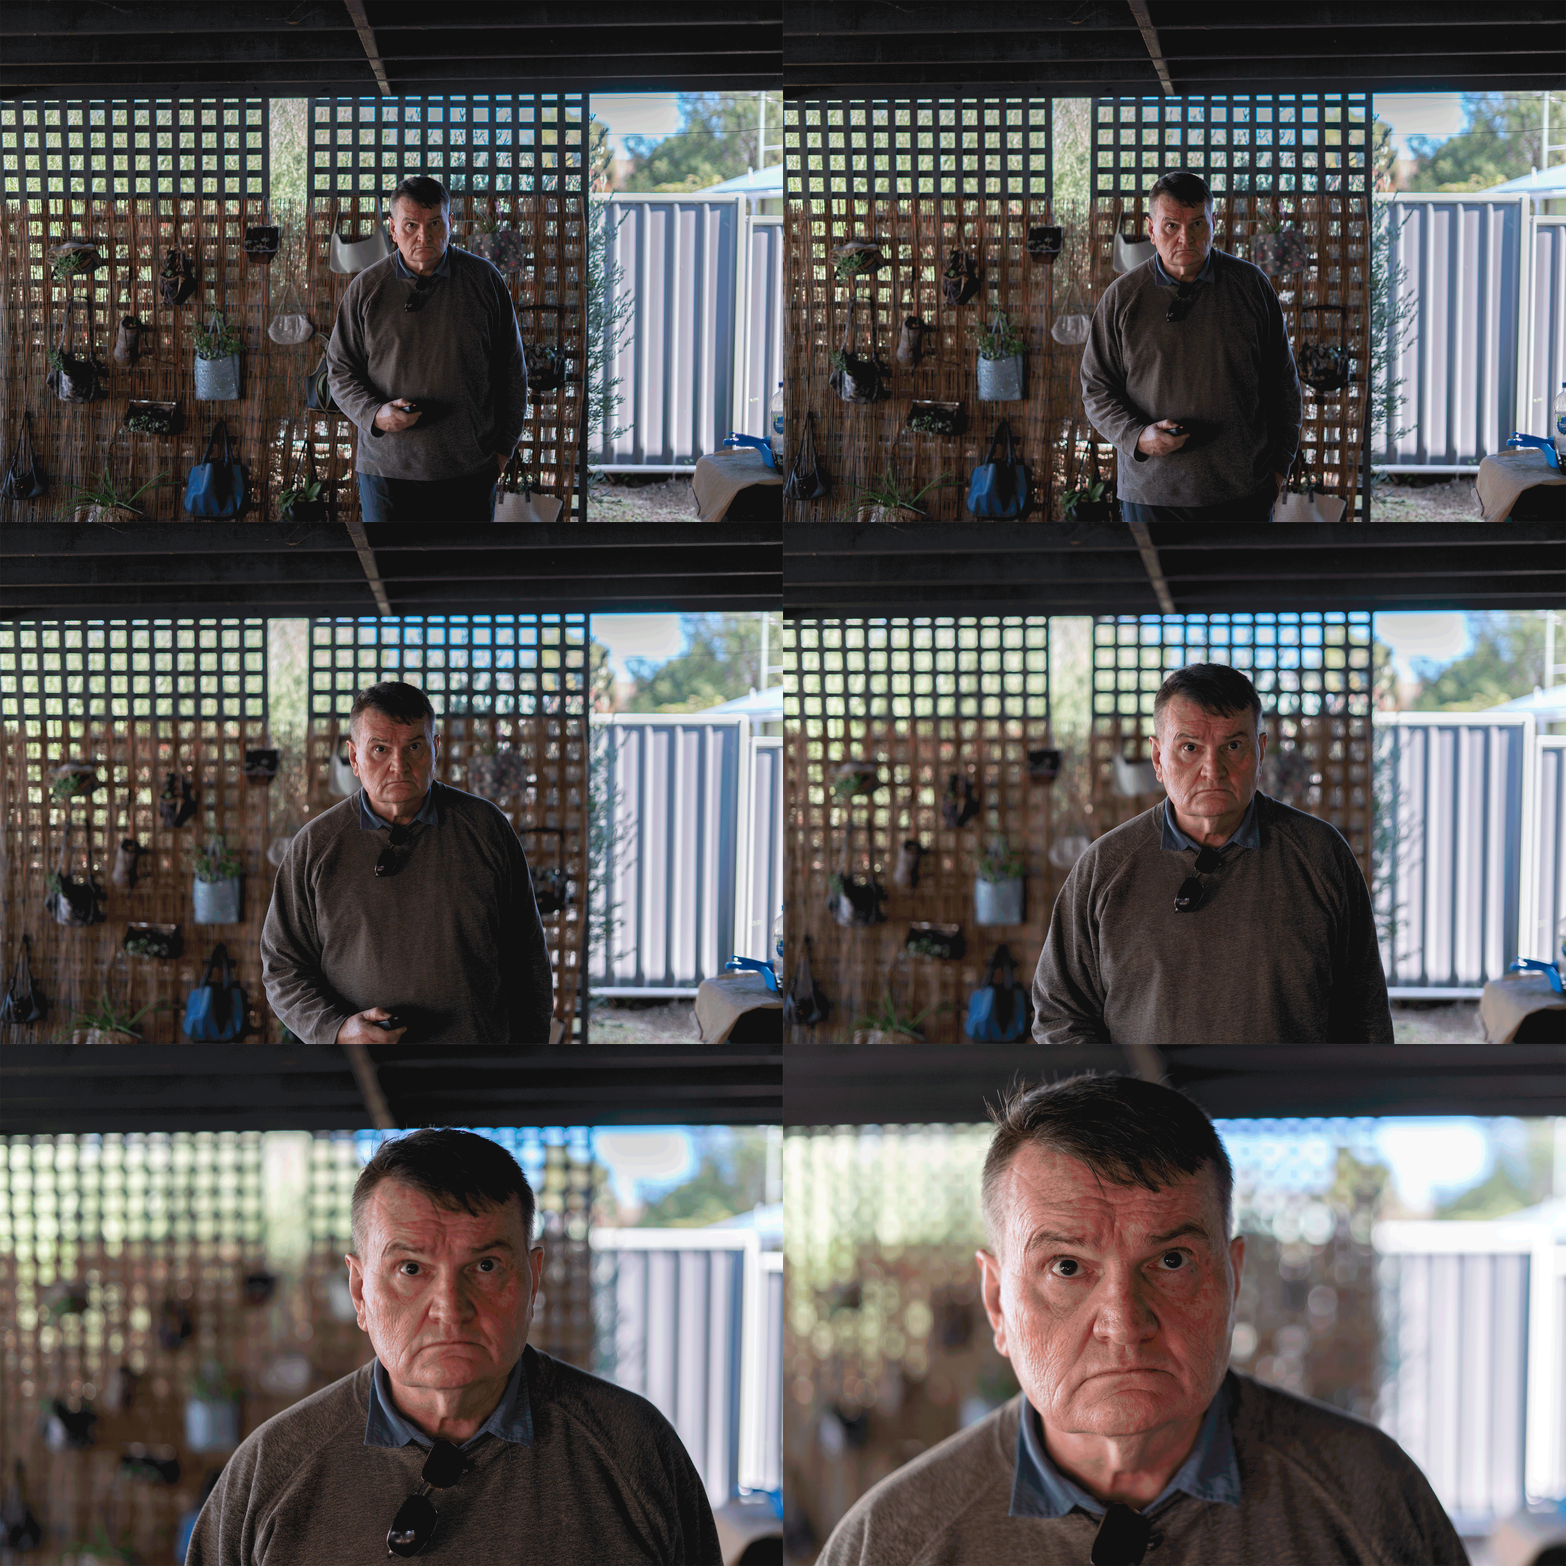
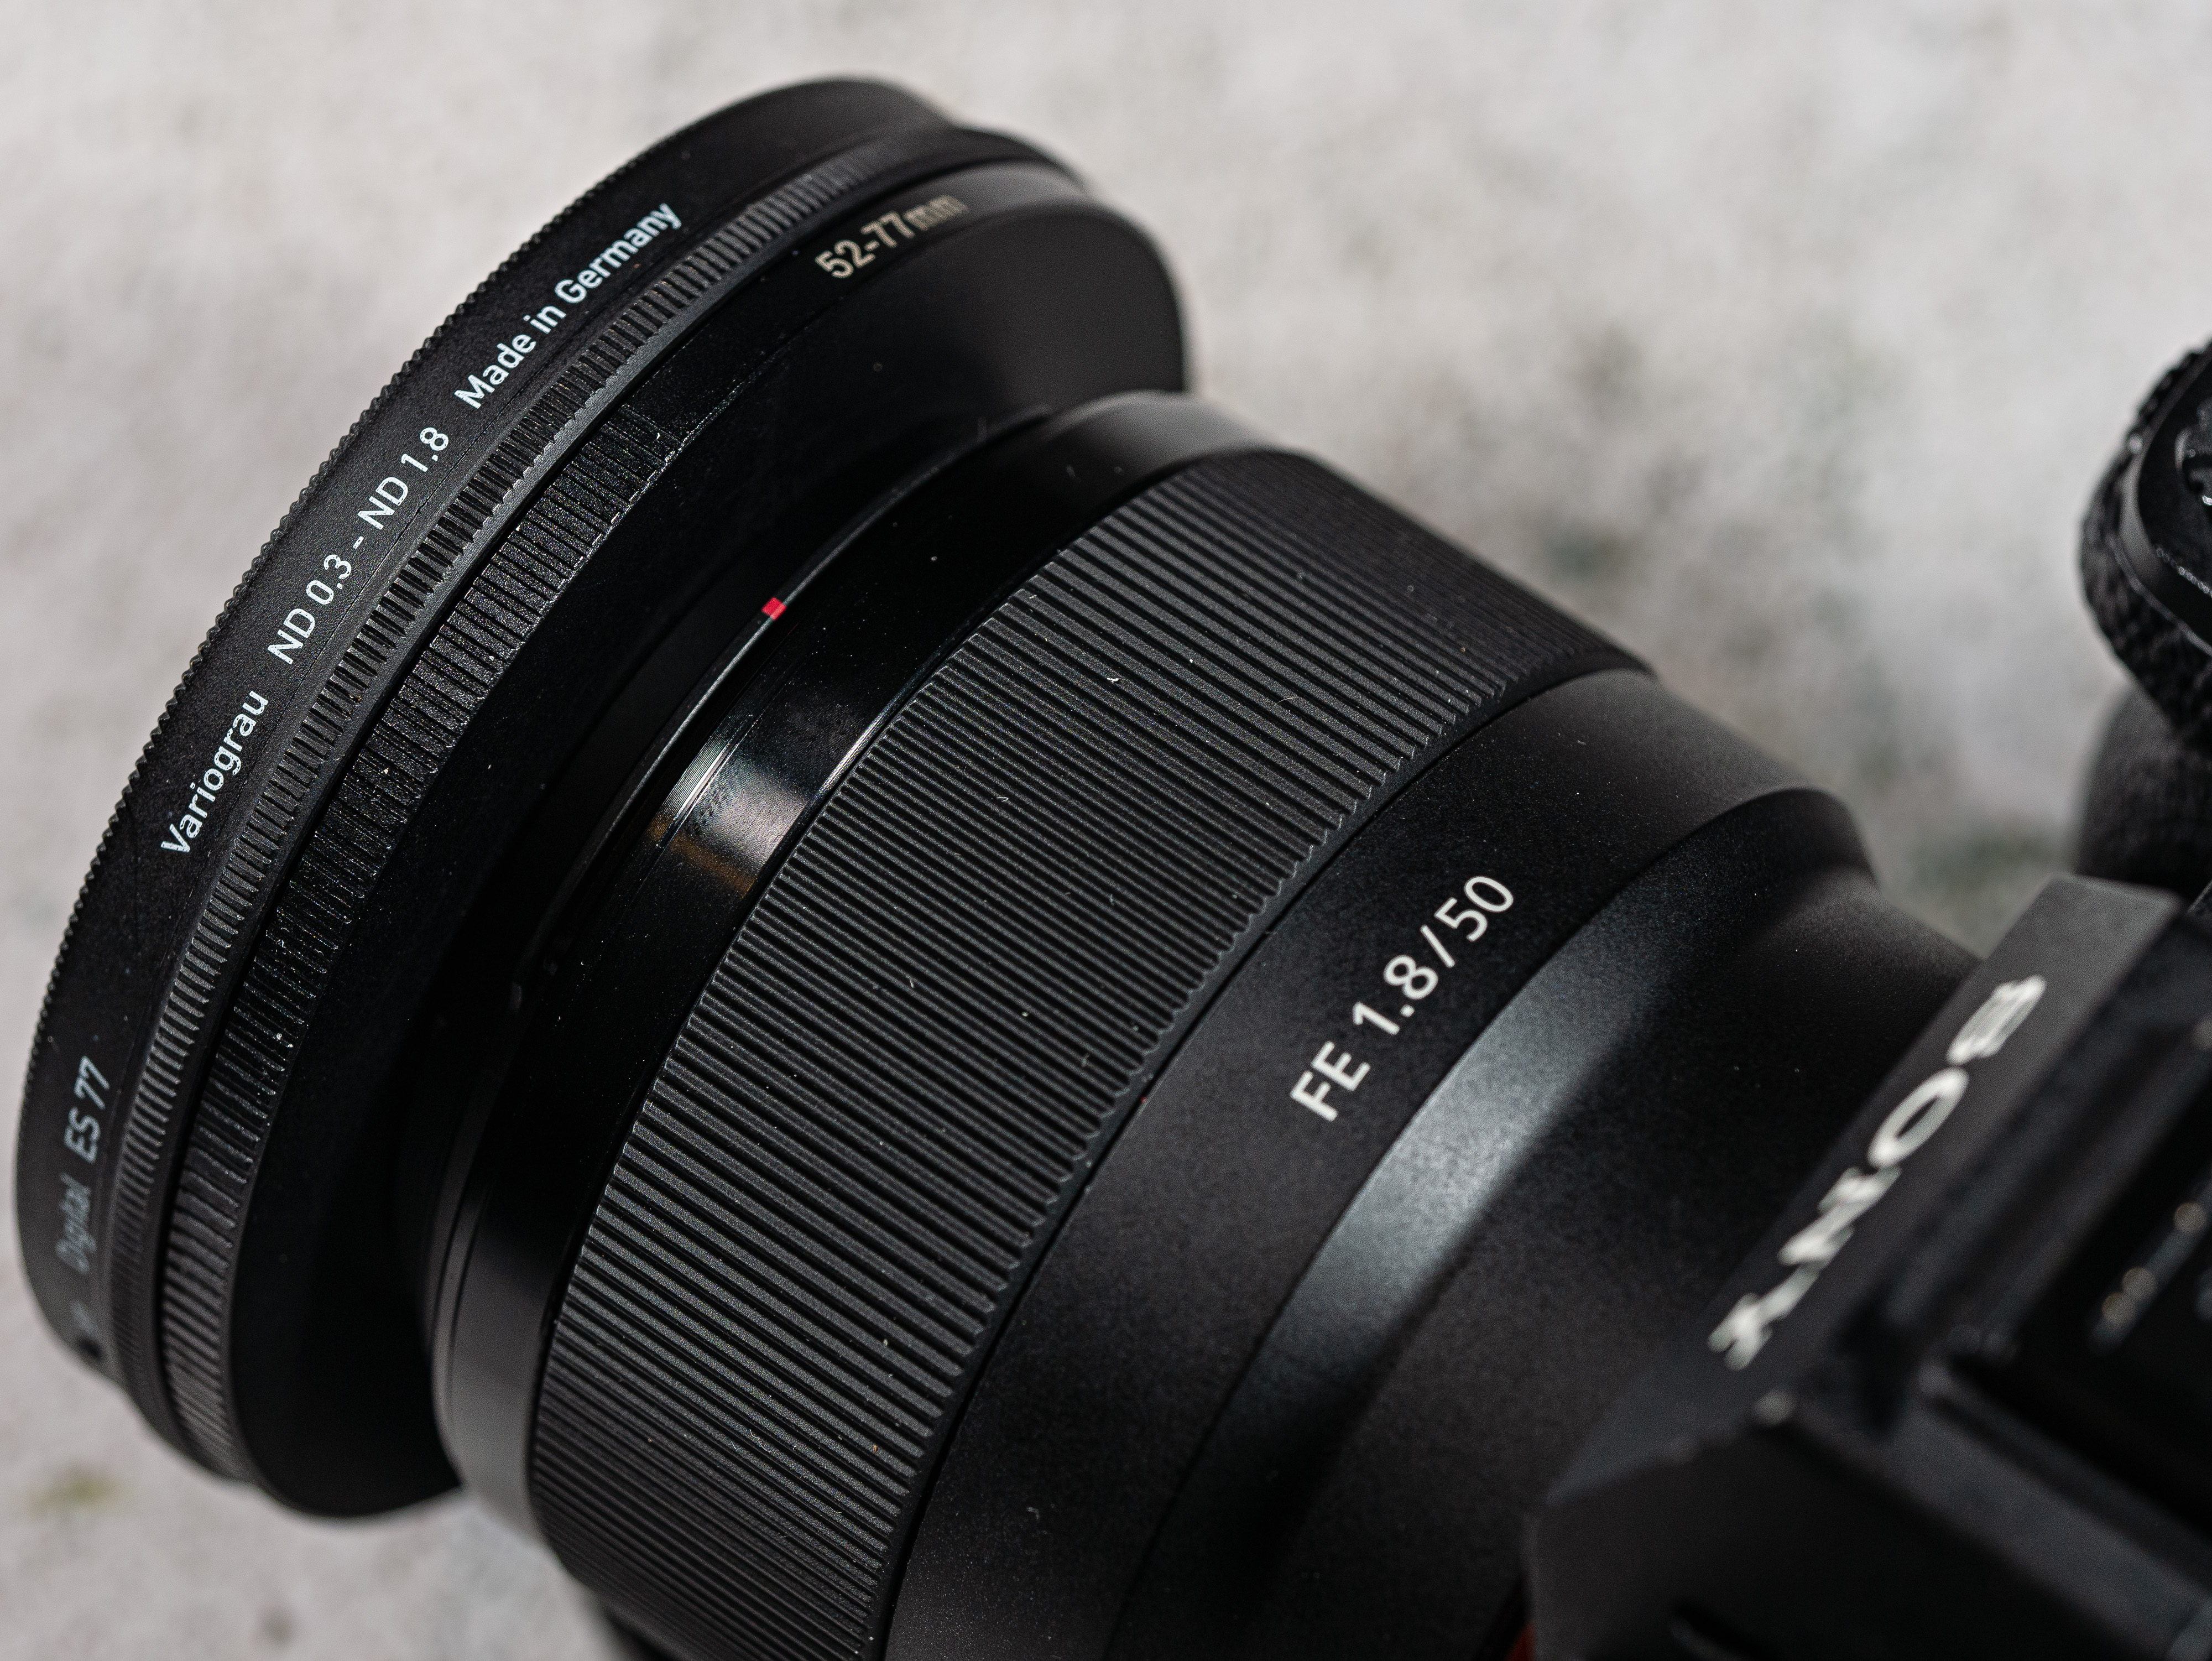
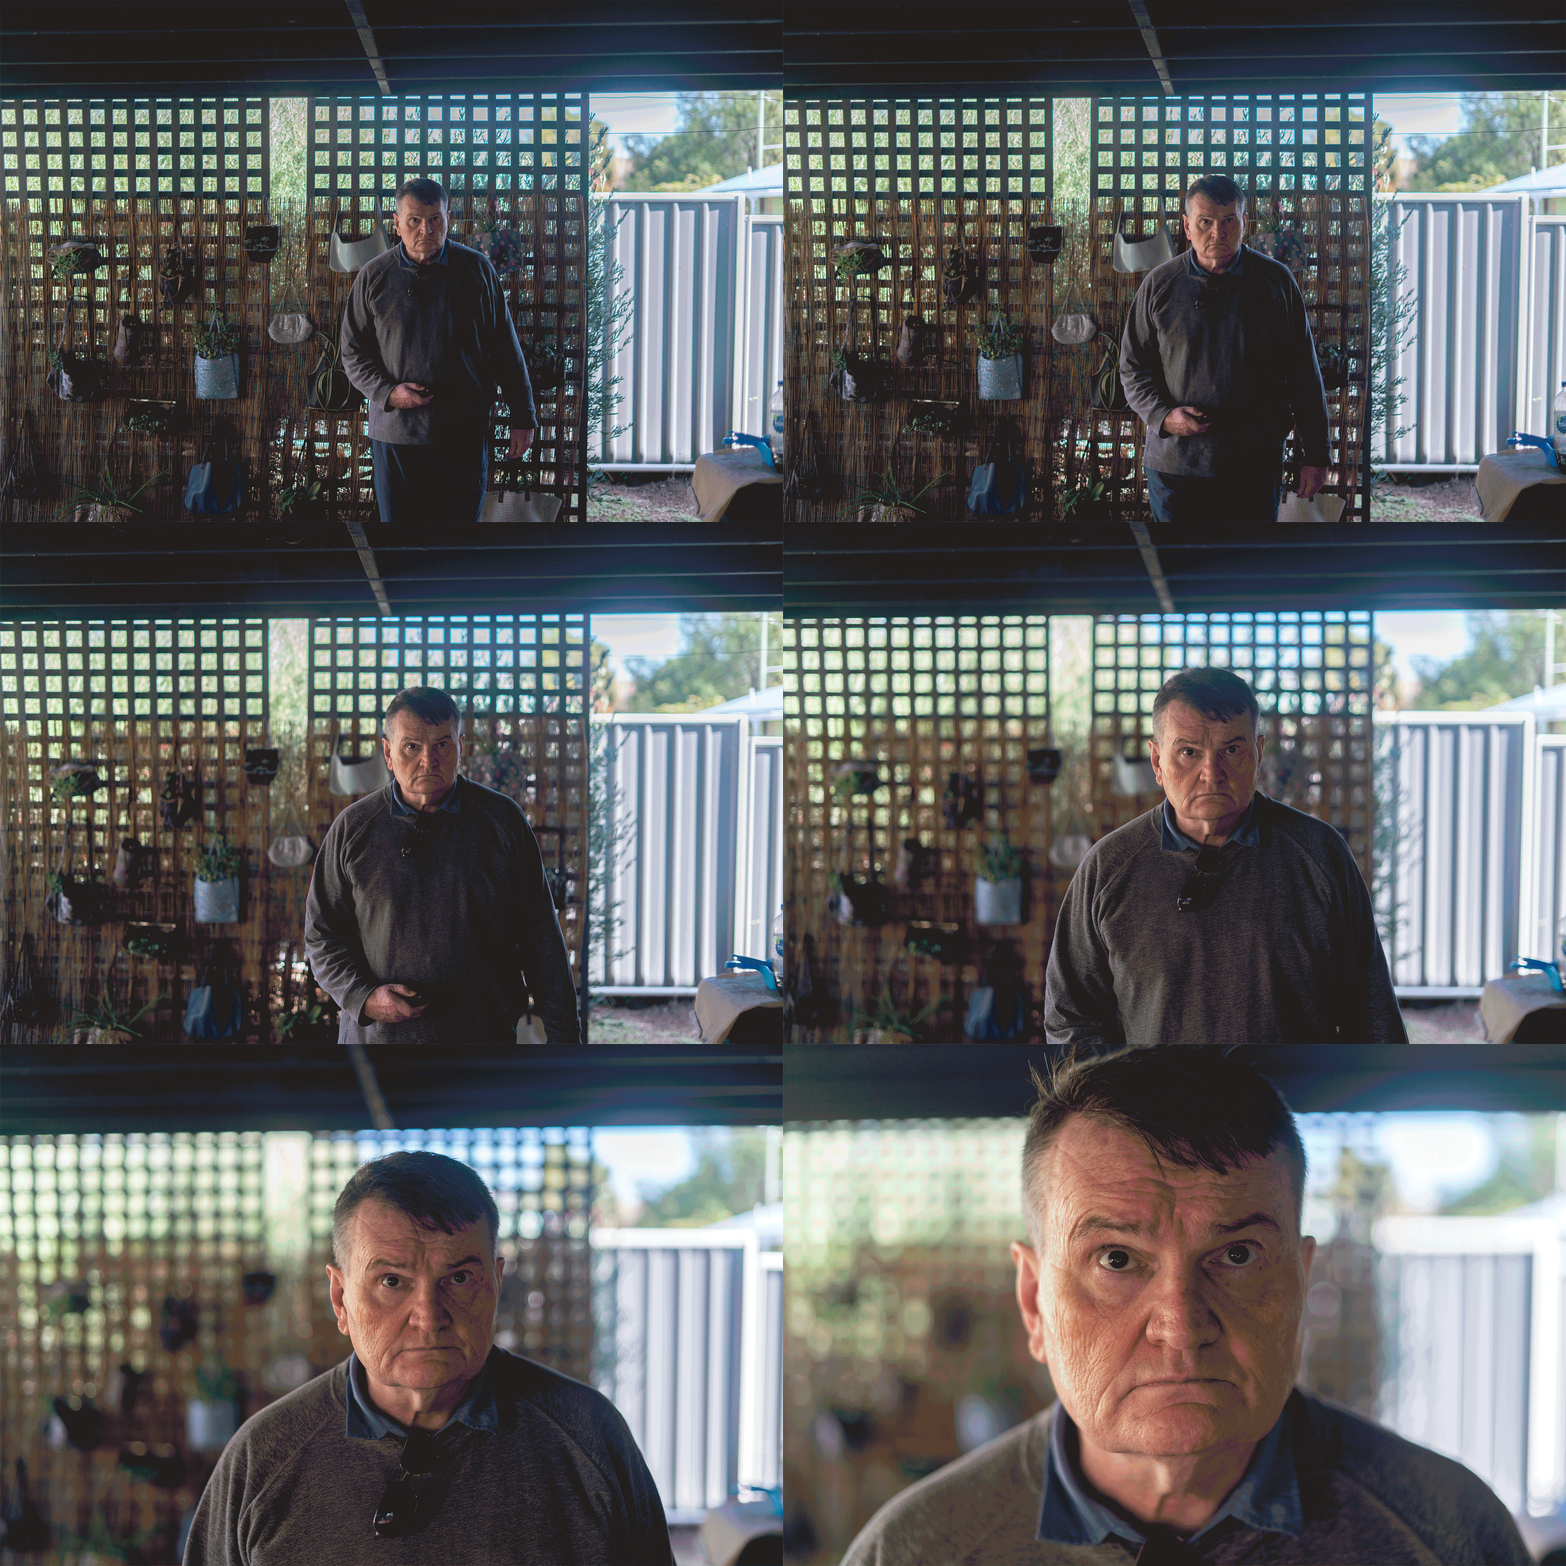
For all the tests the same camera and lens were used – a Sony A7r2 with Sony FE 50mm f1.8 lens. Although the filters are different sizes I used step up rings to fit the filters to the lens. To test for image sharpness and colour casts the camera was set on a tripod in front of a lens resolution chart so it filled the frame. The chart was lit with an LED light set to 5600K and then a custom white balance was set with no filter on the lens and an image was taken which was the control. Each filter was then tested at its minimum and maximum density.

The effects of the filters on image sharpness at their maximum and minimum settings. Click on the image to see larger.


For the video AF test the Sony A7r2 and 50mm lens were used again while with the stills AF test I was so surprised with the results that I also tested with the Olympus EM 1 mk ii and the the Olympus 25mm f1.8 just to make sure. I ran control tests for both camera and lens combinations to provide a baseline with which to compare. In the stills test both cameras without filters attained a 100% in focus rate.

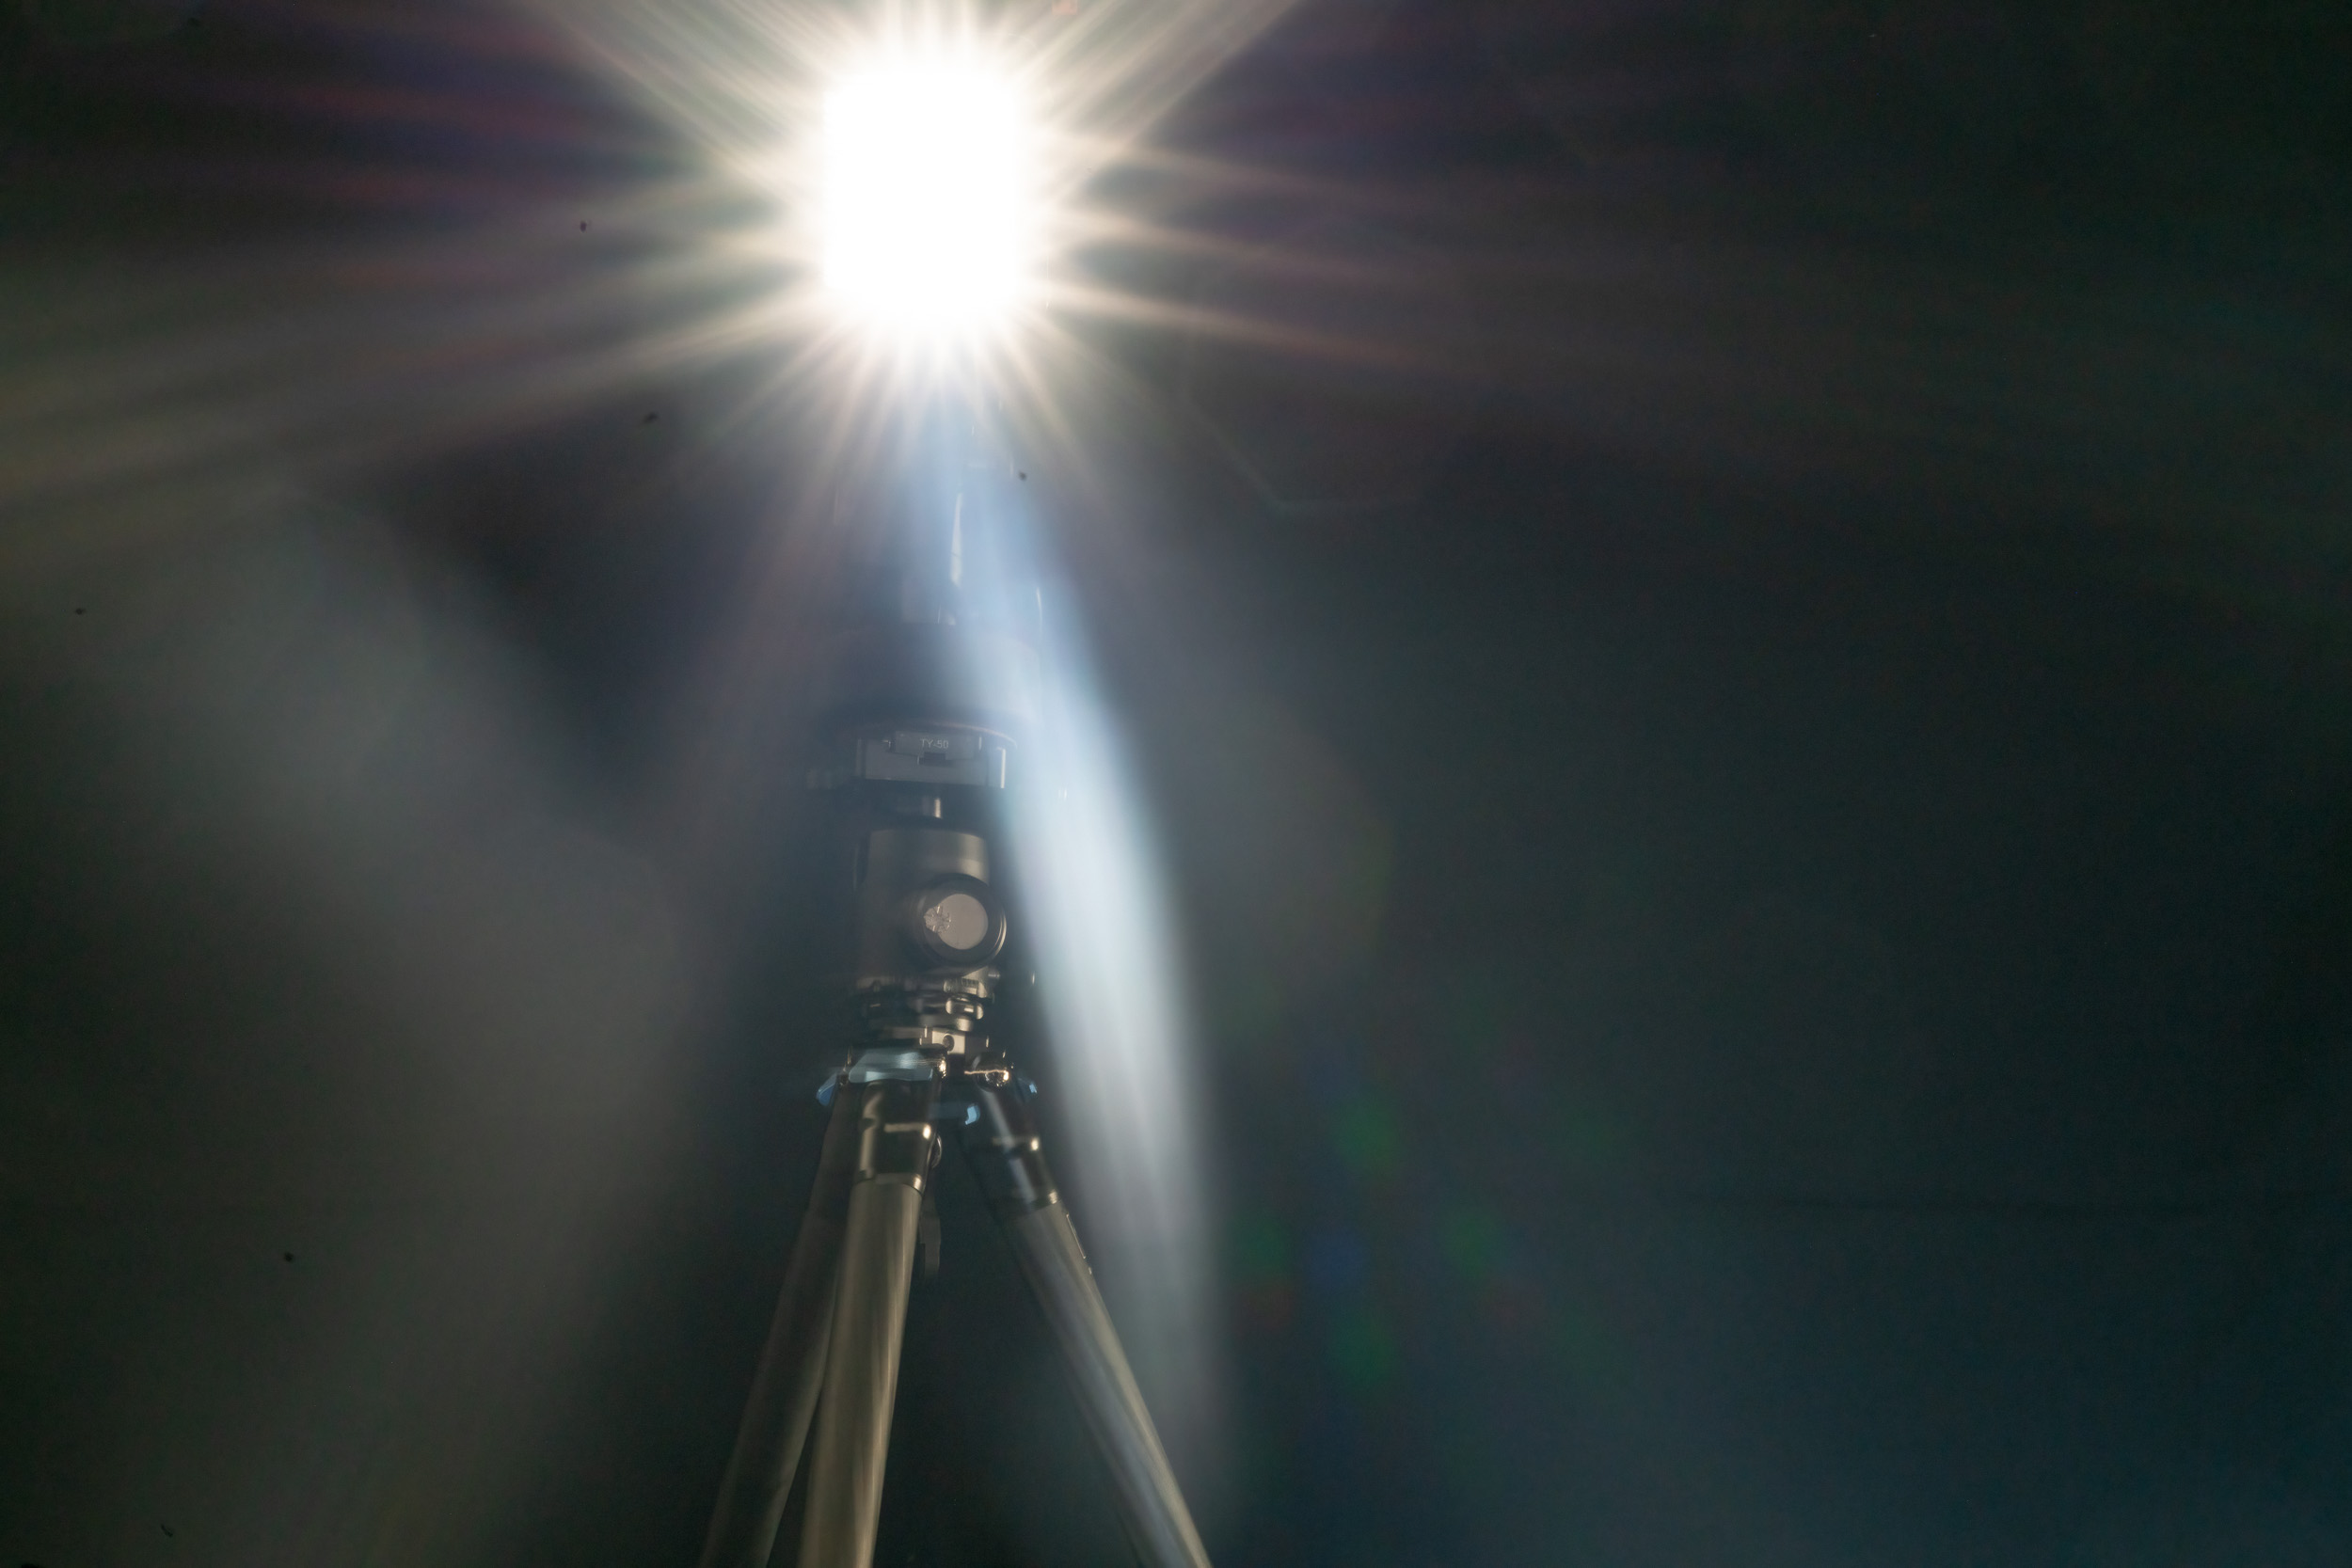
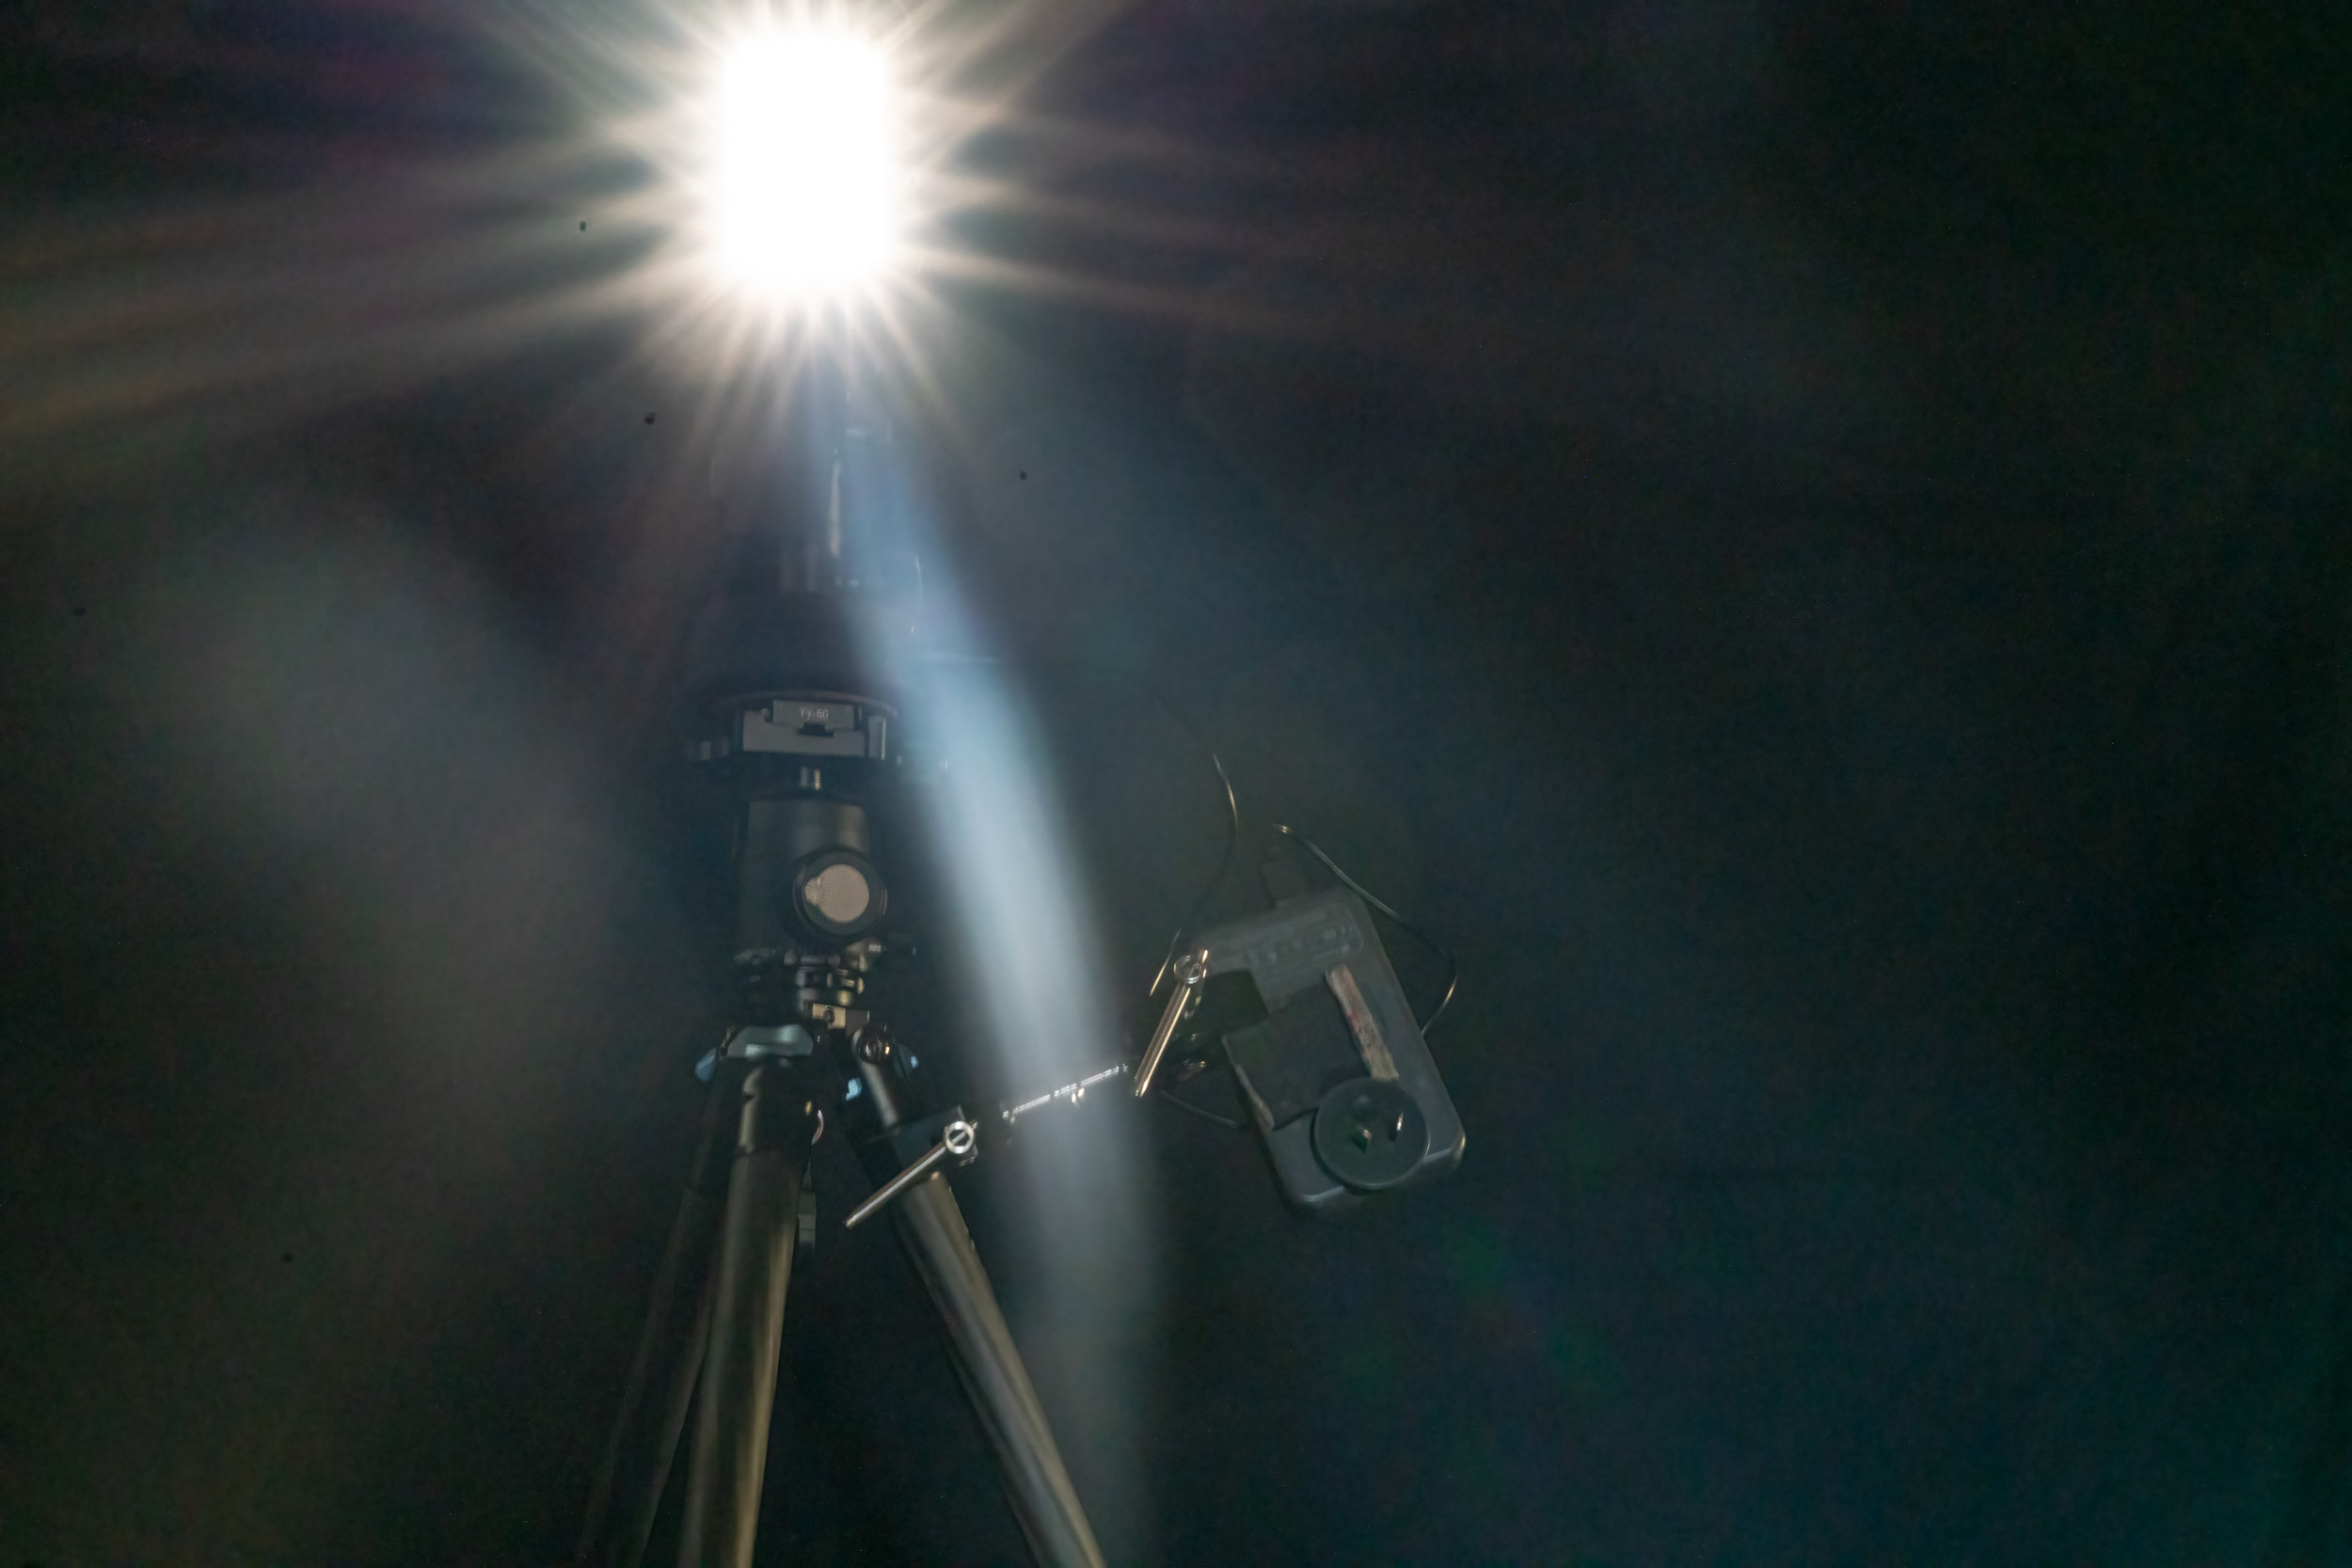
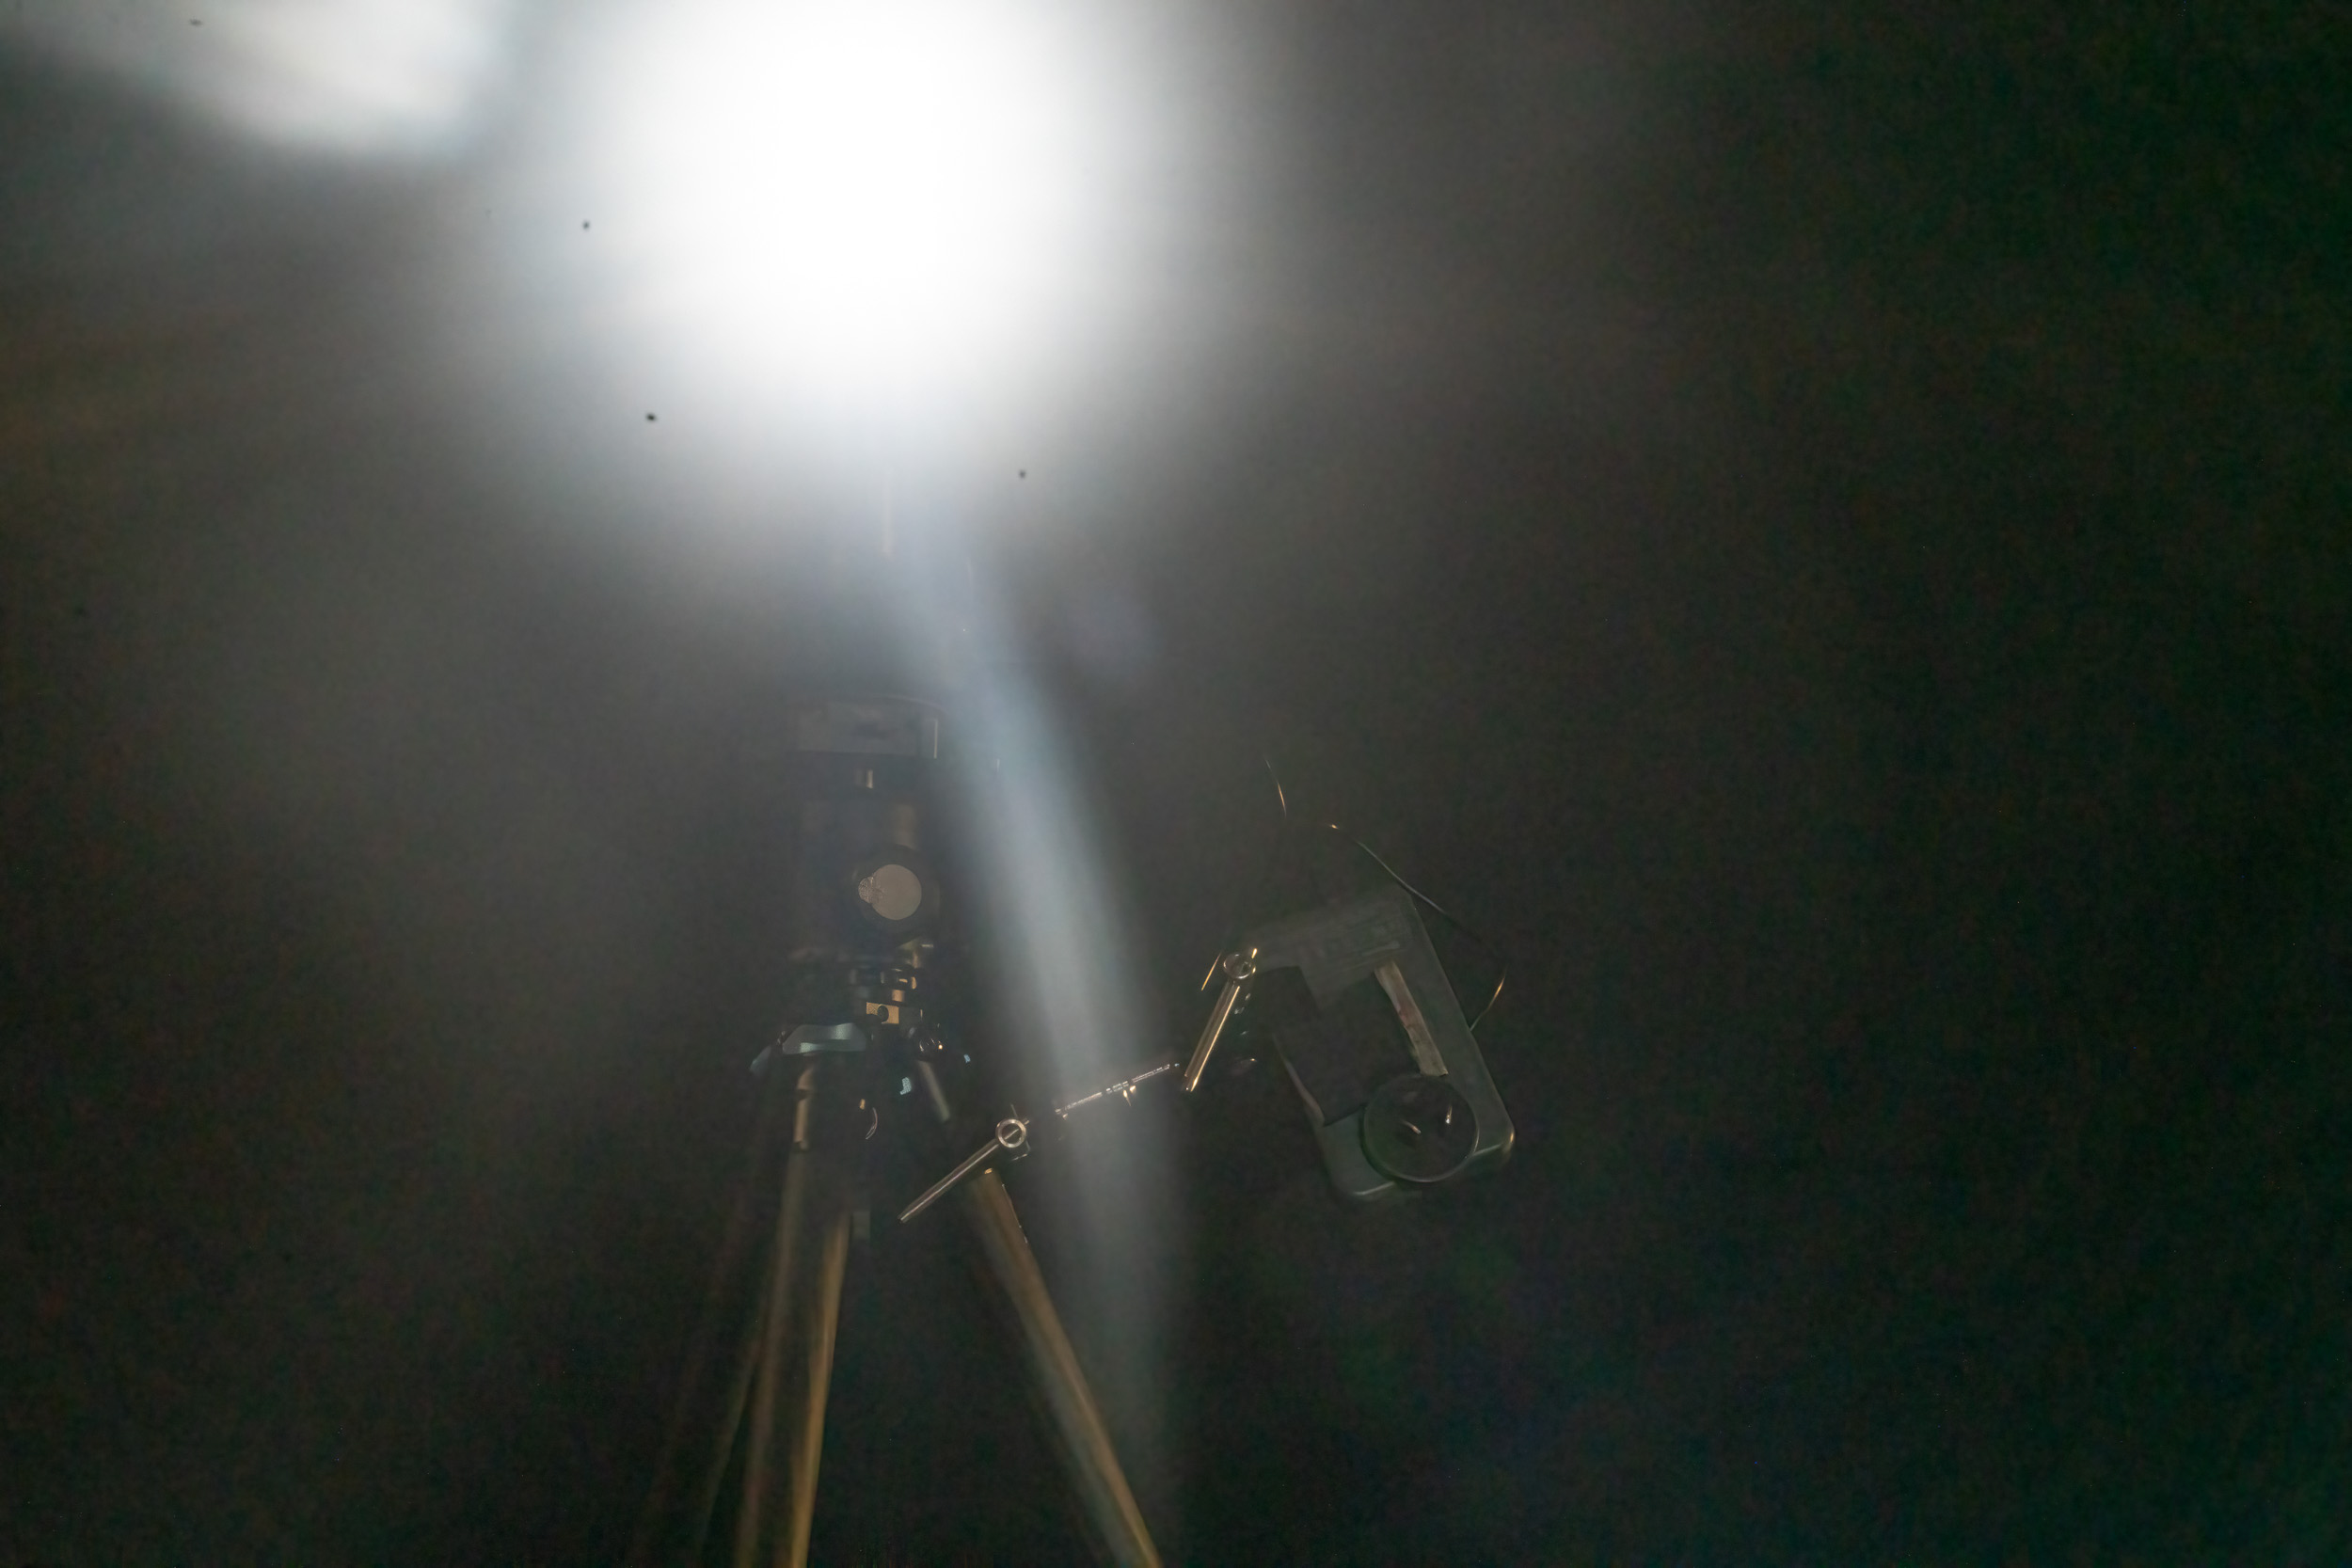
The glare test was done with just the Sony A7r2 and the 50mm lens.


Testing for lens flare with no filter

TLDR


Fotga

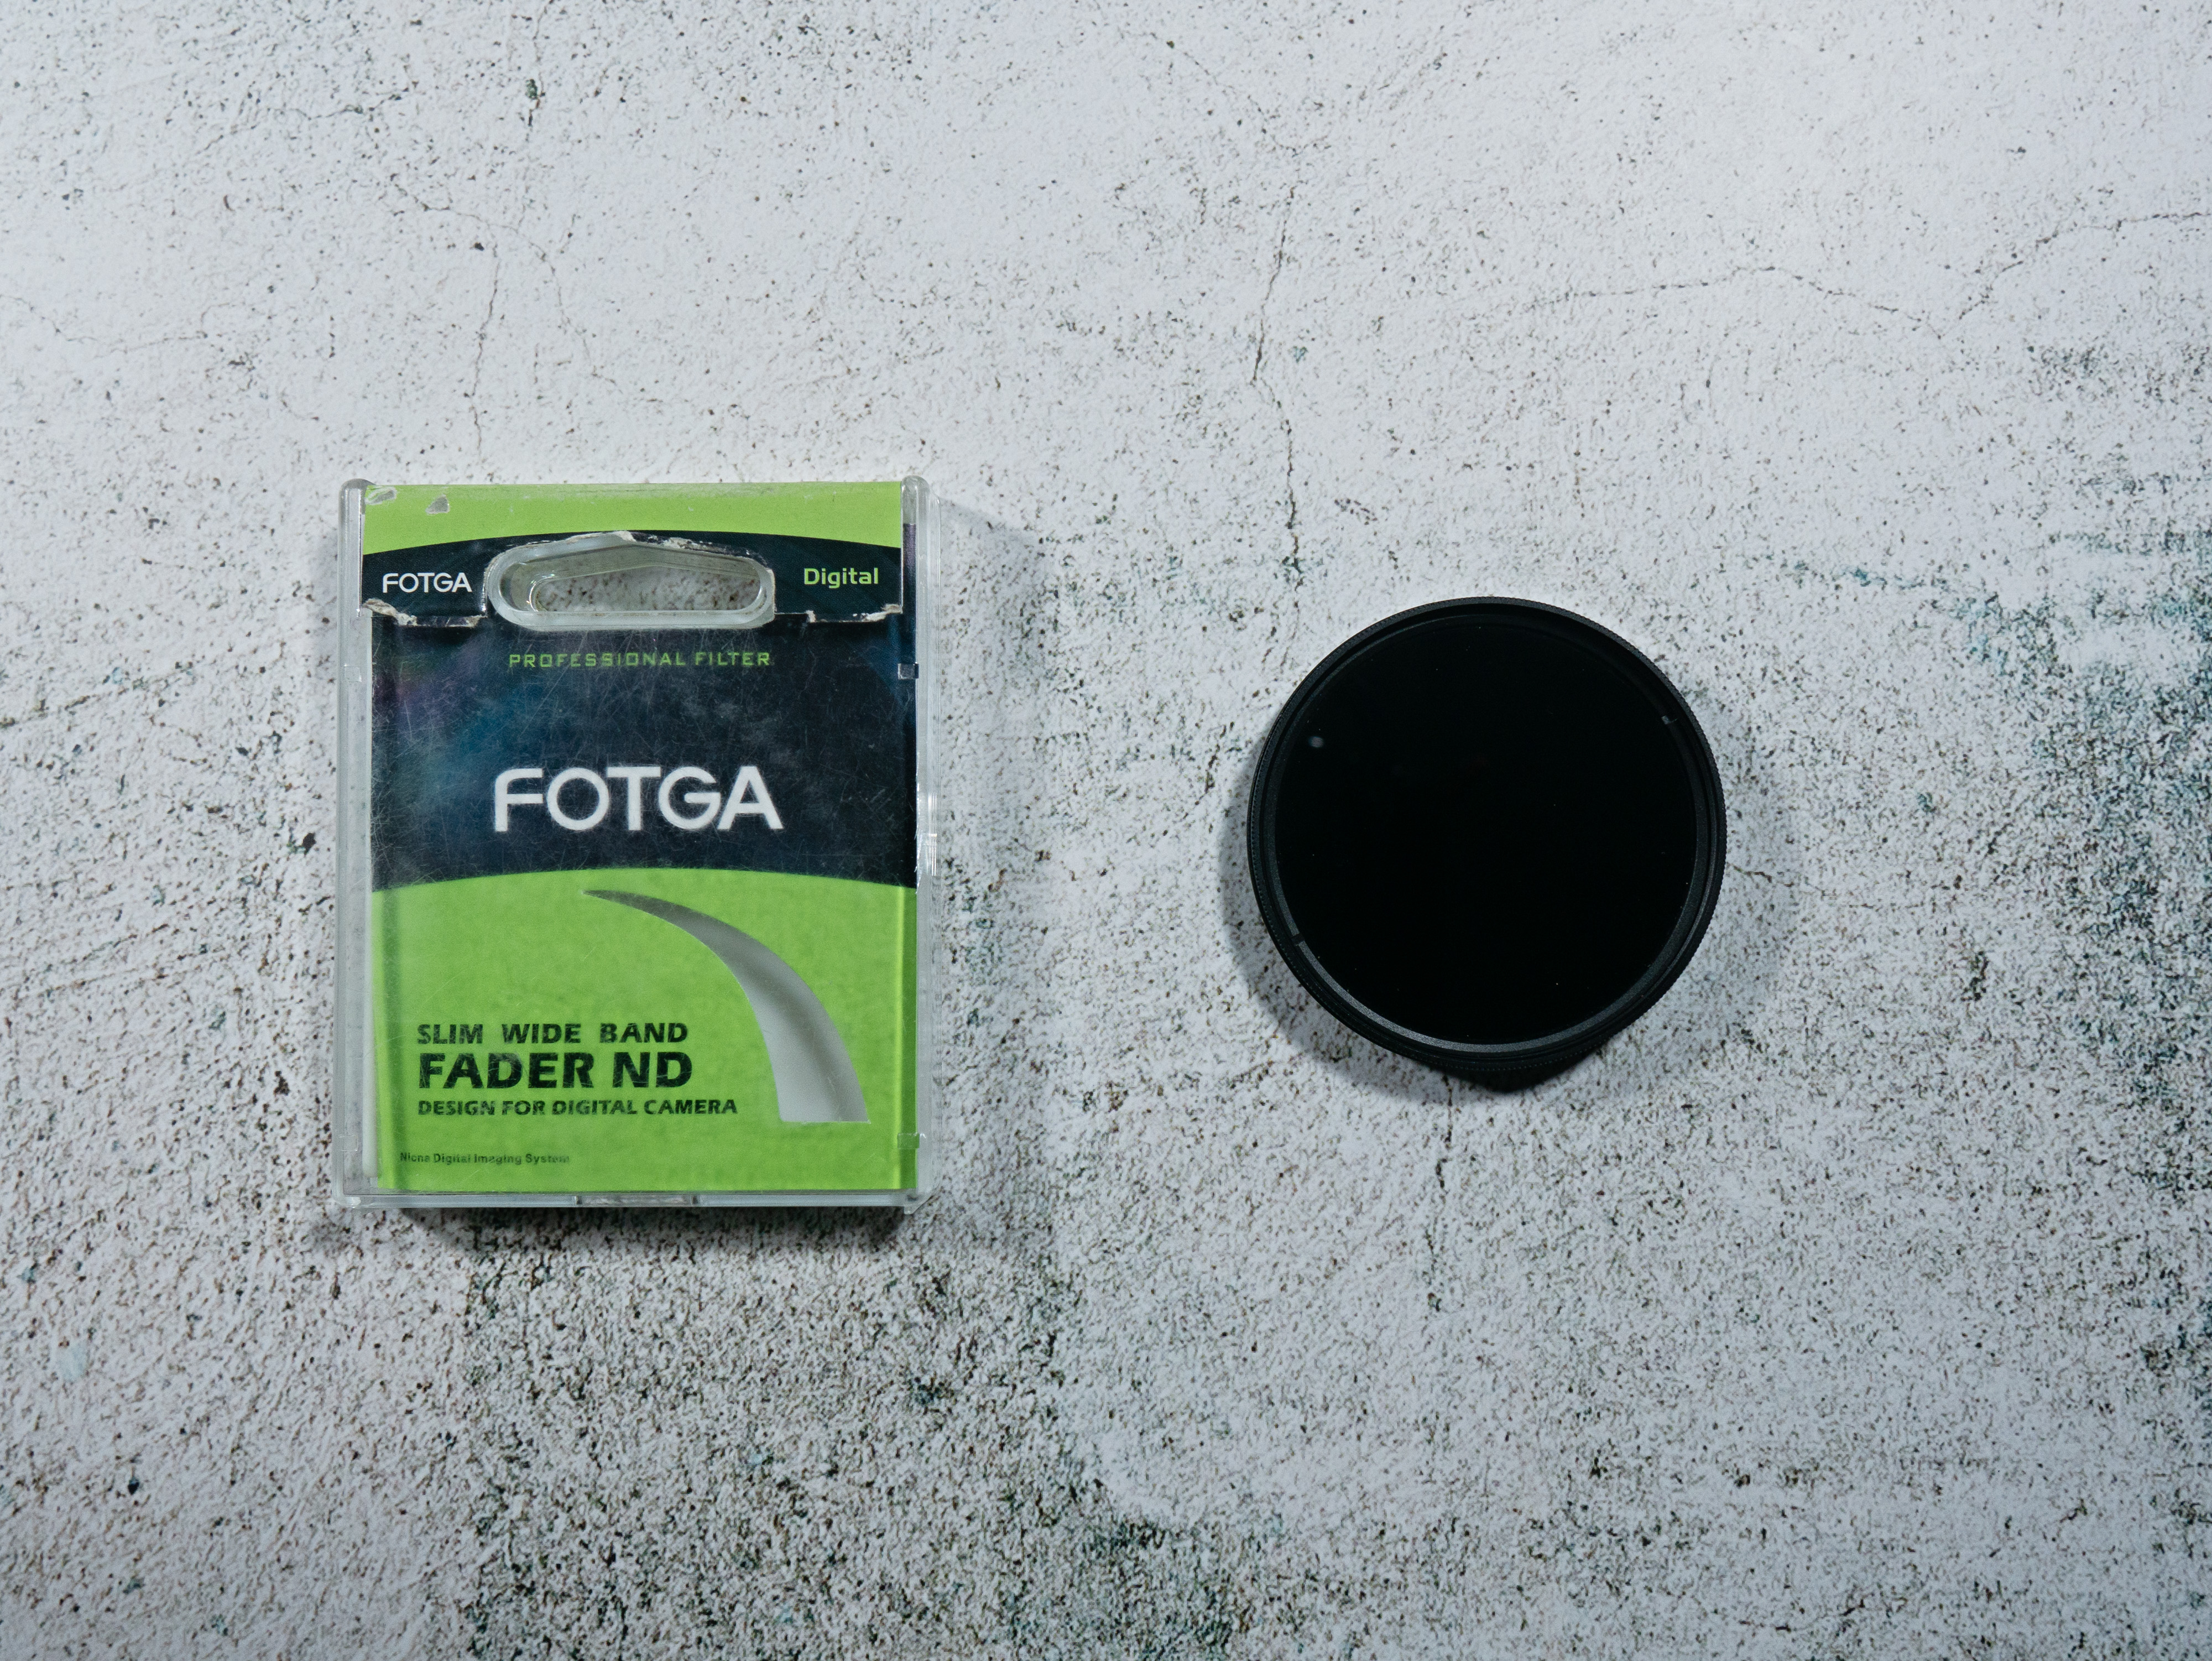
Fotgar Fader Adjustable Variable 52mm ND Lens Filter ND2 to ND400


Fotga ND2-ND400 Adjustable Neutral Density Filter is the cheapest filter on test costing around $24 AUD on EBay for a 77mm filter. Interestingly Fotga state on their website:

“Image quality may drop when focal length above 200mm. It may not be suitable for a wide-angle lens <24mm,35mm film format equivalent.”

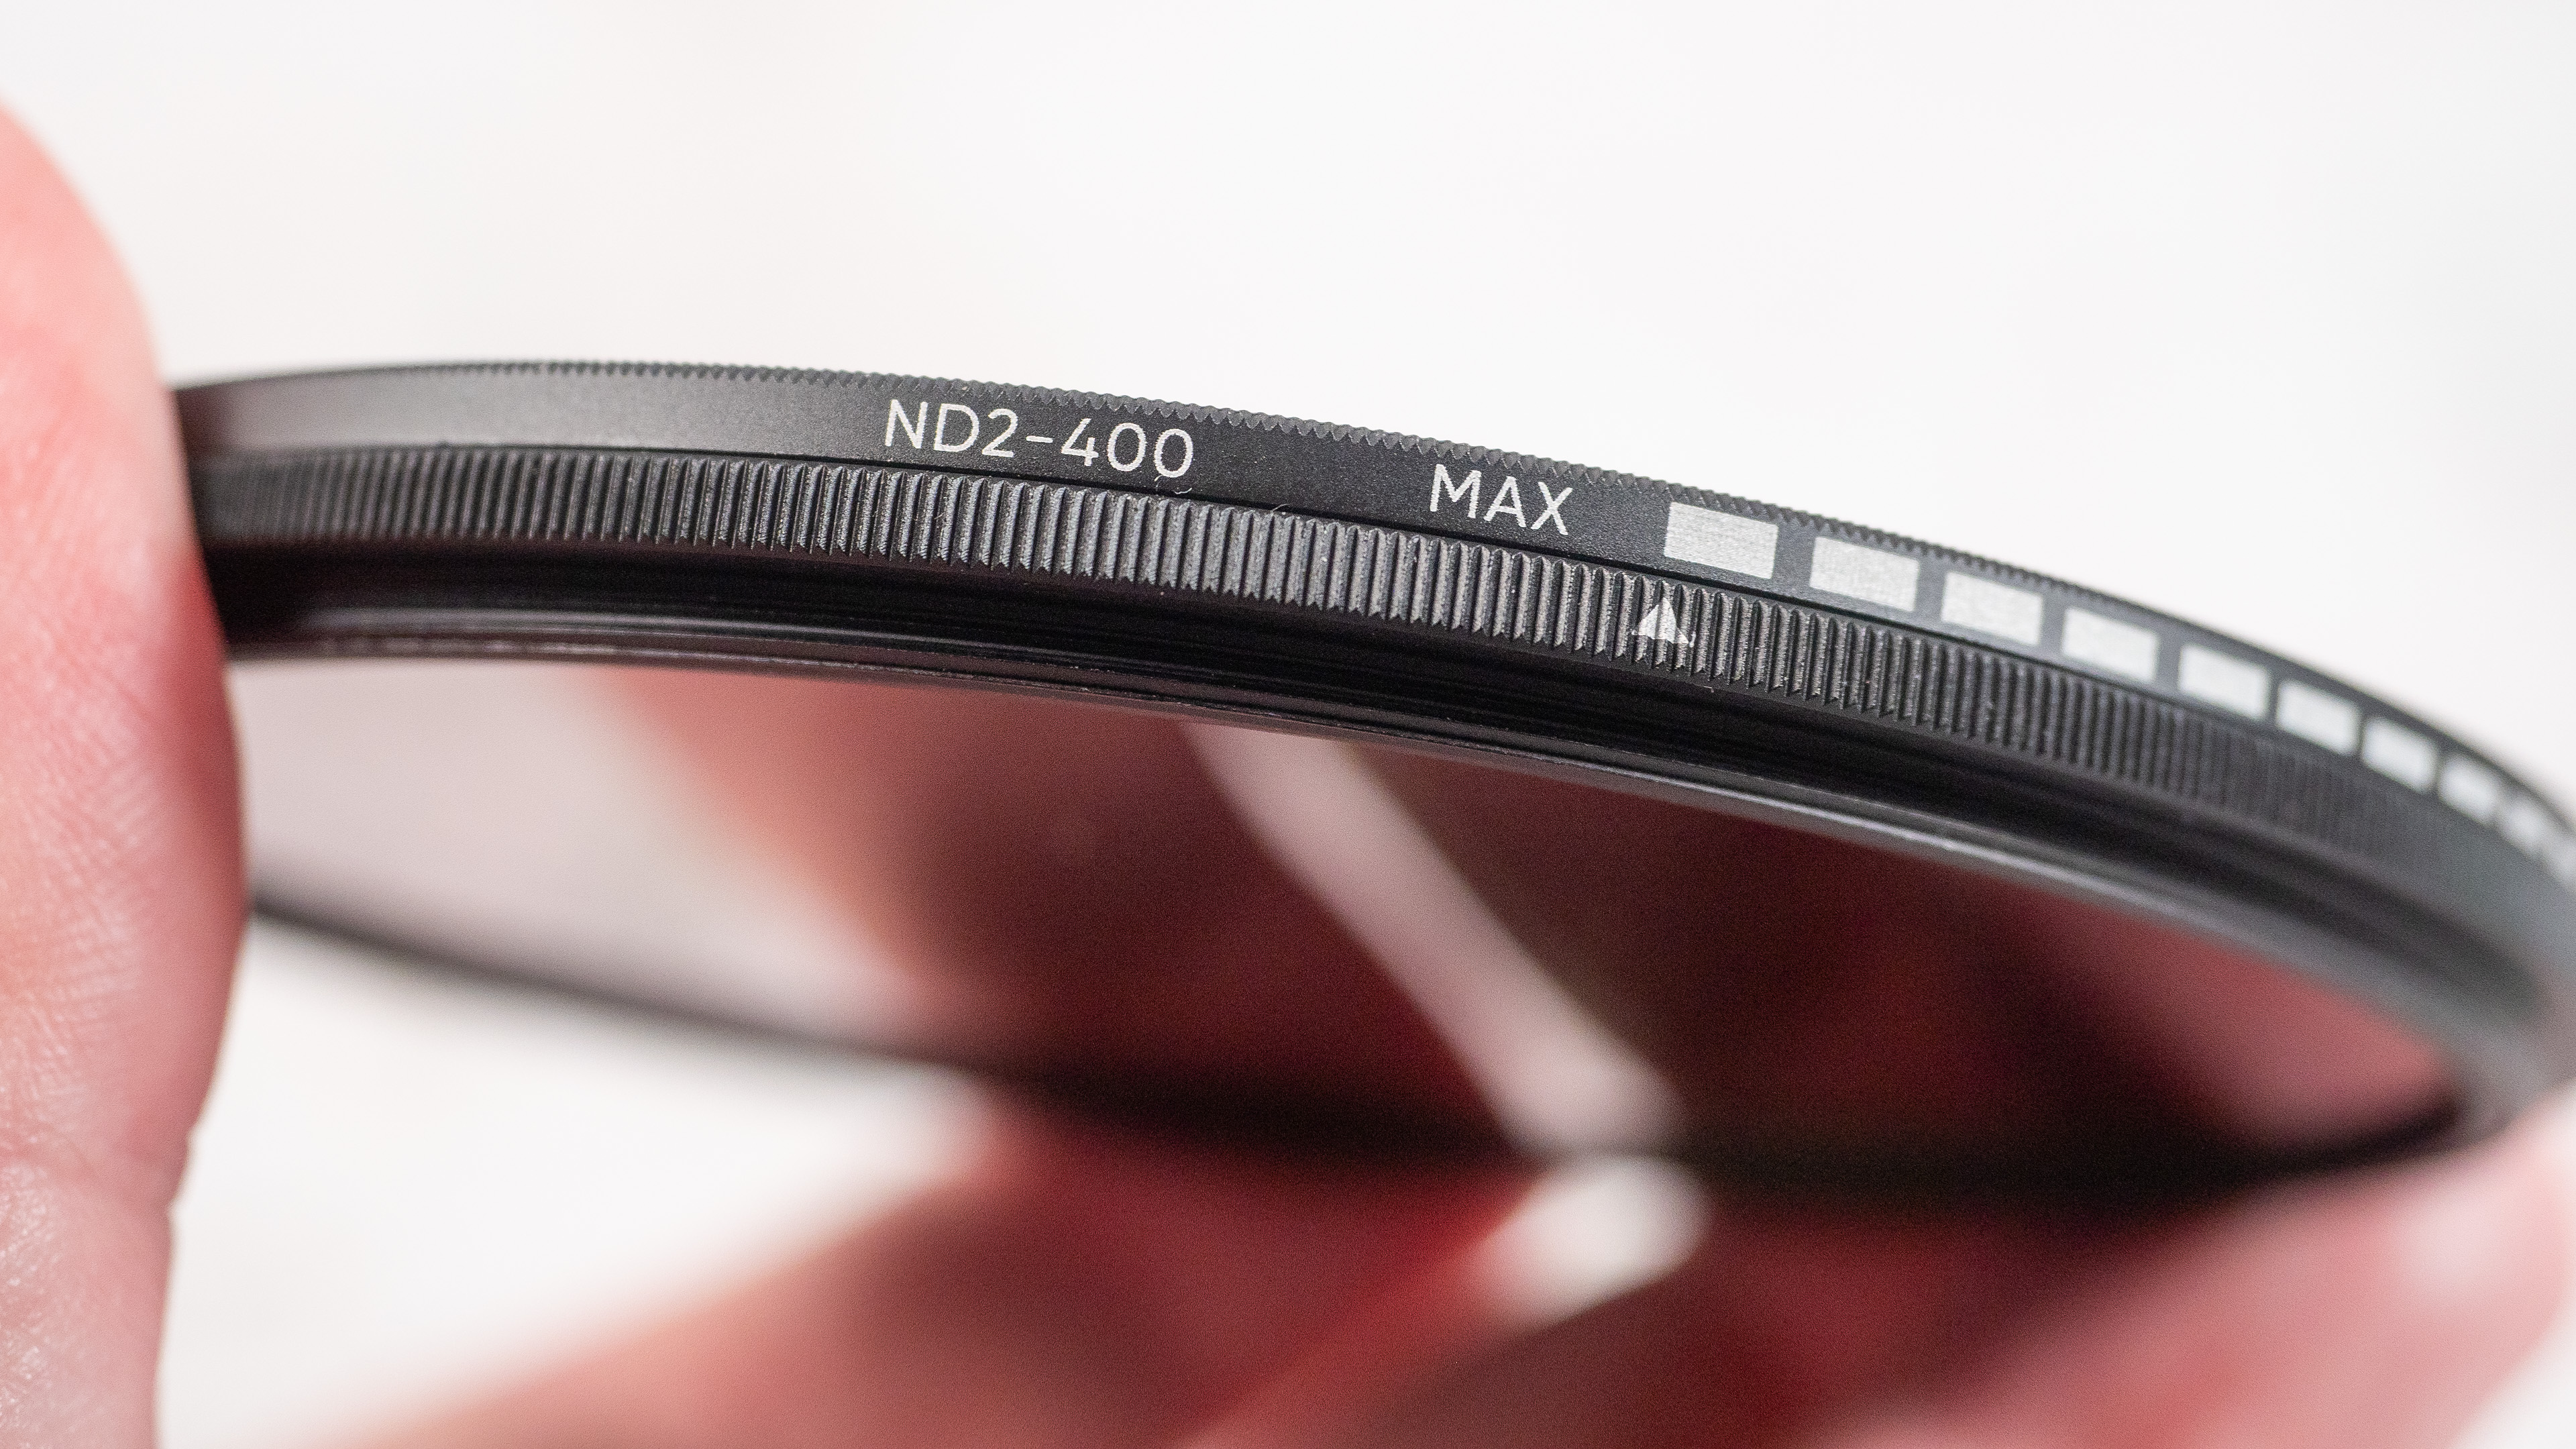
The filter is made from an unspecified Japanese optical glass and there is no mention of any coatings. The frame is made out of aluminium and has a satin black finish. There are no hard stops but there is a scale indicating where the minimum and maximum effect occurs. The filters are made in China and come in a flimsy rectangular hard plastic case.


Fotgar Fader Adjustable Variable 52mm ND Lens Filter ND2 to ND400


Certainly this filter has an effect on image sharpness it decreased sharpness and contrast of the tested 50mm lens the most. At the minimum density setting there was a definite reduction in contrast and sharpness which deteriorated even further at maximum density setting. It also had a pronounced colour cast.


The Fotga filter is the cheapest on test but the aluminium frame appears to be as well made as the filters from Cokin and Urth.


When testing the video autofocusing the Fotga produced the worst result – the AF was as snappy or confident and the image was decidedly soft. Shooting a burst of still images images  the Fotga filter only achieved an in focus rate of 67% and the images were all low in contrast, very soft and showed glare. Speaking of glare when testing for it specifically the Fotga produced the worst result exhibiting veiling and ghosting flare and strong halation around the light source.


Urth  

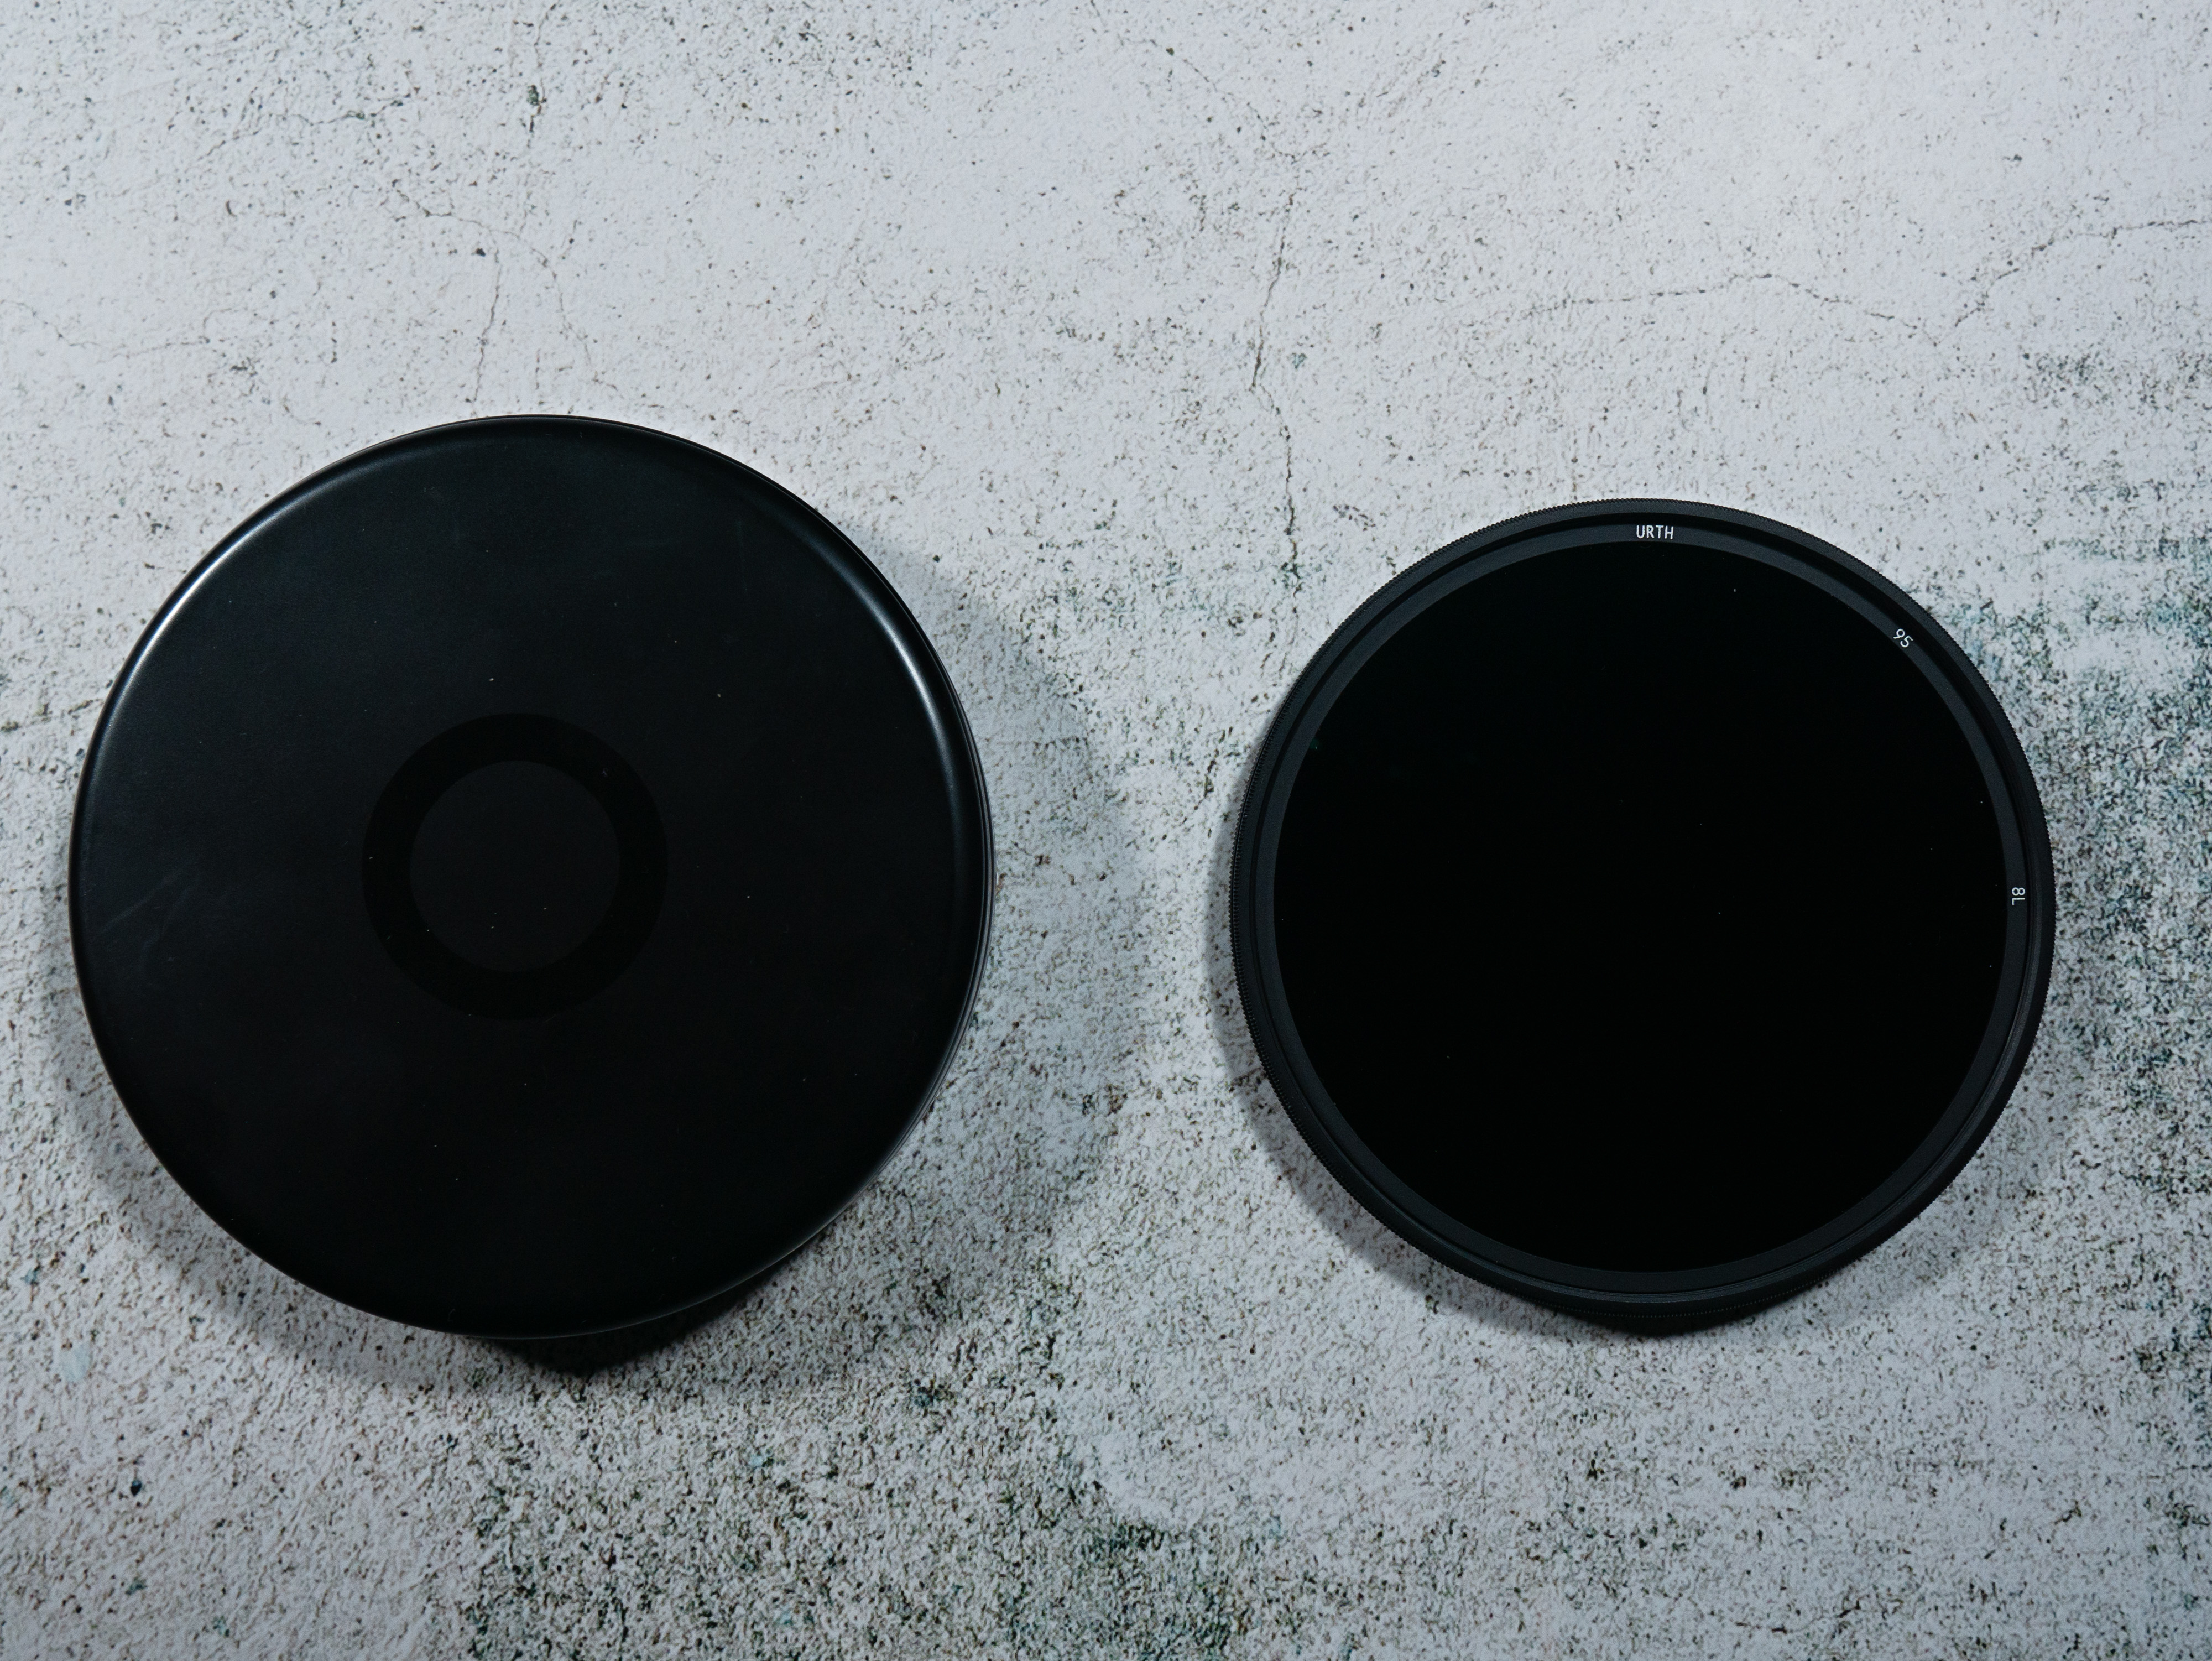
Urth 95mm ND2-400 (1-8.6 Stop) Variable ND Lens Filter


The Urth Variable ND2-400 (1-8.65 Stop) Filter is the next cheapest filter costing $82 AUD for a 77mm filter. Urth state on their web site that the filter is not suitable for use on wide angle lenses stating:

“For wide-angle lenses, we recommend our Variable ND2-32, ND8-128, ND64-1000 or fixed ND filters.”

Urth also state that filter has eight layers of coatings to make it easier to clean but no mention of whether they improve optical quality. They also claim that there are no colour casts which unfortunately is not true, but on the positive side there was no impact on image sharpness at the minimum setting and a slight reduction in sharpness at the maximum setting.


The Urtth variable neutral density filter has an aluminium alloy frame and hard stops.


About the type of glass used the website says: 

“Japanese AGC optical glass is coated with an 8-layer nano-coating “

The frame is aluminium and finished in matte black. There are hard stops at each end of the adjustment range with a scale marked showing maximum and minimum. Out of all the filters on test the Urth has the nicest presentation being supplied in a circular metal tin with a screw on lid and it was the only filter to be supplied with a lens cleaning cloth. To make you feel even better about your purchase Urth say they will plant 5 trees with every purchase. Urth are an Australian company but the filters are made in China.


Urth 95mm ND2-400 (1-8.6 Stop) Variable ND Lens Filter


When shooting video the Urth filter had no visible effect on the autofocus, but strangely enough did on the stills performance achieving an 80% hit rate. For the glare test it shared the best performance with the Cokin filter.


Cokin


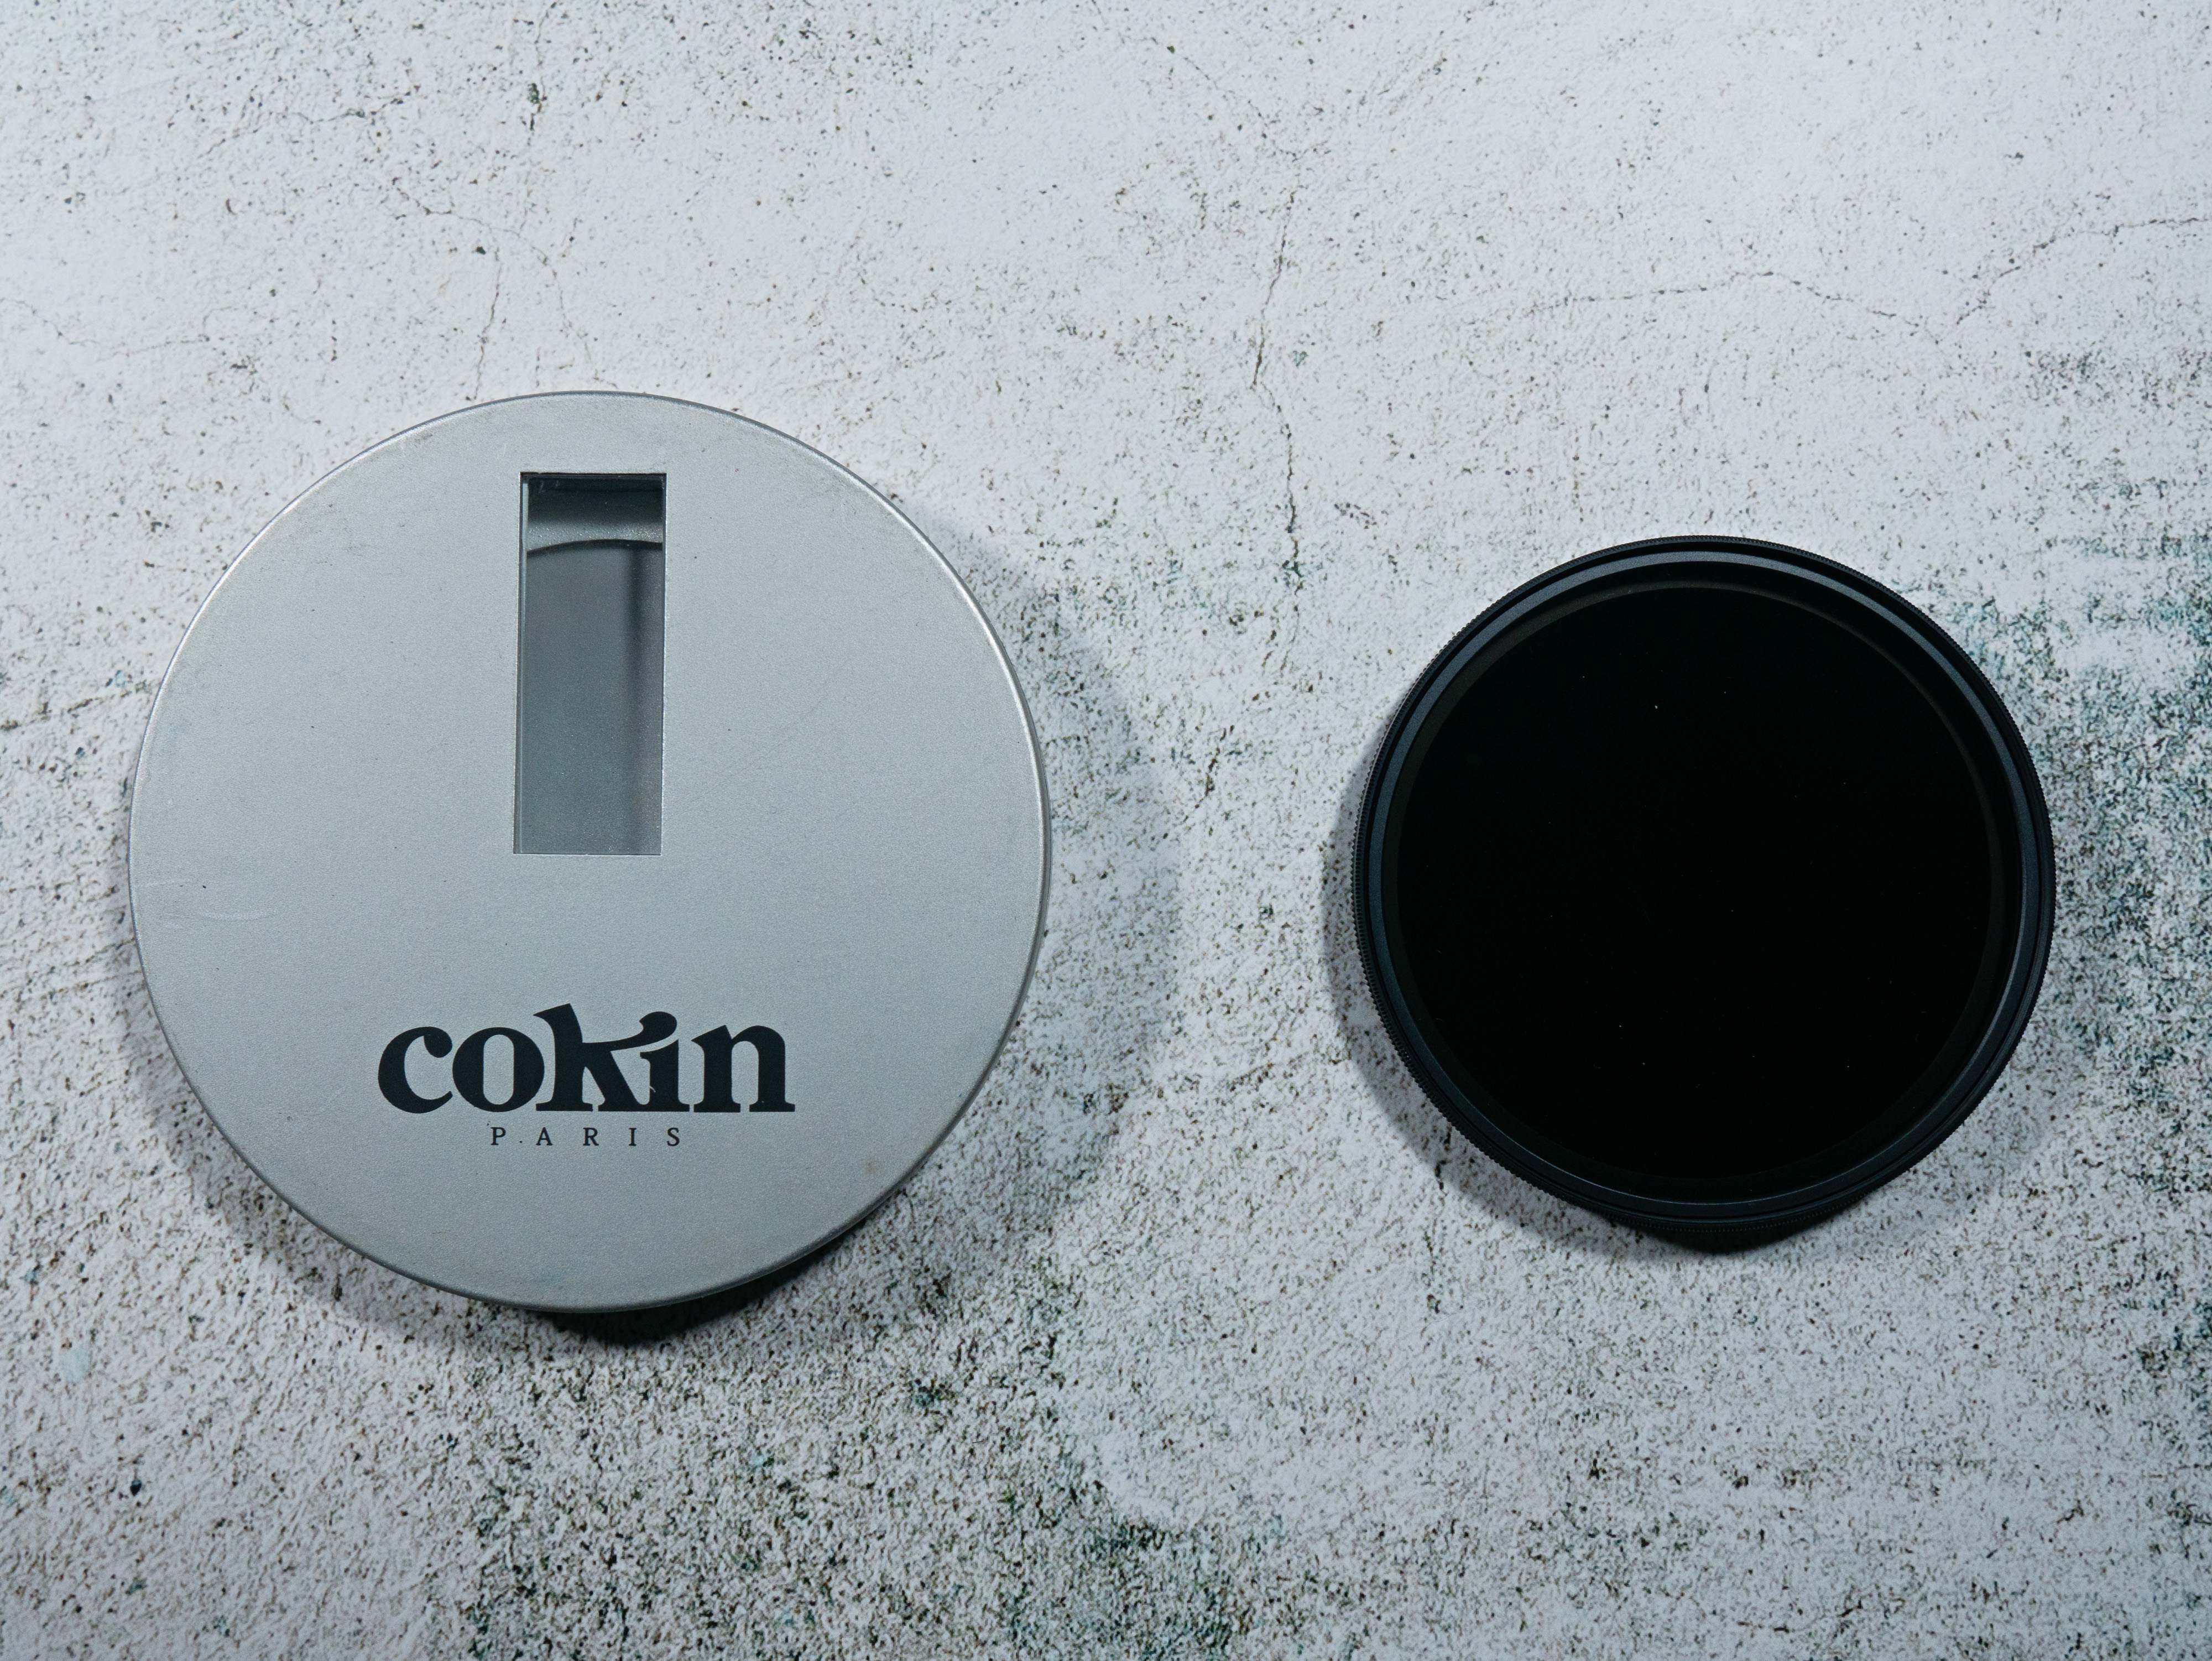
Cokin NUANCES Variable Neutral Density 2-400 (1-8 Stops) Screw-in Camera Filter


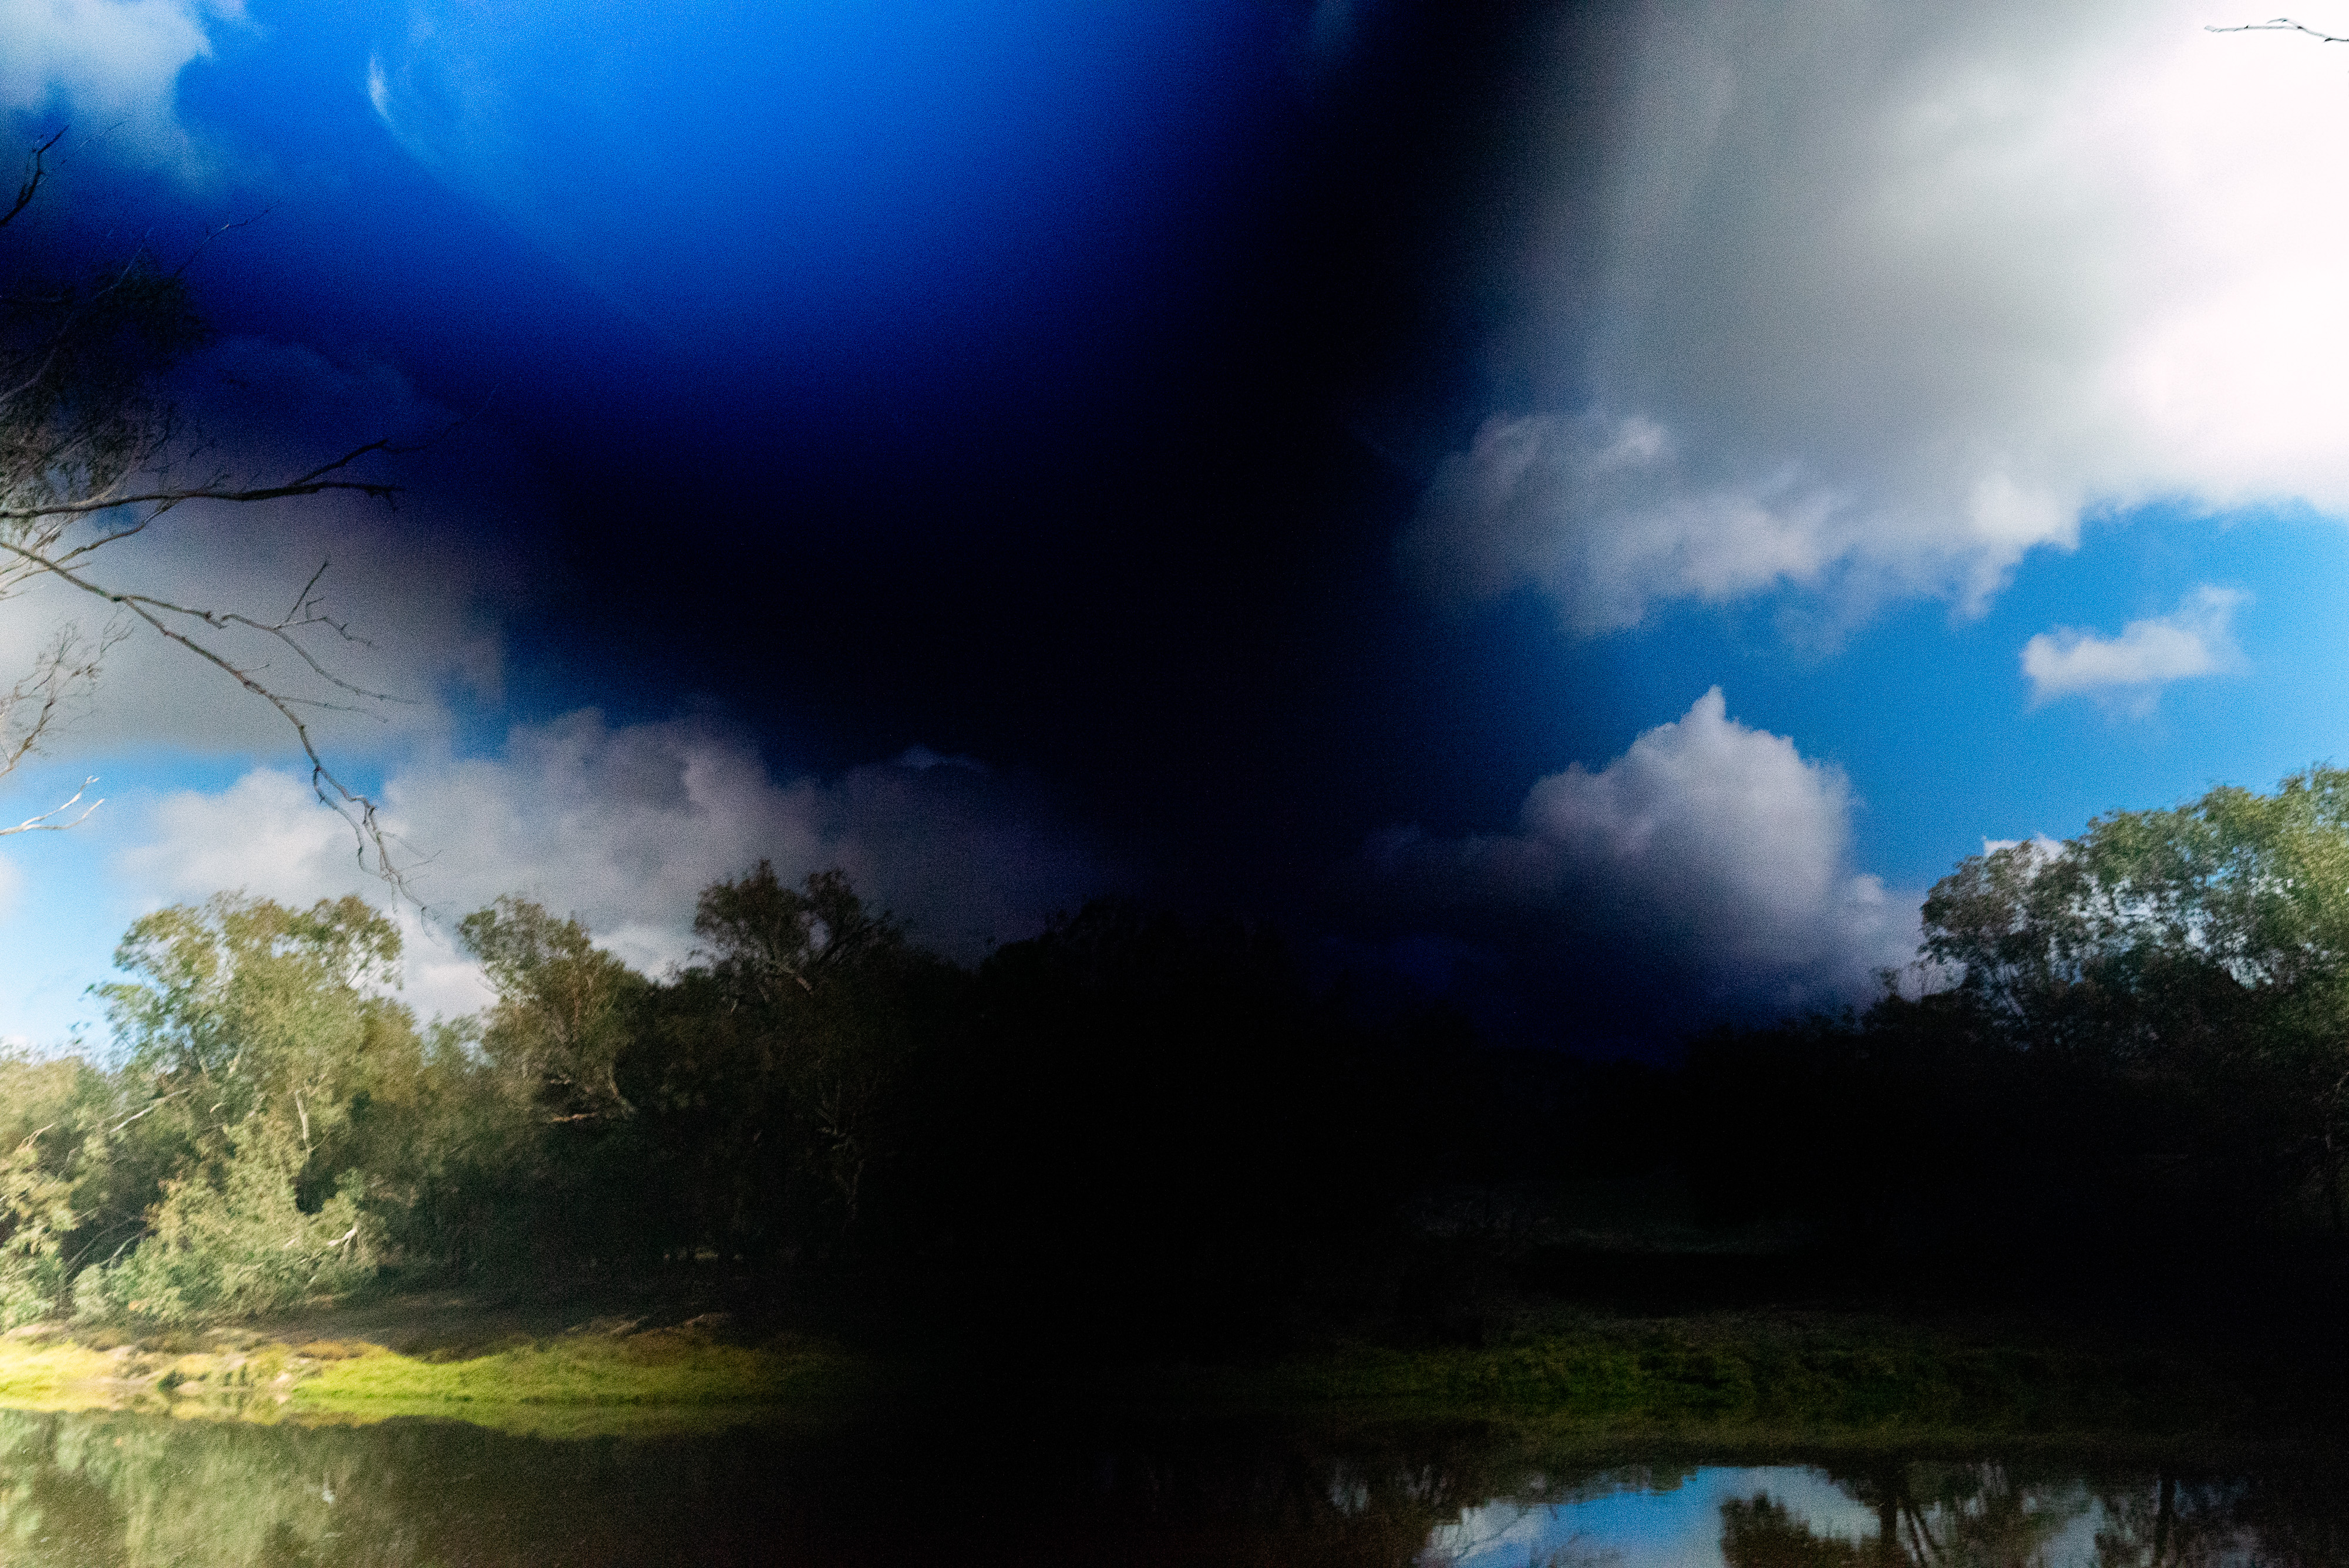
The Cokin NUANCES NDX 2-400 – 77mm Filter comes in at $176 AUD for the 77mm size tested. Cokin put out a very helpful information sheet which clearly states that they do not recommend its use on lenses shorter that 24mm (full frame). Interestingly they specifically talk about the “Maltese Cross” phenomenon which occurs when you try to get the maximum density. This varies depending upon the focal length of the lens and limits the amount of density you can use. To get the full 8 2/3 stops lenses longer than 45mm should be used. A focal length of 35mm gives you 6 1/3 stops and 24mm gives 5 1/3 stops. 


In terms of the optical construction the Cokin filter is made of “Schott Glass B270, renowned for its high transmittance and low reflection”. They state that the filter is coated but not with how many coats. The frame is made of aluminium with a matte black finish and it has a series of dot markings with min at one end and max at the other. The dots don’t correspond with any particular effect. The filter comes in a round hard plastic case that is hinged. It doesn’t feel particularly sturdy and I find it quite awkward to open. Although the packaging states it is designed in France there is no indication as to where the filter was made. As Cokin was acquired by Hoya in 2000, which is part of the Kenko Tokina group, which makes filters in both the Philippines and Japan it would be a fairly safe assumption that the Cokin filters would be.


Cokin NUANCES Variable Neutral Density 2-400 (1-8 Stops) Screw-in Camera Filter


Tested performance shows no effect on image sharpness at both the minimum and maximum settings and a very slight cast. The Cokin filter performed very strongly in the video autofocus test showing effect on performance or image quality. The stills performance was the second best at 82% and the results in the glare test were joint best.


Heliopan

Heliopan Variable (1 to 6 Stops) ND Filter


The Heliopan variable grey neutral density ND 0.3 – ND 1.8 filter cost $350 AUD for the 77mm size tested. Heliopan are the least forthcoming about the effect of variable NDs stating:

“Depending on the focal length of the lens this filter is not recommended for use with very wide angle lenses.”

The Heliopan variable neutral density filter is the only one on test that has a brass frame. It is also one of only two that have hard stops to limit the amount of adjustment.


But having said that you shouldn’t be having too many problems as the filter has hard stops to prevent running into the “Maltese cross” phenomenon. They claim the use of Schott glass but make no mention of any coatings. The frame is made in Germany of brass with a matte black finish to avoid reflections and has hard stops at each end of the adjustment range plus a numerical scale marked from 1-12 but the numbers don’t correspond to any ND value. The filter comes in a square hard plastic case that is hinged and it is quite sturdy.

Heliopan Variable (1 to 6 Stops) ND Filter


The tested performance was similar to that of the Cokin a slight colour cast ( although different from the Cokin) and no effect on image sharpness.  For the video AF there was no impact on the focus performance and no effect on the image quality.For the stills AF the heliopan was the best performer with a score of 86%. Interestingly it was not an equal performance across both cameras. On the Sony it achieved a score of 78% and the Olympus 94%. I’m really at a loss to explain why there is such as discrepancy with the results and I had to test several times to confirm it. The Heliopan didn’t do very well in the glare test exhibiting pronounced veiling and ghosting flare. It wasn’t as bad as the Fotga but it was significantly worse than the Urth and the Cokin.


Conclusion


For filters that don’t have hard stops, like this Cokin, if you apply too much filtration you get this cross pattern.


Before I started testing I definitely believed that you got what you paid for. I fully expected the Fotga filter to be the worst performer and the Heliopan the best leaving the Cokin and Urth filters to battle for second and third places. Well I only got part of it right. The Fotga was definitely the worst performing filter of the bunch. Its only redeeming feature is the price – it’s incredibly cheap. The real surprise was that the Heliopan while being marginally the best performer wasn’t delivering any significant improvement over the Cokin which cost half the amount. The Urth filter was a very solid performer. Their 77mm is half the price of the Cokin yet delivered a result that was only a fraction worse – probably undetectable in real world use. Yet the filter has hard stops and is more nicely made and presented. For a little more, $44 AUD to be precise, the Urth Filter Plus+ might be a very good buy having the benefit of the better Schott glass, but that is conjecture as I’ve not used one.

A key takeaway is that to get the best possible image quality you have to set your custom white white balance with the filter on. All the filters produce some degree of colour cast despite what the manufacturers claim. All the filters are prone to flare so I would recommend the use of a lens hood. Lens hoods and variable NDs are problematic as the filters prevent the use of the ones designed for the lens. I now use a matt box when shooting outside and it has made a surprising difference.

To sum up, well if I needed to start again I wouldn’t waste my money on the Heliopan. The Cokin would be my choice if I could live without hard stops and the Urth would be it if I couldn’t.

Tamron 20mm f2.8 Di III Lens Review

The Tamron 20mm f2.8 lens for Sony E mount cameras was announced back in November 2019 as part of a trio of prime lenses which share the same exterior design, construction, size, filter diameter and f stop. The other lens being the 24 and 35 mm. I reviewed the 35mm f2.8 back in June 2021 and was quite impressed with it.


TLDR


Vital Statistics


Focal Length 20mm
Maximum Aperture F2.8
Angle of View (diagonal) 94º30’
Optical Construction 10 elements in 9 groups with 3 low dispersion lens elements and 1moulded glass aspherical element.
Minimum Object Distance 11cm or 4.3 inches
Magnification Ratio 1:2
Filter Size 67mm
Dimensions (h) 64mm (2.5 inches) x ⌀ 73mm ( 2.9 inches)
Weight 220g (7.8 oz)
Number of Diaphragm Blades 7 curved blades
Accessories included lens hood
Available Mounts Sony E

Build Quality

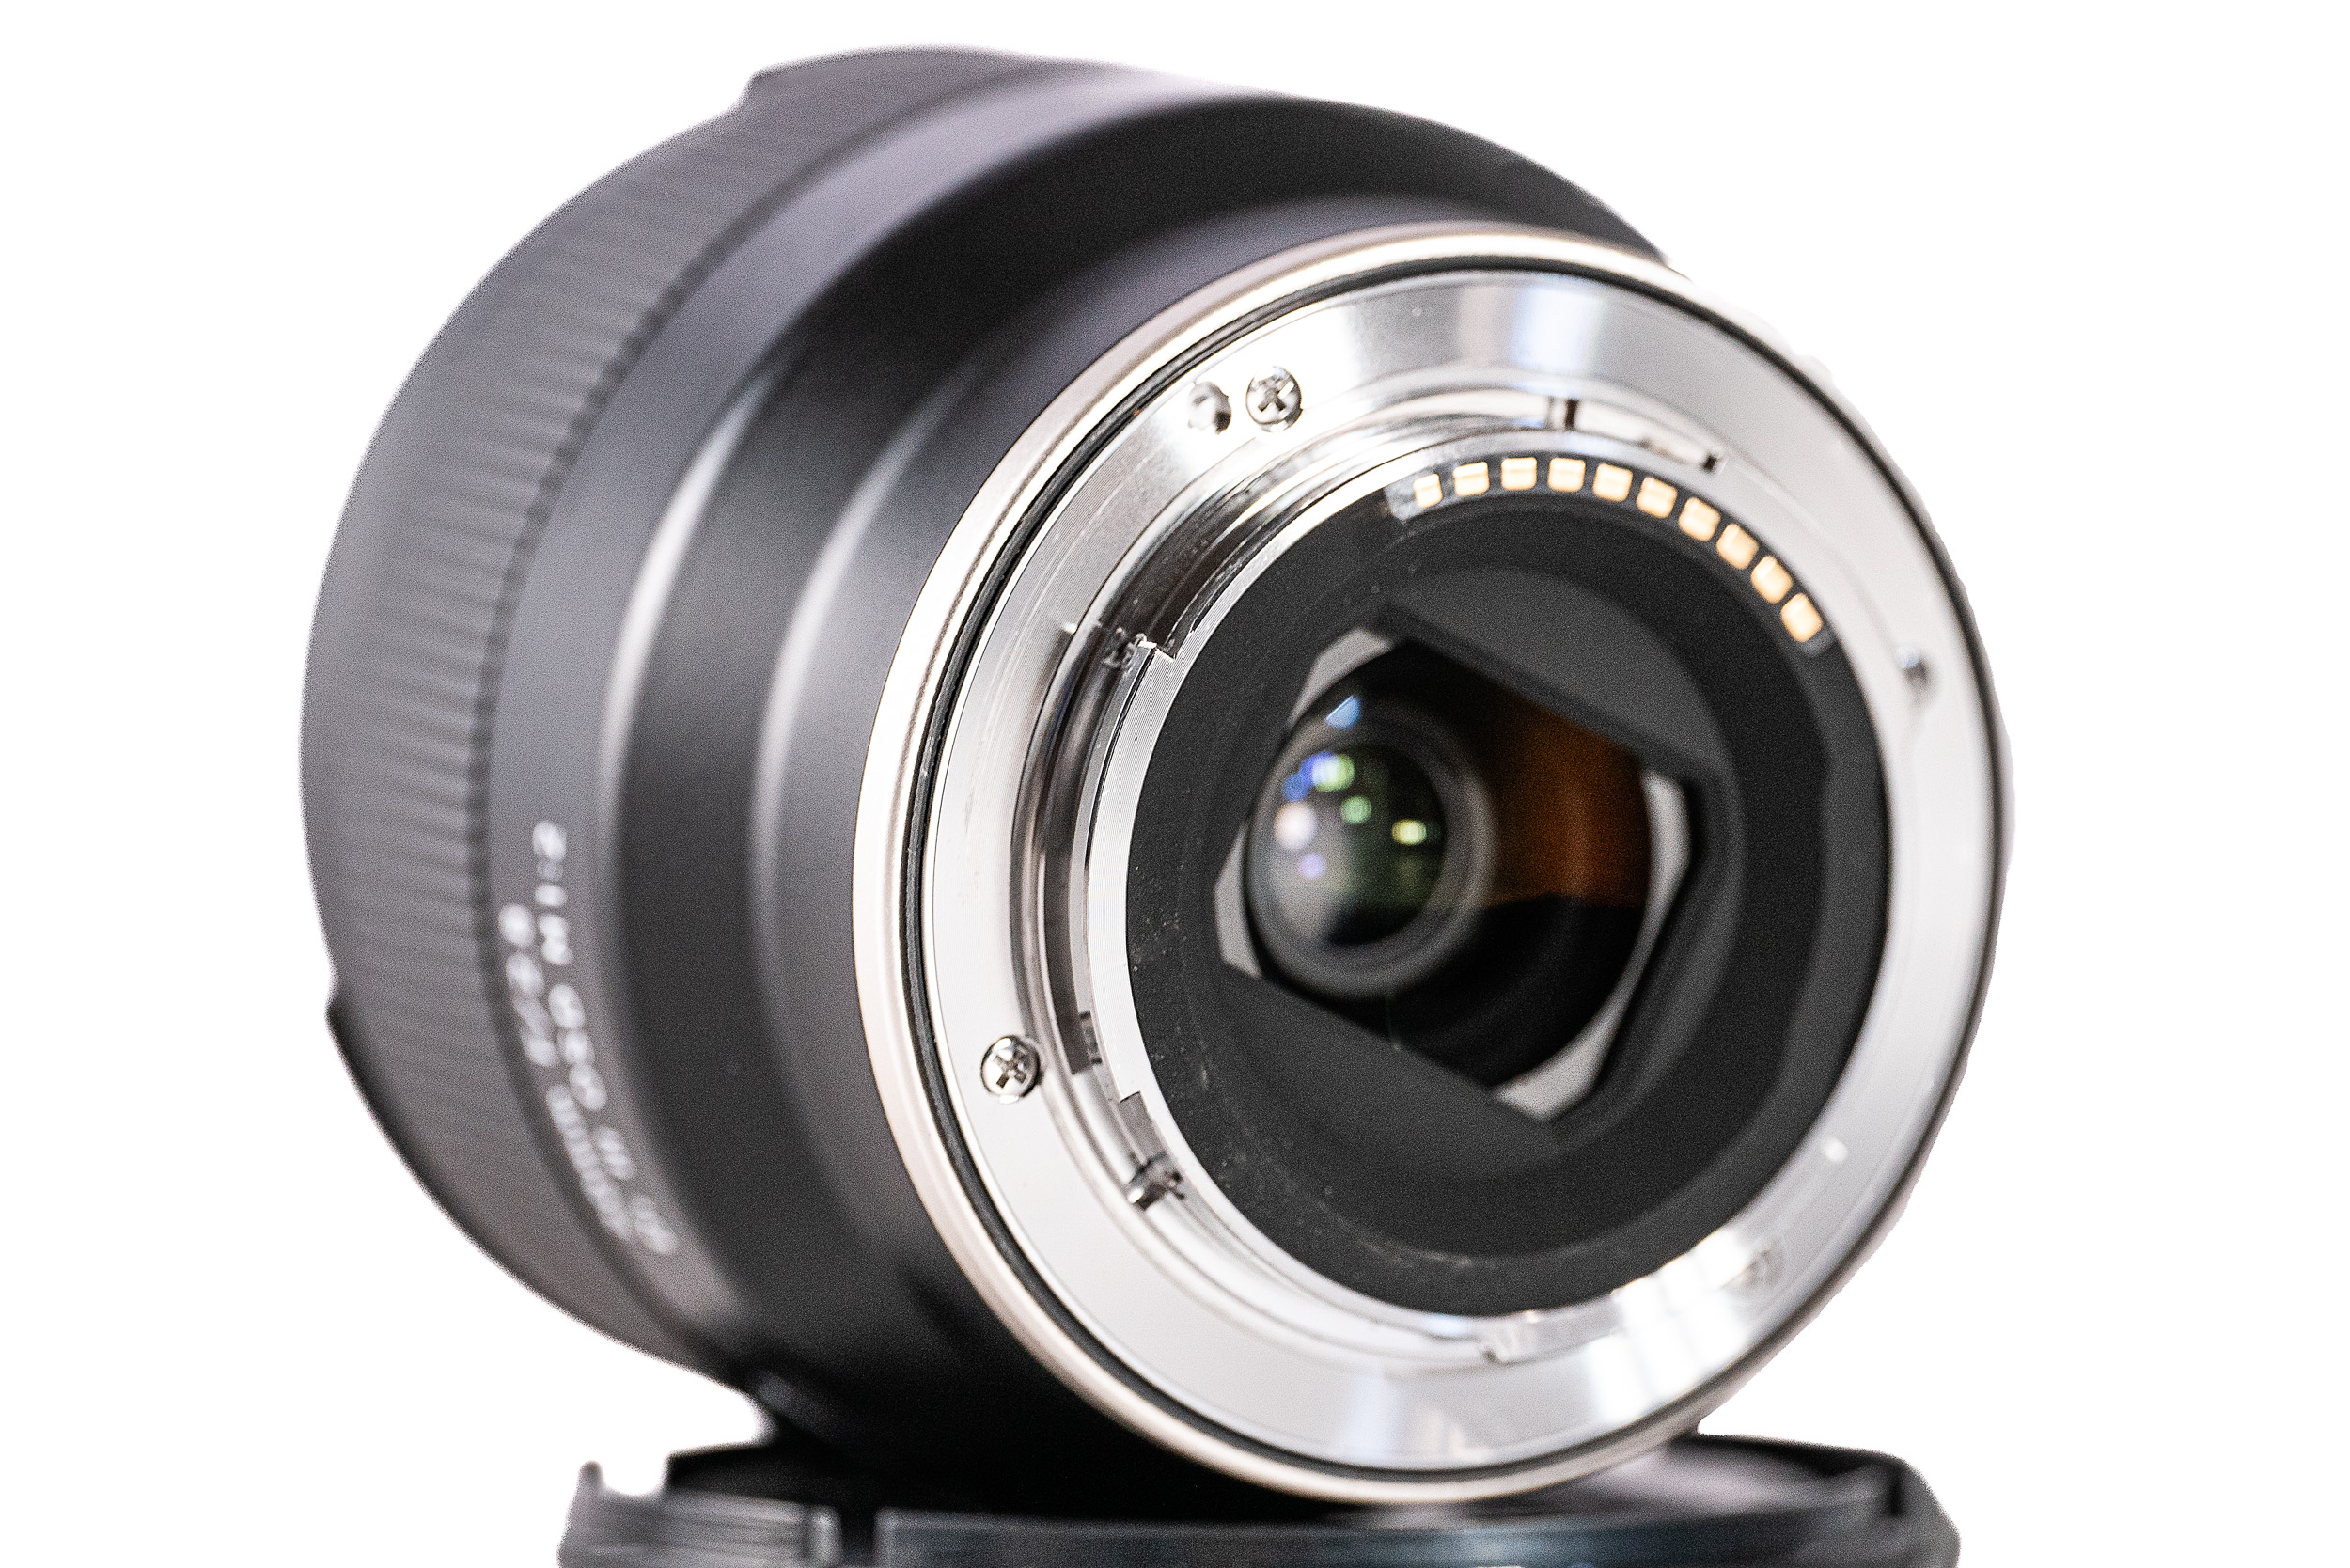
The Tamron 20mm is pretty much the same design and build quality as the 24 and 35. They are all the same length and diameter. They all have the same filter diameter of 67mm. Weight wise the 20mm is the heaviest at 220g and the 35mm is the lightest at 210g. All three have the same magnification ratio of 1:2. So Tamron has worked very hard to ensure that uniformity is carried throughout this line of lenses. It will be interesting to see if they introduce longer lenses like an 85mm how they carry that out. When compared to my Canon EF 20mm f2.8  the Tamron is only a smidge smaller and lighter which is quite surprising as the Canon is a retrofocus design built to accommodate the larger lens flange distance of 44mm compared to the 18mm of the Sony. 

The body is made out of some form of engineering plastic and the lens mount appears to be chrome plated brass which is nice. There is an “o” ring which provides some semblance of sealing from the elements at the mount. There is no other weather sealing and no indication as to the level of sealing and Tamron on their website just say that it has a “Moisture-Resistant Construction”. Tamron also claim that the front lens element has a fluorine coating which is dirt resistant. The only control on the lens is the ribbed focus ring which is of the fly-by-wire type and it has no hard stops or any form of tactile feedback when turning it. Bad news if you want to do manual video focus pulls. The lens comes with a petal shaped lens hood that bayonets into place.


Optical Performance

Tamron on their website say “The expert arrangement of the LD and GM specialised glass elements greatly controls aberrations, including chromatic aberrations. Tamron’s proprietary BBAR (Broad-Band Anti-Reflection) Coating reduces ghosting and flare, which can otherwise occur when taking a photo against the sun.” When shooting with the camera’s lens correction function enabled “it delivers, throughout the frame, high resolution performance that maximises the benefits of the latest high-megapixel cameras”. So let’s see how those claims stack up to real world usage.

With no lens profile applied there is massive barrel distortion on the Tamron 20mm f2.8 Di III at f5.6.

Let’s deal with the whopping great elephant in the room. This lens has very profound barrel distortion, but for jpg shooters an inbuilt lens profile minimises the effect. For RAW shooters Adobe has made a lens profile available for Lightroom and Camera RAW.

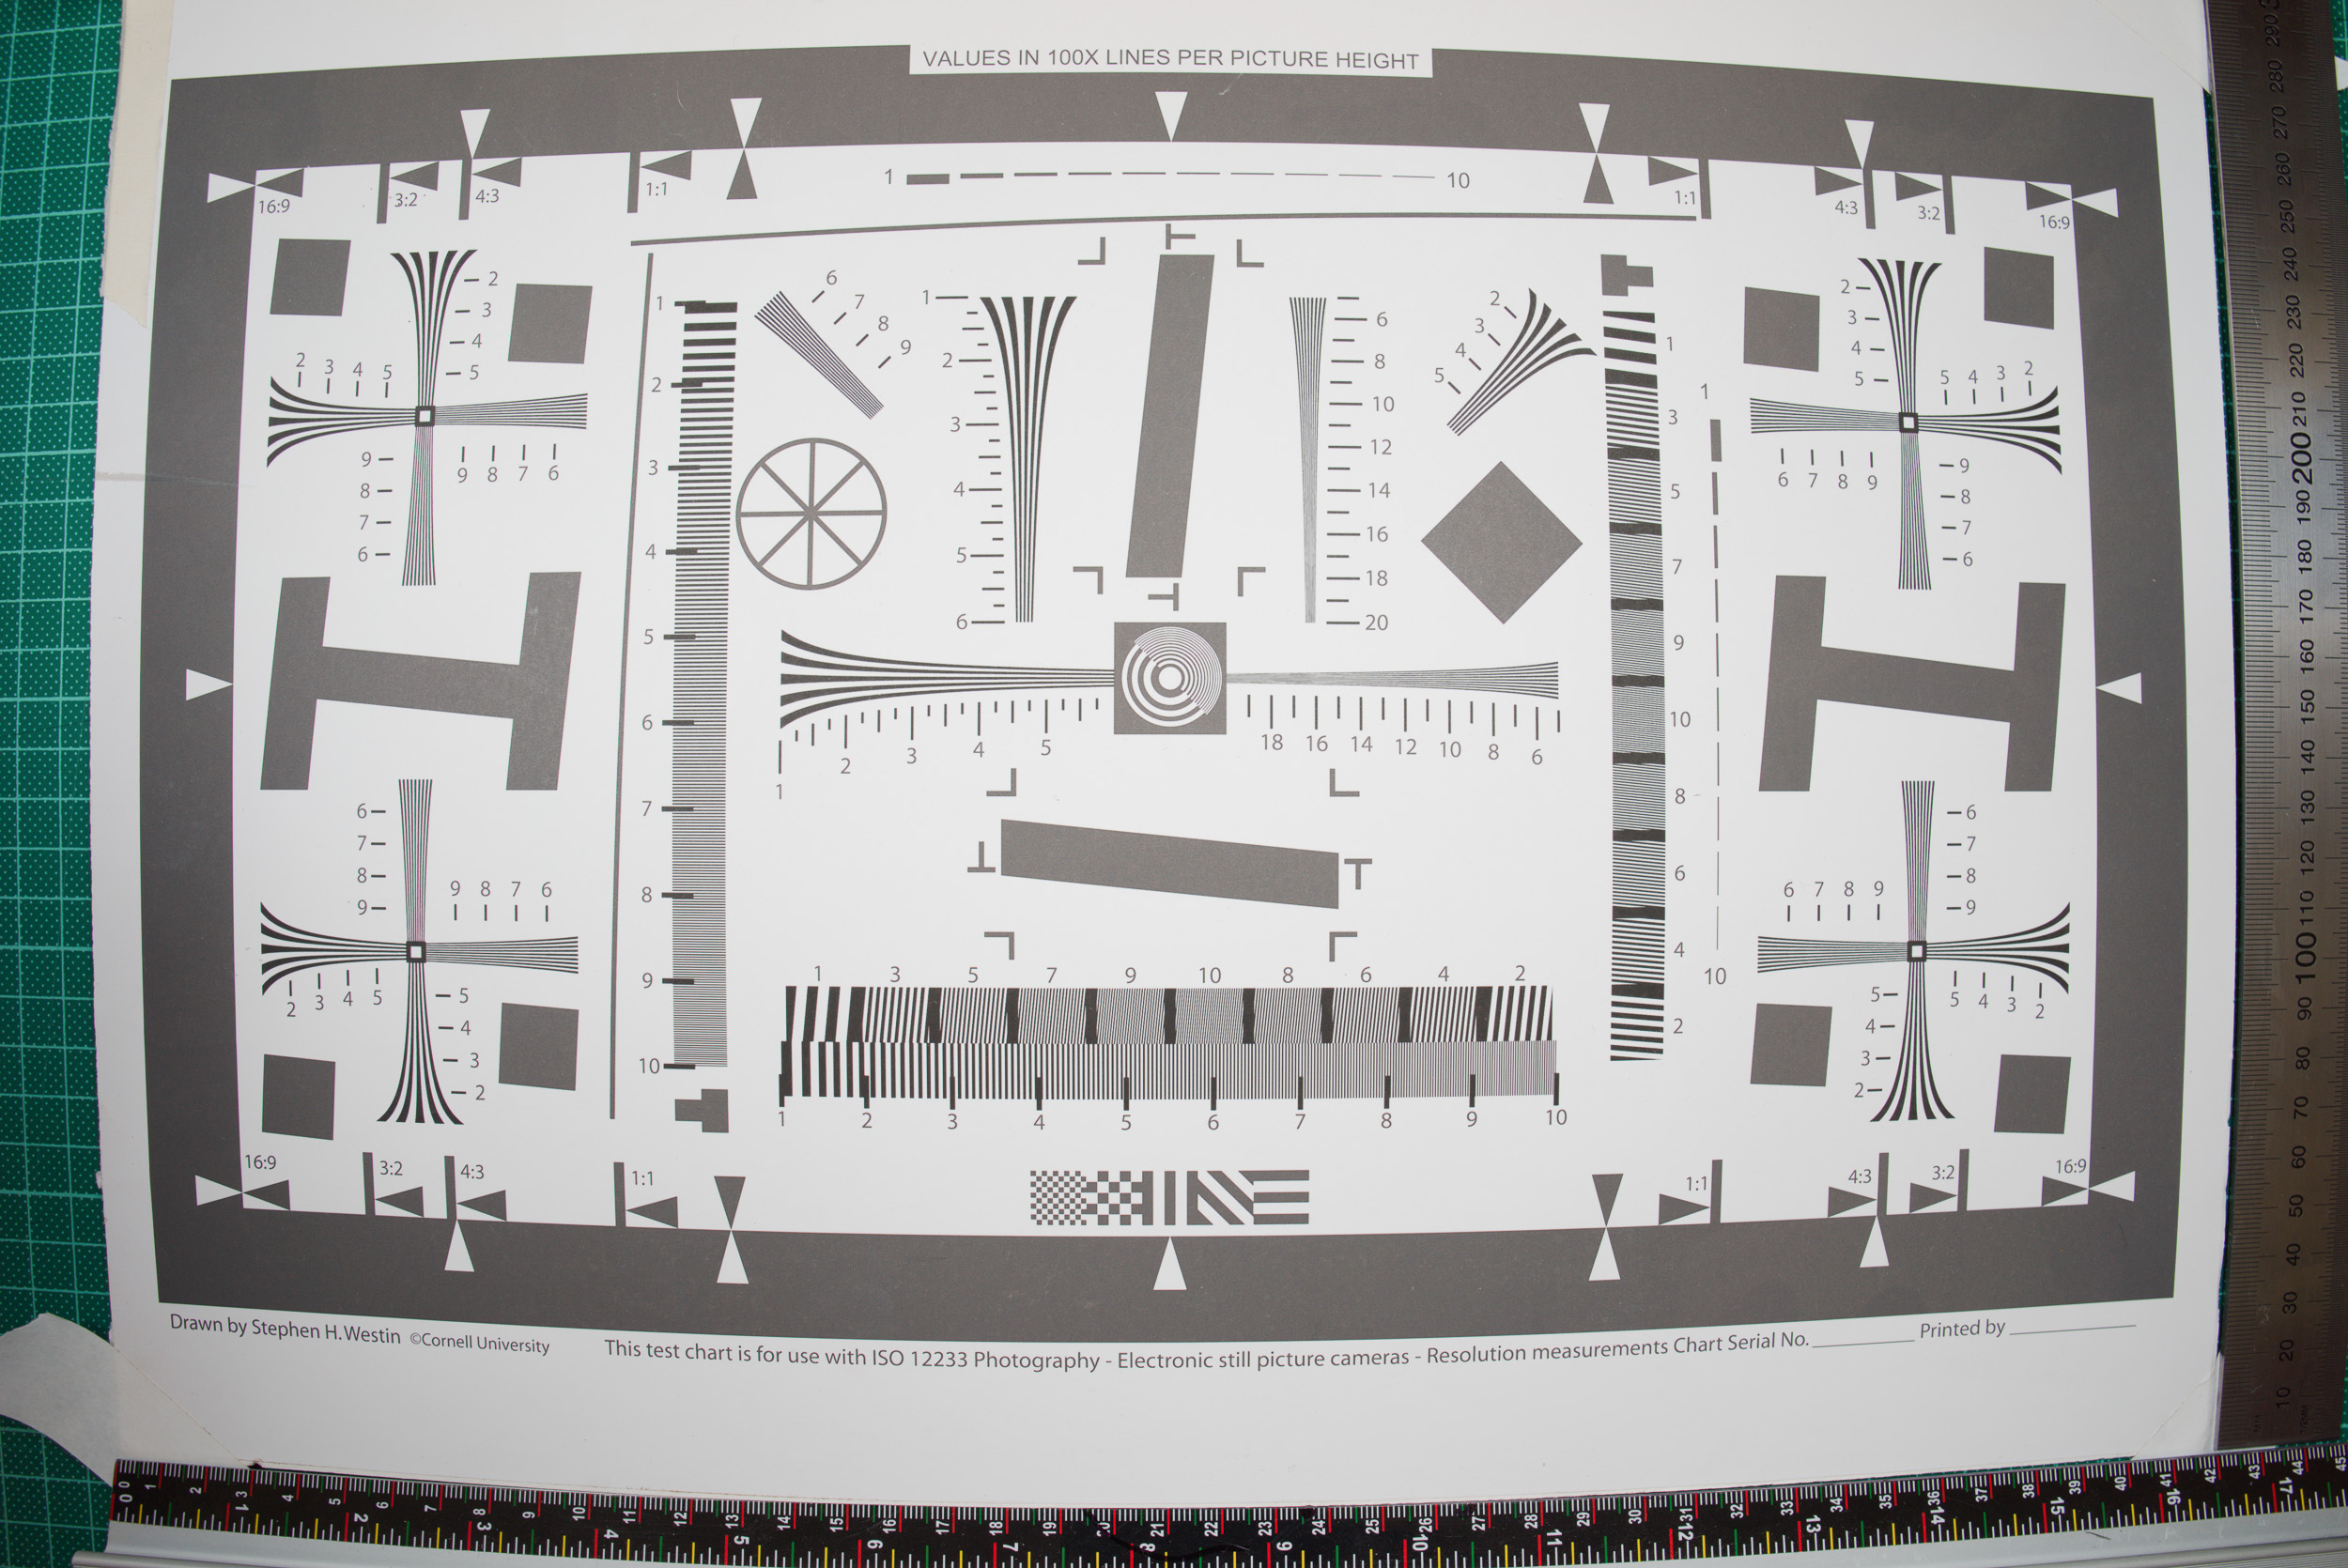
When we look at the uncorrected image and look at the rulers on the bottom and the side we can see that it is 47.4 cm in width and 29.5 cm in height. Compare that to the corrected image which is 43.7cm by 28.3cm. So in percentage terms that is a 7.2% reduction in width and a 4.2% reduction in height. This means that with the lens profile applied the lens effectively becomes a 22mm. But if you shoot video with electronic stabilisation the image is cropped again and it will give an angle of view similar to that of a 24mm lens. So if video is important to you and you want an angle of view given by a 20mm lens then you either get a lens that doesn’t suffer from as much distortion or you get a wider lens  – somewhere around 16-18mm.

So in real terms how bad is the distortion? Well comparing the Tamron, which is a very modern design to the Olympus OM Zuiko 21mm f3.5 released in 1984 and the Canon EF 20mm f2.8 USM from 1992 we can see that the Tamron has considerably worse distortion. This is very surprising as the two older lenses are retrofocus designs. SLRs have a big flippy flappy mirror between the lens and the film/sensor and this meant in the early days of SLR photography making wide angle lenses impossible  because the rear lens element would foul the mirror. The breakthrough came  in 1950 when Pierre Angénieux invented the retrofocus lens which is a  kind of “reverse” telephoto design where the lens elements closest to the film plane have a negative effect making the image smaller. The downsides are more glass elements which means more air to glass surfaces which means more refraction which means more potential chromatic aberration and distortion. So the fact that the Canon and Olympus lenses have a better performance with their compromised design is saying something.

Slight barrel distortion on the Olympus OM Zuiko 21mm f3.5 lens at f5.6.


Slight barrel distortion on the Canon EF 20mm f2.8 lens at f5.6.

In terms of lateral chromatic aberration the Tamron 20mm shows mild CA in the corners and edges which is very slight when uncorrected and virtually invisible when the profile is applied. Wide open there is longitudinal chromatic aberration present – cyan and magenta fringing on the out of focus edges – but this is easily fixed by stopping down. Vignetting is quite apparent without the lens profile, but when it is applied it is a non issue.

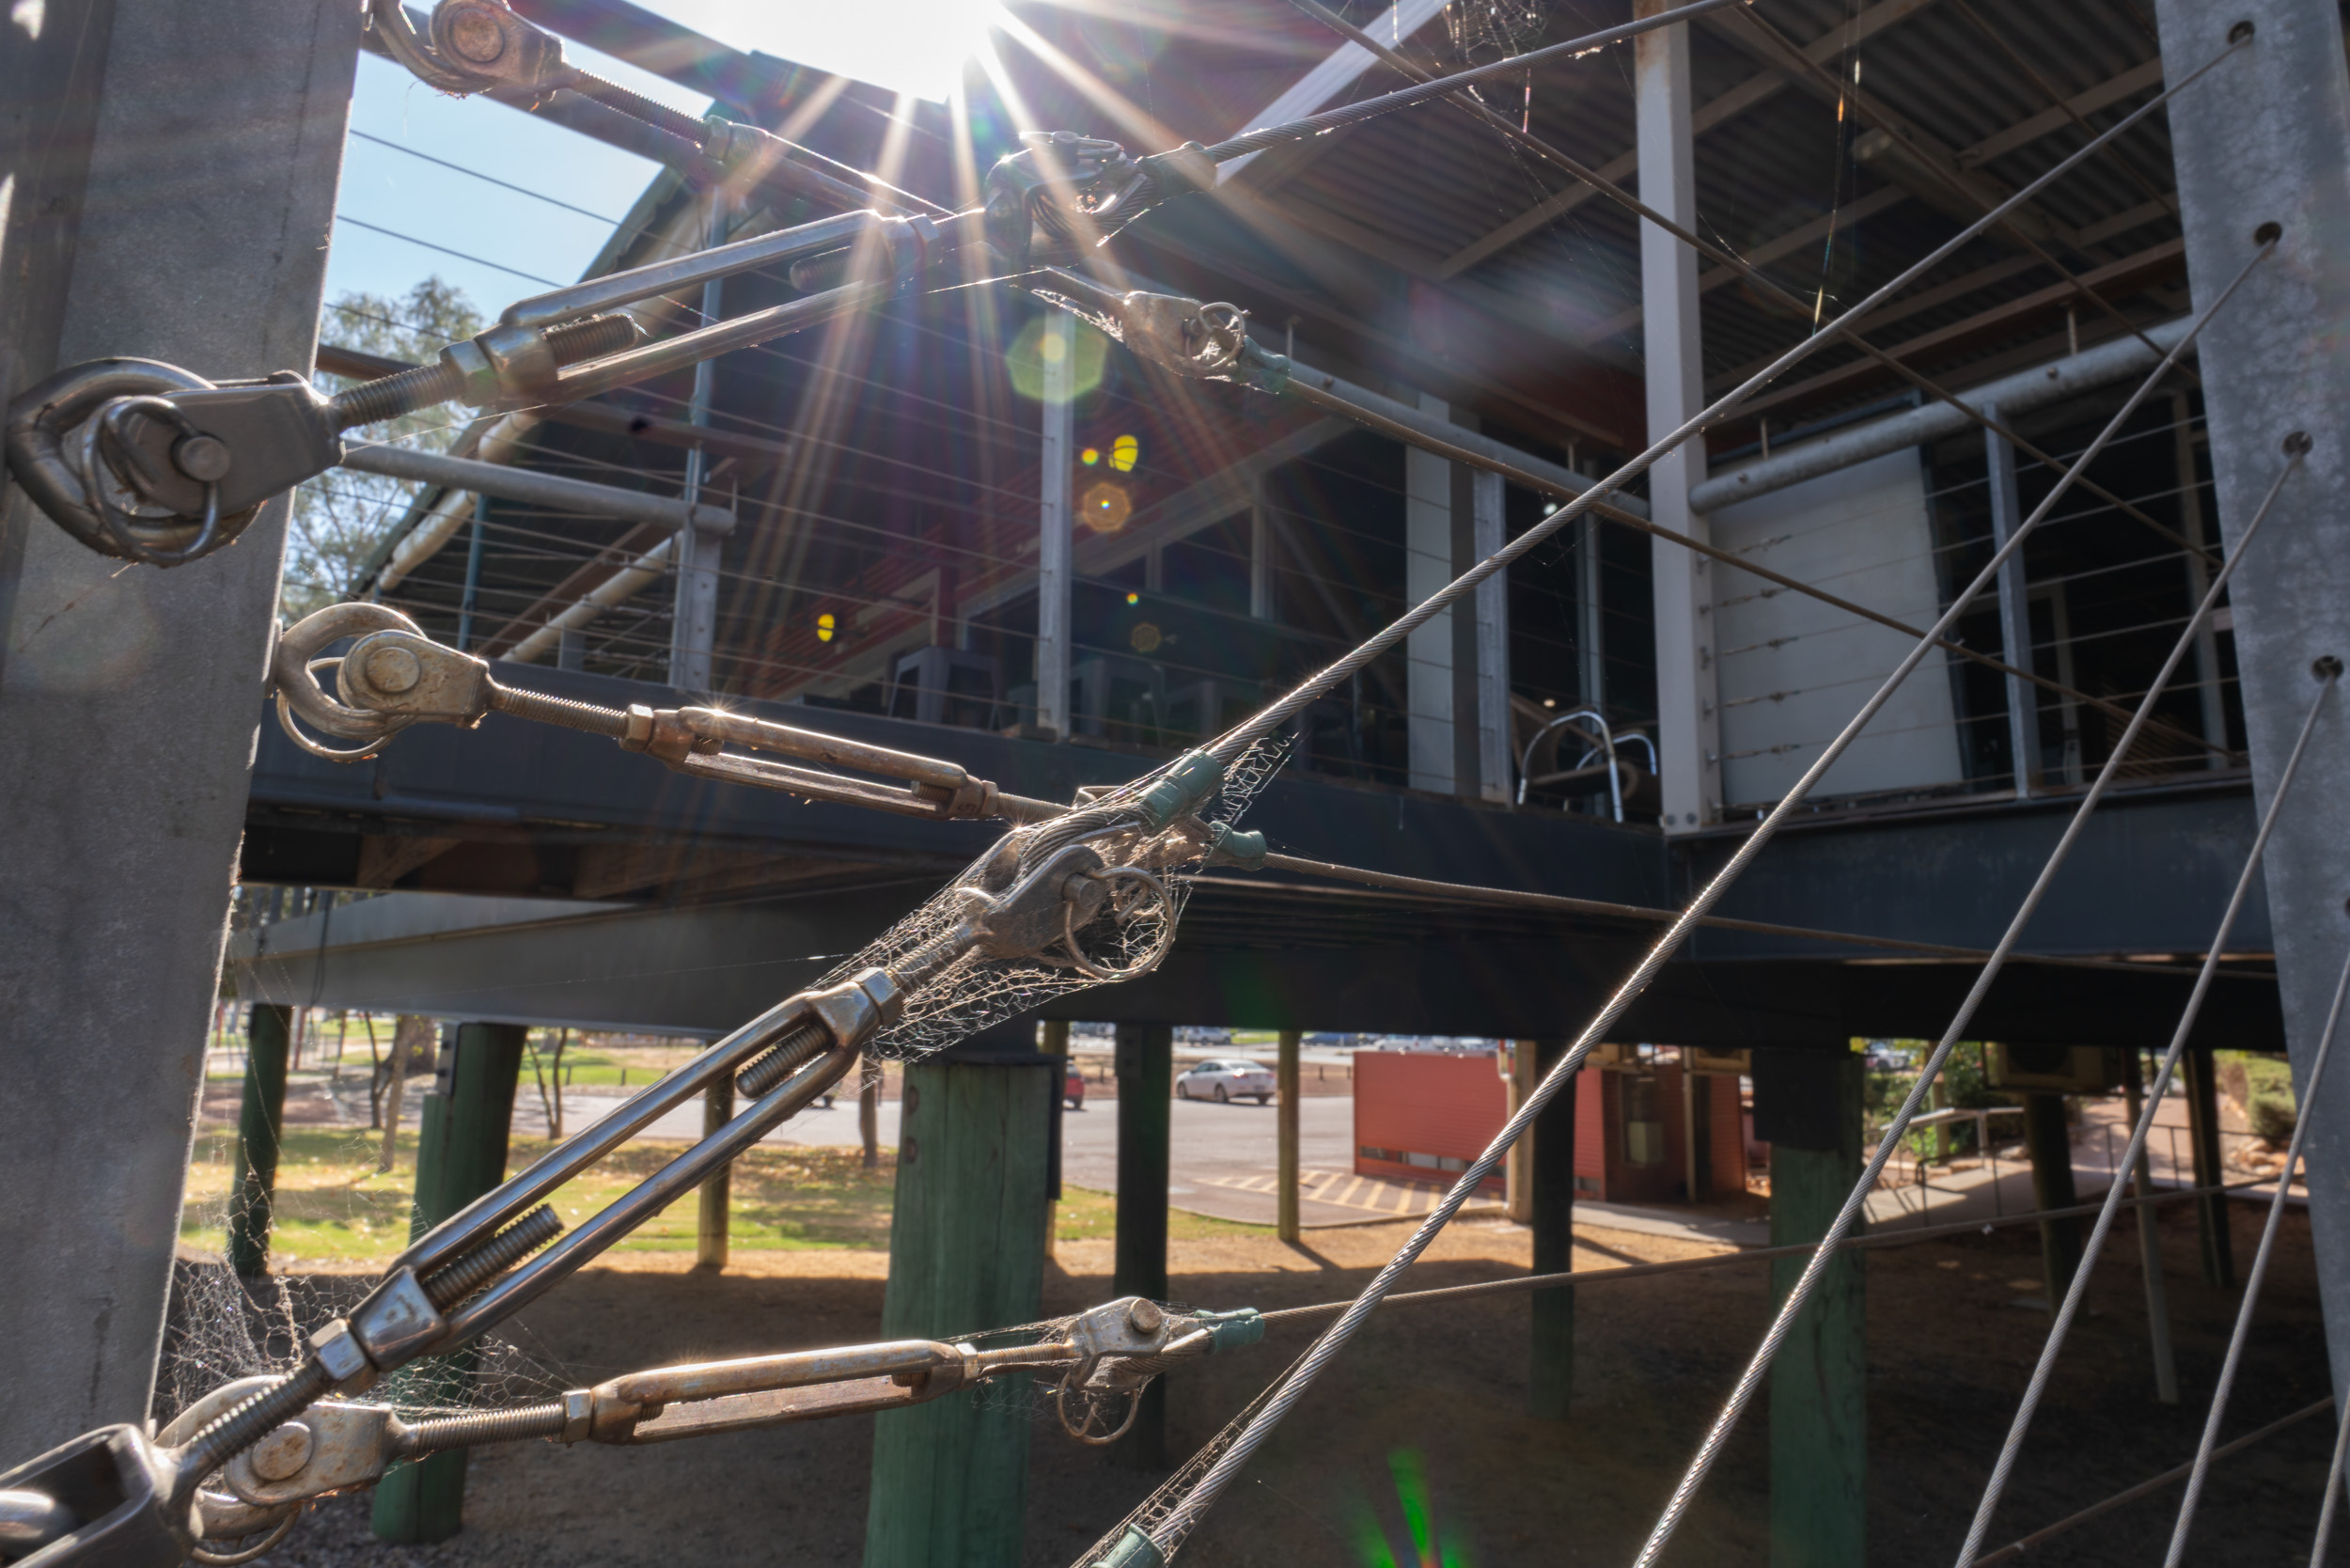
Specular light sources in the frame or just outside it can cause ghosting and flare.


Using the supplied lens hood reduces the incidence of len flare.

When it comes to flare resistance, well extreme wide angles lenses are very prone to the effects of flare and don’t necessarily have to have a specular light source in the frame to cause it. The Tamron handles it reasonably well but is prone to veiling and ghosting flare. The lens comes with a lens hood and it would be wise to use all the time and it does a reasonably good job of reducing the incidence of flare. The seven aperture blades produce sunstars or diffraction spikes that are a bit messy and not very pleasant – although this is a matter of personal taste.

The sunstars or diffraction spikes are a little on the messy side.


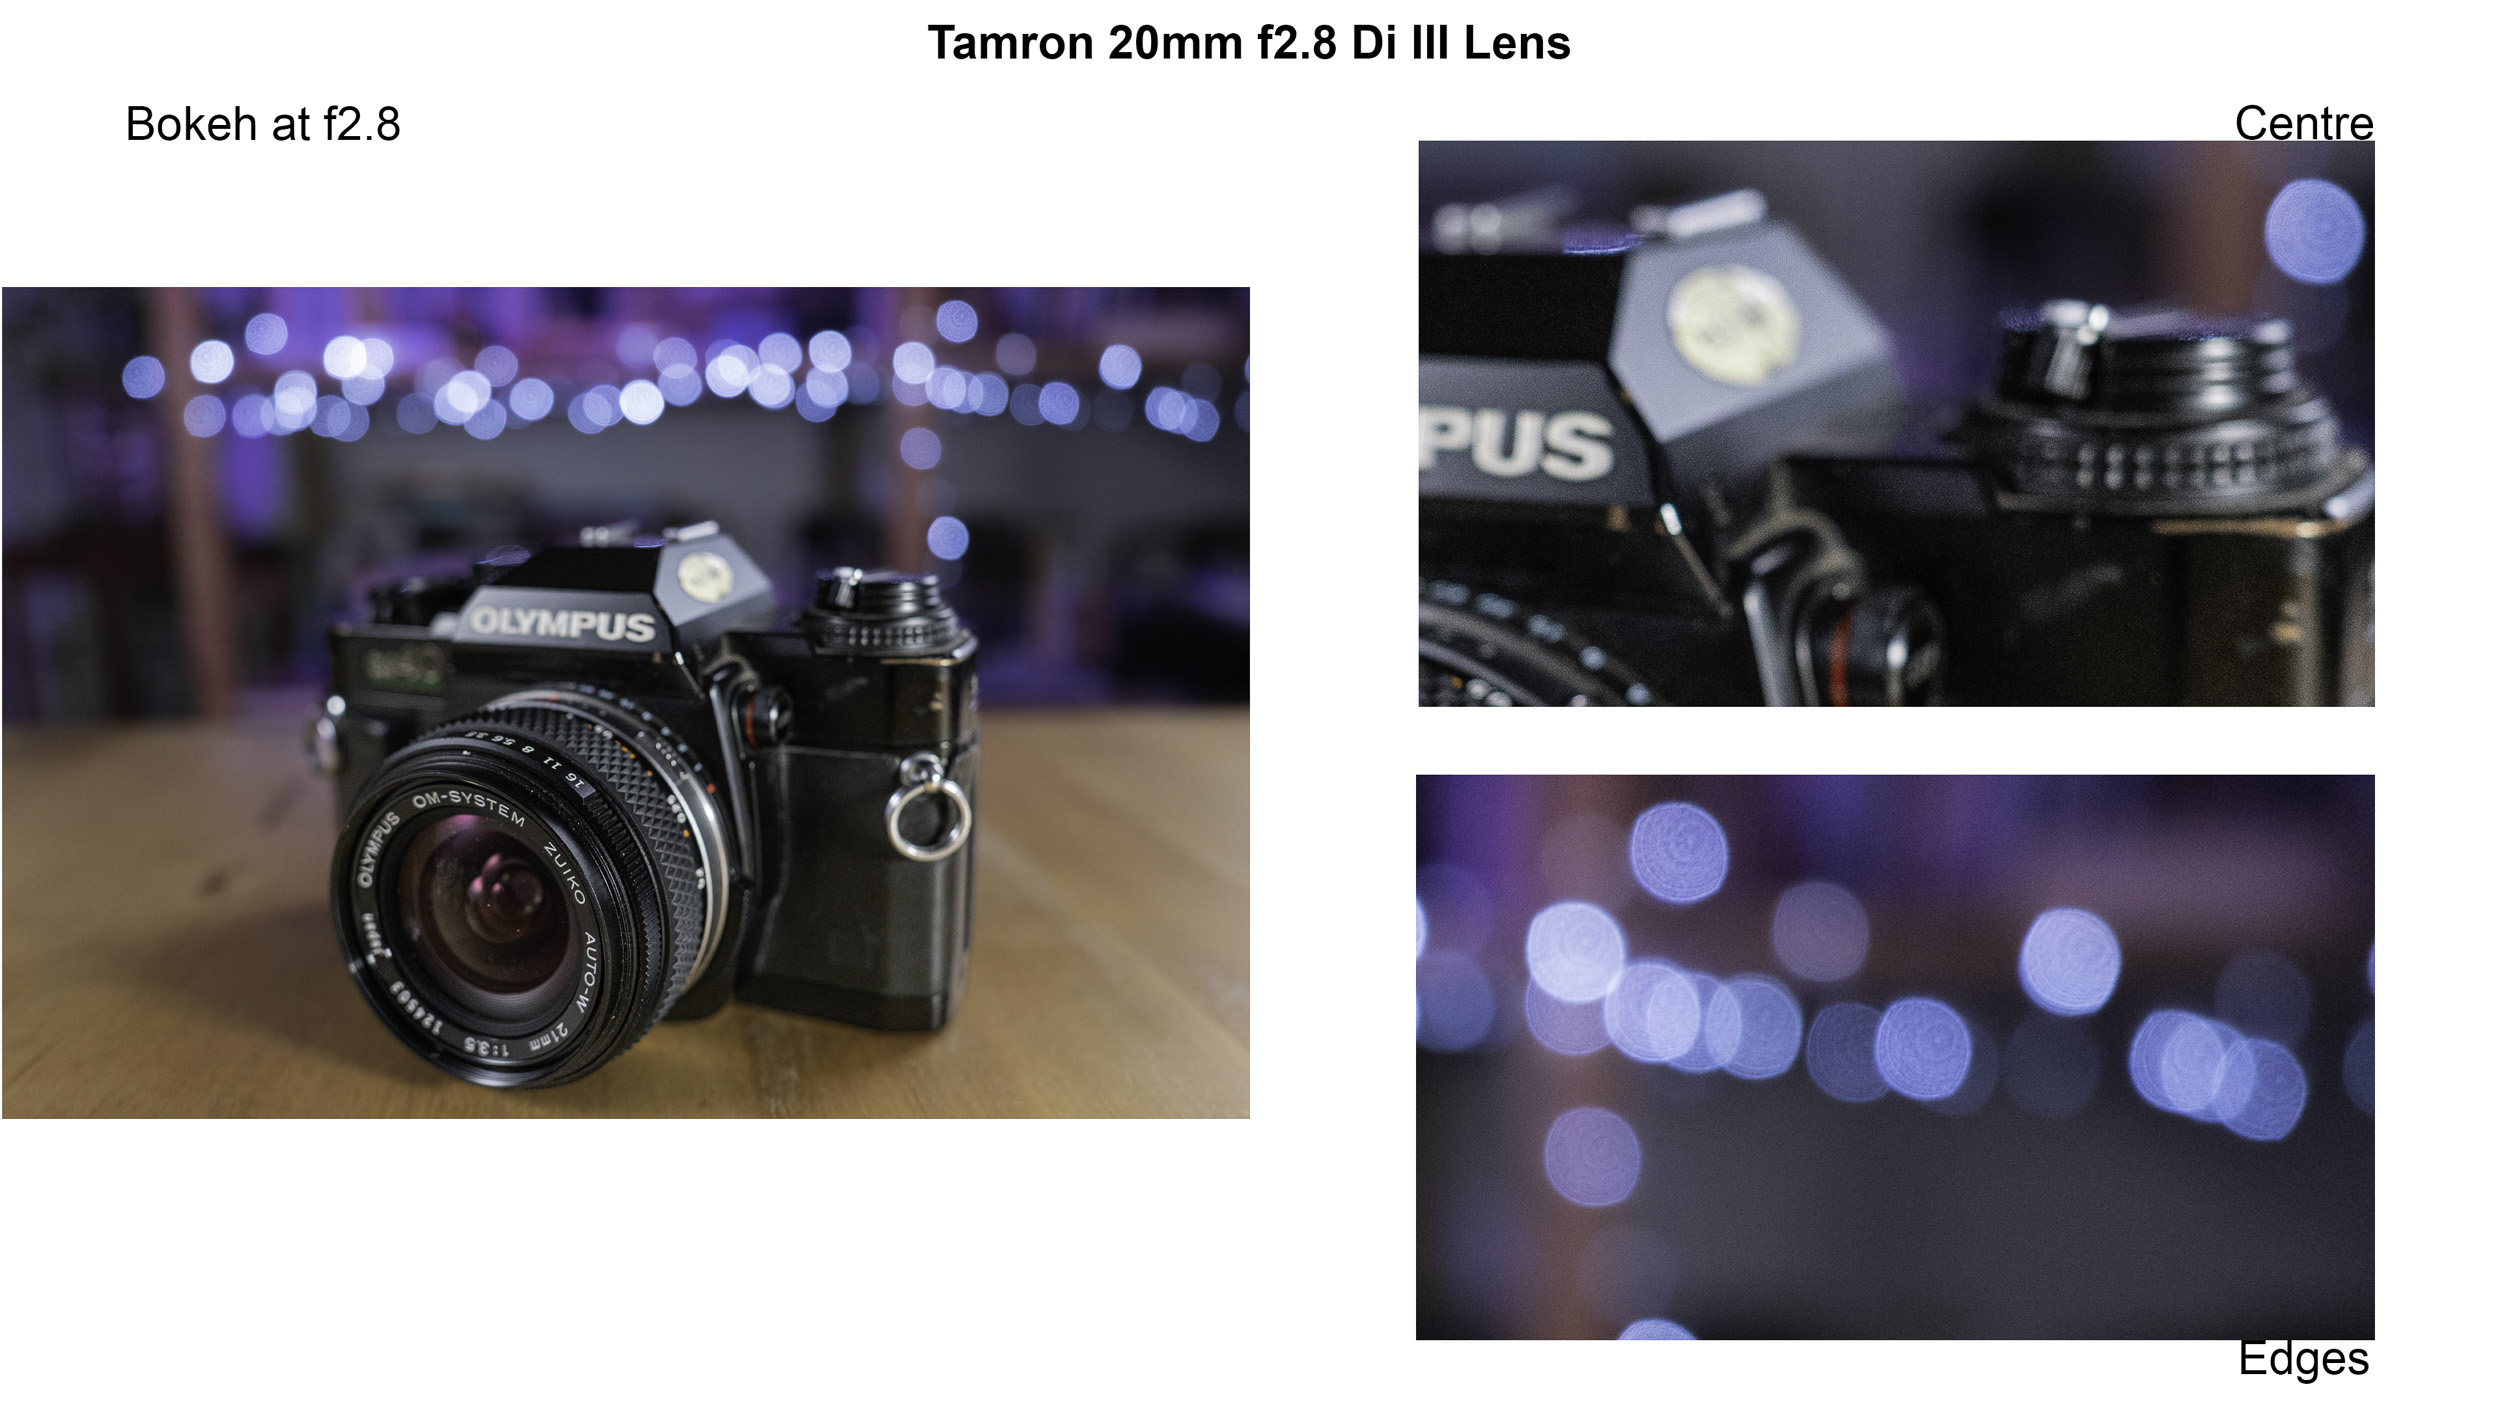
The bokeh balls produced by the Tamron 20mm f2.8 Di III lens wide open at f2.8.


A close up of the bokeh balls showing the shape deformity and the onion ring artefacts.


The bokeh produces nice tonal transitions in the out of focus areas.

The bokeh balls aren’t very attractive, they have a very pronounced onion ring effect and even the balls at the centre of the image have a slightly elliptical shape and this gets more apparent towards the edge of the image. While you don’t necessarily buy a 20mm lens for its bokeh it is important on this lens because of its close focusing capabilities. When we look at real world examples we can see the tonal transitions in the out of focus areas are nice and smooth.

Sharpness. Wide open at the centre the lens is a little soft and lacking contrast. Things improve as you stop down and the best sharpness is attained at f5.6. At the edges at f2.8 the corners are slightly worse than the centre. It is not until f8 when the corner performance equals that of the centre.


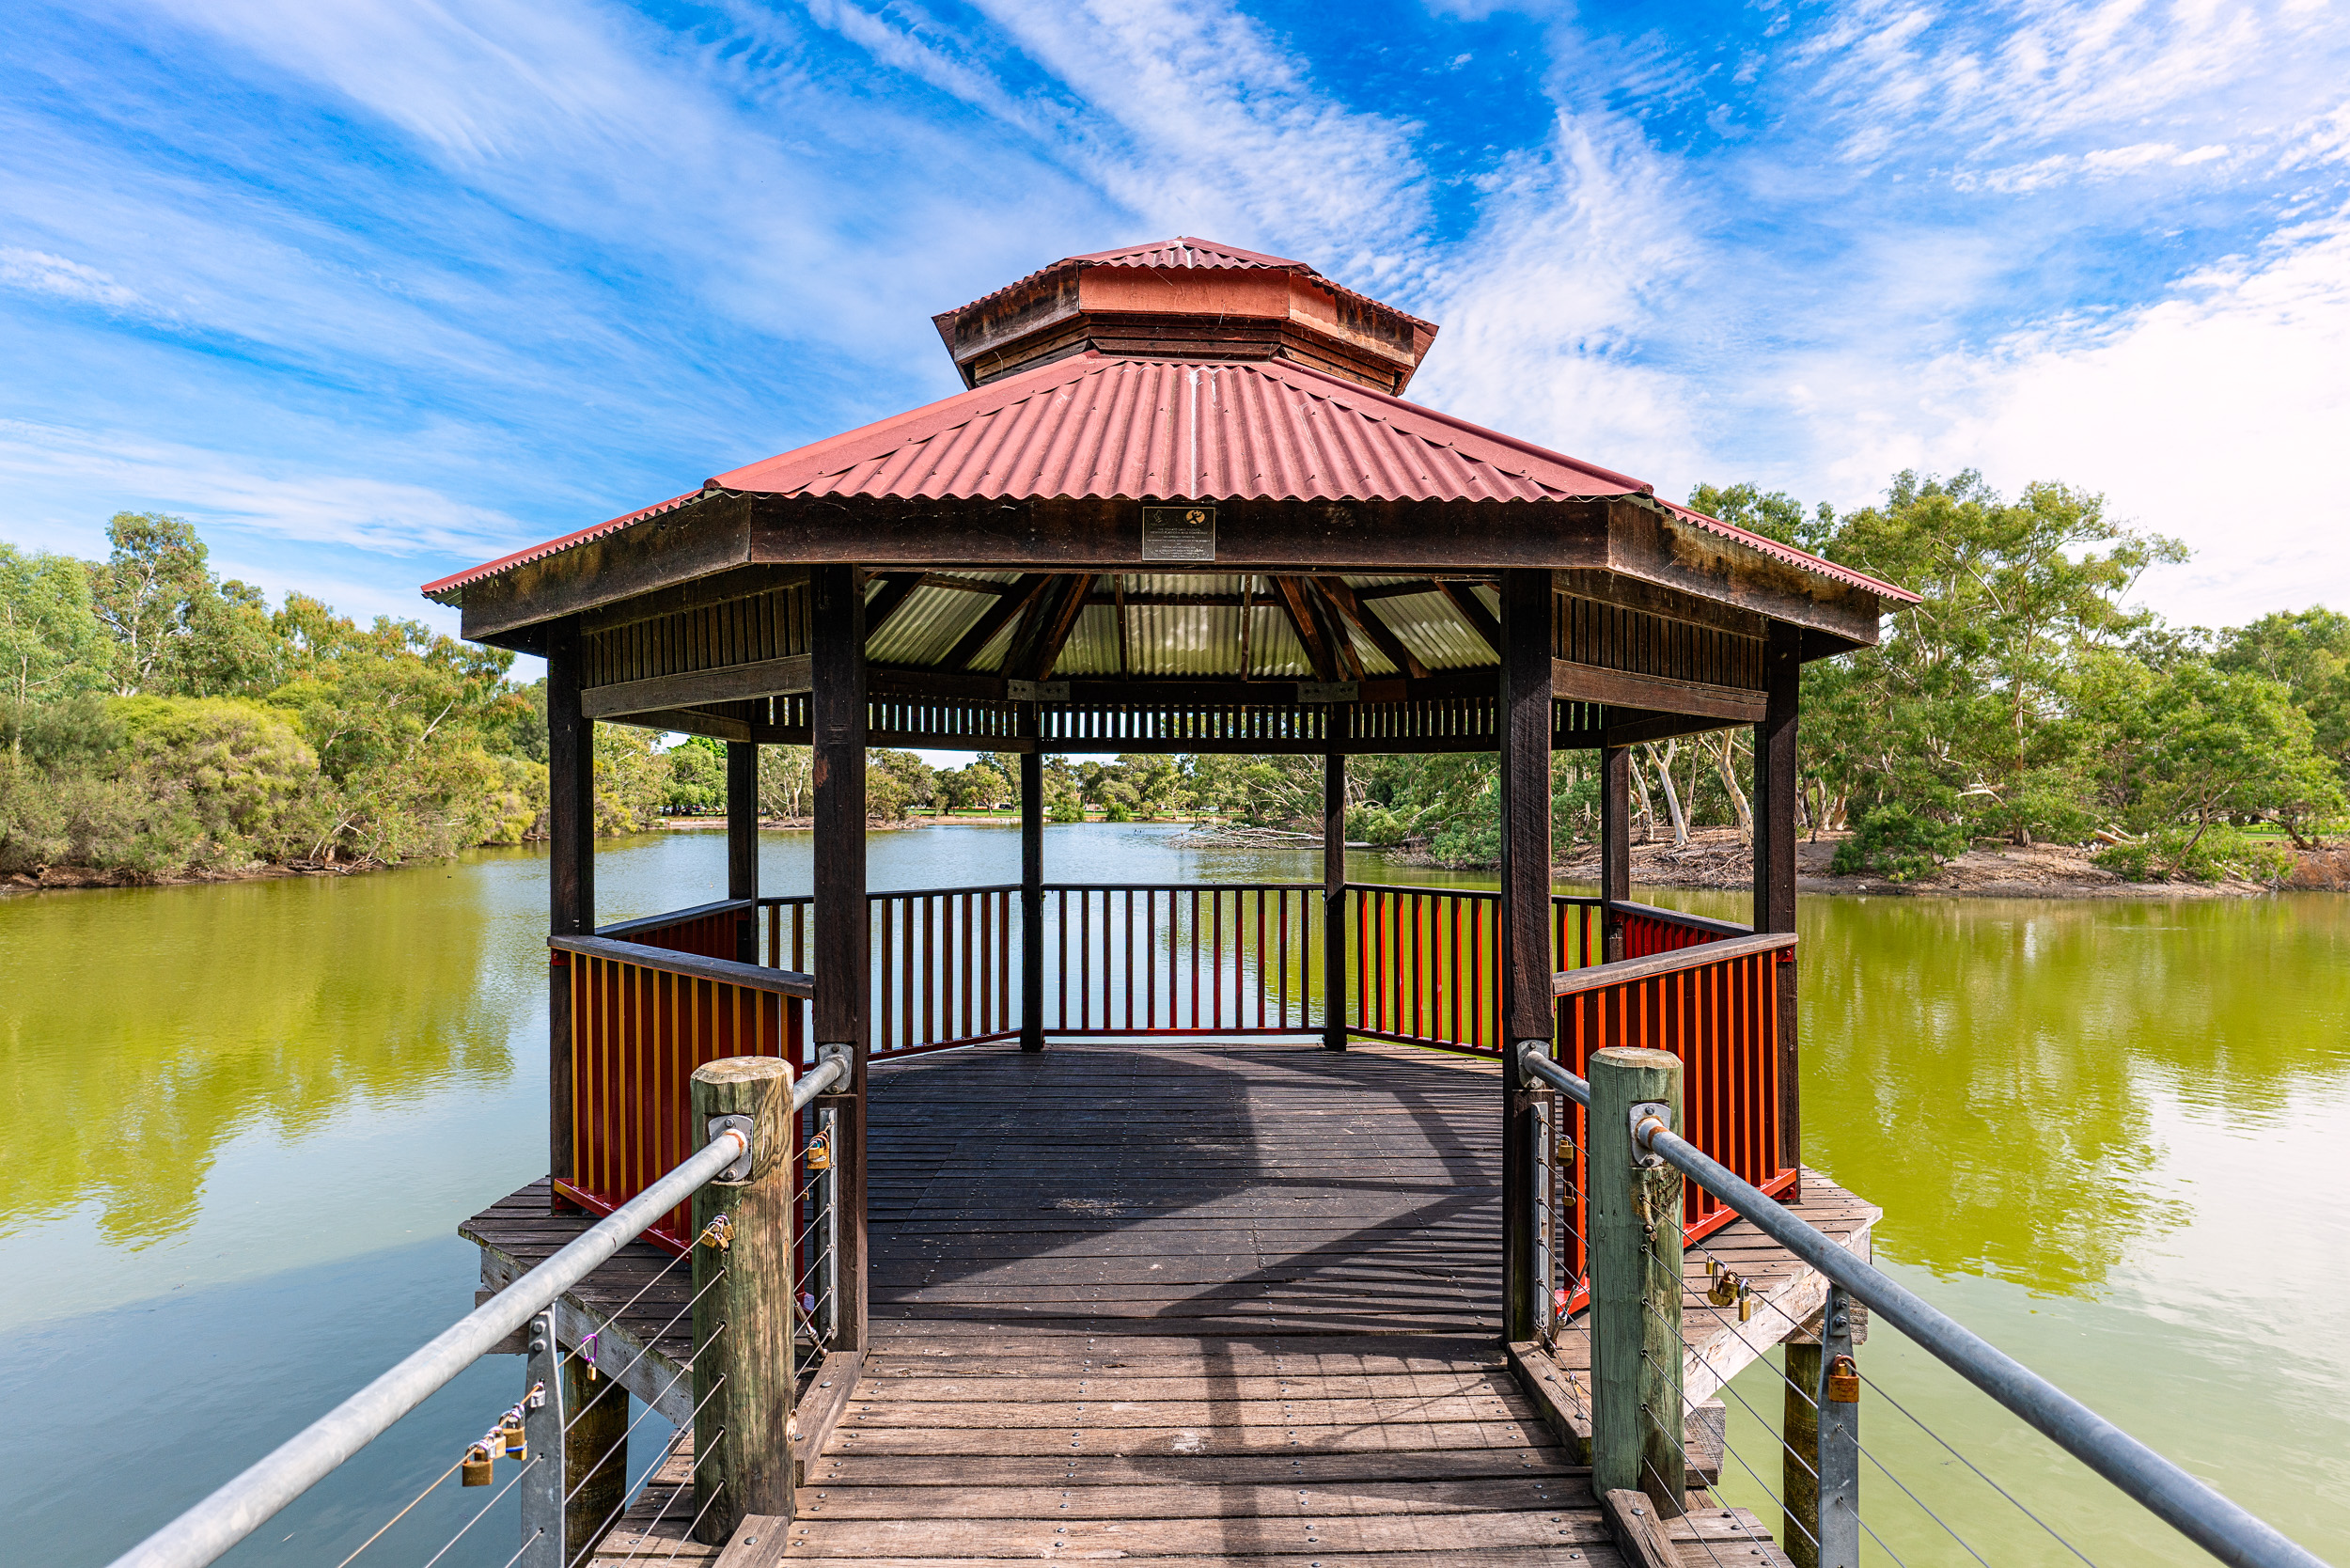
The pergola in the middle of Tomato Lake in Kewdale.

Autofocus 


For stills photography the Tamron 20mm is very positive in acquiring focus if just a bit slow. There’s no hesitancy and no hunting. In a sequence of shots of me walking backwards and forwards the camera and lens combo achieved an 88% hit rate. I would expect that to be better with the third and fourth generation A7 bodies.

Video is a different story. There is some hesitancy in focusing and a bit of wobble even with static shots. Performance is at its best at closer distances.


Usage Scenarios

For landscape and architectural work this would be quite a nice choice, particularly if you are travelling and want to keep the weight of your kit down. The fact that the lens doesn’t reach peak optical performance across the frame until f8 would not be a problem. Just remember to keep for your verticals vertical when shooting buildings.

The minimum focus distance and high magnification ratio means that you can fill the frame with small objects.


To achieve the magnification ratio of 1:2 you have to be very very close to your subject


The close up capabilities of this lens are what sets it apart from other extreme wide angle lenses. This lens will reproduce an object at half size at its minimum focusing distance of 11cm. Now remember that that distance isn’t measured from the front lens element but from the sensor plane. This means to achieve the magnification ratio of 1:2 you have to be very very close to your subject. So close that you may have to remove the lens hood as it casts shadow over your subject. I bought the lens for nature photography, particularly close ups of flowers. Wide angle close up shots allow you to show the detail of the subject and its context. That gives a more unusual look to the more standard viewpoint of a short telephoto macro lens such as 100mm. For this the Tamron works very well.

Cowslip Orchid, Caladenia flava subs. flava. Christmas Rock, Western Australia.

Astro – I don’t do this type of photography but from what I’ve read I think that you’d be better off getting one of the faster 20mm lenses from Sony or Sigma. F2.8 is borderline too slow an aperture and the lack of edge sharpness at wide apertures further handicaps the lens for this particular usage.

Video usage. This is where the lens is like the curate’s egg – “good in parts”. The autofocus is a bit of a let down and the manual focusing makes repeatable focus pulls difficult. The light weight is a boon for gimbal usage as is the fact that the lens doesn’t extend when focusing. If vlogging is your thing then the angle of view is just about perfect – giving your viewers more of the background rather than just having a large talking head – plus the light weight means the lens and camera combo is easier to hold at arms length.


Conclusion


Rainwater captured on Christmas Rock in natural forming crack, depressions and gullies.


A suprising number of plants grow on Christmas Rock.


Jug orchid or recurved shell orchid (Pterostylis recurva). Woottating, Western Australia.


Cycling along the Beenyup Swamp Boardwalk in Yellagonga Regional Park.

I bought this lens to compliment the 35mm f2.8 which I really like and use a lot. I find that the 20mm is somewhat underwhelming. I feel that the optical performance isn’t as good as it could be. The lens distortion is quite severe and the lens profile just blurs the detail in the corners. Couple this with the autofocus performance and I’m left feeling that it would be better to save more money and buy a better lens. In fact if it wasn’t for the close focusing capabilities I would be parting company with this lens. 

BIF

White Faced Herron by Paul Amyes on 500px.com
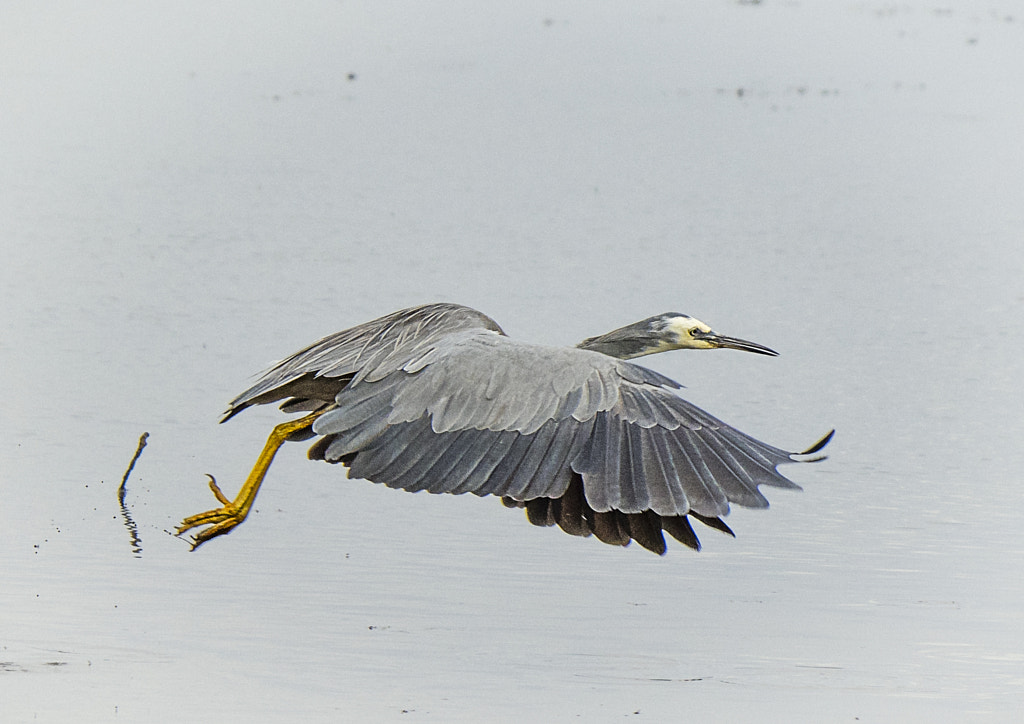
BIF or bird in flight. White faced heron, Egretta novaehollandiae, Wilson Inlet, Denmark, Western Australia. Olympus EM1 mk I with Panasonic 100-400mm lens.


I’m not talking about the Oscars but Birds In Flight. I’m finding this a very troublesome aspect of nature photography. 

If you listen to bird photographers talk this is the holy grail and if you take a picture of a bird in a tree it is derisively called a bird on a stick and is seen to have no merit at all. In fact BIF is now considered such an important part of photography that with each new camera launch the manufacturers herald its new bird tracking autofocus capabilities. These cameras are now capable of shooting incredibly high frame rates in excess of 20 frames per second which encourages photographers to just machine gun the subject – the so called spray and pray – in the hope of capturing something interesting. So why do I feel this troublesome. Well this technology doesn’t come cheap and the fact is that you have to be seriously minted and committed to bird photography to afford the equipment. The Sony A1, the Nikon Z9 and the Canon R3 are all around $9-10,000 AUD. Slap on a suitable long fast prime lens like a 600mm f4 and you have a package that will set you back a cool $30,000 AUD. Predominantly I shoot with Olympus’ cameras and their newly released camera plus their top wildlife lens will set you back around $15,000. So as you can see it’s not for the faint hearted or the financially embarrassed. 


Yellow-billed Spoonbill (Platalea flavipes) by Paul Amyes on 500px.com
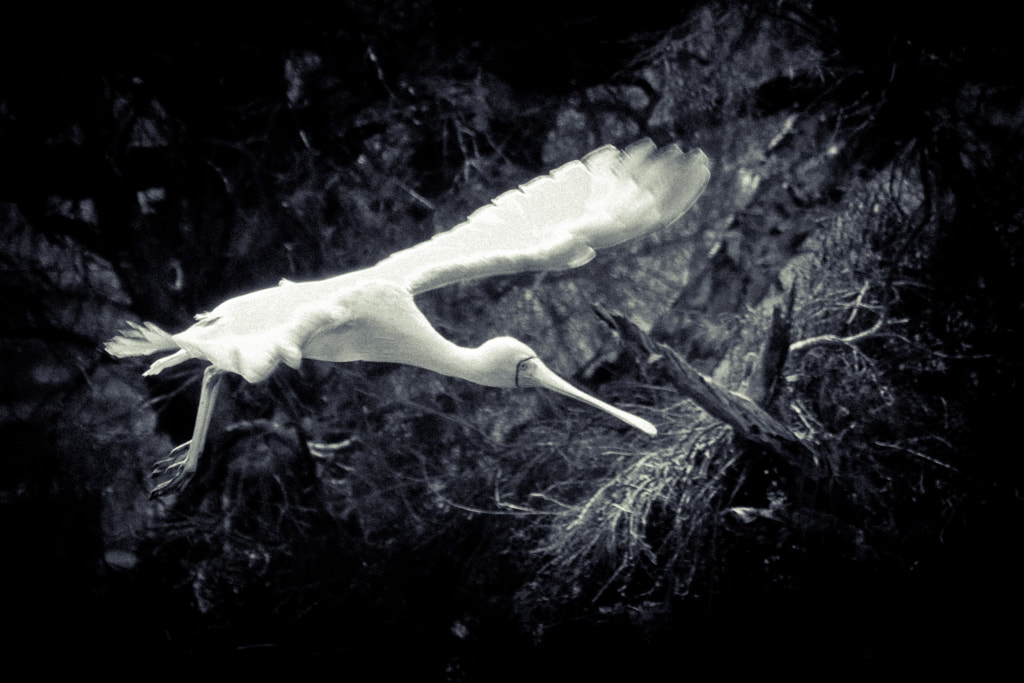
A Yellow-billed Spoonbill (Platalea flavipes) flying back to its nest on the Avon River. Canon EOS 550d with a Canon EF 70-200mm f2.8 IS L lens.


So does this state of affairs mean that unless you are wealthy you shouldn’t take up nature/wildlife photography? No because I happen to believe that it is the skill of the photographer that makes great photos and not the size of their bank account. Nothing beats going out into the field and spending time getting to know your subject and the environment they live in. The more time you spend out there the more picture taking opportunities you will have.


Yoondoordo by Paul Amyes on 500px.com
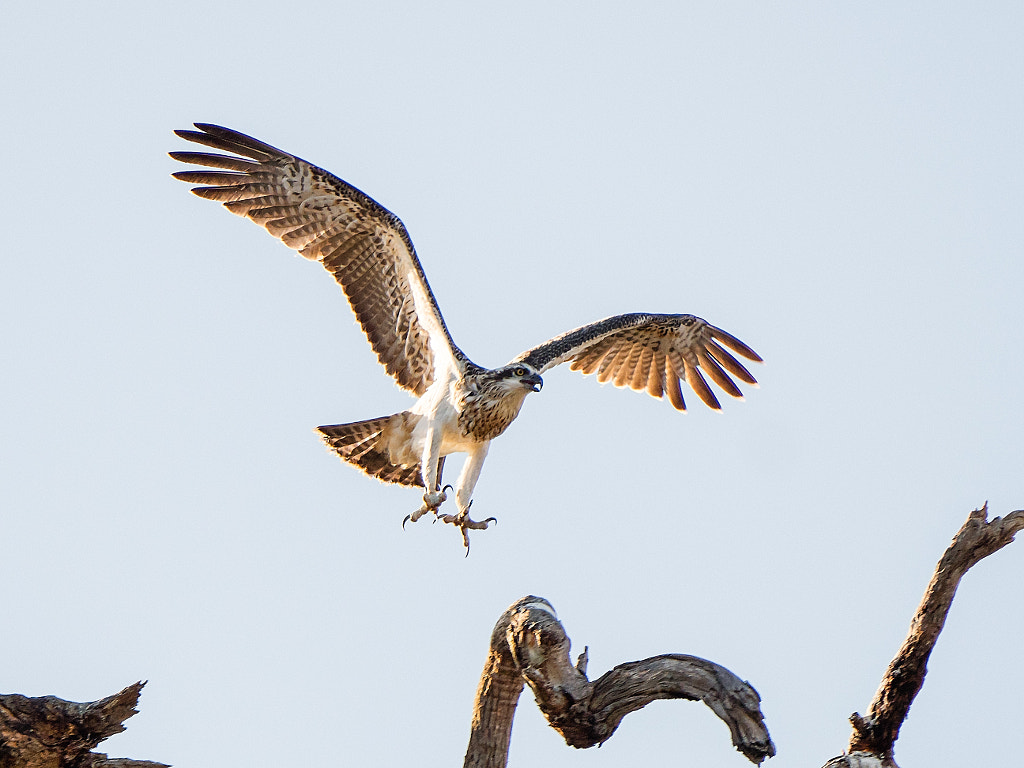
The Eastern Osprey (Pandion cristatus) is known to the Nyoongar people of the south west of Western Australia as yoondoordo. Oyster Bay, Lower King, Western Australia. Olympus OMD EM1 mk ii with Panasonic 100-400mm lens.

Secondly don’t obsess about equipment. Get what you can afford. Any camera with interchangeable lenses with a long lens is capable of excellent results. What matters is that you spend time with your camera and learn how it works. Eric Hoskins, 1908-91, was a pioneer in bird photography. He worked with what would now be considered very primitive – large format single shot cameras with no metering, no auto focusing and slow film emulsions (10 ISO) – yet he changed the face of bird photography with his use of flash and he enabled people to see birds in a way that they’d never seen before. Buy stuff second hand. Take advantage of the well heeled enthusiasts who have to have the latest and greatest. They change their equipment like I change my socks and often sell off perfectly good equipment for far less than they paid for it.


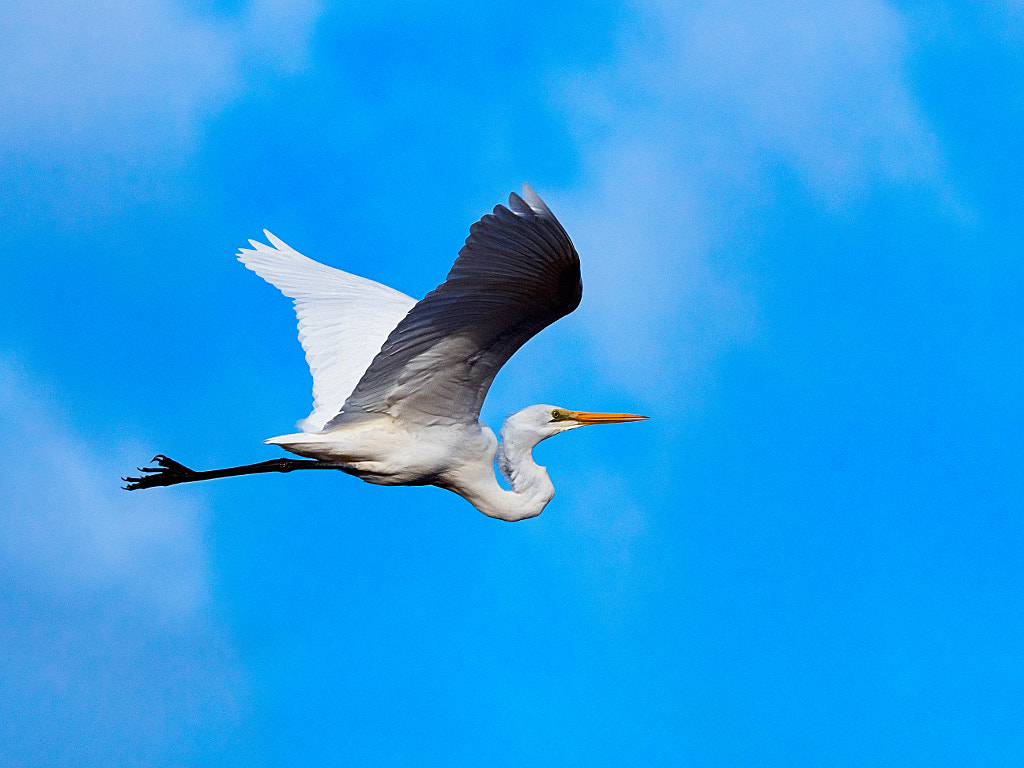
Great Egret In Flight by Paul Amyes on 500px.com
Blue sky. Check. Bird in flight. Check. A great egret (Ardea alba modesta) flying over the Creery Wetlands Nature Reserve in Western Australia. Olympus OMD EM1 mk ii with Panasonic 100-400mm lens.


Thirdly there is more to nature/wildlife photography than birds in flight. I find endless pictures of birds flying across a blue sky boring. I like to see animal’s behaviour – feeding, building nests, rearing young, mating rituals etc. Show the animal in its environment.


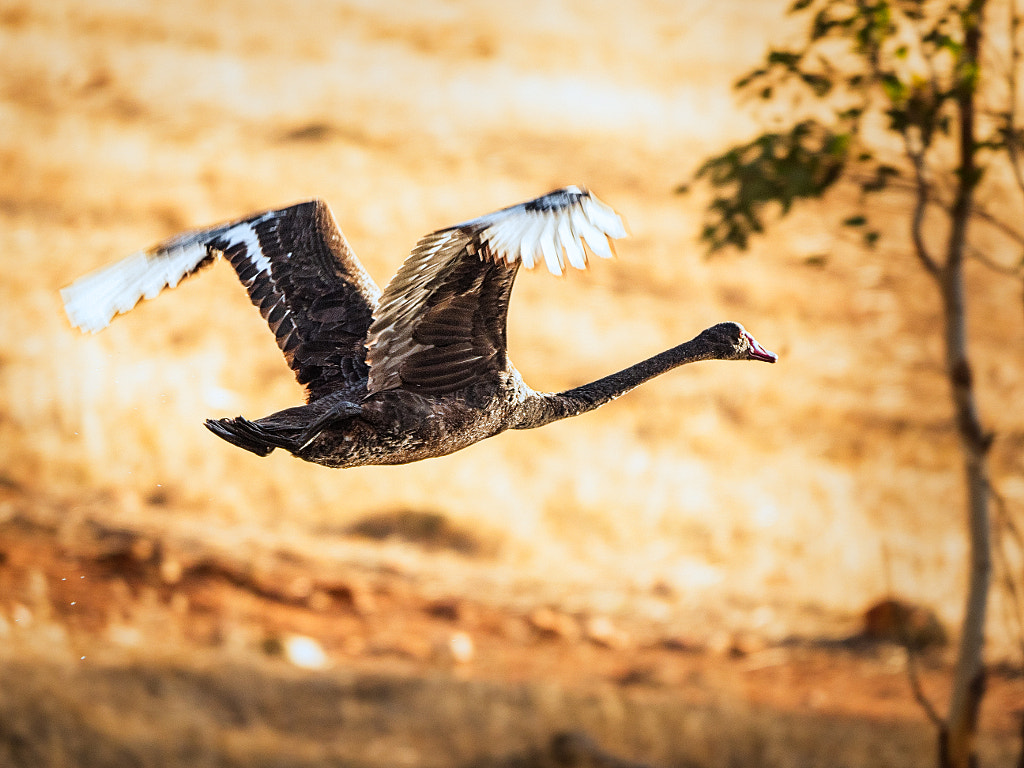
Kooljak by Paul Amyes on 500px.com
Kooljak is the Nyoongar name for the Black swan (Cygnus atratus), Toodyay, Western Australia.

Fourthly you don’t have to go on expensive safaris to take pictures of animals. Thanks to the power of the internet what can be found in your backyard is interesting to people in different countries so capitalise on what you have close to home because the skills you learn will pay off in spades if you are able to go on a trip of a life time to somewhere exotic.


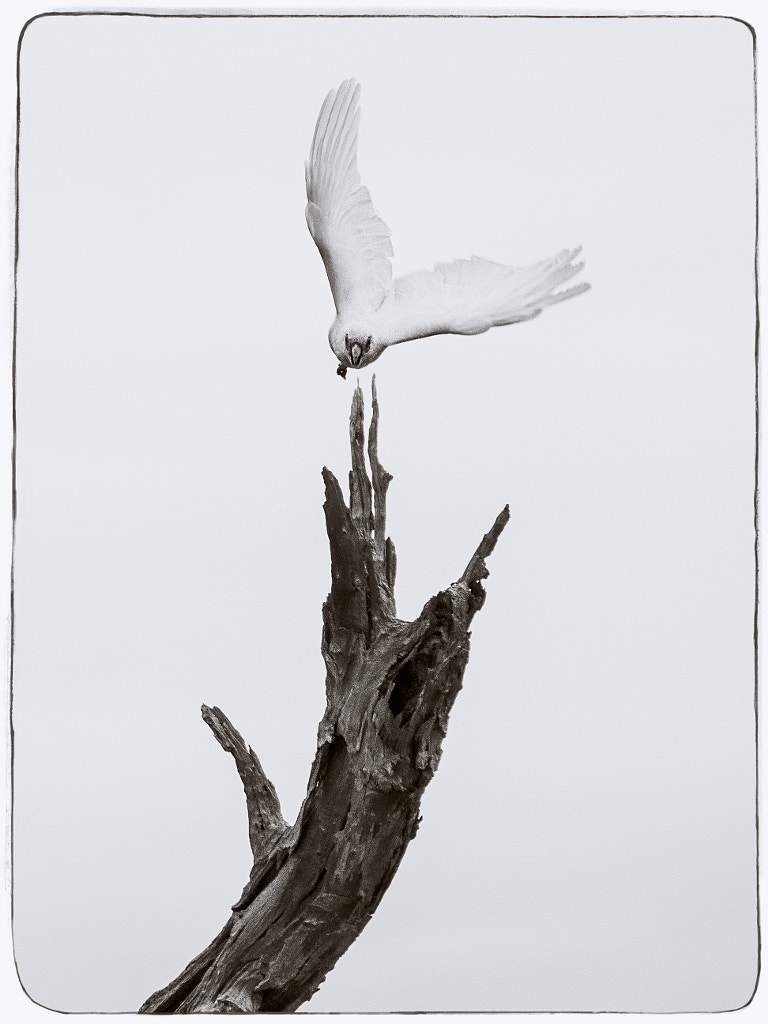
We Have Lift Off! by Paul Amyes on 500px.com
A Western Corella flies amongst the tree tops along the Avon River in York.


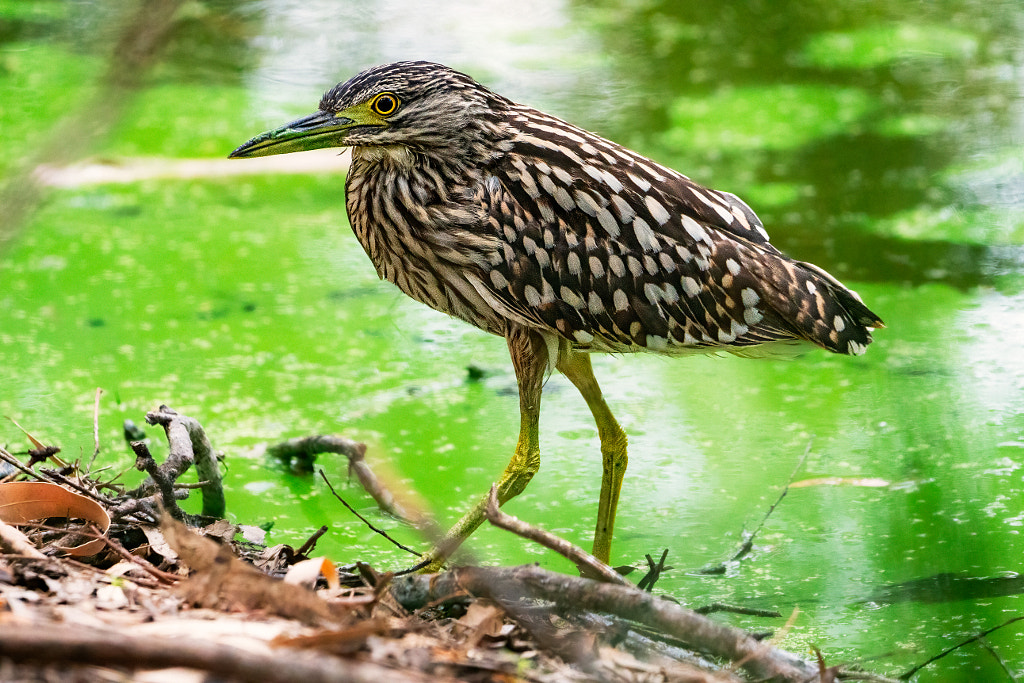
The shots below were taken at Tomato Lake which is in a park in one of Perth’s suburbs. The camera used was second hand with an older adapted lens with adequate autofocus. A few hours of being prepared to sit in mosquito ridden undergrowth by a lake gave me the chance to take some photos that I’m happy with and enjoy myself.


Ngalganing by Paul Amyes on 500px.com

An immature Nankeen Night Heron, , Nycticorax caledonicus subsp mannillenis.


Mimal by Paul Amyes on 500px.com

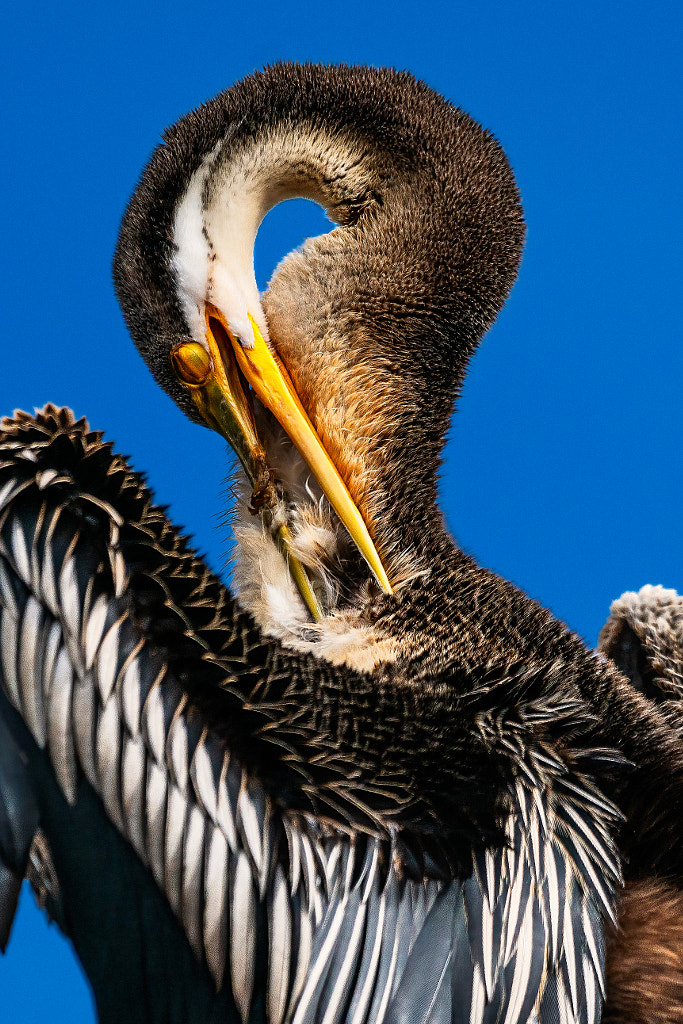
Australian Darter, often called Snake Bird, Anhinga melanogaster subsp. novaehollandiae.


Yellow-billed Spoonbill by Paul Amyes on 500px.com

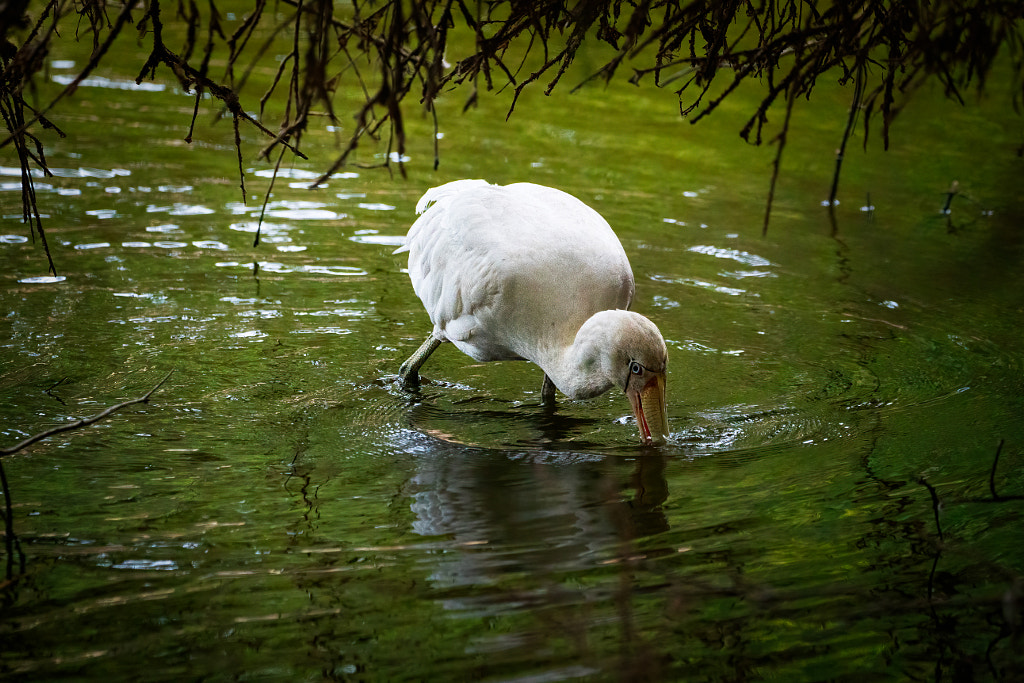
Yellow-billed Spoonbill, Platalea regia.

F256 And Be There

“F8 and be there” is the old maxim of press photographers. It means basically turn up and get a picture. An aperture of f8 would be in the sweet spot of the lenses performance and would guarantee a sharp contrasty image if you found the focus. I’ve been thinking quite a bit about focusing and optimum sharpness of late.


A portrait of my BSO (Beloved Significant Other) not taken on the Sony A7 iv.


What is acceptable sharpness? What is an acceptable in focus hit rate with an autofocus camera? Why do some manufacturers have a reputation for excellent AF performance (Canon’s dual pixel technology) and some seem to be the bench mark for woeful autofocus (Panasonic’s DFD contrast based system)? I grew up with manual focus cameras and with them any failings were down to the operator. I remember getting my first AF camera – a Pentax SFX. The AF was slow really slow, glaciers move faster, and the noise of the motor made people stop and stare. I got rid of it quick smart and went back to using my manual focus Olympus SLRs up until 2004. It was the development of autofocus cameras in the 1980’s that saw photography as a hobby become more mainstream as out of focus photos were one of the things that put people off. 

This thinking about autofocus came about because  I’ve been reading and watching reviews about the Sony A7 iv *. There seems to be a vocal few criticising its auto focus performance in a very specific usage scenario. The users are using eye detect auto focus on a moving person with fast lenses such as the Sony 135mm f1.8 wide open at a distance of 2m or more. The complaint being that the camera only hits focus on the iris around 70% of the time and the rest of the time front focuses on the eye lashes. Let’s unpack this. The camera is ONLY  achieving a 70% hit rate. Hells bells and buckets of blood! My Canon 5d and 6d couldn’t do that. When I use manual focus I couldn’t do that. I had enough trouble accurately focusing quickly with my Olympus OM Zuiko 135mm f2.8 wide open. Mind you those old 135mm f2.8 lenses were often a bit soft wide open. It is staggering to me that firstly you’ve got a 135mm f1.8 lens that is tack sharp wide open and then you can combine it with a camera that is able to focus on the iris of a moving person at 2m with a 70 % success rate. Let’s look at this problem from another direction. Now according to the DOF calculator on Cambridge in Colour the DOF with that combination is 2cm. That means 1cm in front of the eye and 1 cm behind. That would mean that the eye would be in focus but the nose and ears would be blurred. Even if you used an aperture of f4 which 2 1/3 stops more DOF you still only have 5cm DOF. An aperture of f8 would give a DOF of 11cm which is sufficient to render a human head acceptably sharp. Why would you want to take a portrait where only the iris is in focus? The craze for taking photos with razor this depth of field has been with up for about 20 years now and the only reason I can why it endures is that it signifies status – the photographer has the ability to own very fast and expensive lenses.


Wolf Lane in Perth, Western Australia.


Two of the Twentieth Century’s photographic titans had some things to say about sharpness. In 1998 at age 90 Henri Cartier-Bresson said to Helmut Newton: “sharpness is a bourgeois concept.”** For Bresson content and concept were everything and if you look at his images you can see some of them are a little soft. On the other side of the Atlantic in the United States Ansel Adams famously said “There is nothing worse than a sharp image of a fuzzy concept”. So for Adams who sought technical perfection on every level in his photographs saw that intention and content were more important. So focus and sharpness like many other facets of photography are secondary – they play a supportive role but are not the primary consideration.

The photos accompanying this piece were taken with a camera that does not have a lens. It is a 4×5 pinhole camera with a focal length of 150mm and an aperture of f256 which when using Ilford FP4 developed in Ilfosol 3 gives an amazing amount of detail and clarity considering that no lenses are involved. I like to think that it is my anti technology camera. No lens, no focusing, no shutter mechanism, no film advance, no metering, no viewfinder. A successful picture required a great deal of serendipity and that is part of its charm.


My 4×5 pinhole camera with a focal length of 150mm and an aperture of f256. I like to think that it is my anti technology camera.

* Not getting one and the reason has nothing to do with the autofocus issue and everything to do with the weight of bag with camera, 28-70mm f2.8, 105mm f2.8 macro, 35mm f2.8, 20mm f2.8, 150-600mm f5-6.3 and ring flash.

** I had a student who said that Bresson himself was a bourgeois concept.