The other day was was one of those days. Not the sort where everything goes mammaries up and you wish you hadn’t got out of bed. No it was one of those days when everything goes stupendously well – like unbelievably well. The other day was just one of those.
Bulland or Little Egret (Egretta garzetta subsp. nigripes)
Bulland or Little Egret (Egretta garzetta subsp. nigripes) are quite rare up in the Avon Valley although they are common elsewhere.
I was walking along the River Avon in Northam and it was proving to be a fruitful morning. Black-fronted Dotterels, Black-winged Stilts, Dusky Moorhens, and even a rare (well rare in these parts) Little Egret. After a couple of hours of sheer bliss I decided to call it a day and walk back to the car. As I was walking I thought to myself “You know what would cap off a perfect day? A Sacred Kingfisher.” And lo and behold within seconds of thinking that thought one appeared on a branch right in front of me. The best part was it could clearly see me and didn’t give a stuff. I was in raptures! It was hunting for large insects in the grass and every few minutes it would swoop down catch one and return to the branch and eat it. This kept going on for twenty minutes or so. In the end I called it quits after taking hundreds of photos and it stayed there. A brilliant finale to a brilliant day.
A gratuitous shot of a Nidoolyorong or Black-fronted Dotterel (Elseyornis melanops).
This Djandjarak or Black-winged Stilt (Himantopus himantopus) was too busy looking for food to bother about me.
The icing on the proverbial cake. Kanyinak or Sacred Kingfisher (Todiramphus sanctus). Isn’t he magnificent?
Having a bug for breakfast.
Having a laugh.
The last few of weeks I’ve been observing some very interesting bird behaviour (well interesting to me) and I’ve found trying to record it just using photographs wasn’t capturing what was happening. So I’ve decided to shoot more video footage. Up until now I’ve found doing both photography and video very difficult. That’s because I was taught in order to shoot video well you had to have your camera on a tripod, limit your shutter speed to twice that of the frames per second which means faffing around with neutral density filters, use manual focus, take an accurate colour temperature reading and set the camera accordingly, and record good sound. All that takes the spontaneity out of it. If an animal pops up suddenly I like to be able to react in an instant and with stills photography you do that. Video requires (or so I thought) so much preparation that the animal has been and gone. So I came to the conclusion that I only do this for my entertainment so it doesn’t matter if I break “the rules”. So I set my camera up to shoot in programme mode, set auto white balance, auto ISO, I use the camera’s built in microphone for sound, and auto focus. I’m not carrying a tripod so I’m shooting handheld. If I see something interesting I snap off a few photos and then press the video record button. This approach has added a new dimension to my photography and I’ve been very happy with the results so far. Below are a few clips from my brilliant day in Northam.
The Welcome Swallow (Hirundo neoxena subs. carteri and called Kanamit by the Nyoongar of Western Australia) is a small bird approximately 14cm long and weighing up to 20g. They are an attractive looking bird with a glossy blue-black body and crown, dark brown wings, and a rusty red face, neck and upper breast. They have a forked dark grey tail which forms two streamers when flying. They are very fast and acrobatic in flight swooping on their insect prey and they often drink water while flying over bodies of water.
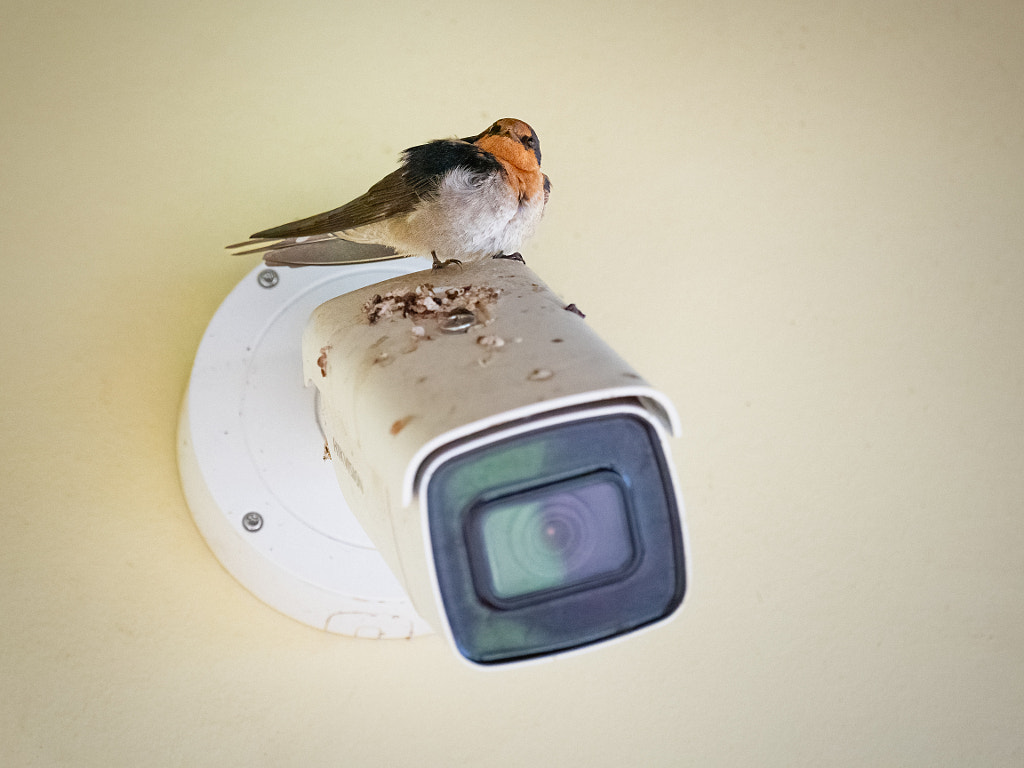
An adult Kanamit or Welcome Swallow (Hirundo neoxxena) taking a breather from catching insects and feeding chicks. York, Western Australia.
When Europeans first colonised Western Australia Welcome Swallows were confined to coastal areas. As land clearing progressed they spread further inland and northwards. They differ from their Eastern State cousins in that they are not migratory. They have readily adapted to human habitation and can be easily found in urban areas. To thrive they require substantial insect populations and large flocks can be commonly found near water. They are often seen perching on fences and overhead power lines. They nest in a cup shaped structure made by both parents from mud and grass and is lined with feathers and fur. This typically takes between 8 and 23 days to make. The nests are often attached to walls, rafters, cranes, bridges, rock faces, and dead trees.The monogamous pairs will re-use their old nest. A warming climate has meant that Swallows in Western Australia are having 2-3 broods per year and lay a clutch of up to 5 eggs. The female incubates the eggs for around 3 weeks and when they hatch they are fed by both parents. The young fledge after a further 3 weeks and become independent after 35 days.
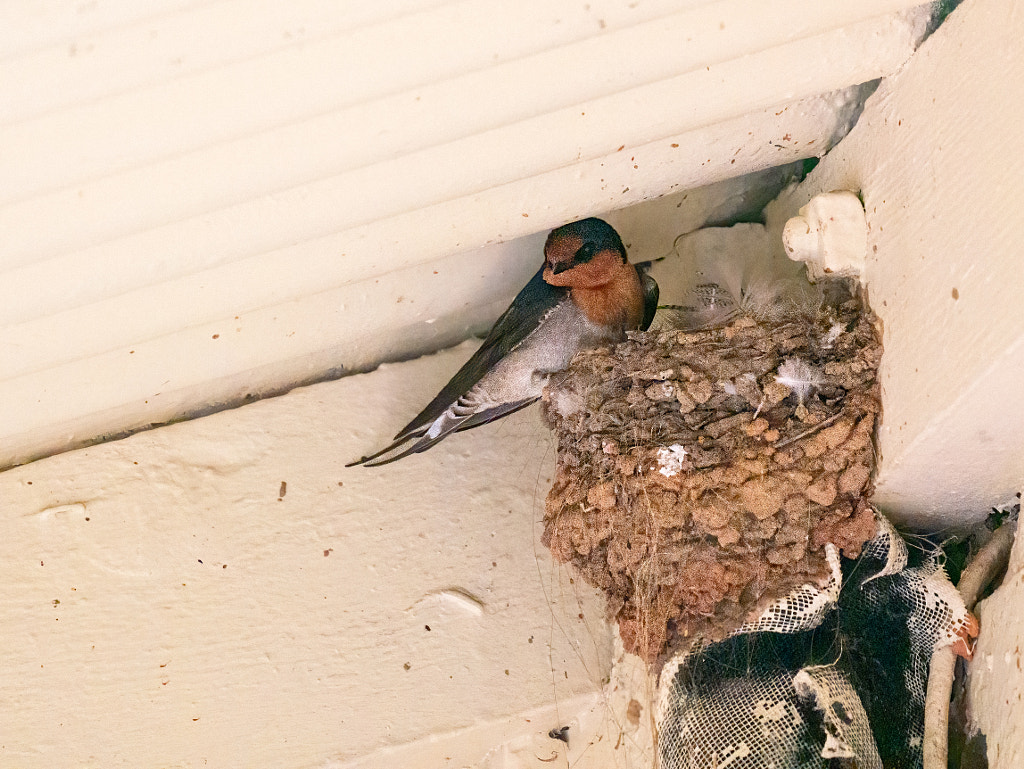
An adult Kanamit or Welcome Swallow (Hirundo neoxxena) perched on the nest. York, Western Australia.
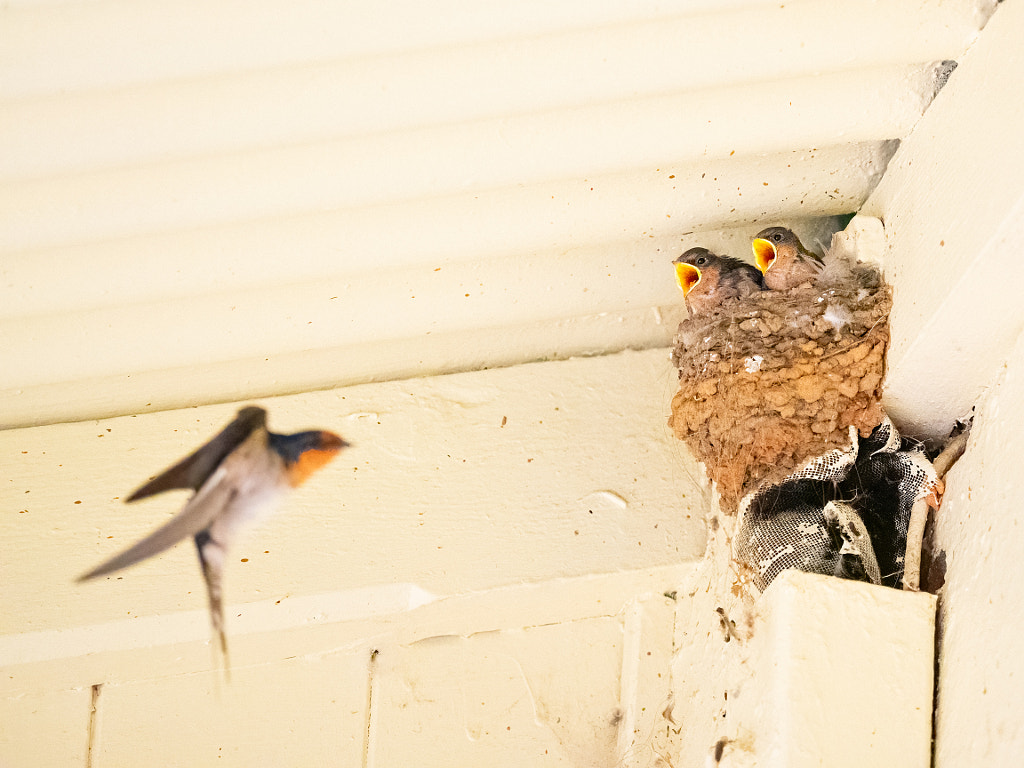
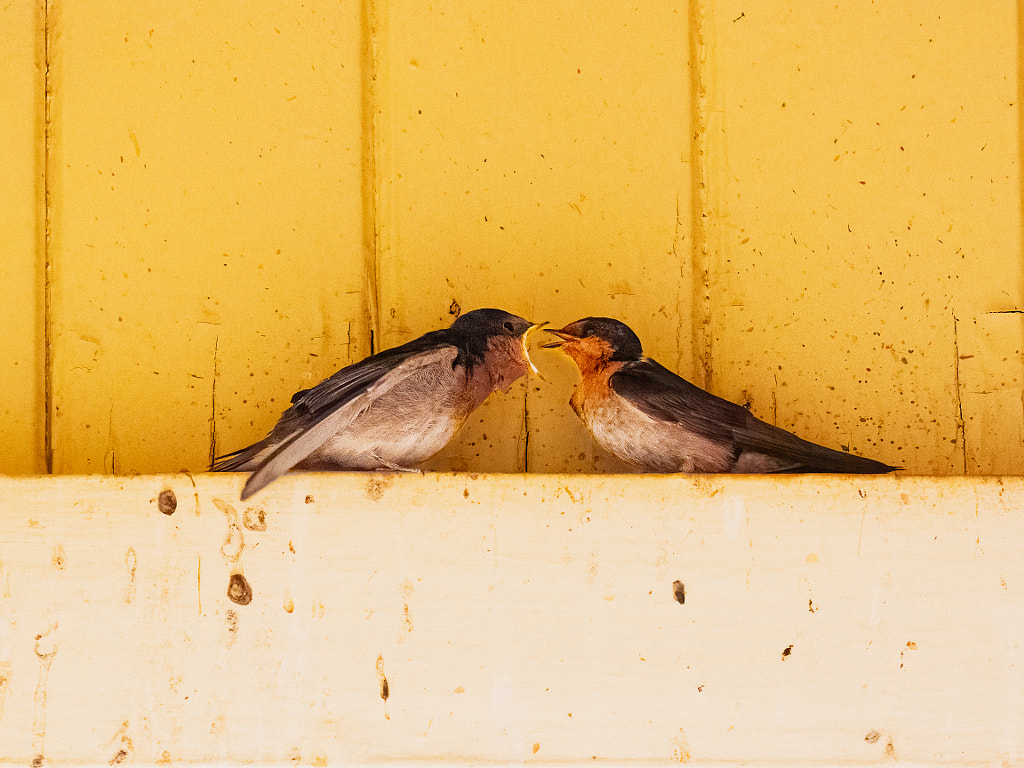
Juvenile Kanamit or Welcome Swallows (Hirundo neoxxena) impatiently waiting to be fed by their approaching parent. York, Western Australia.
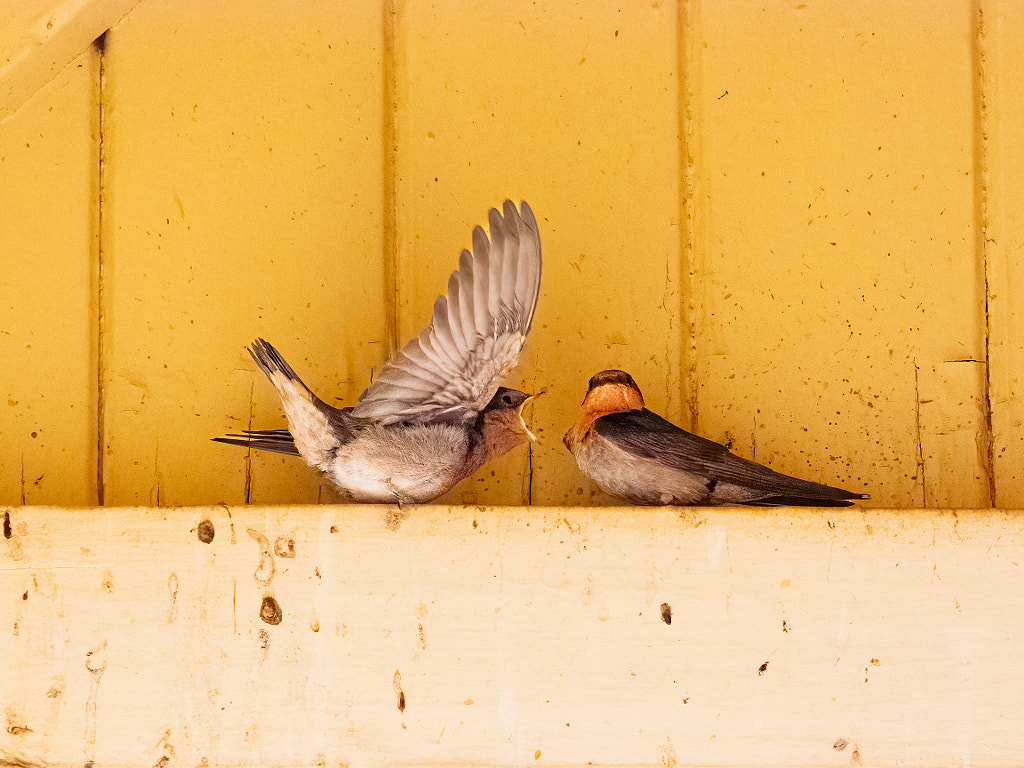
“Where’s my dinner!!!” Welcome Swallow (Hirundo neoxxena) demanding to be fed by it’s parent. York, Western Australia.
A juvenile Kanamit or Welcome Swallow (Hirundo neoxxena) demanding to be fed by it’s parent.
The Nissin MF18 macro flash mounted on a Sony A7R and Sigma 105mm f2.8 comination.
Before we get going I’m going to be a little bit pedantic. The Nissan MF18 Macro flash is not and I repeat NOT a ring flash. A ring flash such as the Profoto ProRing2 Plus UV has a continuous light tube that forms a circle. The MF18 has two separate flash heads (A + B) in two semicircular diffusers.
The Nissin MF18 macro flash mounted on a Sony A7R and Sigma 105mm f2.8 comination.with the flash heads positioned at their widest setting.This also shows that the head is comprised of two separate flash tubes in their own semi-circular diffusers.
What I’m looking at in this review is the Nissan MF18 for Sony cameras. This is important because the features and the included accessories vary somewhat depending on whether you have the Sony, Canon or Nikon models. Also while this unit is capable of wireless control I didn’t have the where withal to test that as I don’t own a suitable controller.
TLDR
Specifications
The MF18 is compatible with the following flash protocols:-
Canon ETTL and ETTL ii
Nikon i-TTL
Sony ADI/P-TTL
Having said that some cameras from Sony, Canon and Nikon aren’t compatible.
Canon:-
1dx mk ii, 5d mk iv, 6d mk ii, 80d, 900d, 1d, 1ds, and all the EOS M series of cameras.
Nikon:-
D2Hs, D2H, D100, D1H, D1. Firmware updates are required to ensure compatibility with the Z series cameras, the D6 and the Zfc.
Sony:-
RX100 mk ii
For Sony cameras the wireless strobe will not fire unless the flash mode is set to [WL(wireless)] in the camera menu or the wireless flash function is set to [ON].
Guide Number (GN)
16/53 (ISO 100 m/ft)
Flash output
83 Ws at full power
Power Source
Internal – 4 x AA alkaline/Ni-MH batteries
External
Nisin PS300 battery pack
Nikon SD-8a or SD-9 battery pack
Canon CP-E4 battery pack
Battery Life (approx.)
AA batteries 120-800 flashes
Nisin PS300 500 flashes
Nikon Sd-8a or SD-9 200 flashes
Canon CP-E4 260 flashes
Recycling time
0.1-5.5 seconds with AA batteries
0.7 sec with the Nisin PS300
1.5 sec with the Nikon SD-8a/SD-9
1.5 sec with the Canon CP-E4
Colour Temperature
5600 K at full power
Flash duration
1/700 sec at full power when using both flash heads and 1/300 sec when using one.
Wireless flash
Optical system relying of line of sight only
Sync
Hot shoe or PC sync
Modes of operation
Auto, TTL, full manual (power ranges from full to 1/64 in 1/6th increments) and fine macro (1/128 to 1/1024 in 1/6th increments).
1st curtain sync
2nd curtain sync
High speed flash sync (dependent on whether the camera allows this).
Dimensions
Body 115 x 65 x 85mm
Head 120 x 134 x 41mm
Weight
446g without batteries
Included accessories
Adapter rings to mount the flash head to the lens.
For Canon and Nikon 52, 58, 62, 67, 72, and 77mm.
For Sony 49, 55, 62, 67, 72, and 77mm.
It is possible to buy adapter rings individually in all sizes from 49mm to 82mm.
First Impressions
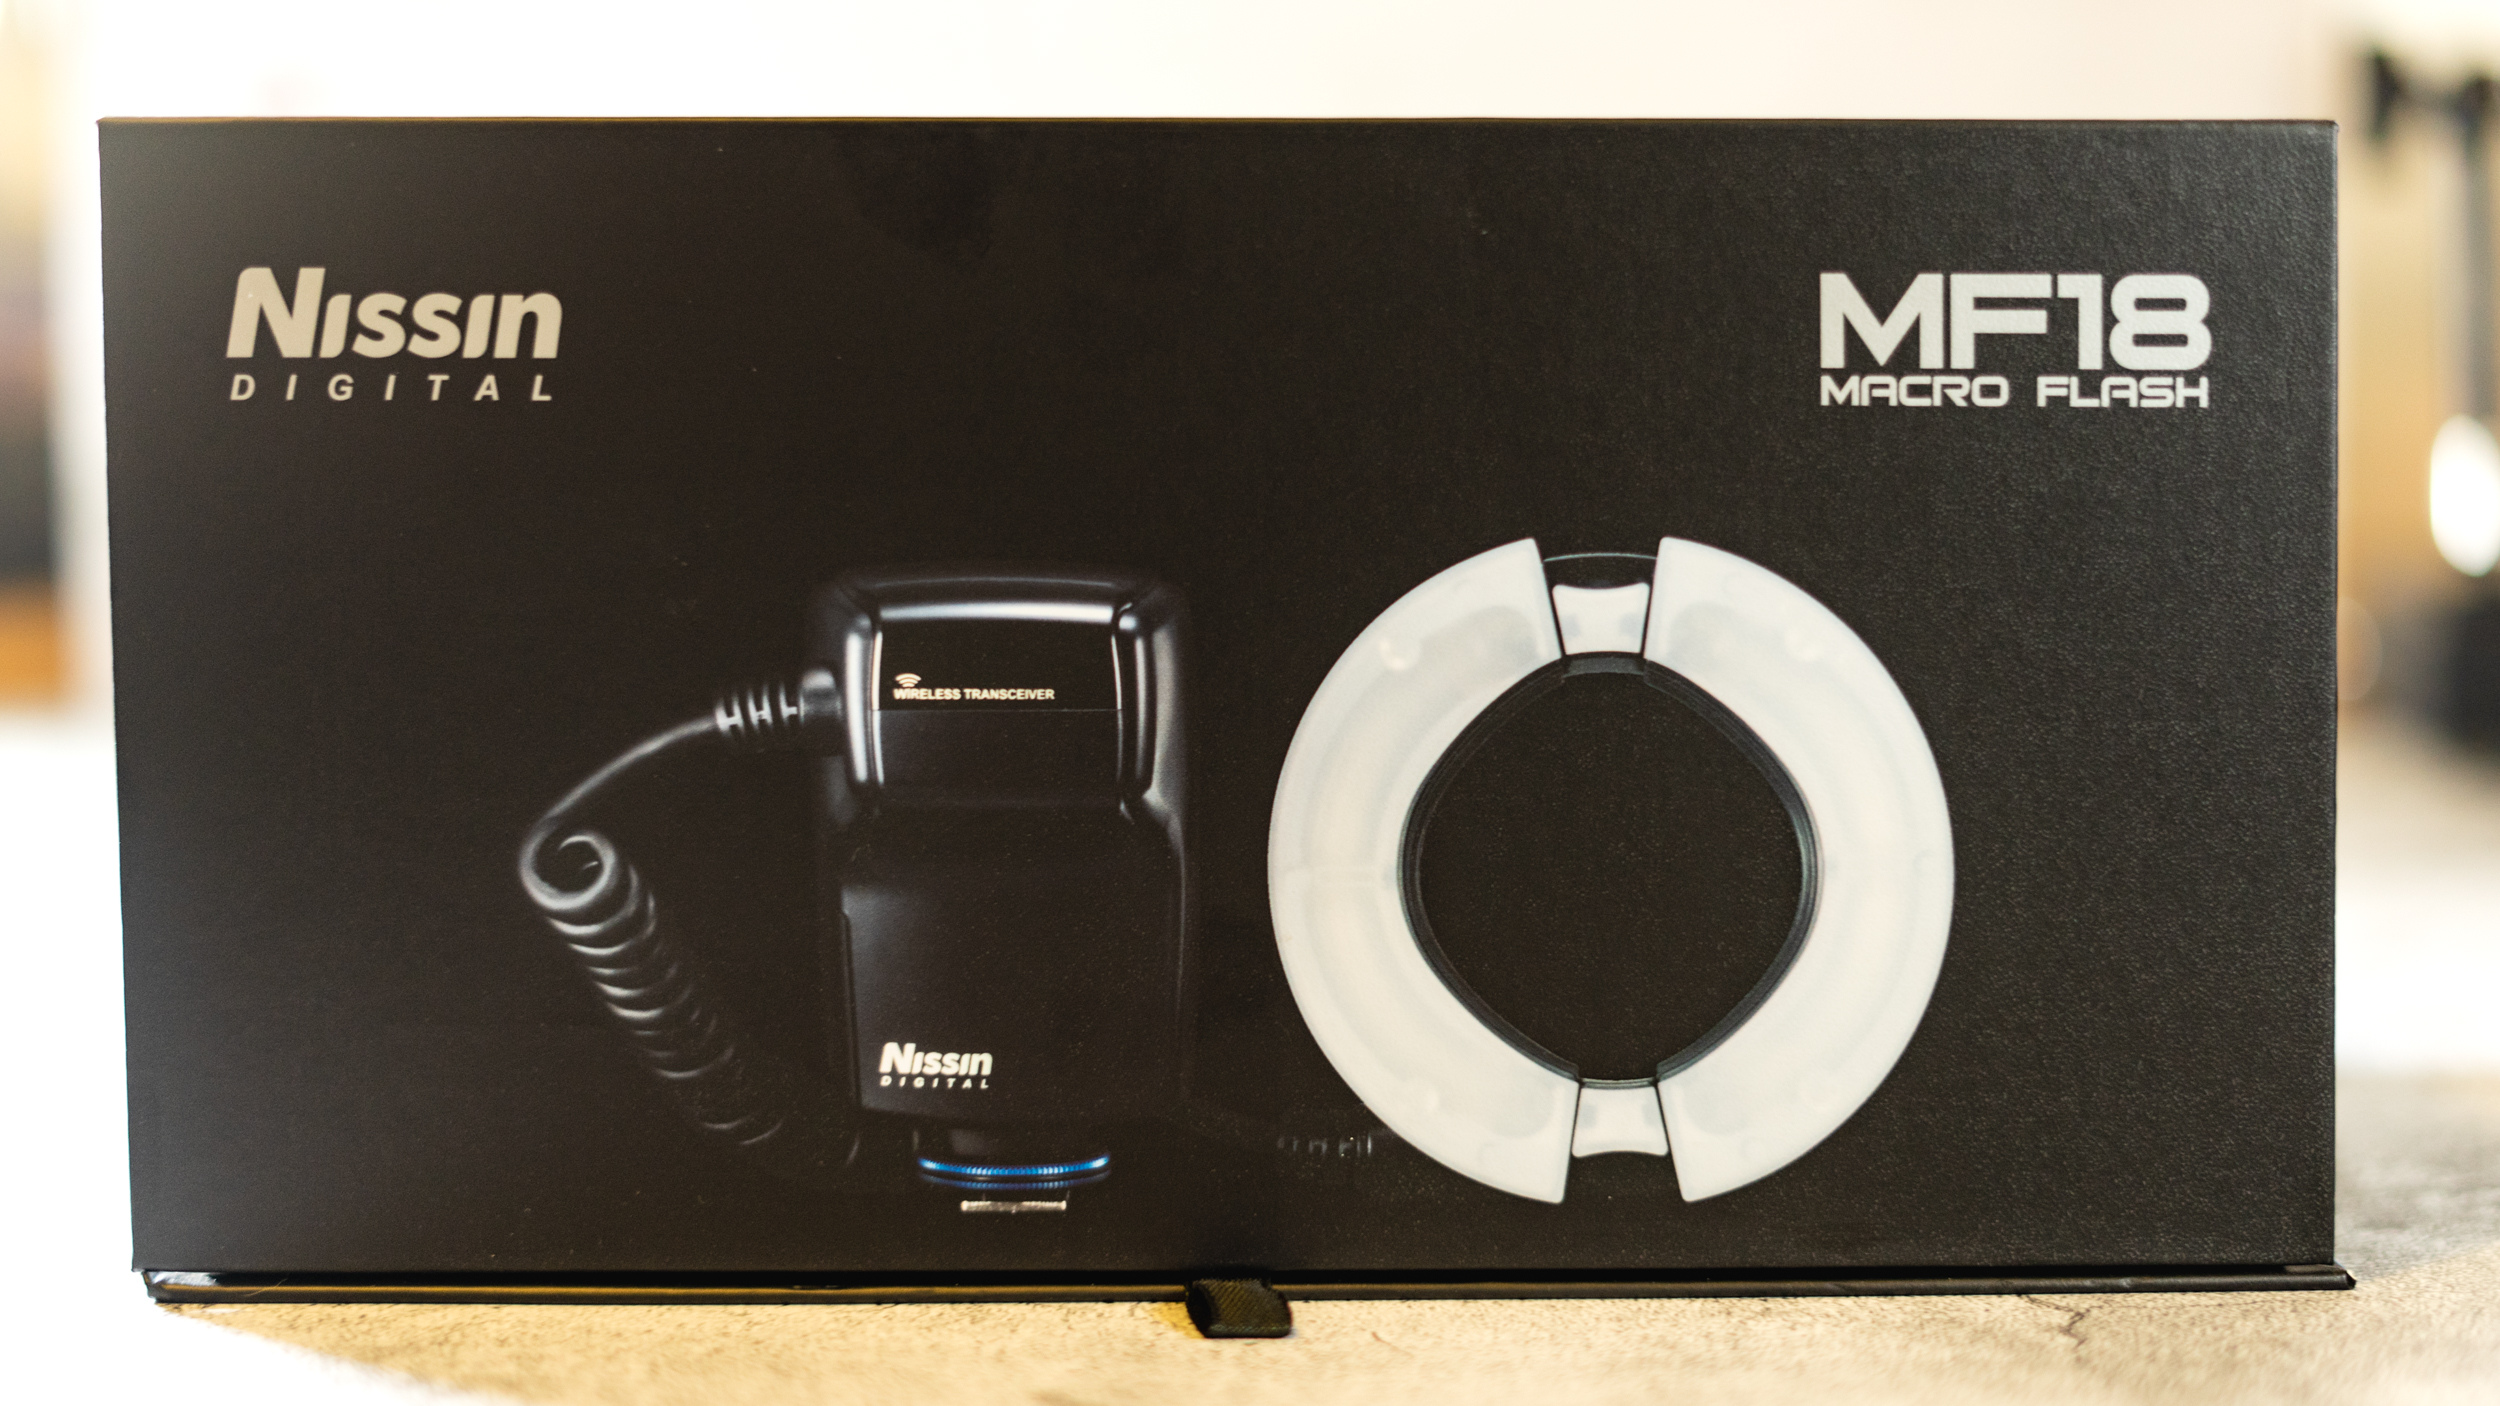
The box the Nissin MF18 comes in.
The contents of the box. The flash body and head plus 6 adapter rings. The sizes of the included rings depends upon on whether your camera is Sony, or Canon/Nikon.
The quick start guide printed on the inside of the box lid.
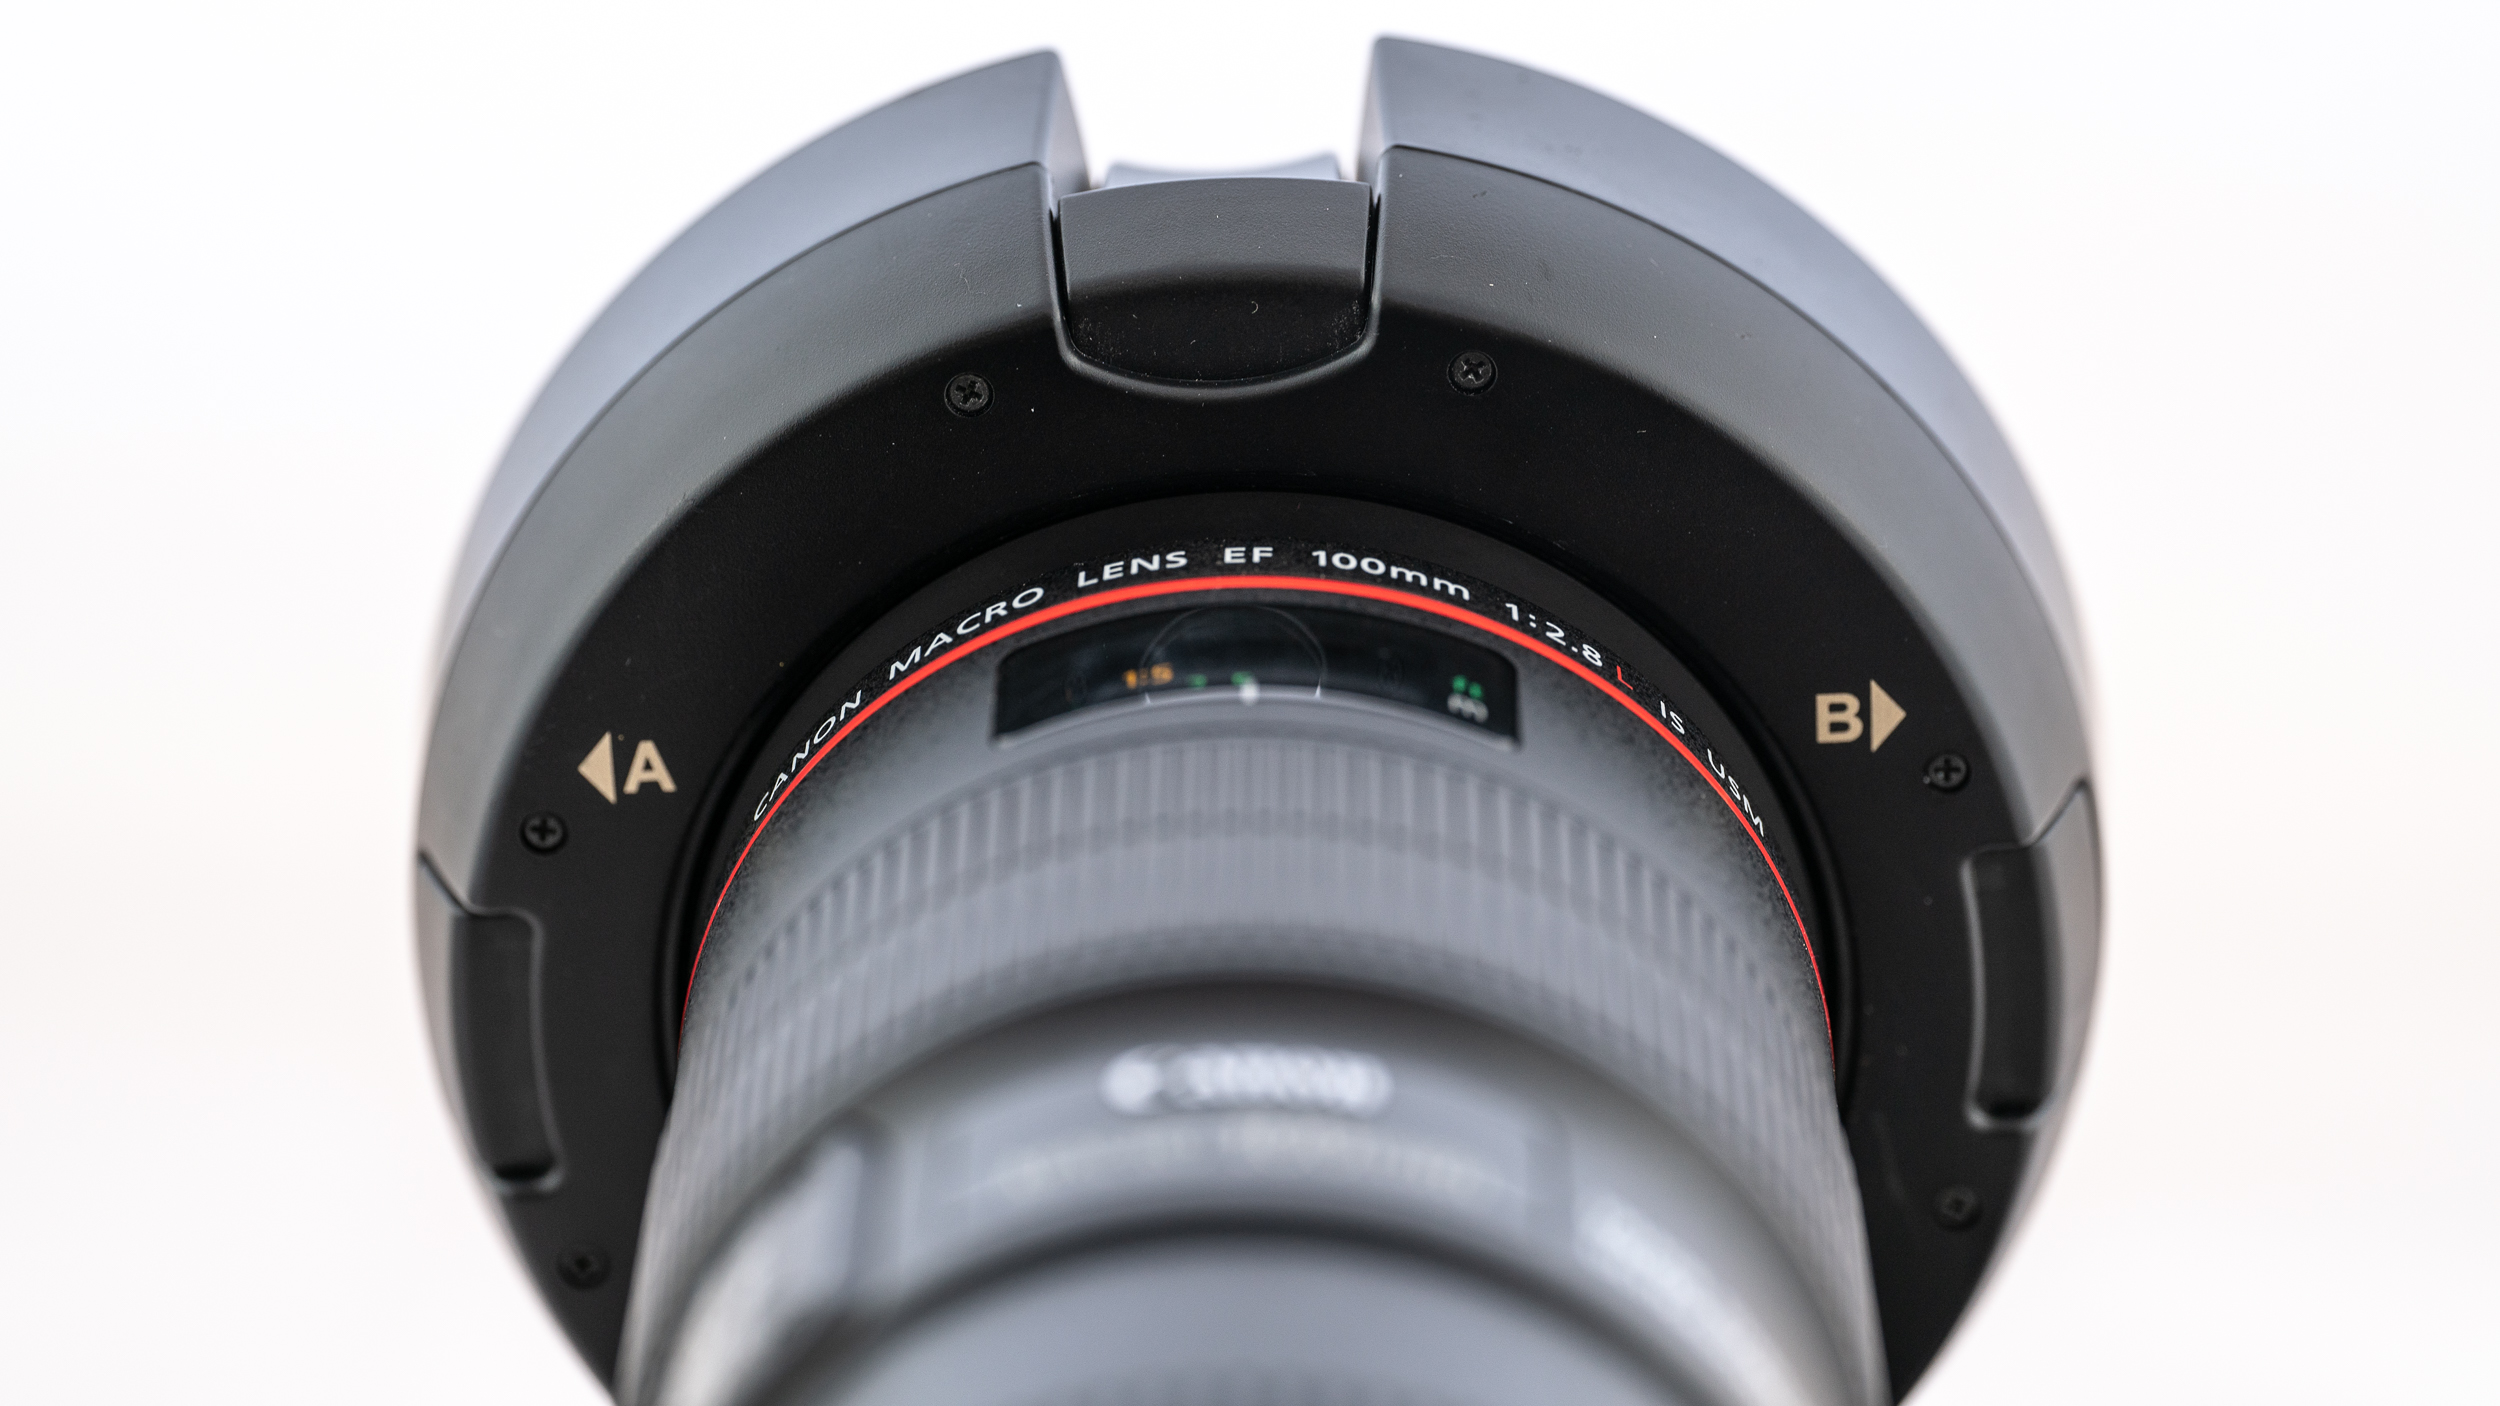
I don’t normally talk about packaging but in this case I’ll make an acceptation. The box and its overall presentation were very nice – almost “Applesque” – and showed nice attention to detail which I thought boded well for the flash itself. Overall the MF18 feels very well made. Like all flashguns/speedlights it is of a plastic construction. There is no mention of any weather sealing on the Nisin website so I’ll assume there is none. The body is connected to the head via a chunky coiled cable that feels nice and secure at both ends. In the case of problems with the cord it doesn’t look user replaceable but this is not unusual. The batteries are held in a magazine that slides out of the side. It is a very neat arrangement and spares are available (Nisin BM-01) for those who want a fast reload capability. The flash body is held in the camera hot shoe via blue anodised knurled ring. Not as fast as a lever that is sometimes found on other brands but perfectly satisfactory. On the rear of the body you’ll find a 3cm square colour LCD panel which is sadly not touch compatible. I really like the touch capabilities on my Metz flashes and it is a shame Nisin didn’t include it. Underneath the screen you’ll find an on/off/lock switch, a four way ‘D’ pad with central button, and a combined pilot and status indicator light/button. On the flash head are four buttons – the two vertical ones release the head from the adapter runs, and the two horizontalallow the flash tubes to positioned further out. This prevents vignetting and also allows more even lighting over some larger subjects.
The rear of the MF18. The A and B buttons allow the flash head to open up to prevent vignetting and provide a wider coverage.
Overall everything is very confidence inspiring.
Performance
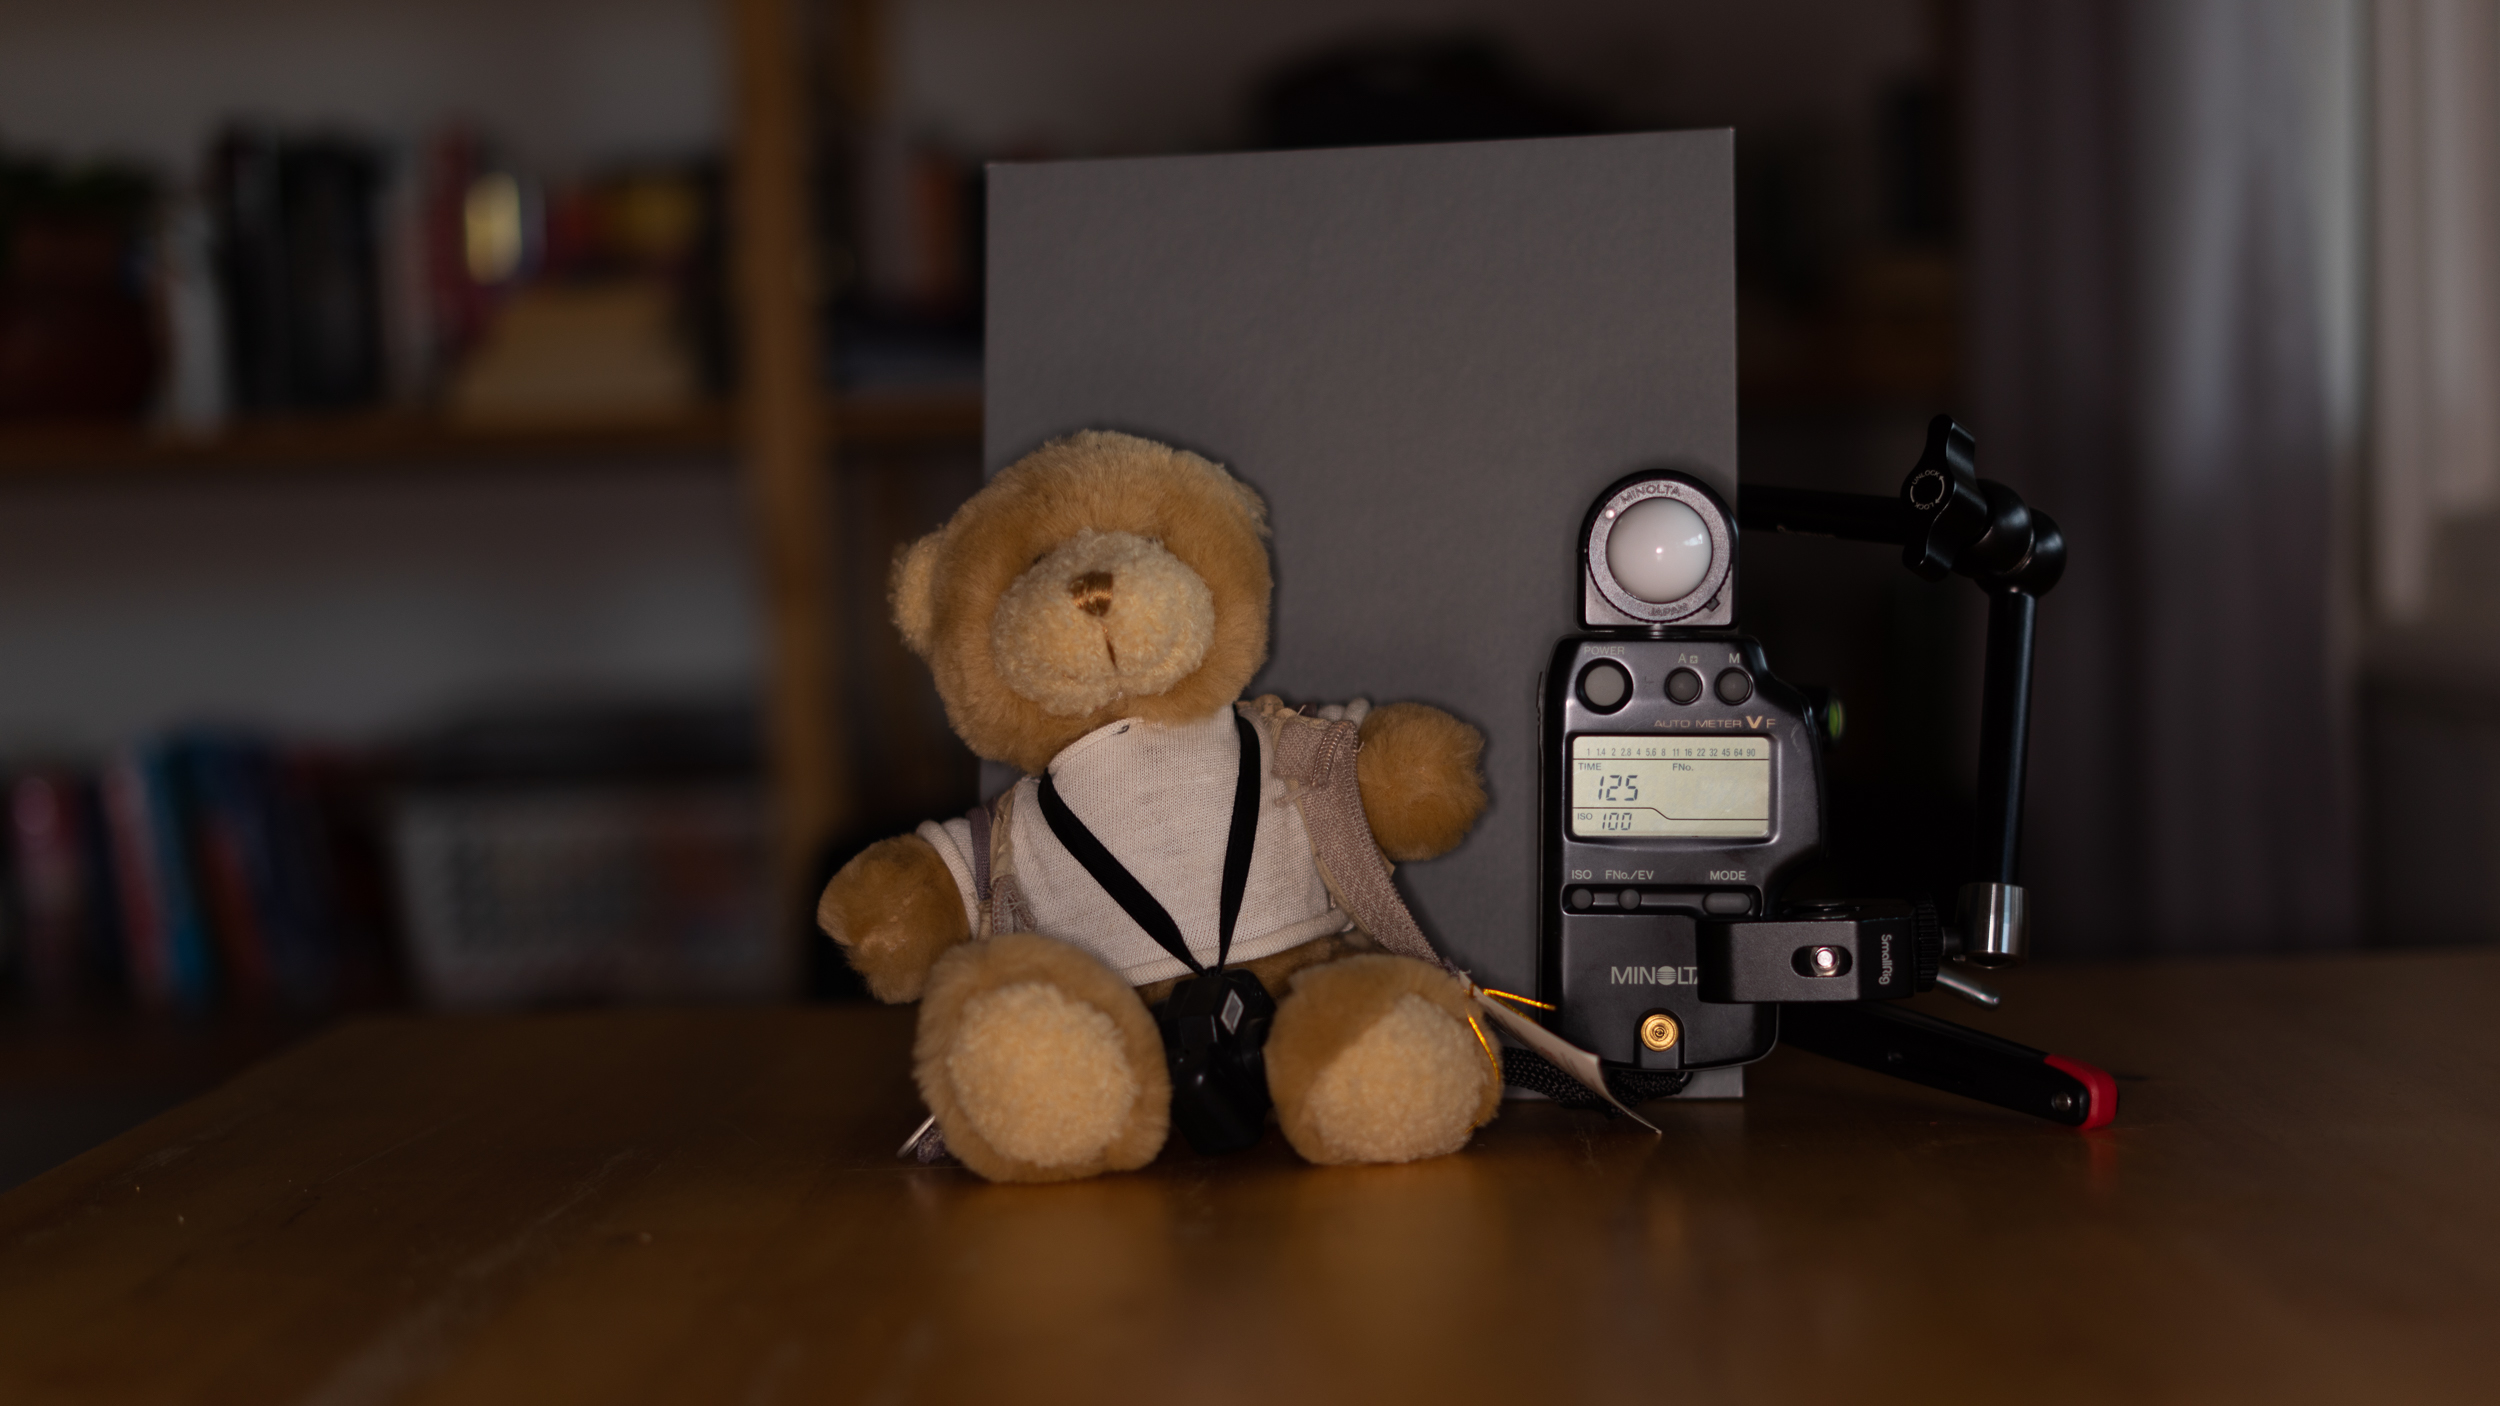
Nissin claim that the MF18 has a Guide Number of 16 (ISO 100 in metres). Here the subject is 1m from the camera sensor, the power has been set 1/64 and the aperture set to f2. As we can see the photo is approx two stops under exposed. Also Nissin claim that the white balance of the flash is 5600K. The camera white balance was set to 5600K and this resulted in warm cast.
Nisin quote a Guide Number (GN) 16 (ISO100 m) but my testing has found this to rather fanciful as you can see from the table below:
Power setting
GN per Nisin
Measured
full
16
6.9
1/2
11.3
4.9
1/4
8
3.6
1/8
5.6
2.7
1/16
4
1.9
1/32
2.8
1.5
1/64
2
1.4
1/128
1.4
N/A
The measured guide numbers are between 2 and 21/3 of a stop lower than Nisin’s figures which is quite disappointing. The only positive I can say about it is that running the test 3 times the measured results were very consistent.
I measured the colour temperature using a grey card and setting the camera’s white balance to 5600K and found that the actual colour temperature was 4750K.
Checking recycling times using a fresh set of AA Ni-MH batteries saw recycle times average out at 8.9 sec when shooting at full power and 4.55 sec at 1/2 power. This falls short of Nisin’s claimed figures.
In Use
York Sun Orchid, Thelymitra yorkensis. Wandoo National Park, Western Australia. Using high speed synchronisation means I can overpower the sun and render backgrounds dark while illuminating the flower.
OK testing is one thing how does real world performance stack up. I’ve been using the MF18 since August 2021 on a Sony A7r2. The only manual shooting I’ve done with it is just testing it for this review. The rest of the time I use it in TTL mode for photographing flowers. More often than not I use it in high speed sync mode as well so I can have the flash as my key light and the ambient light as my fill. For this it has worked extremely well.
Shy sun orchid, Thelymitra graminea. York Golf Course, Western Australia.
Operating the MF18 is simplicity itself. The basic functions are controlled by the camera. The only time I have to go into the menu is select high speed sync. You can also select 1st or 2nd curtain flash there as well. It is so easy to use that I really don’t have to think about it
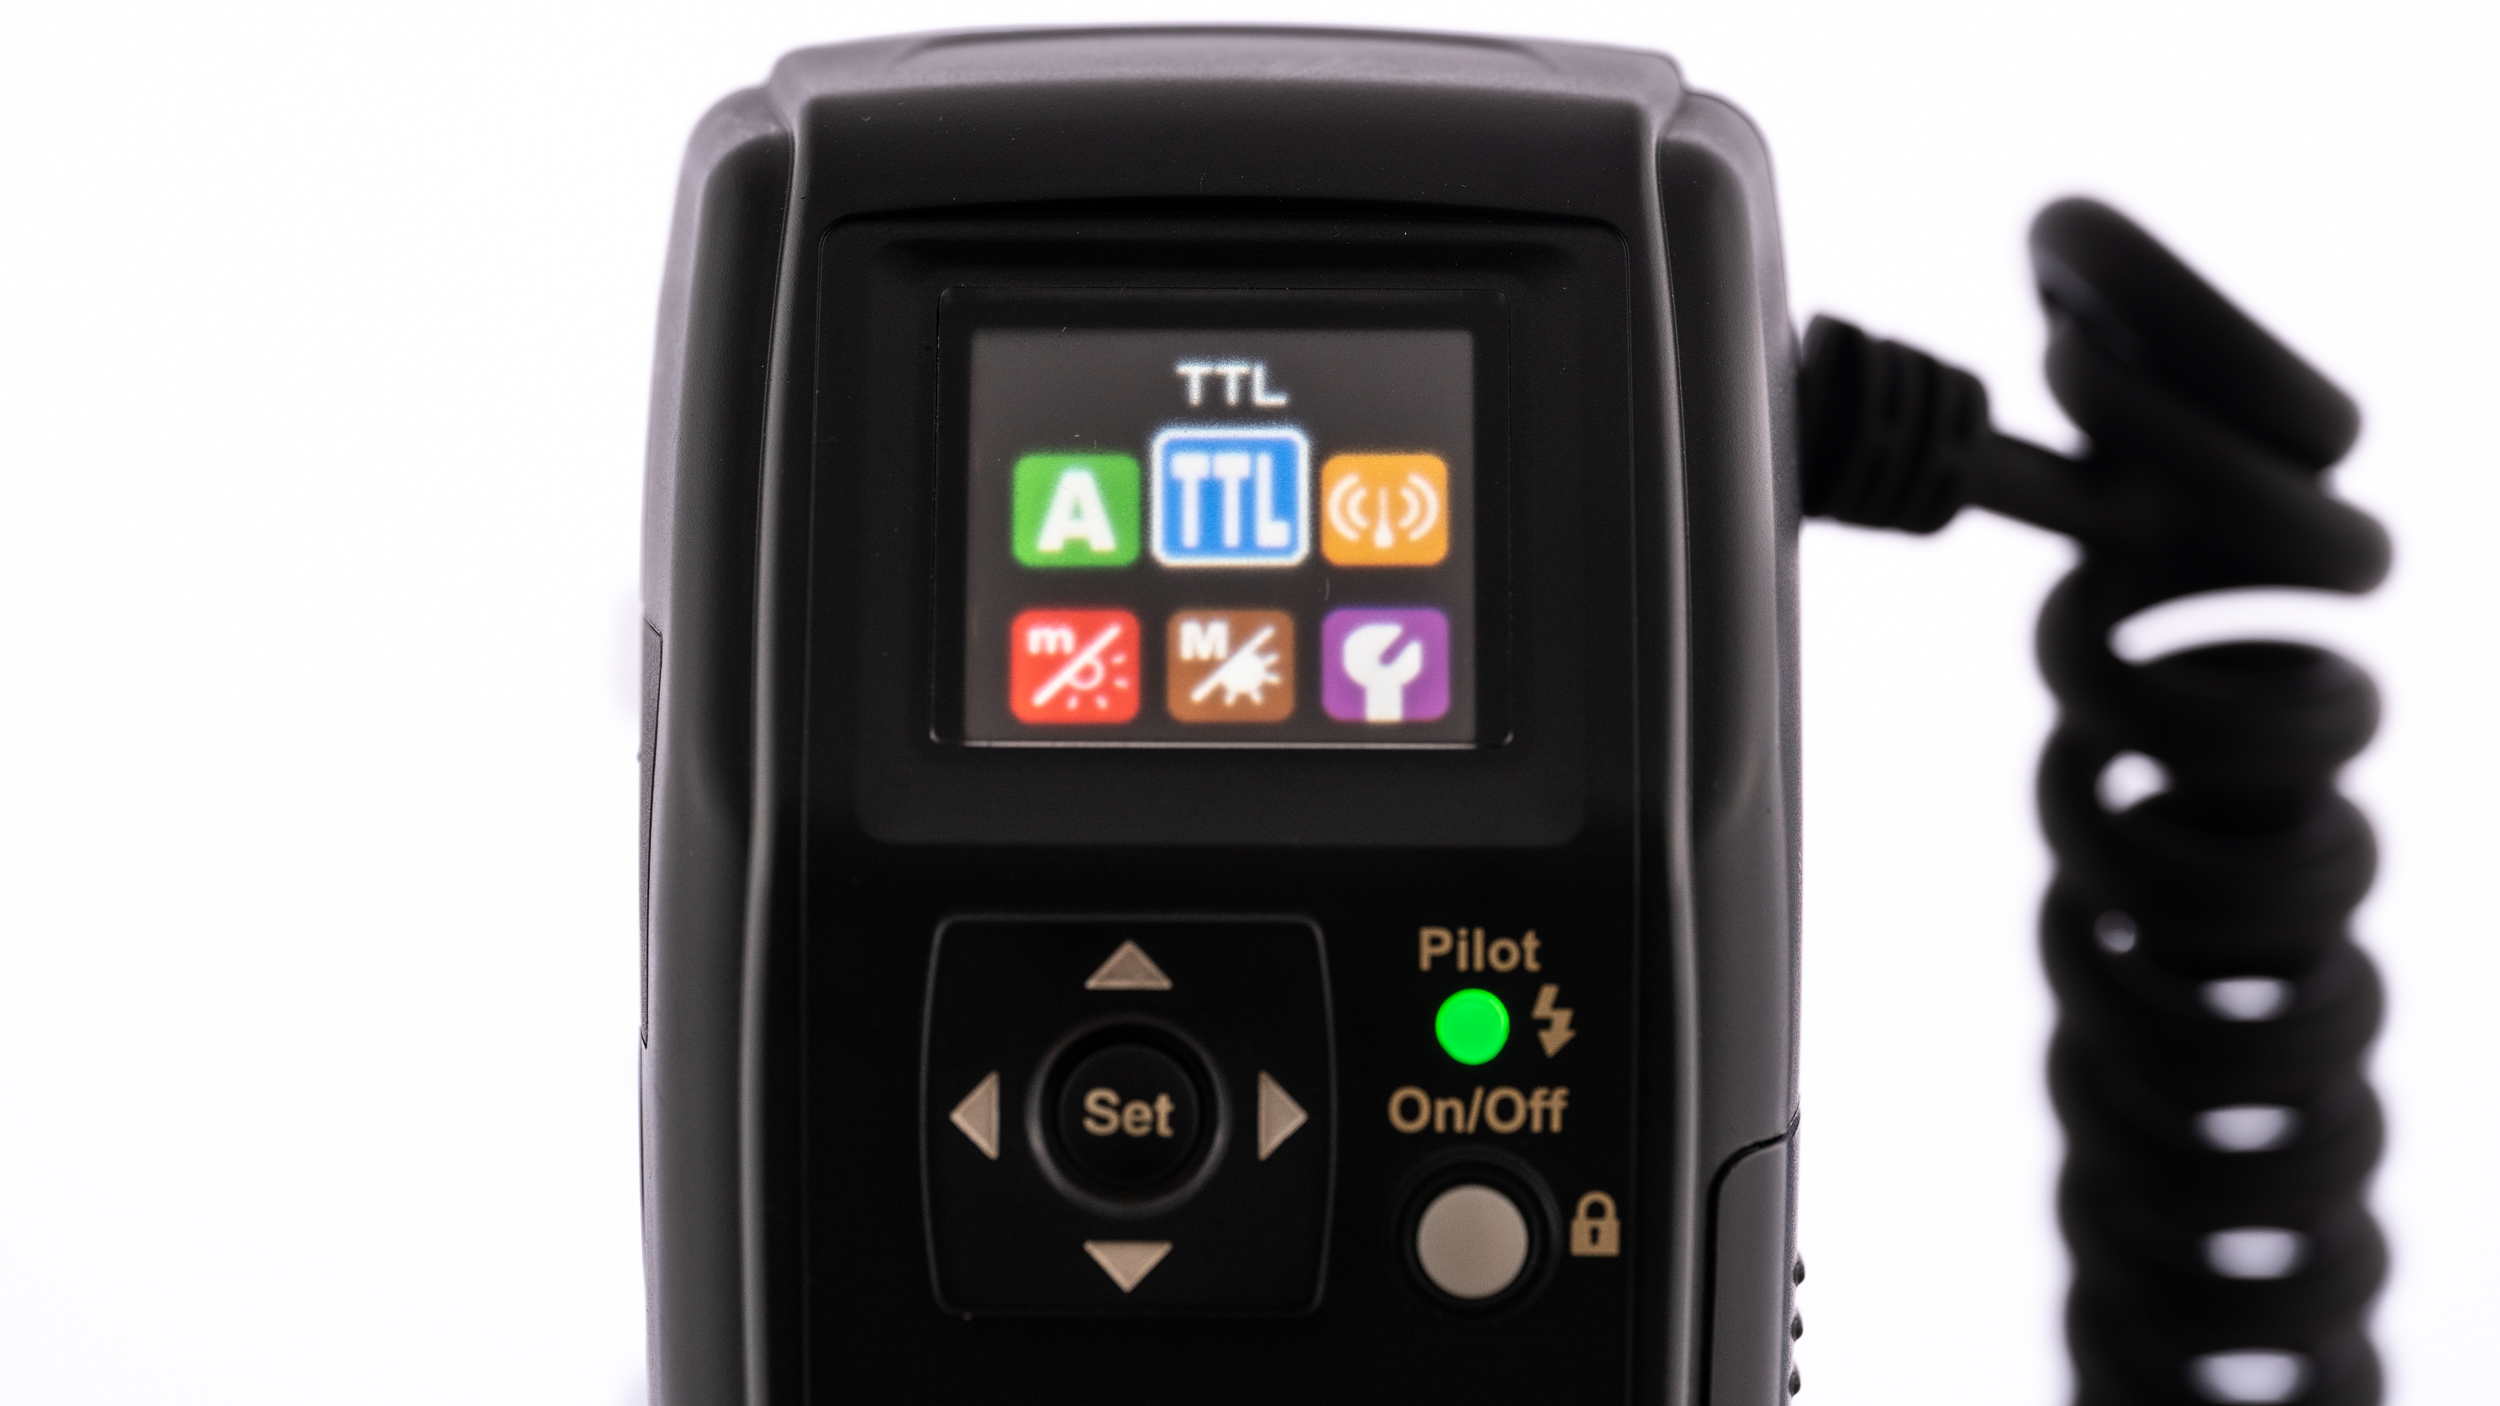
The MF18 control menu.
The menu for selecting advanced features such as second curtain sync power saving modes etc.
Conclusion
Pros
Cons
High speed flash synch
Simple to use
Fine macro mode allows power output down to 1/1024 power
A spare battery magazine is available (Nisin BM-01 and it costs approx $20 USD
Can be powered from the mains
Can be powered by Canon and Nikon external battery packs
Firmware can upgraded via a USB port
No case provided – other brands I’ve used provided a case
Only a limited range of adapter rings supplied in the box and while the rings are available as separate items they are quite pricey at $30 USD each.
Compatibility issues with certain models of camera
No weather sealing
GN not accurate
Colour temperature not accurate
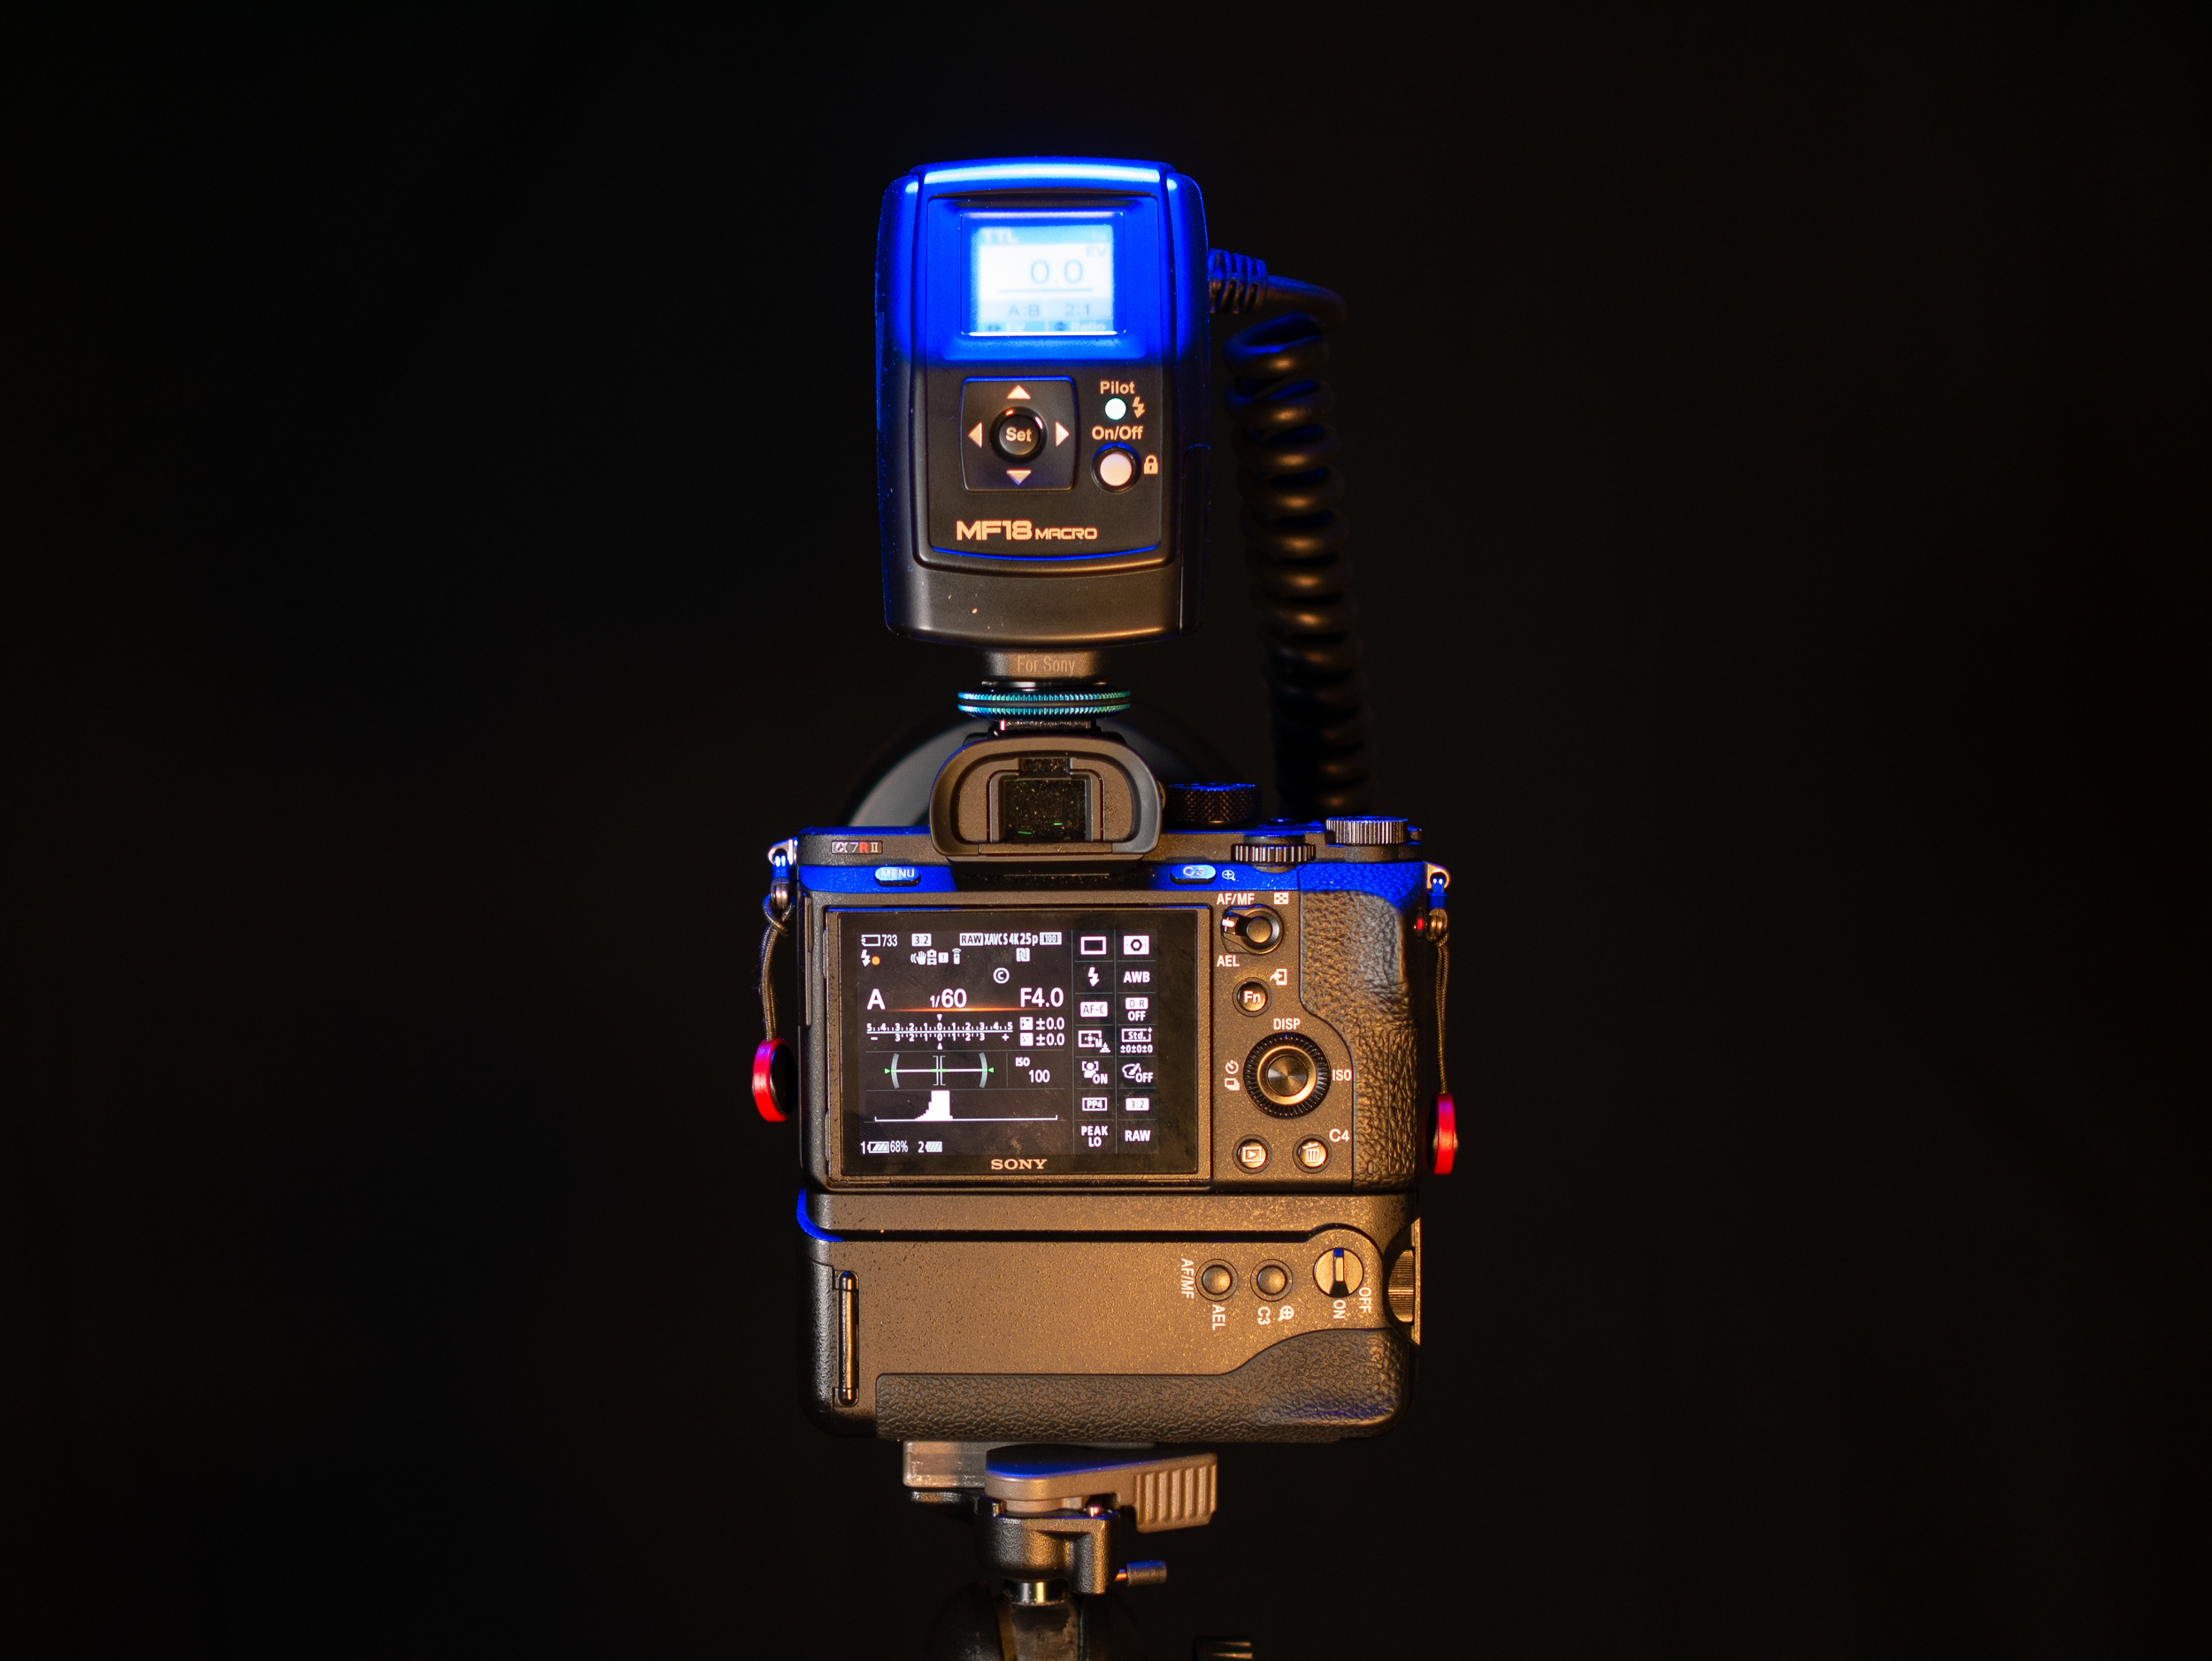
The Nissin MF18 macro flash mounted on a Sony A7R and Sigma 105mm f2.8 comination.viewed in profile.
I bought the Nisin MF18 with my own money. At the time it was the only macro speedlight compatible with Sony that had high speed flash synchronisation. While some of the performance issues such as the GN, recycling times and colour temperature are a bit disappointing they have had no impact on how I use the flash.
The Nissin MF18 macro flash mounted on a Sony A7R and Sigma 105mm f2.8 comination.viewed from the rear.
In terms of value for money, compared to the Olympus and Metz equivalents it seems quite keenly priced. It is better specified than the Metz unit but doesn’t have the overall flexibility and the weather sealing of the Olympus.
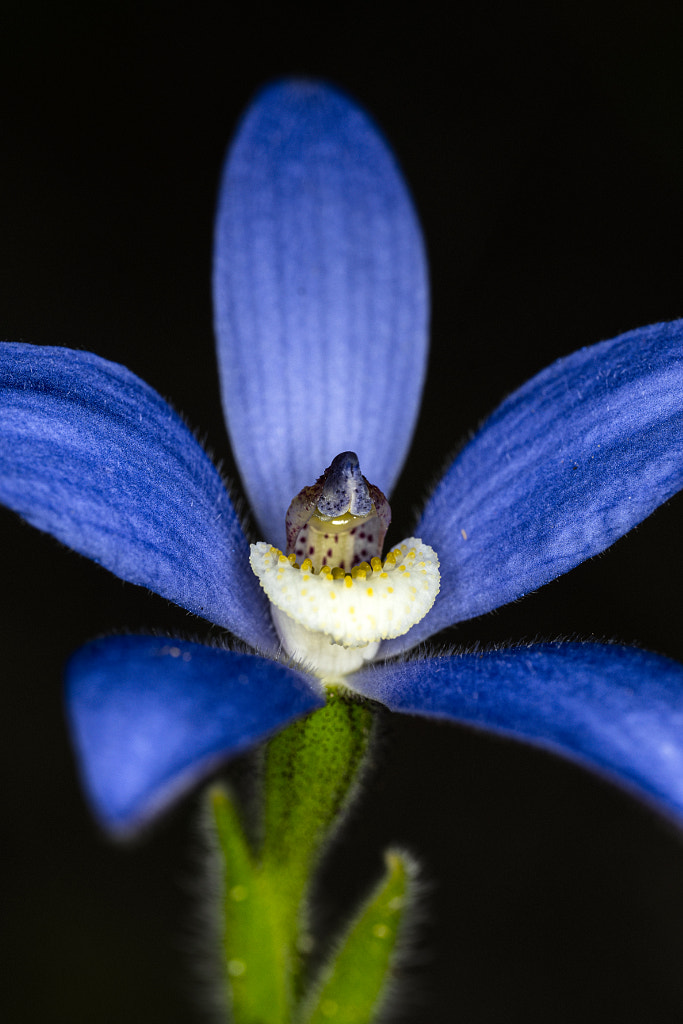
Blue China Orchid, Cyanicula gemmata. Wandoo National Park, Western Australia.
Would I recommend it? Well if you are just going to use it as I do and are happy with the compatibility issues then yes I would. But if you are still using cameras such as the Canon 5d vi or the 6d ii then I would look elsewhere.
For me now the orchid season here in the Wheatbelt of Western Australia is effectively over until next May. This year instead of going here there and everywhere I decided to concentrate on what was just around York, with the exception of a trip to Augusta. Despite that limitation I still managed to photograph over 90 different species and the video below is made up of just a small selection of those photos.
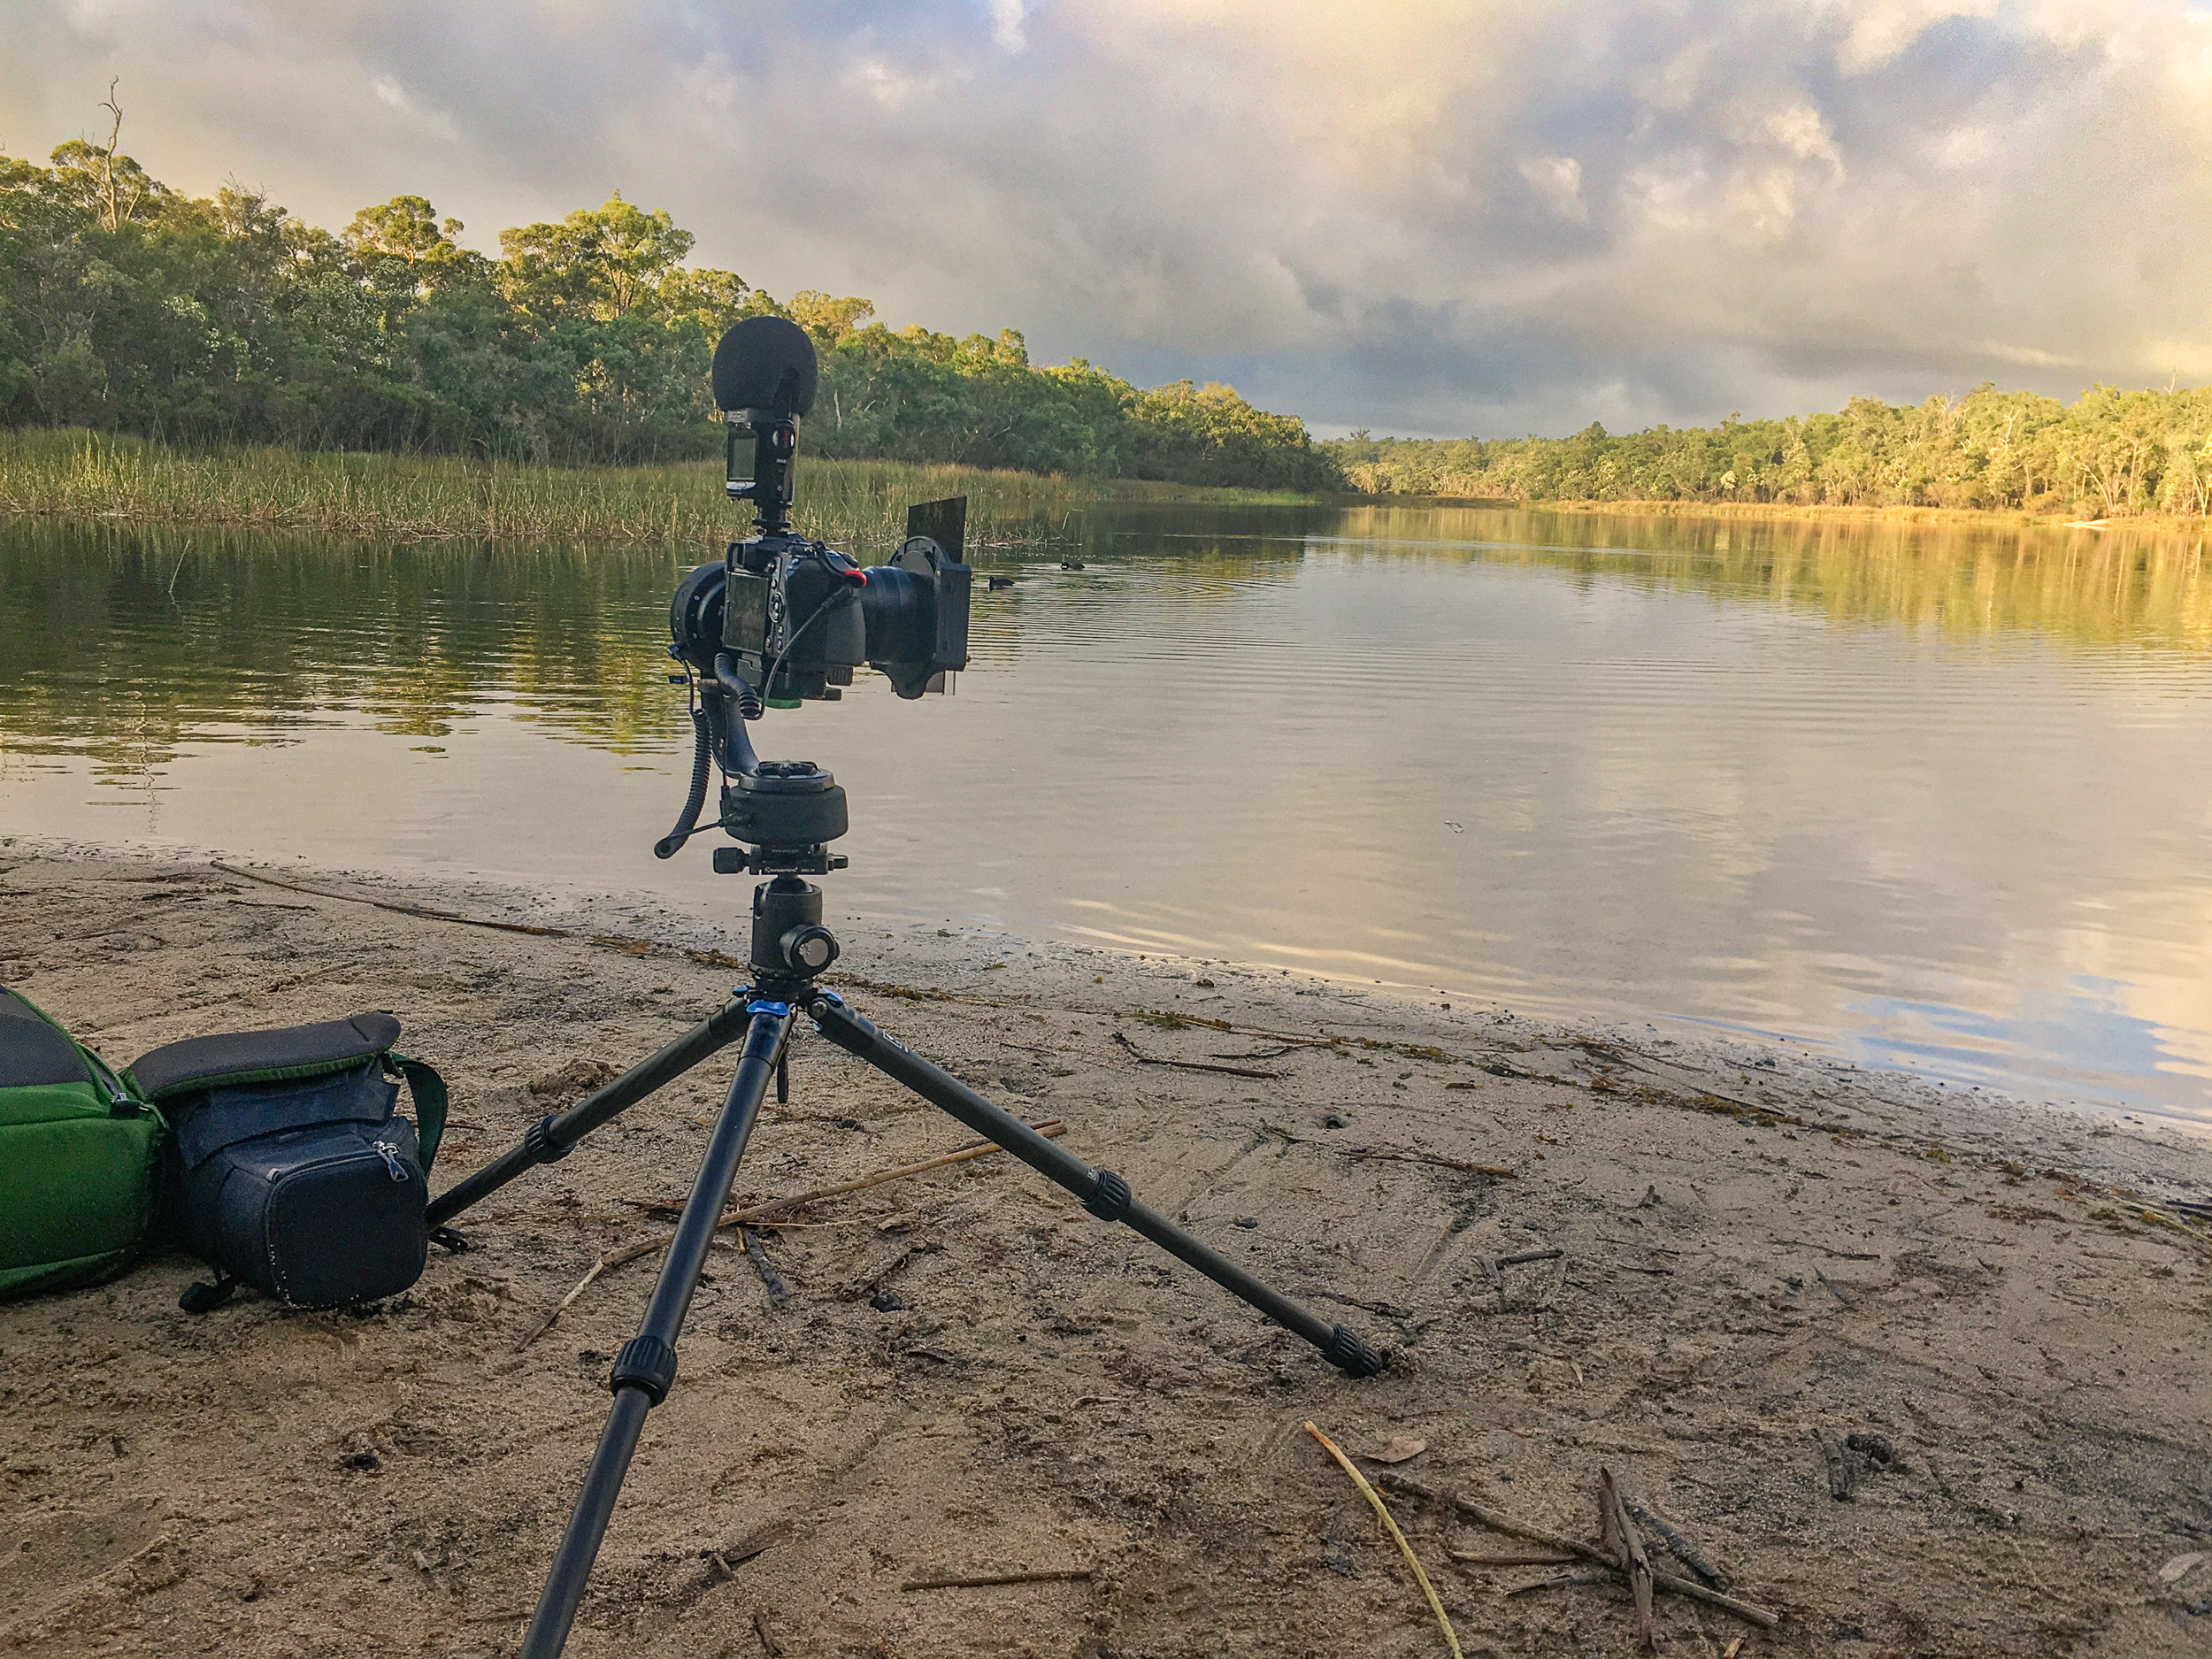
Time lapsing at Lake Leschenaultia in Western Australia.
The last few weeks I’ve been spending a day at Lake Leschenaultia. I’ve photographed there often but this time I thought I’d try making a video about some of the wildlife there. In the process I’ve discovered three things:
The animals don’t play ball. Quite a few times I went and they didn’t show up.
It’s harder than it looks. We’re accustomed to seeing the David Attenborough docos on the TV and they spoil us because trying to get anything halfway decent takes an enormous amount of time, dedication and skill.
All the cameramen and directors of photography I know of all complain of having wrecked backs. Having carted the equipment round for a few weeks I now know why – it’s bloody heavy!
Having said that it has been great fun and while I’m not particularly happy with the resulting video I enjoyed the whole experience immensely.
Now for a shameless plug. Autumn, Winter and Spring are the best times to go walking in Western Australia and the walk around Lake Leschenaultia is one of forty two that are in my book Perths Best Bush, Coast and City Walks which can be bought through the link given. Further more if you use the code PAULA15 you get a discount of 15%.
Obviously as I own Canon EF mount lenses this is about the EF version. Sigma state that their adapter is for use with their Global Vision lenses which comprises of three lens lines:
Art
Contemporary
Sport
As of the time of writing there are 44 Sigma lenses that are compatible with the adapter and these allow users to access all the auto focus modes on Sony E mount cameras. This is important to me as I want to be able to use the 150-600 for bird photography.
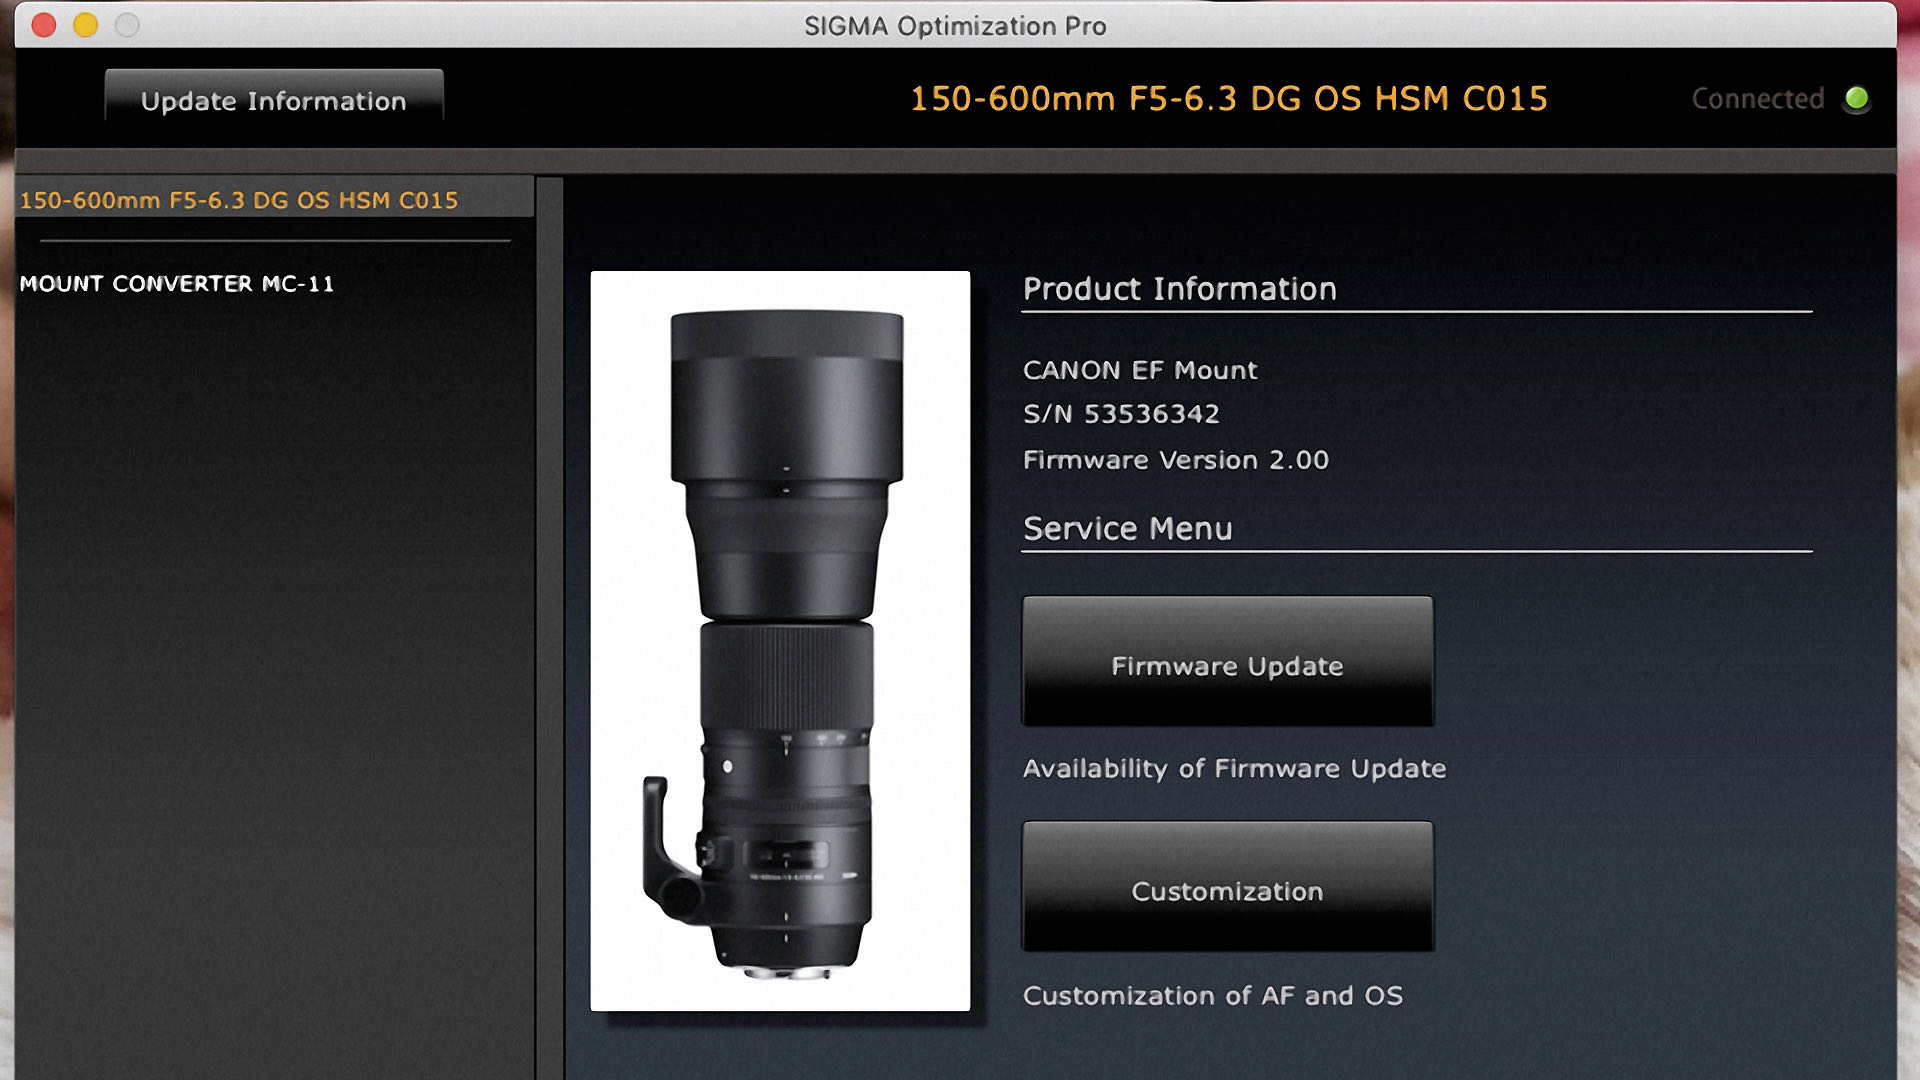
The Sigma 150-600mm F5-6.3 DG OS HSM Contemporary lens is one of the lenses that is compatible with the Sigma MC-11 lens adapter.
The first thing you notice when you pick up the MC-11 is that it is very solid and well made. The body is of metal construction and the lens mounts are chromium plated brass. Disappointingly there are no weather seals. On the body is a USB port behind a soft plastic flap and on the opposite side is the lens release button. Just by that is a tiny LED light which is very hard to see when it is off. The purpose of the light is to inform you about how well the lens attached will work it does this through one of four states:
Constant green – the lens is compatible
Flashing green – you need to update the lens firmware
Flashing orange – the adapter firmware needs updating
No light – the lens isn’t compatible
The light only comes on for 2-3 seconds when you switch on the camera.
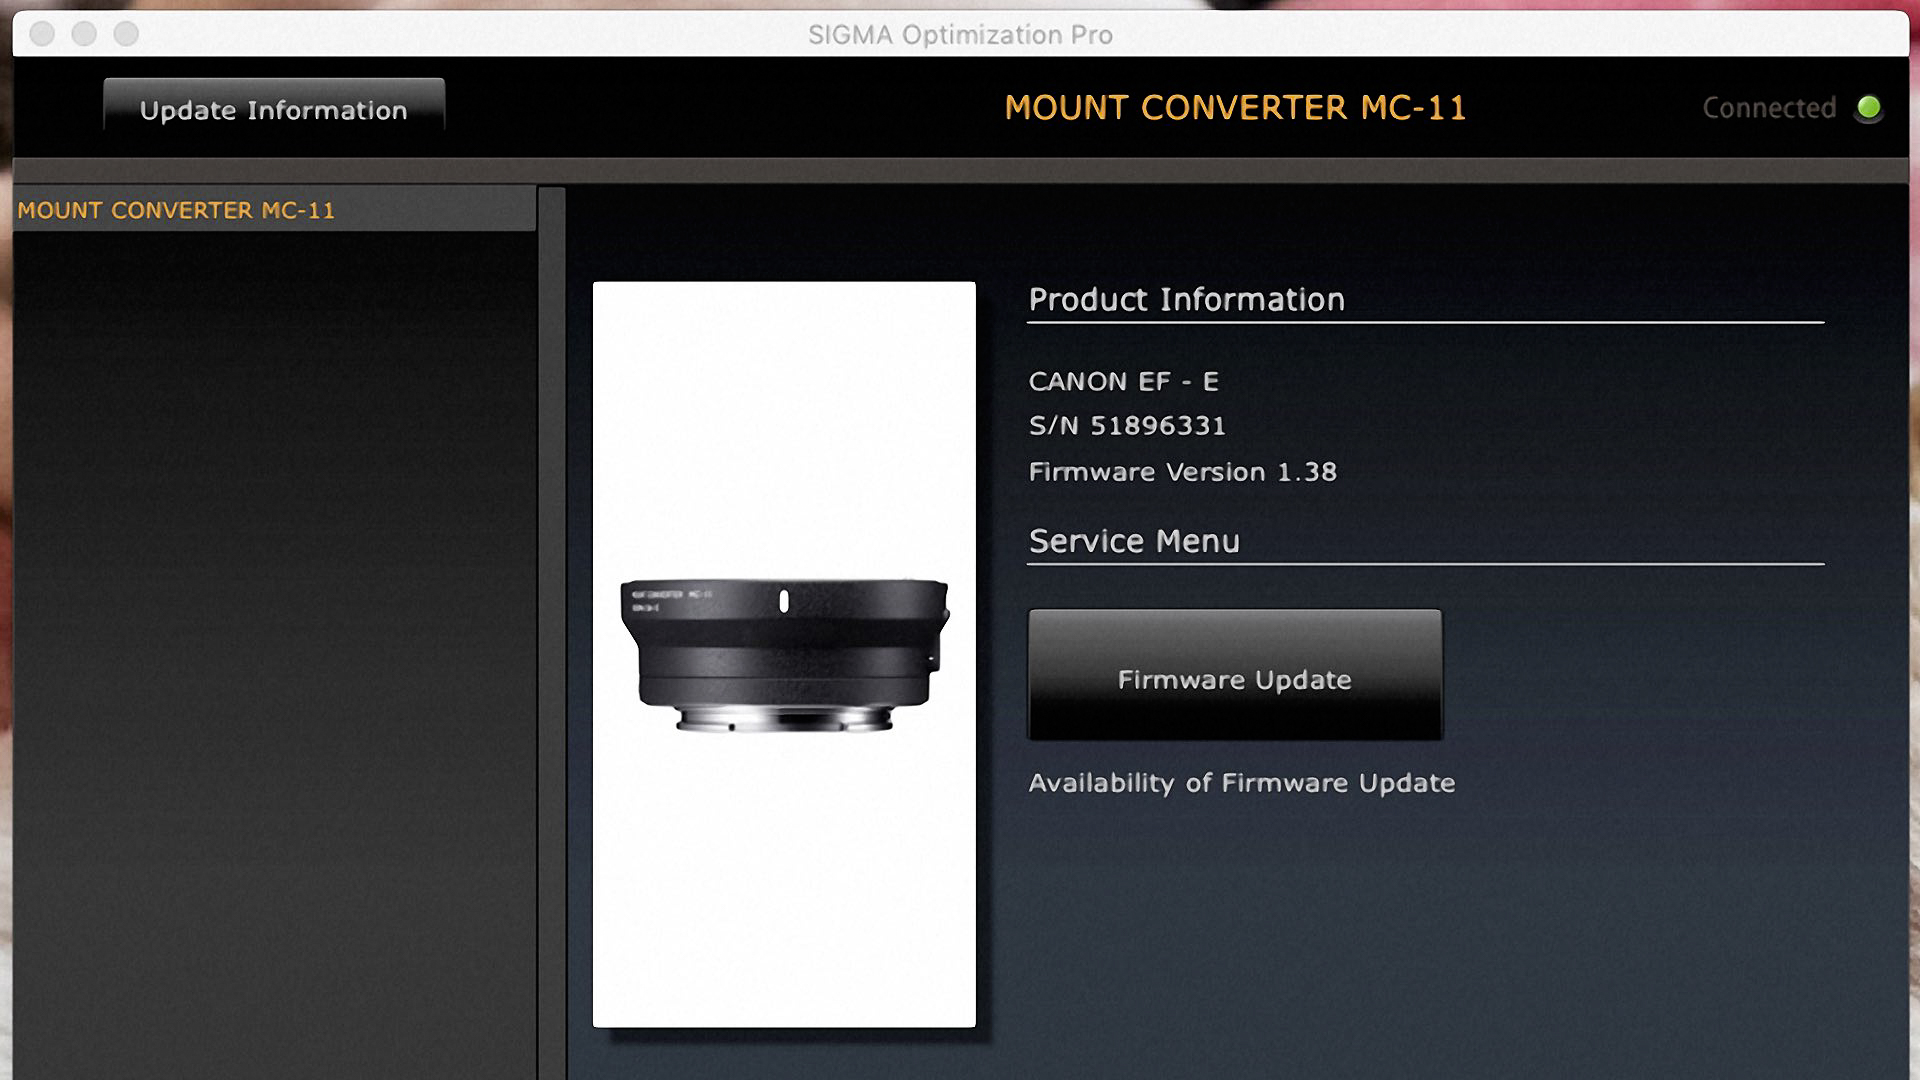
Speaking of firmware updates to do this you will need to download the Sigma Optimization Pro software from Sigma’s website. To update the adapter just needs a USB cable, for lenses you will need the Sigma Dock UD-01. I find it somewhat frustrating that you can’t update the lens firmware through the MC-11 adapter. The dock isn’t expensive to buy although in Australia the retail price varies between $80 to $120 AUD so it pays to shop around. Luckily there seem to be plenty for sale second hand on EBay for about $40. I ended up updating both the adapter and lens firmware and the whole process was very straightforward.
In Use
Before I updated the firmware I found that there was difficulty in acquiring focus when shooting in low light, backlit situations and with subjects in undergrowth. Once upgraded things worked a lot better. I experimented with the settings on the camera by setting up two custom modes. Custom mode 1 was in shutter priority with the shutter speed set at 1/500 sec, Auto ISO, Auto Focus Continuous, Lock on AF with a medium sized flexible spot and the frame rate was set to low speed continuous. Custom mode 2 was in shutter priority with the shutter speed set at 1/2000, Auto ISO, Auto Focus Continuous, lock on flexible spot large and high speed continuous drive. Both modes had the following parameters set:
Phase Detect Area – on
Pre AF – off
Priority set in AFC – balanced emphasis
AF with shutter – on
AF drive speed – fast
AF tracking sensitivity – high
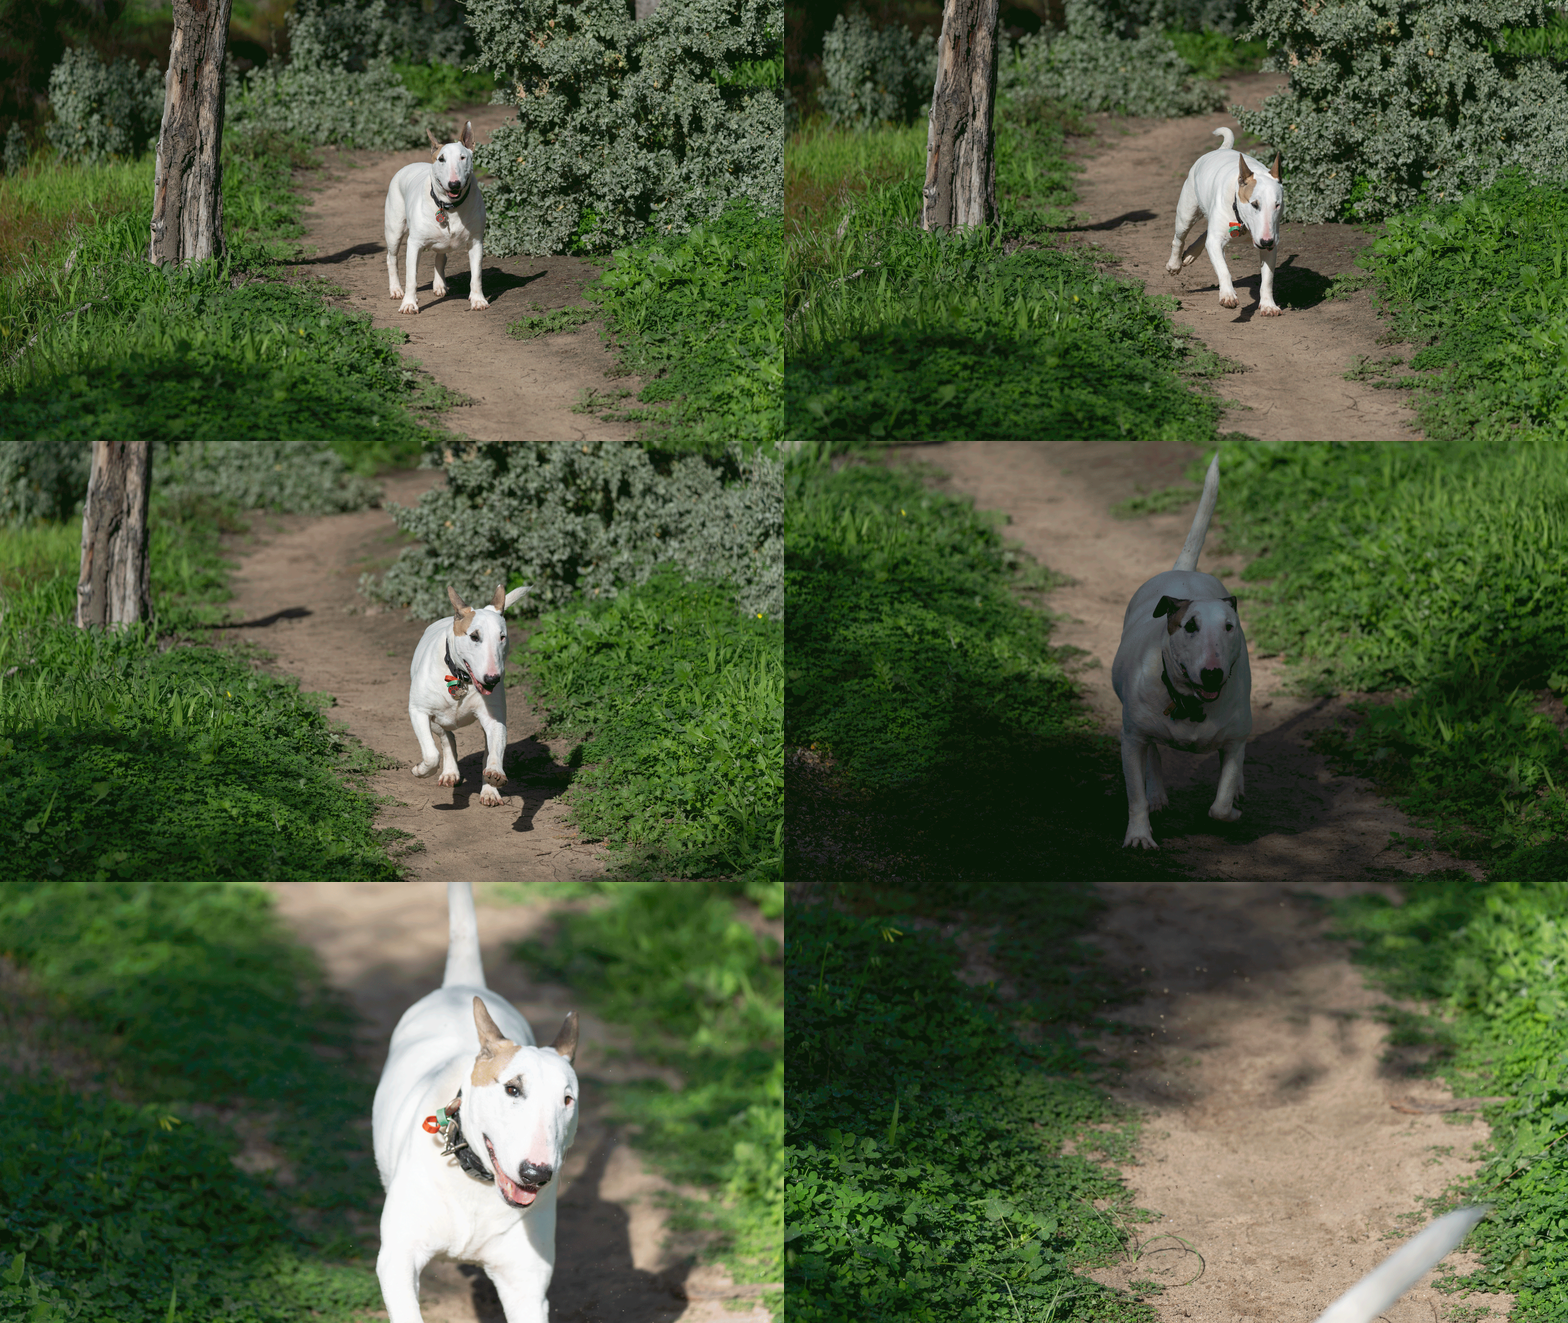
With birds in trees that weren’t moving too quickly I found that I was getting a hit rate of around 90%. With more erratic moving birds my hit rate dropped to 36% when I was using my custom mode 2. When I switched to mode 1 the hit rate improved to 85%. Photographing my dog running towards me both custom modes acquired focus very quickly, but the results from custom mode two weren’t very consistent fluctuating between 60 to 85%. In custom mode 1 I got very consistent results at 85%. When shooting birds in flight I found that I didn’t get a single shot with critical focus which was disappointing to say the least.
The video performance of the A7r II and the Sigma 150-600 was surprising. Shooting wide open at the short end AF performance is good, it is quick and confident. At the long end the AF is a bit slower but it does acquire focus and lock on. What is very apparent is the noise of the lens motor, it is quite loud and would mean that any sound would have to be recorded using an external microphone.
Conclusion
The Sigma MC-11 adapter allows certain Sigma EF lenses to be used on Sony E mount bodies while retaining autofocus and image stabilisation.
In practice it would certainly seem that shooting at higher frame rates the autofocus struggles to keep up and dropping the frame rate improves the hit rate considerably. Whether using this combination is a good idea depends very much on your expectations and what you want. If you want the performance of a Sony native lens then you are better off getting that. But if you already have the lens and want to change from a Canon DSLR to a Sony full frame mirrorless camera and you are shooting birds in trees, scrub, on the ground or on water then this works very well. For birds in flight you’ll want either a full Sony set up or a full Canon set up.
Sample Images
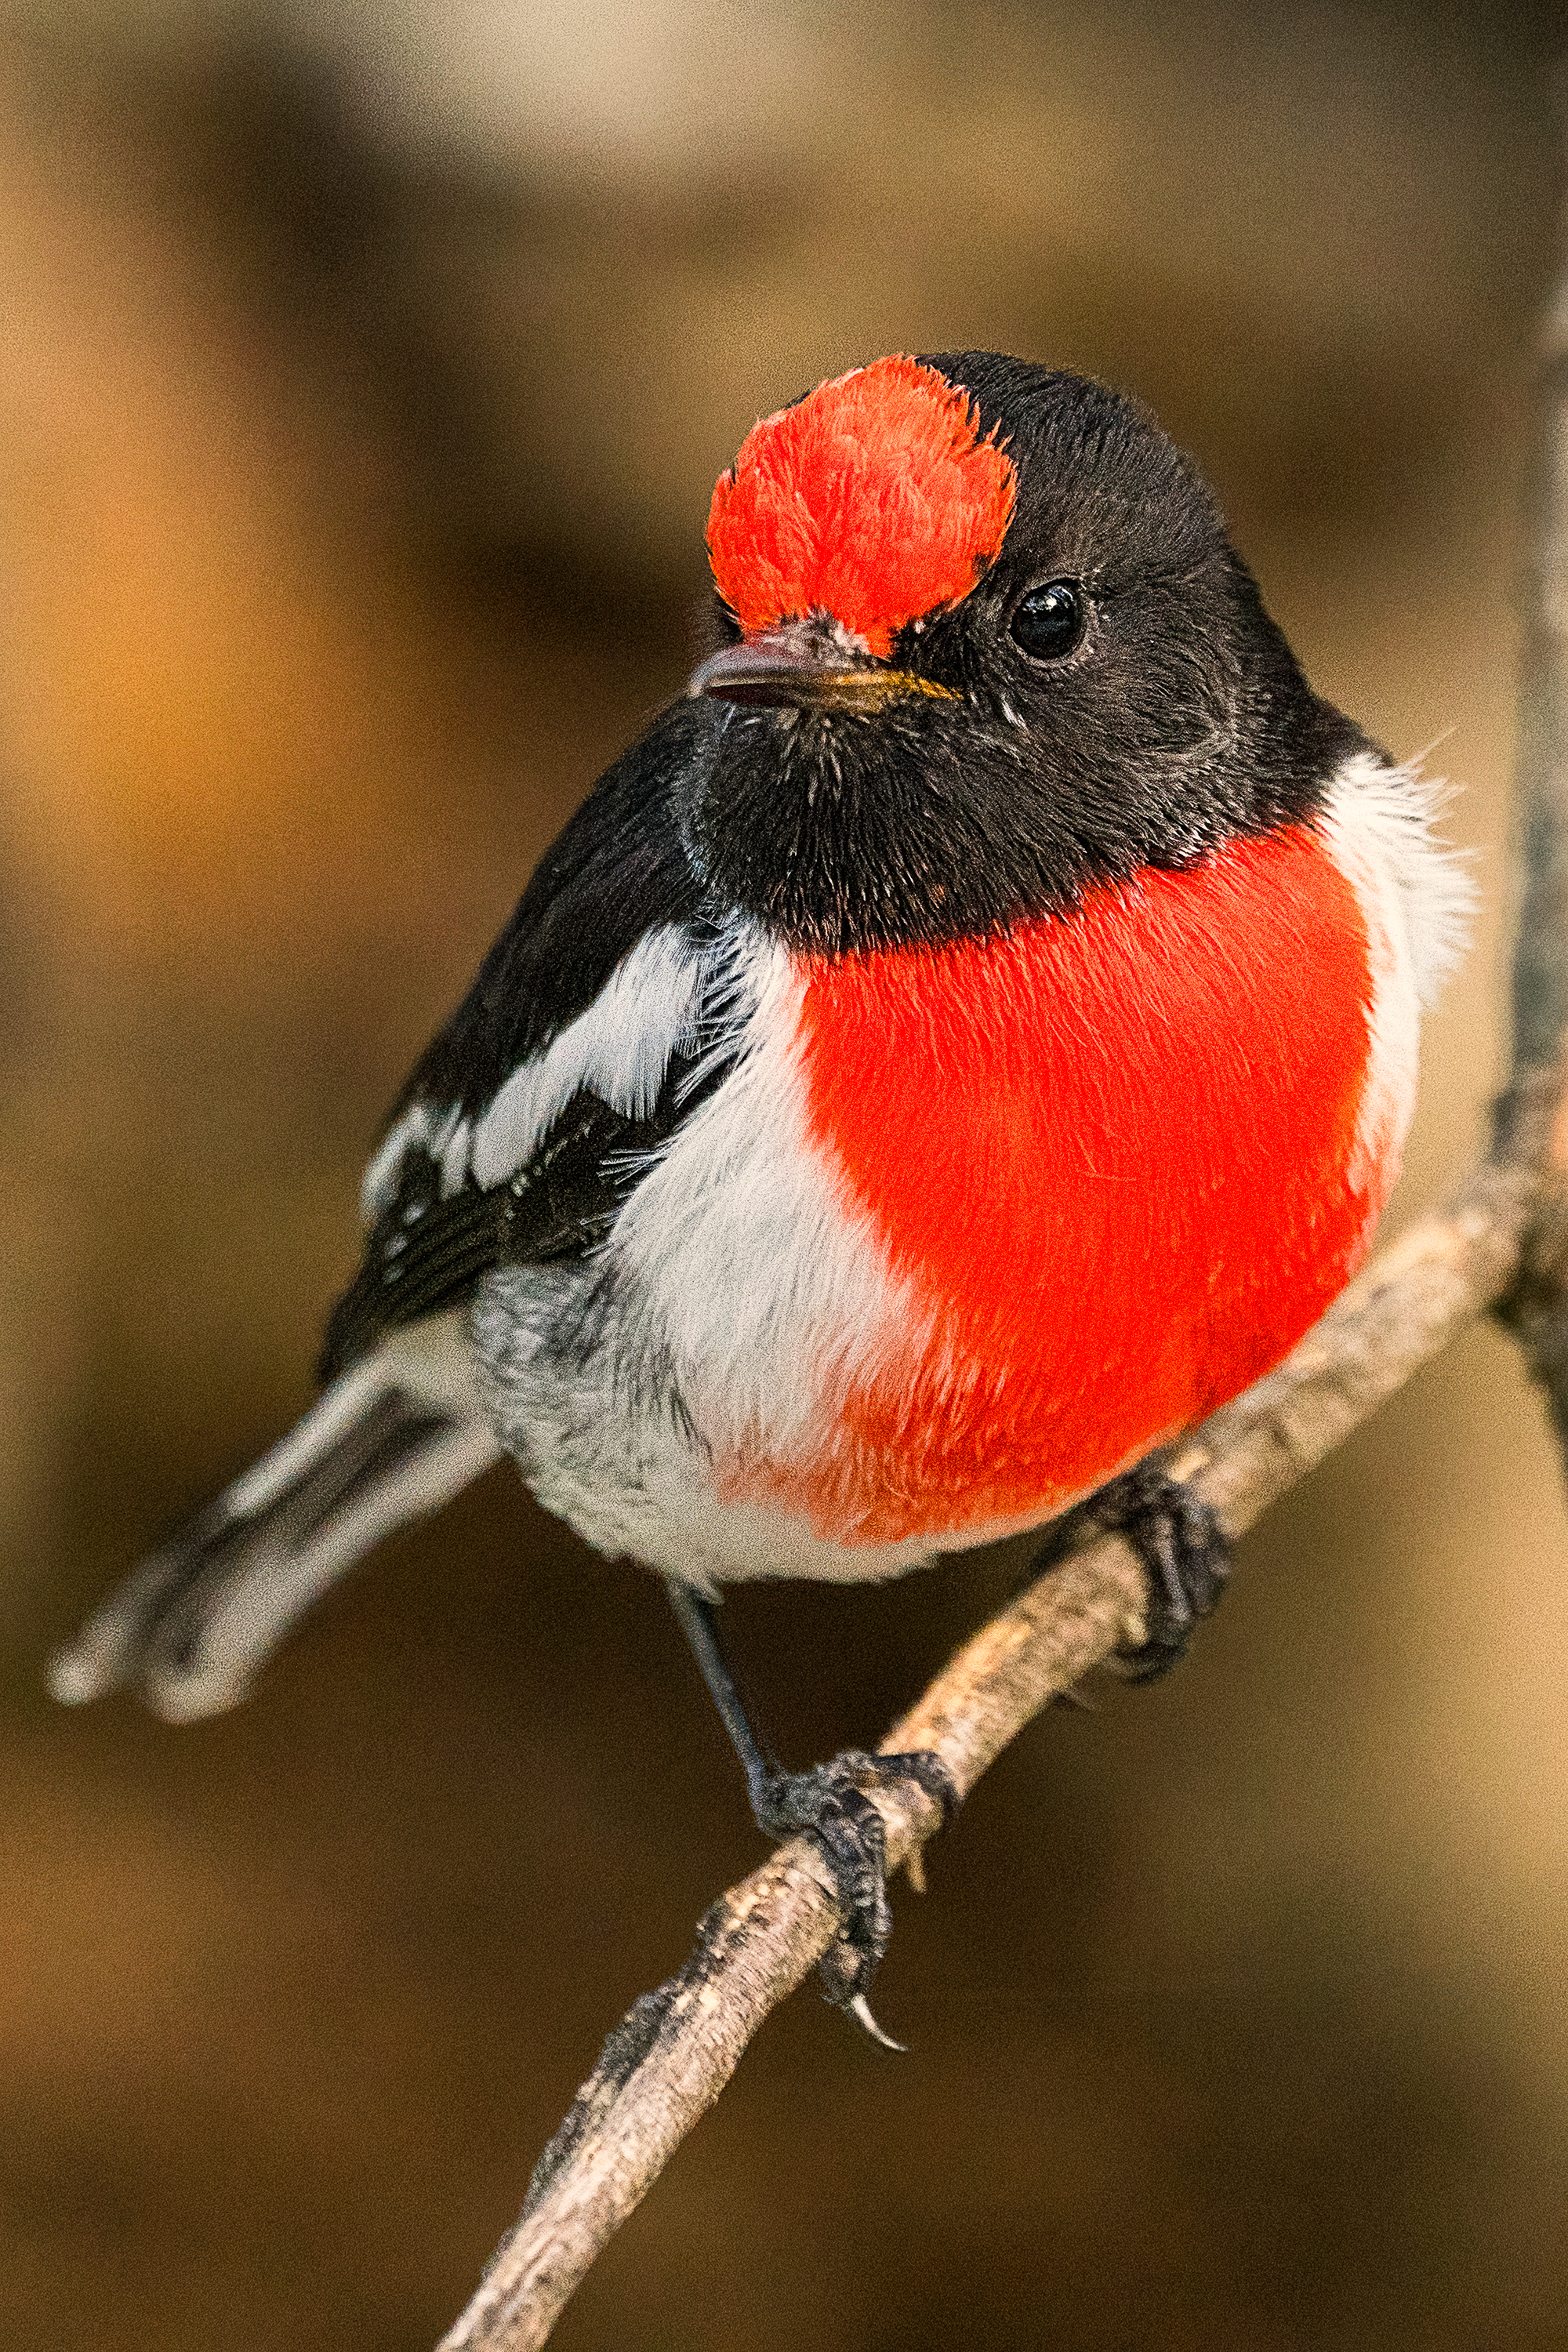
Menekedang called the Red-capped Robin (Petroica goodenovii) by white colonialists.
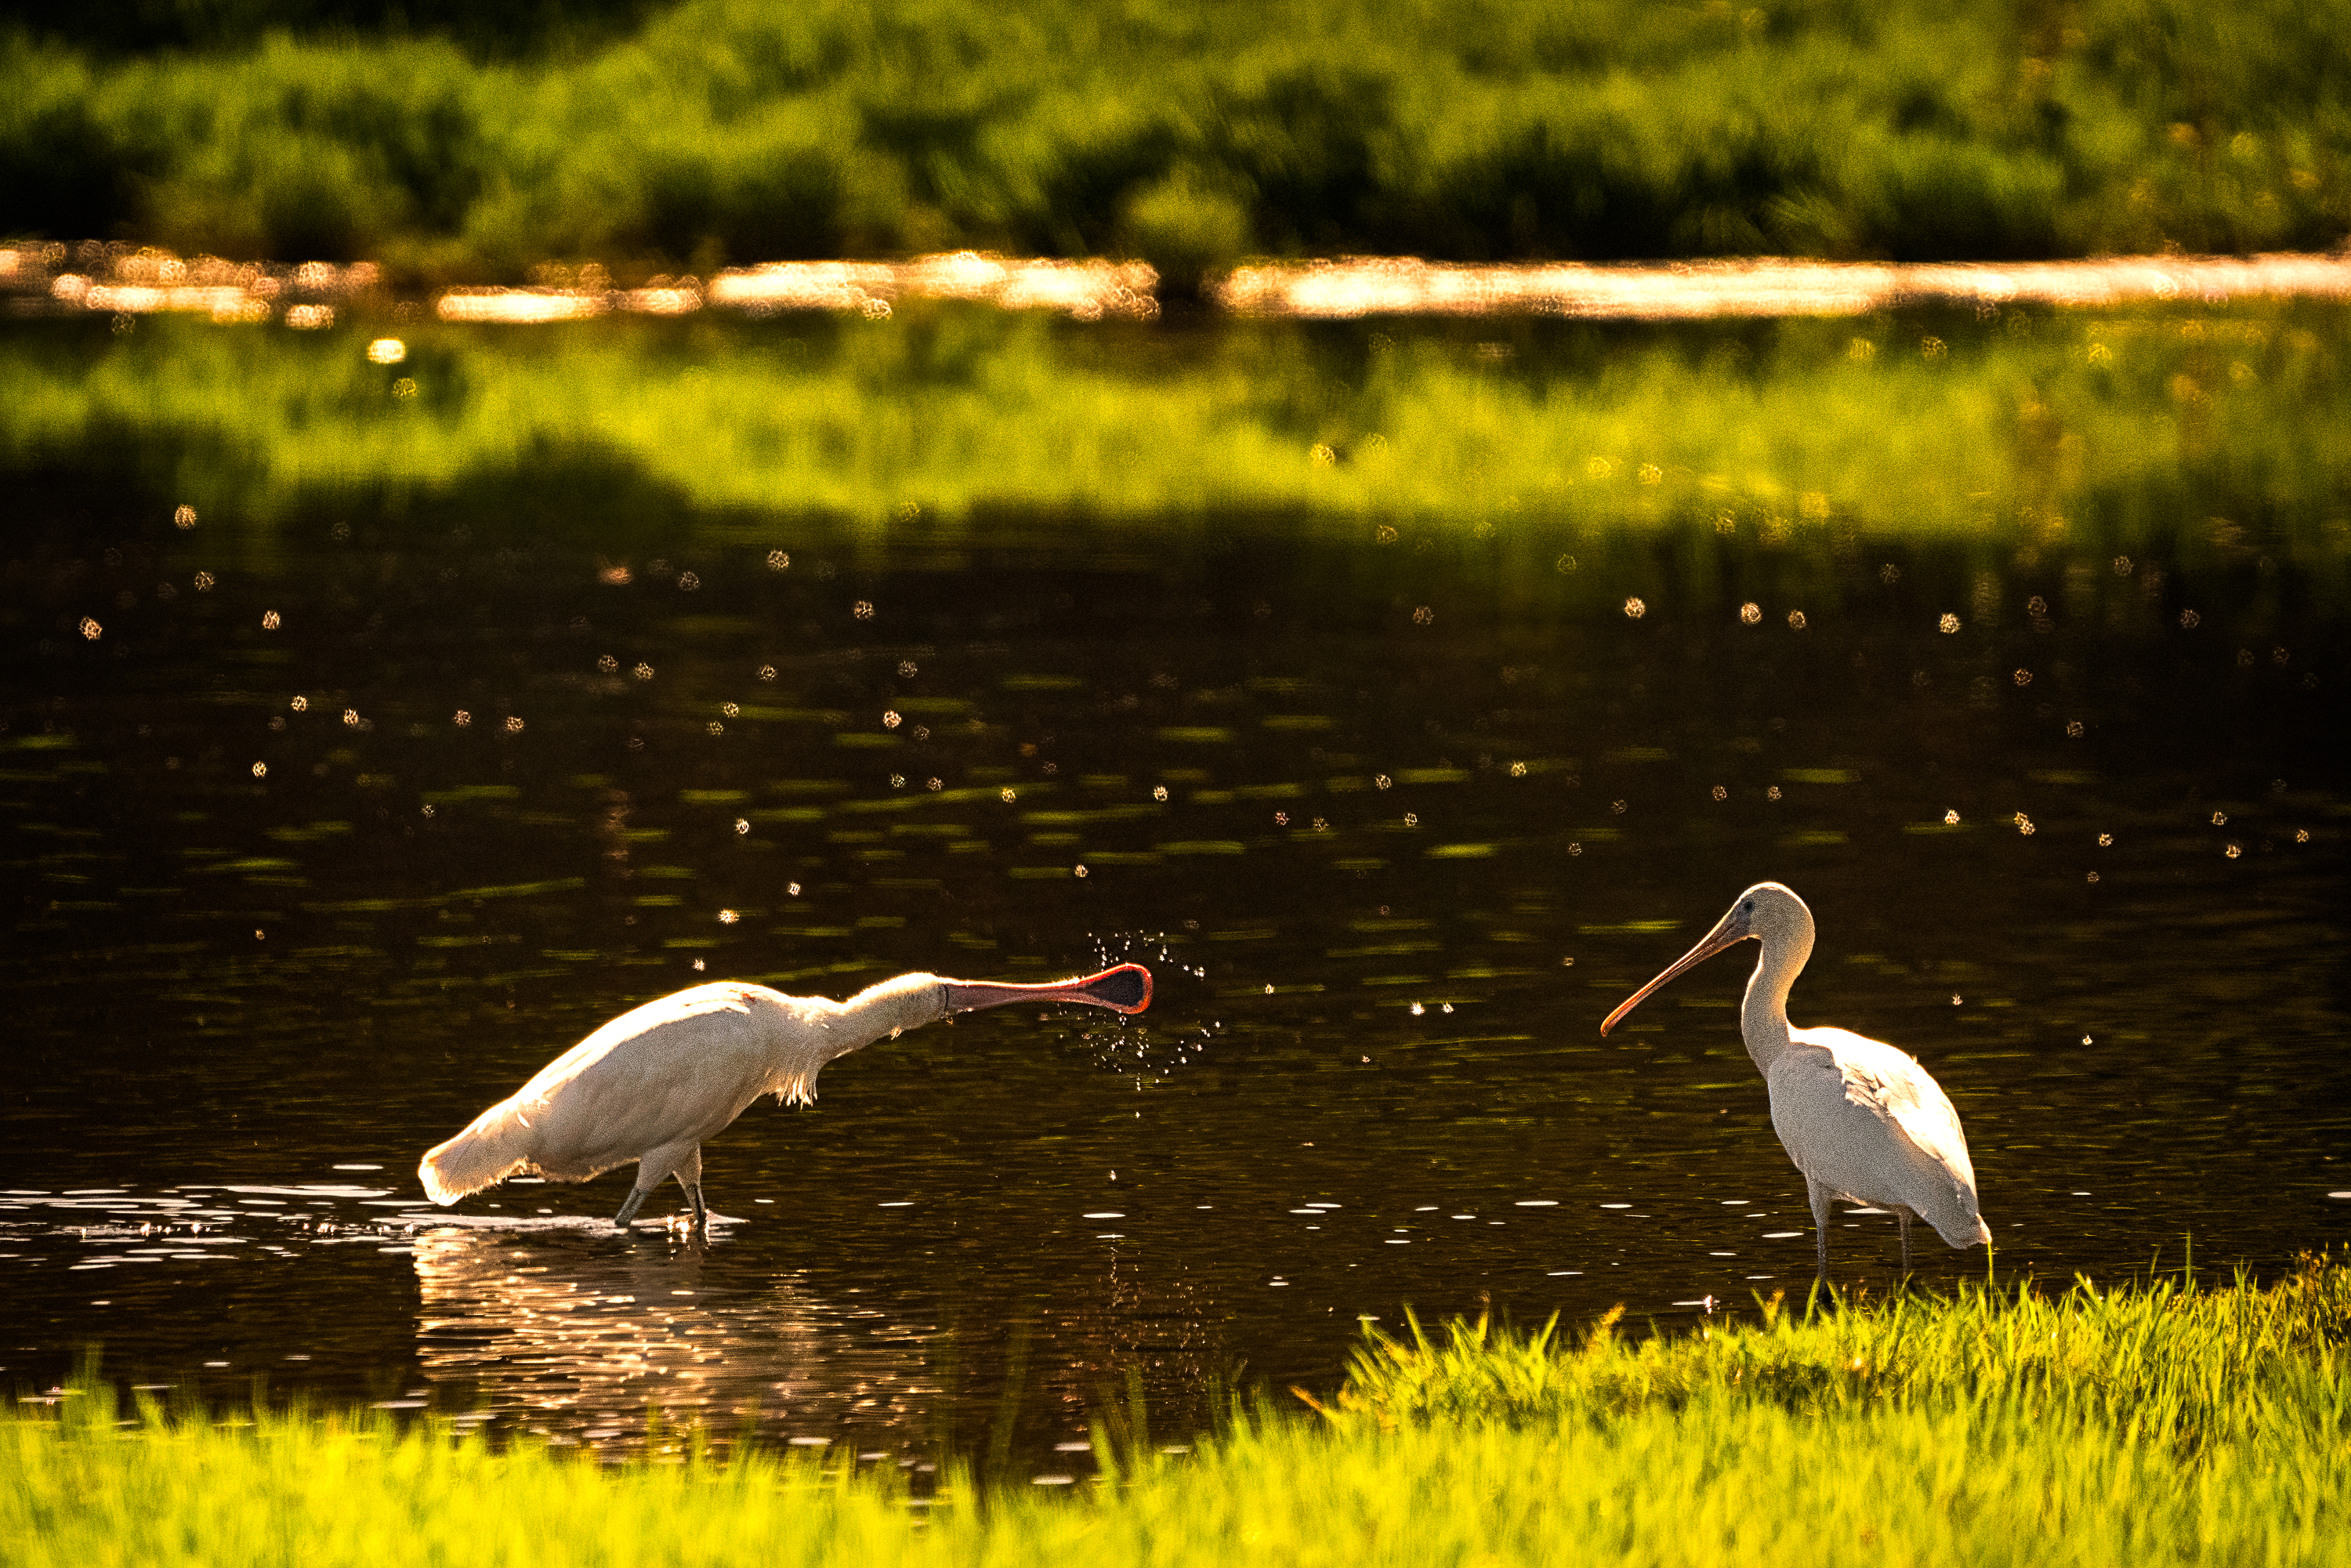
Melkullya called the Yellow-billed Spoonbill (Platalea flavipes) by white colonialists.
Menekedang called the Red-capped Robin (Petroica goodenovii) by white colonialists.
Red Wattle bird (Anthochaera carunculata subsp. woodwardi) known to the Nyoongar people as wodjalok. Yellagonga Regional Park.
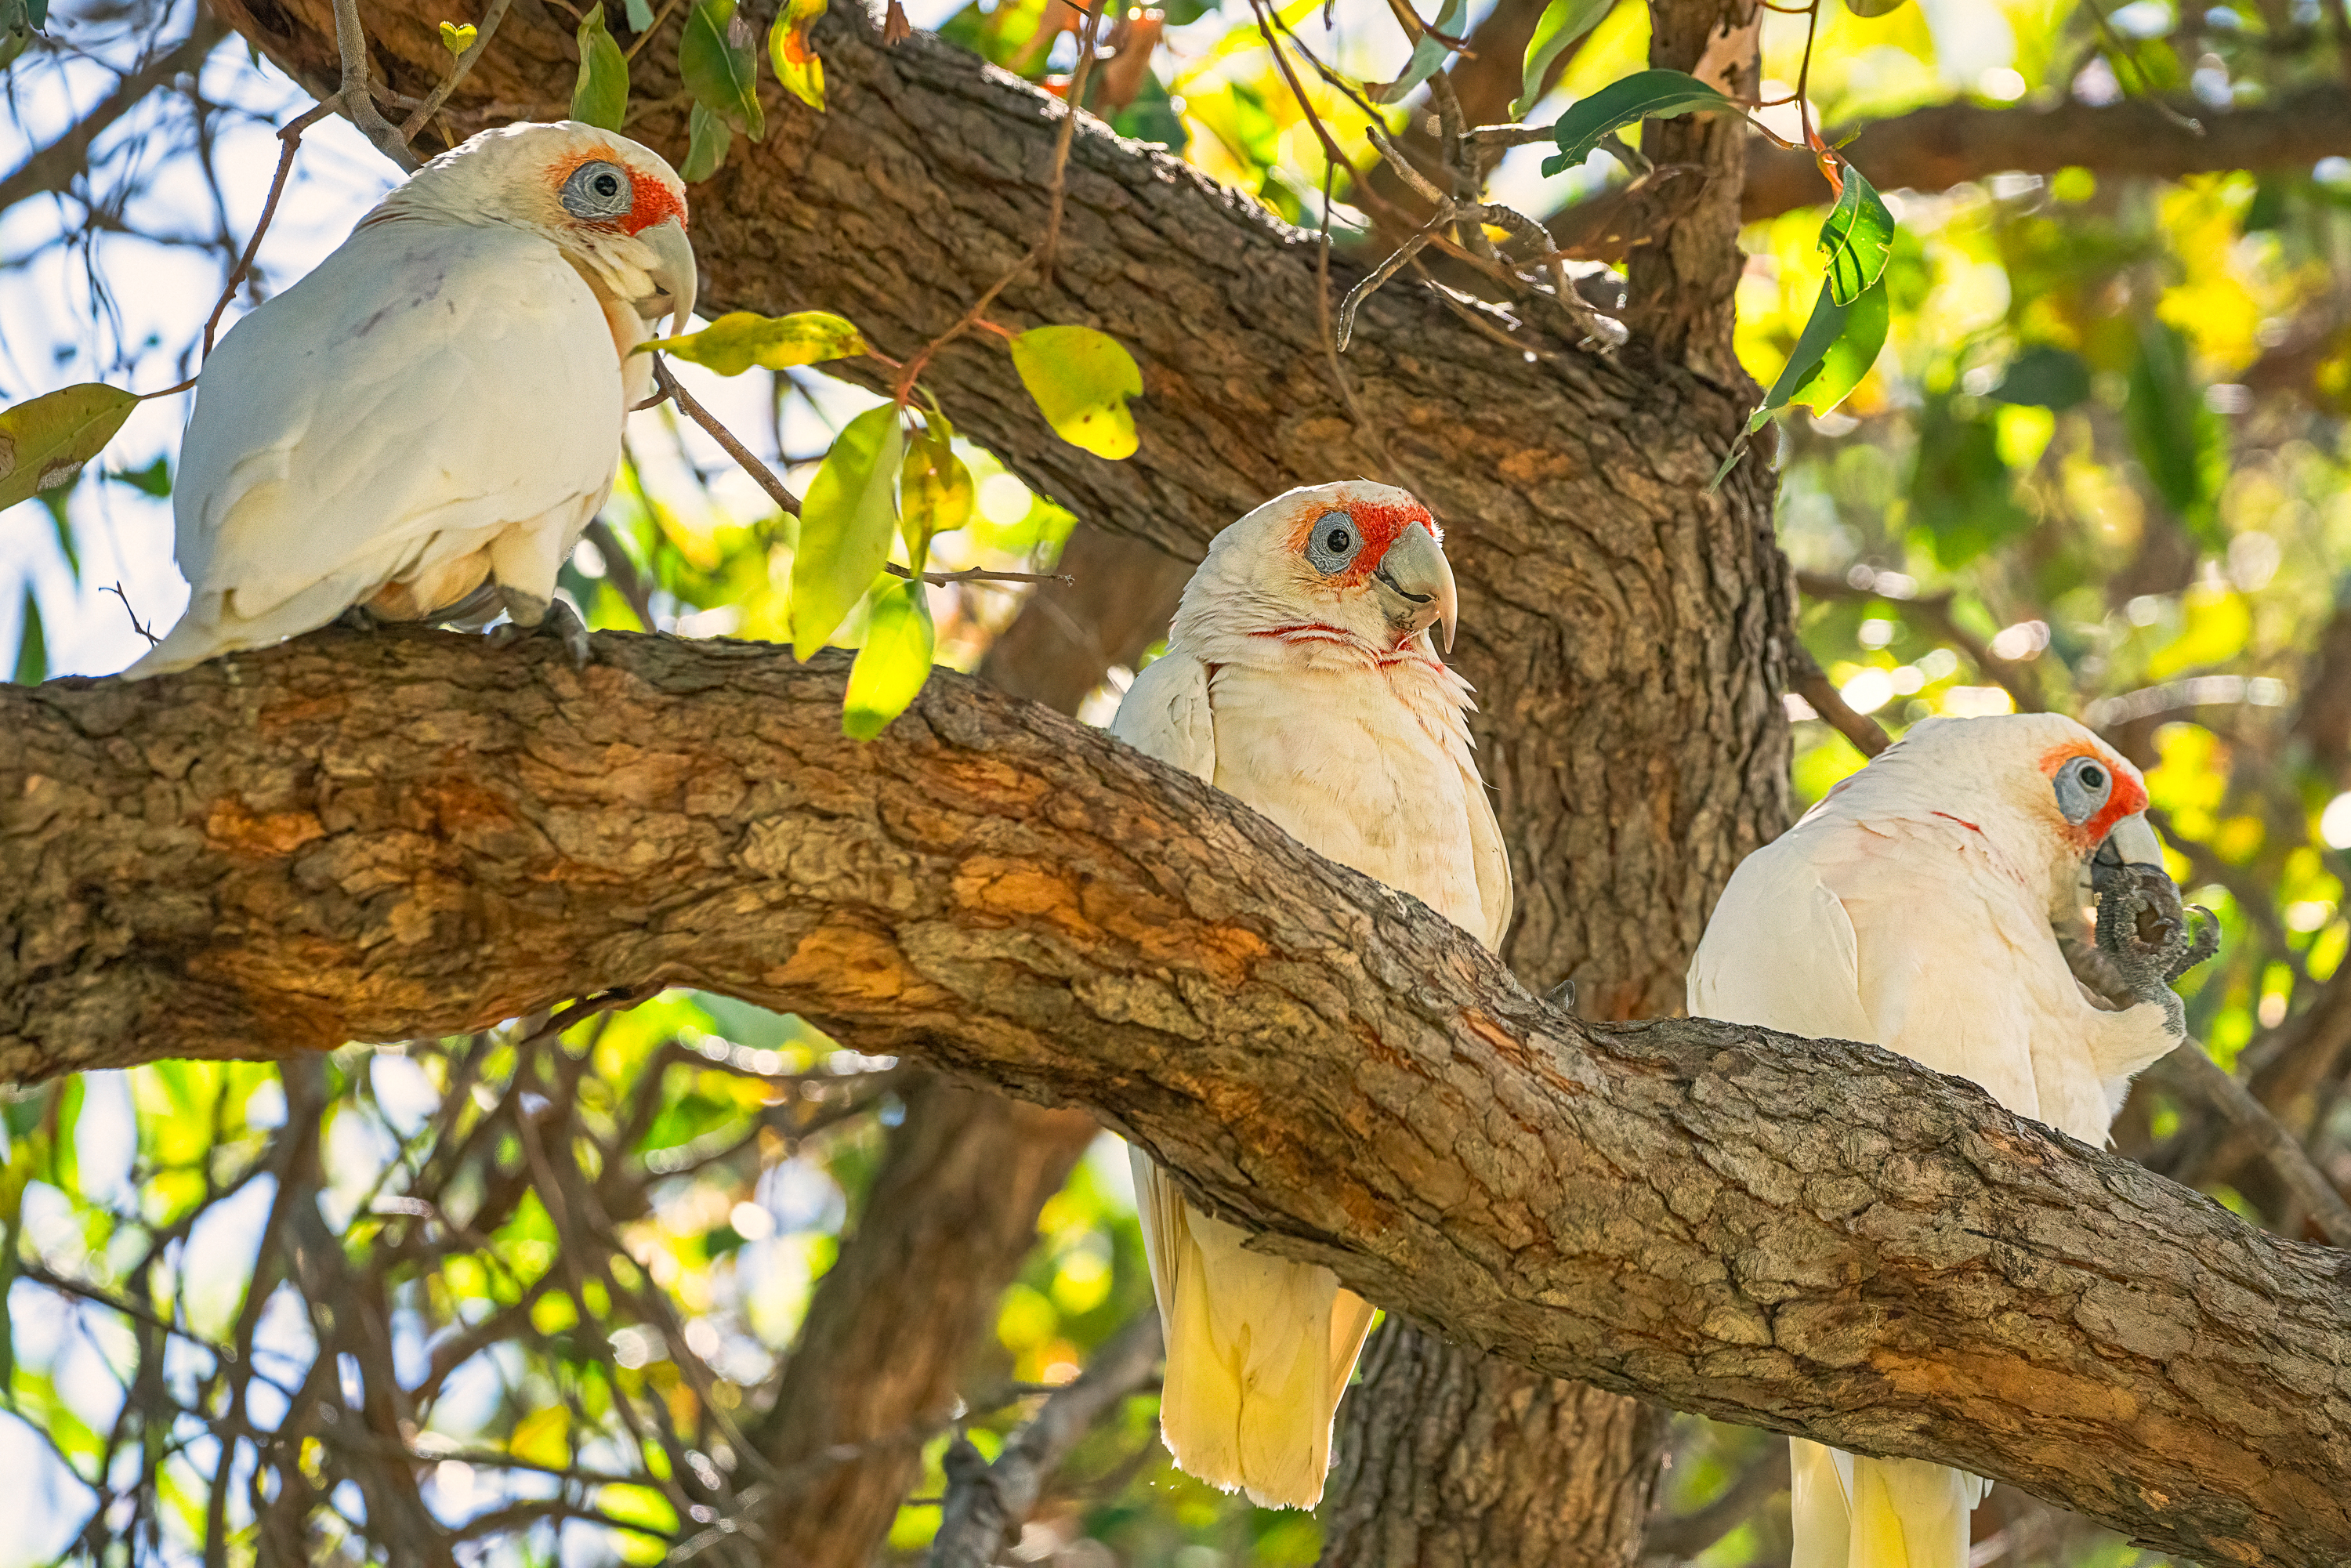
Three wise corellas – hear no evil, see no evil, and sorry my mouth is full. Yellagona Regional Park, Western Australia.
Manyt or the Western Corella (Cacatua pastinator subsp. derbyi). Yellagona Regional Park, Western Australia.
Dillabirt, known to non Nyoonga people as the Magpie-lark (Grallina cyanoleuca). Yellagonga Regional Park.
Melkullya or Yellow-billed Spoonbills, Platalea flavipes, amongst the paperbarks on Lake Joondalup in Yellangonga Regional Park.
Melkullya or Yellow-billed Spoonbills, Platalea flavipes, feeding at Lake Joondalup in Yellangonga Regional Park.
The eponymous Willie Wagtail, Rhipidura leucophrys leucophrys. Yellagonga Regional Park, Western Australia.
Despite their small size the Silvereye, Zosterops lateralis, has an incredibly loud birdsong. Yellagonga Regional Park, Western Australia.
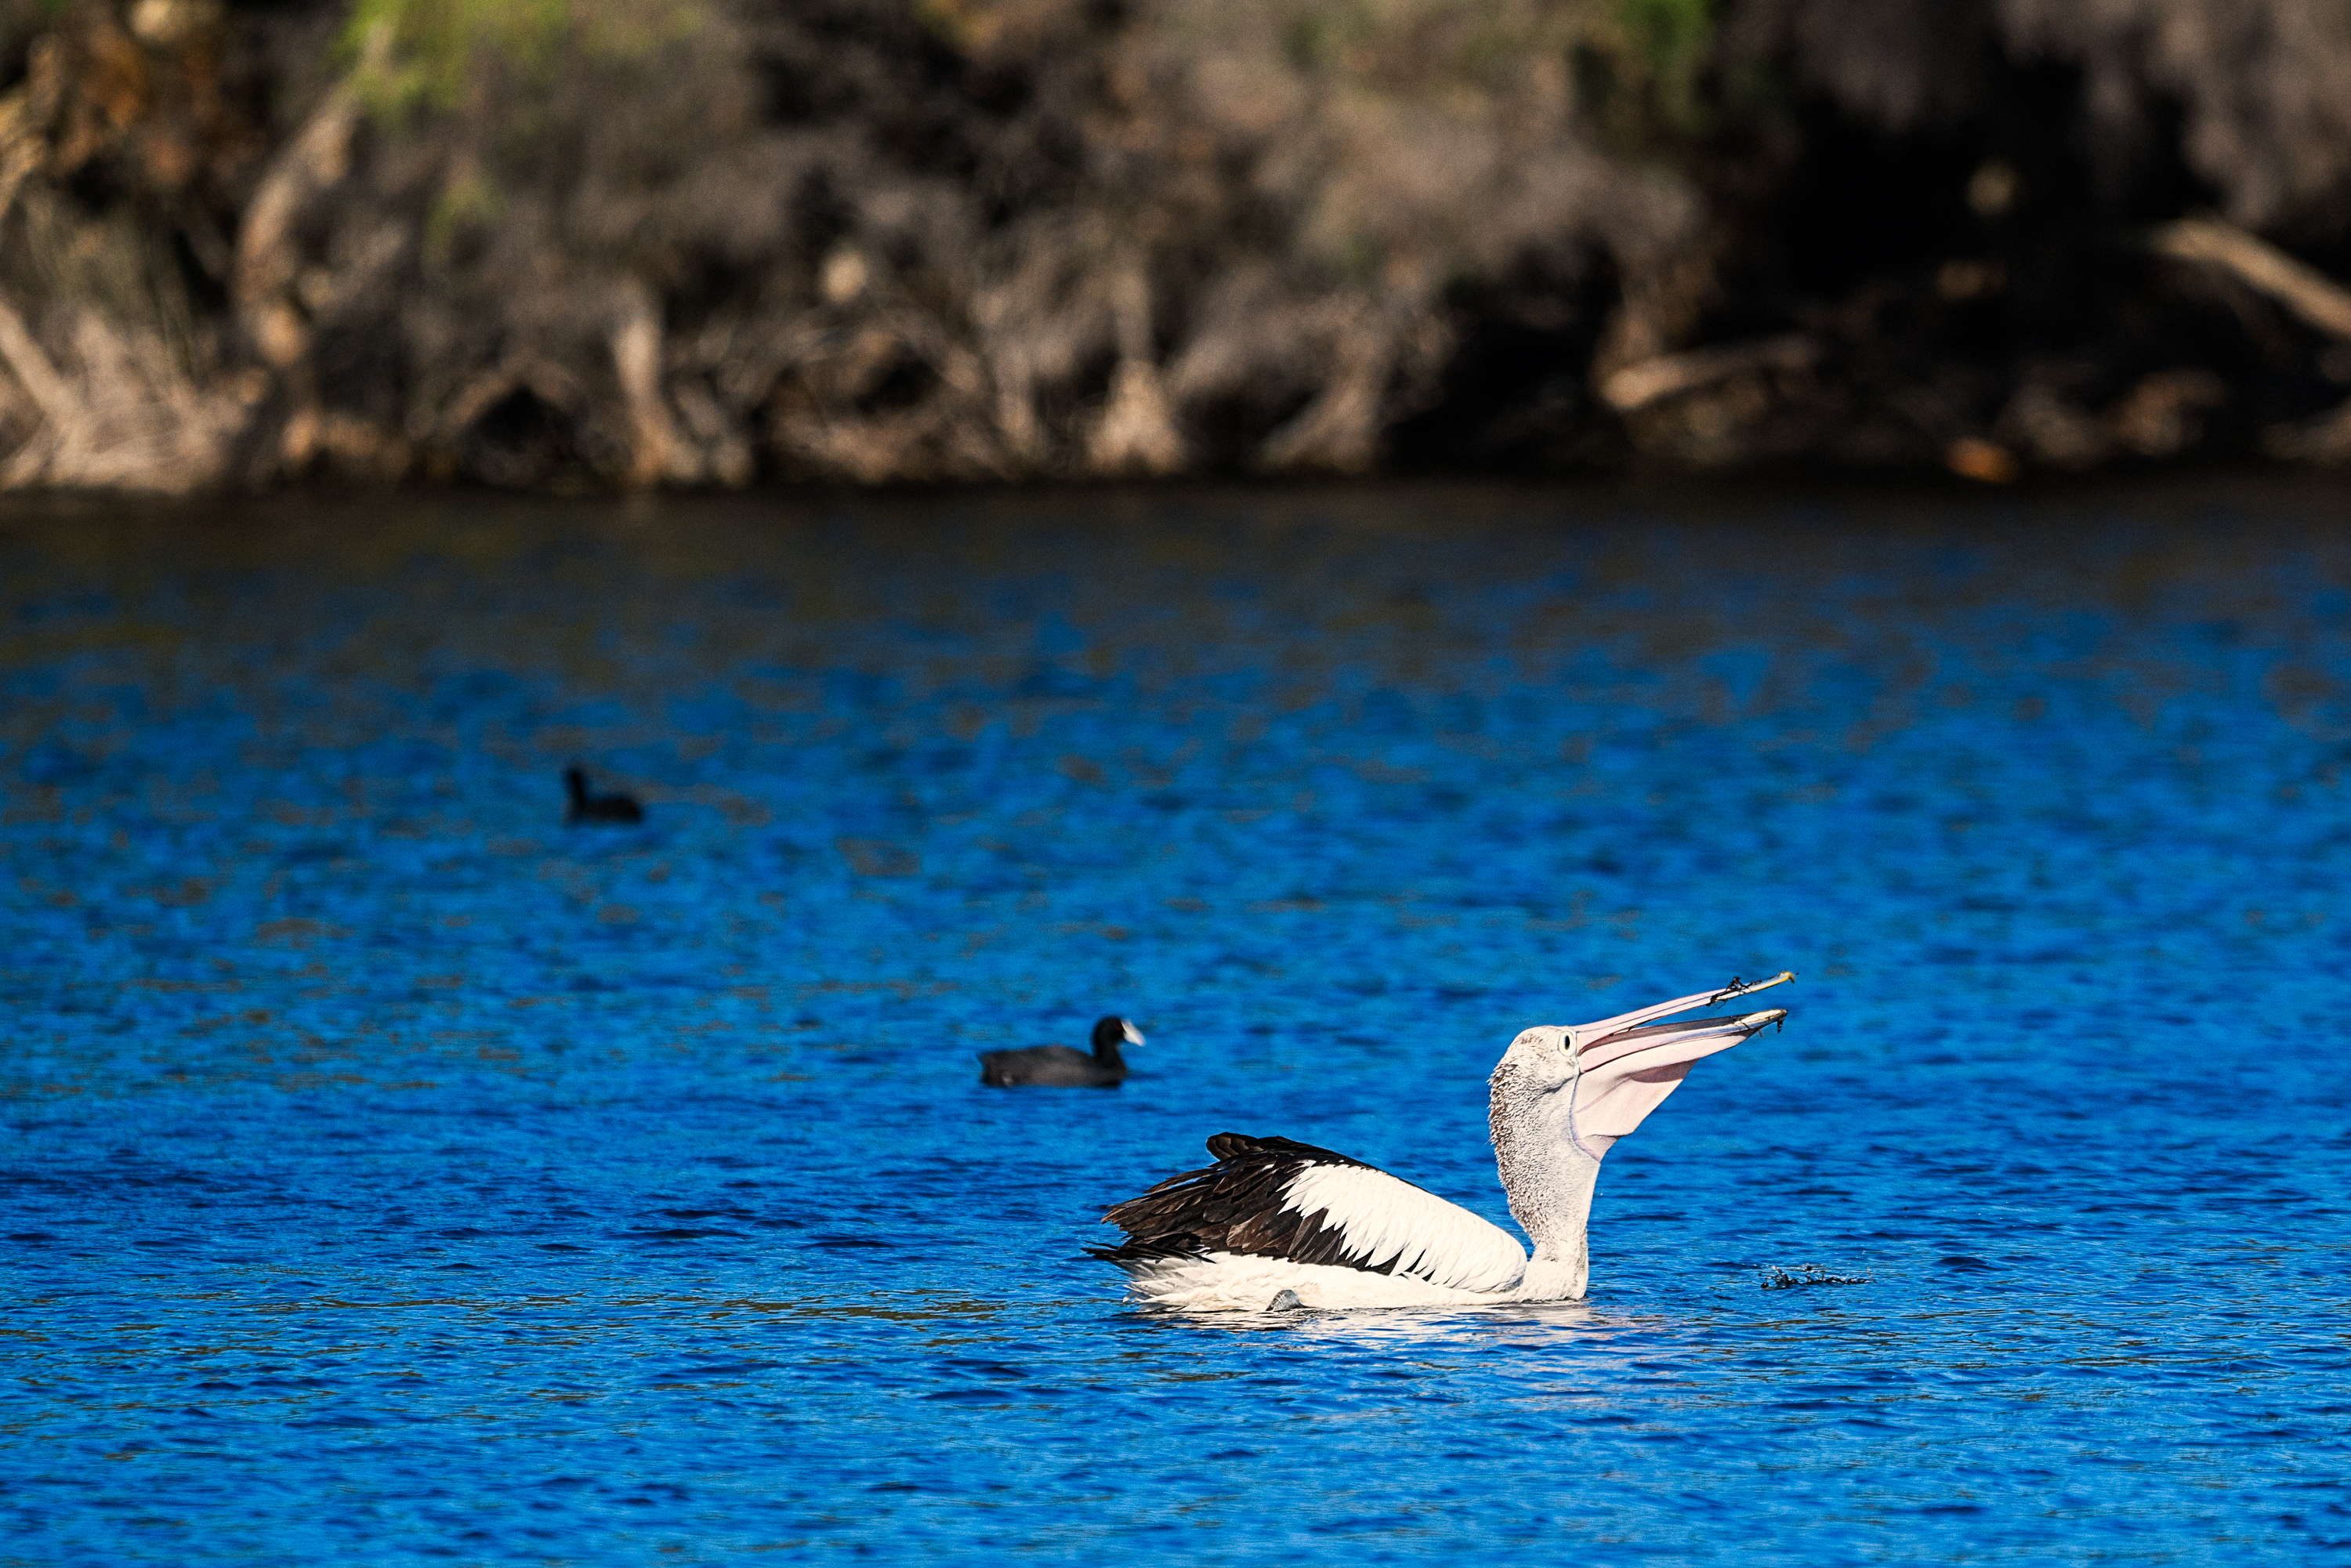
An Australian Pelican (Pelecanus conspicillatus) feeding on Lake Joondalup in Yellagonga Regional Park.
A white-faced heron looks out from its tree top perch over Horse Swamp. Whiteman Park, Western Australia.
Western Grey Kangaroo, macropus fuliginosus, Whiteman Park, Western Australia.
The Olympus FC-WR flash controller mounted on an Olympus OMD EM1 mark 2 and the FR-WR connected to an Olympus FL-600R speedlight.
When Olympus launched their wireless radio controlled flash system there were howls of derision from the combined blogosphere and photographic forums. Mainly it went along the lines of Olympus had lost the plot in charging so much for something that others were offering so cheaply.If all you want to do is take portraits with a couple of off camera speedlights then there maybe something to this argument. Let’s make a quick comparison.
So that is quite some difference – $794 AUD is a lot of money. Then the Godox fans will tell that the system is much more flexible because if you change camera system all you have to do is change the wireless trigger to one that is dedicated to your new system and you can keep using your existing speedlights. On the face of it it this quite a compelling argument. But this really doesn’t tell the whole story as it assumes that you have no existing flash equipment and that all you want to do is shoot basic lighting set ups with either TTL or full manual control. Now a lot of people who are attracted to Olympus cameras aren’t just attracted by the small size of micro four thirds but also by the advanced features that the cameras have such as focus stacking, keystone compensation, High Res Shot Mode, Live Bulb, Live Time, Live Composite, multi exposure, art filters, picture modes, and interval shooting. Plus Godox doesn’t offer a TTL enabled flash such as the Olympus Twin Flash STF-8 for macro and close up photography.
Using the Olympus STF-8 close up flash as part of a multi flash set up controlled by the Olympus FR-WR and FC-WR.
Regular readers will know that I do a lot of wildflower photography, product shots and the occasional portrait all using flash. I realised I wanted to use more complex lighting arrangements and so I decided to put together a system based around the existing flash units I already had – an Olympus FL-600R, an Olympus STF-8, 2 Metz 44AF-1’s, and a Metz 64AF-1. To that end I bought an Olympus FC-WR wireless commander and three Olympus FR-WR Wireless Radio Flash Receivers ($285 AUD each). Still not a super cheap option, but one that gives me a lot of scope. Now when I started this because the system was not well received there were next to no reviews of it and I didn’t know if everything I had, particularly the Metz units would work. Also I wanted to know whether they would also work with my Panasonic G85. So this was a real voyage of discovery
As I progressed with this I realised that I didn’t just want to write a review, but that I’d also say how to use the equipment in various modes across both Olympus and Panasonic cameras using third party flashguns so that prospective users can find all this information out without having to take a punt like I did. As usual I’ve provided the information in both video and written formats.
So with all that preliminary guff stated (phew!!) lets dig in by looking at the Commander and Receivers themselves first.
FC-WR Commander
Specifications
Maximum communication distance
Approx. 30 m
Frequency
2.4 GHz band
Number of channels
15 (in the commander mode; with automatic channel setting function)
Number of groups
3; maximum number of flash units; unlimited
Flash control modes
TTL / MANUAL / FP TTL / FP MANUAL / Off
Flash compensation
±5 EV (Increment: 1/3 EV or 1/2 EV)
Manual flash power settings
From 1/1 to 1/128 (Increment: 1/3 EV or 1/2 EV)
Power supply
AAA alkaline dry-cell batteries x 2 / AAA NiMH batteries x 2
Continuous usage duration
Approx. 6.4 hours (when using AAA alkaline dry-cell batteries)
Operable temperature / humidity
From -10 to 40℃ (14 to 104°F) / From 30 to 90%
Dimensions
Approx. 59.5 (W) x 51.0 (H) x 67.4 (D) mm
Weight
Approx. 73 g (excluding batteries)
Firstly the WR in designation is Olympus speak for the fact that the commander has a degree of weather resistance. This is a huge positive for me as I shoot a lot of stuff outside in all weathers. Olympus doesn’t specify the degree of water resistance, but says the unit will operate in temperatures ranging from -10 to 40ºC and humidity up to 90%. I didn’t throw it in a bucket of water but I have used it out in the rain on several occasions with no functional problems, and when I opened up the battery compartment it was dry so that’s all good.
The FC-WR uses AAA batteries. This was a bit of a disappointment and I would have liked AA as it means I only have to carry one type of battery and AAs last longer. However in practice I’m still using the first set of AAAs, and I suppose the use of them keeps the size down.
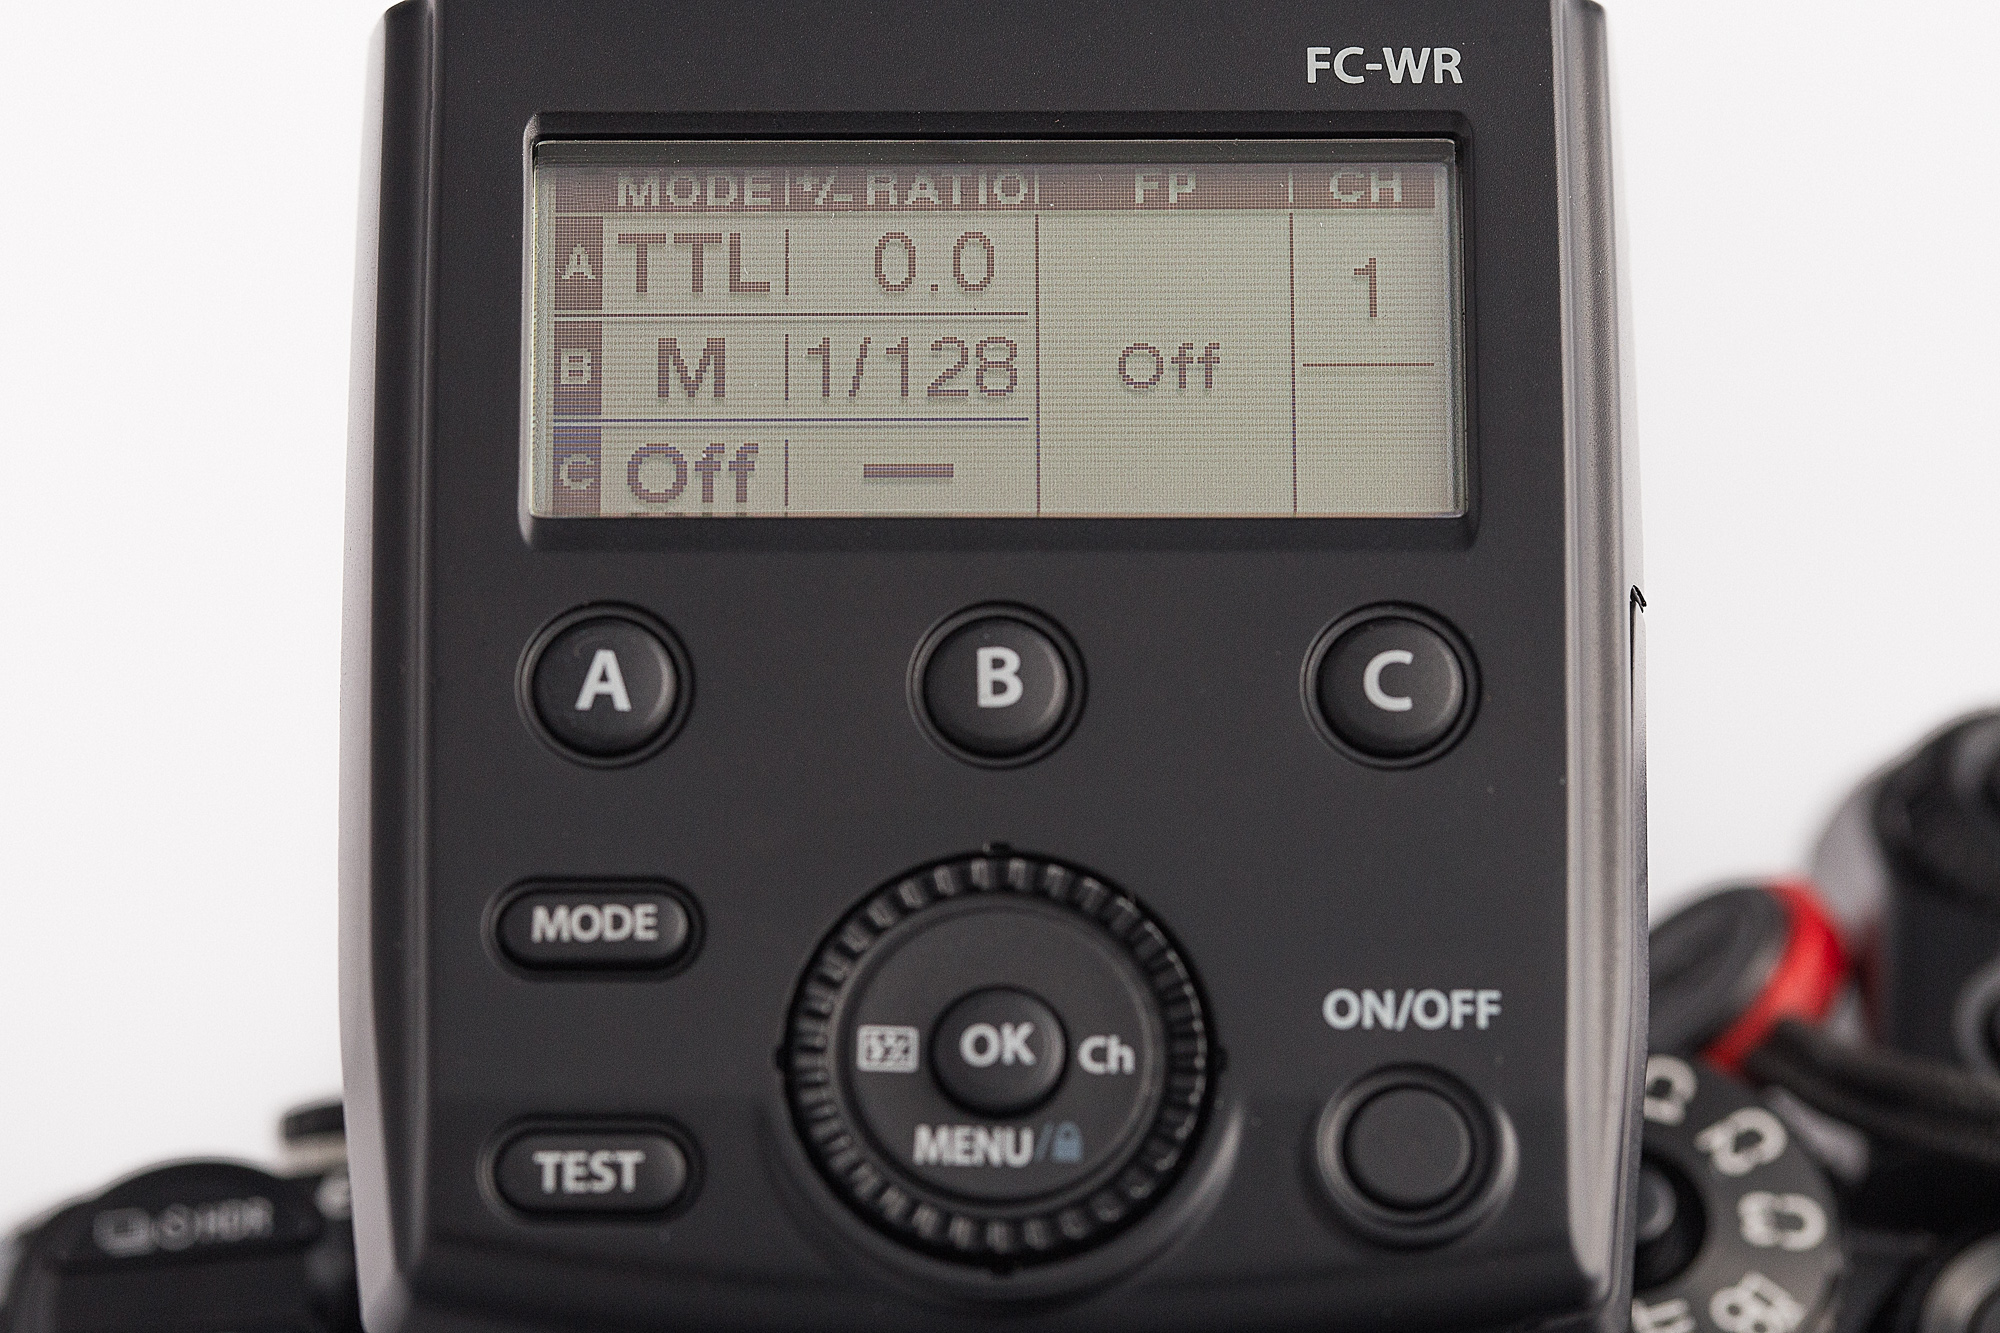
Olympus FC-WR, showing the information panel and the various controls.
Physically the FC-WR is made of sturdy plastic which doesn’t creak or flex if you give it a squeeze. The door to the batter compartment is on a sprung hinge and slides to lock and open. It fits well and there is some initial resistance to moving so there won’t be any accidental opening. On the base is a locking hotshot with the standard m4/3 pins providing electrical contact. On the to is a large LCD screen which gives all the necessary info and is backlit.Underneath that are three buttons – one each for the the three groups. Then there is a mode button, a test button, a dial and rocker switch surrounding the OK button and finally the on/off button. A nice touch is that if you turn off your camera the FC-WR automatically switches off, and if you restart your camera within 10 minutes it will automatically switch back on. Any longer and you have to press the on/off button.
To use it is simplicity itself. First select the group or flashgun you want to control, press the button followed by the mode button. Select between TTL, manual or off. Use the right side rocker switch to move to the +/- ratio to select either flash compensation for TTL mode or the power levels for manual mode. Another press of the rocker switch and you can select whether you want high speed flash sync or FP mode in Olympus speak. A final press of the rocker switch lets you select the channel that you want all this to occur on.
AAA alkaline dry-cell batteries x 2 / AAA NiMH batteries x 2
Continuous usage duration
Approx. 6.4 hours (when using AAA alkaline dry-cell batteries)
Operable temperature / humidity
From -10 to 40℃ (14 to 104°F) / From 30 to 90%
Dimensions
Approx. 59.1 (W) x 46.1 (H) x 51.0 (D) mm
Weight
Approx. 75 g (excluding batteries)
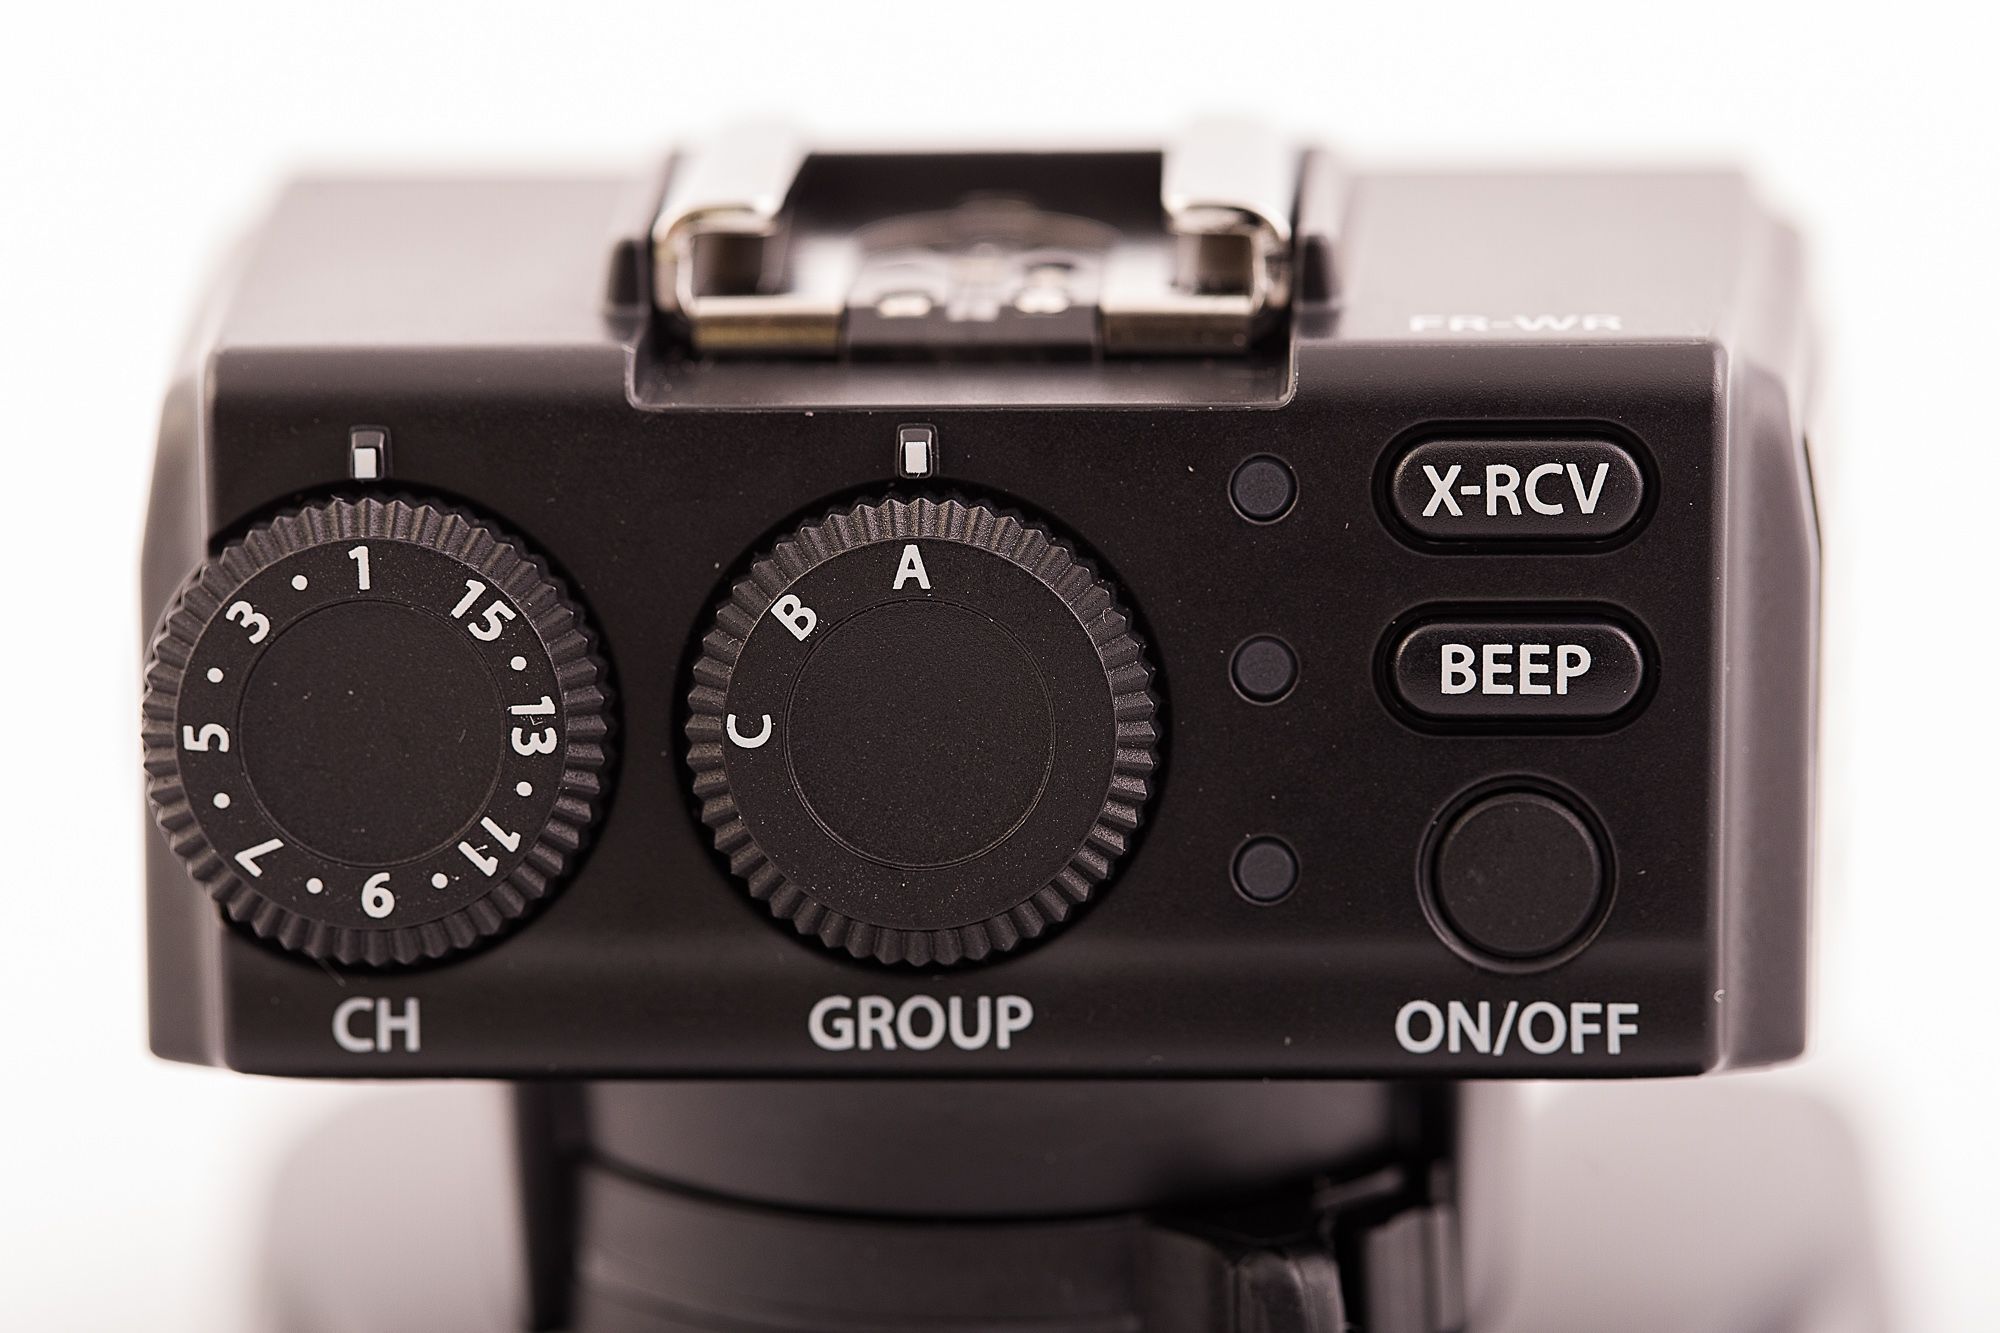
Olympus FR-WR showing the controls on the rear of the unit.
In terms of construction what I said about the the commander applies here. On top of the receiver is a standard four thirds protocol hot shoe. On the base there is a locking cold shoe with 1/4 20 mount. On the left side (looking from the front) is a pc sync socket – does anyone actually use these any more? – which would allow you to tigger a studio mono block or power pack. On the other side is the battery compartment which takes two AA cells.On the back panel is a dial that enables you to select channels (1-15) and beside it another dial for selecting channels. Then there are three buttons which are from the bottom the on/off switch. The neat little touch with this is if you are using an Olympus brand flash then switching off the receiver will switch off the flash. In the middle is a button for switching the beep on and off. I leave it on as it gives me an audible indication of when everything has recharged. Finally at the top is the X-RCV button. This allows you to either control the flash from the commander unit or from the flash itself. I choose to control the flash via the commander unit as I find that more convenient.
Usage Scenarios
Standard Mode
The Radio triggers work with both Olympus and Panasonic cameras and with third party flashes. It also works with the Olympus ST-F8 as part of a multi flash set up, but you will have to cobble together something to hold the FR-WR and ST-F8 body off of the camera.
Using the Olympus STF-8 close up flash as part of a multi flash set up controlled by the Olympus FR-WR and FC-WR.
FP Mode or High Speed Sync
FP mode or high speed sync is a function of the flashgun and not the camera. So if your flash supports it it you can use it. I got it work with the Metz 64AF-1 and the Olympus FL 600-R using both Panasonic and Olympus cameras.
Focus Stacking or Bracketing
The focus stacking feature found on Olympus cameras imposes certain operating restrictions:
Uses the electronic shutter
The flash sync speed is 1/50th sec or longer
You can’t use TTL flash you have to manually adjust the power settings of the flash to get correct exposure
When you set operating parameters for focus stacking in the camera menu remember to allow a a delay between shots that allows for the flash to recycle. I’ve found four seconds to be sufficient. Having set that up switch on the FC-WR and it automatically selects manual flash mode and the camera selects the the flash sync speed. This worked with both the Olympus and Metz flashes on only the Olympus cameras. Panasonic’s focus stacking function is video based (4K capture) and not stills like that of the Olympus.
The original shot with no focus stacking.The end result of the in camera focus stacking. Twelve shots taken at a different focusing distance and then merged in camera. The camera always applies a slight crop when doing this.
High Res Mode
In many ways this is similar to the focus stacking mode mentioned previously.It requires an electronic shutter set at 1/50th sec or longer and the flash to be set manually. This worked well with both the Olympus and Metz flash guns. I didn’t test this with a Panasonic camera as my G85 doesn’t have this function.
Conclusion
The Olympus FC-WR flash controller mounted on an Olympus OMD EM1 mark 2 and the FR-WR connected to an Olympus FL-600R speedlight.
Lets get the niggly issue out of the way first. Yes the system is expensive and I wish that it was a little cheaper. Having said that you get rock solid dependability. I found that the Godox units were somewhat flaky at times – occasional misfires where the flash didn’t go off. I like dependability and I’m prepared to spend a little more to get it.
The good stuff. I like the fact that the operation of the constituent parts is seamless even when using the advanced Olympus camera features. The build quality and the weather resistance is excellent, Olympus do a really good job in making small equipment that can handle all the vagaries that life can dish out. The fact that this works with Panasonic cameras is great. Cross compatibility was another factor that brought me into the micro four thirds system. If you want full frame these should work with Panasonic’s full frame offerings as they also share the m4/3 protocols for flash. I say “should” as I’ve not tested it and cannot find anything online to confirm one way or the other. The fact that you can use it with third party speedlights is a huge bonus.
If you are a micro four thirds user and want a rock solid off camera flash solution that gives you access to multi-flash set ups even with specialist close-up equipment using the specialist in camera features such as focus stacking or high res mode then I think its worth spending the cash.
I have written and made videos about several aspects of the Olympus flash system and these are:
Grand Master Flash : using Hahnel Captur manual radio triggers on Olympus m4/3 cameras. Probably made redundant by this article, but still relevant if you want a reliable affordable system and are willing to forego TTL control.
Like many people at this time I’ve had my movements curtailed. Where I live we are allowed out locally for exercise so I’ve been going out for walks along the river to photograph and video the birds that can be found there. This is the third time I’ve tried to video wildlife and it is very hard.I don’t work from a hide so I have to set up quickly and quietly and often the birds will move on before I can get filming. Shooting mainly just after dawn or just before sunset has meant using high ISOs and made focusing difficult. But, the more you do it the better you get. The purpose of the video was to make something, learn something new and help keep me thinking positive thoughts during this time.
Just out of interest I’ll put the stills up below. They were shot on either a Canon EOS6d with the Sigma 150-600mm f4.5-6.3 Contemporary lens or the Olympus OMD EM1 mk ii with the Panasonic Leica 100-400mm f4-6.3 lens. I wonder if you can tell the difference at web size without enlarging to 100% or checking the EXIF data?
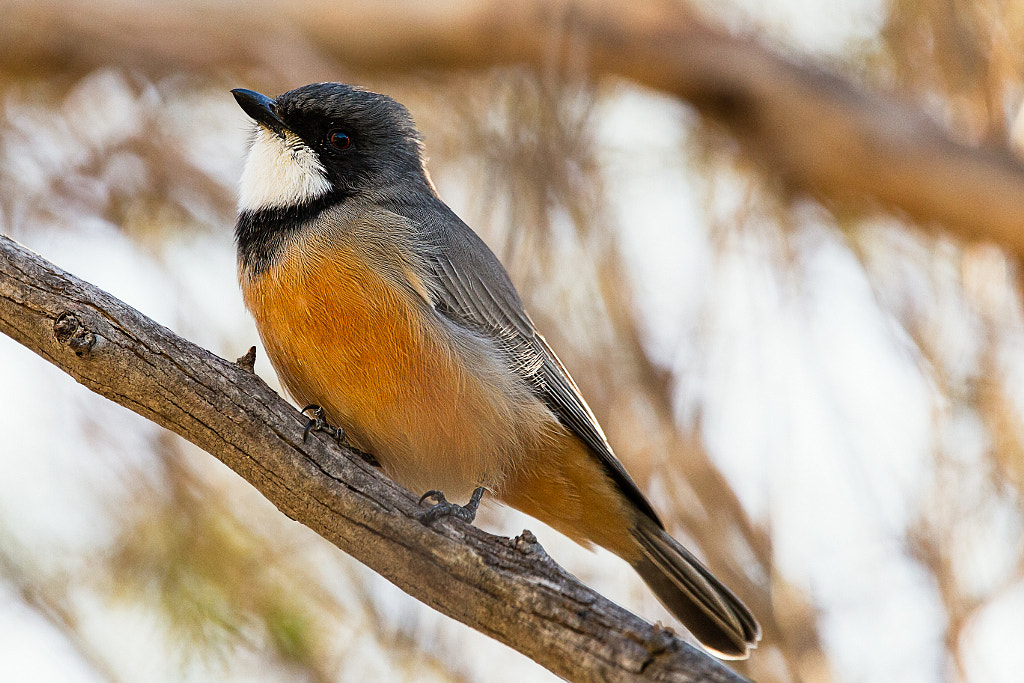
A male Rufous Whistler (Pachycephala rufiventris). York, Western Australia.
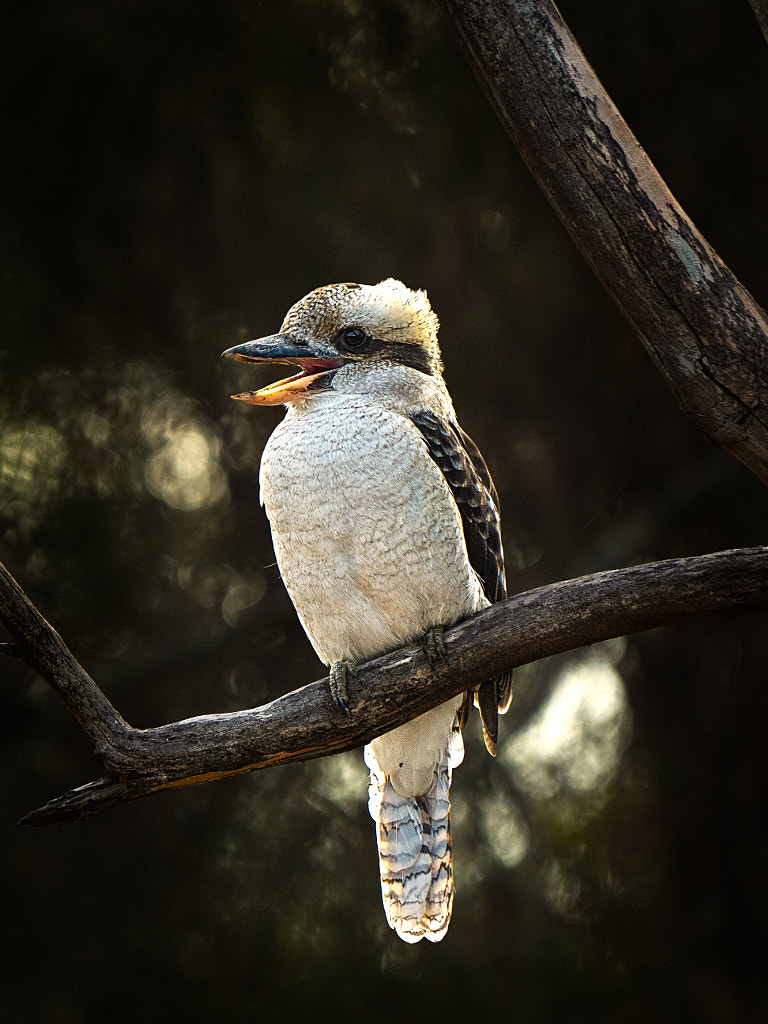
Laughing kookaburra, dacelo novaeguineae. York, Western Australia
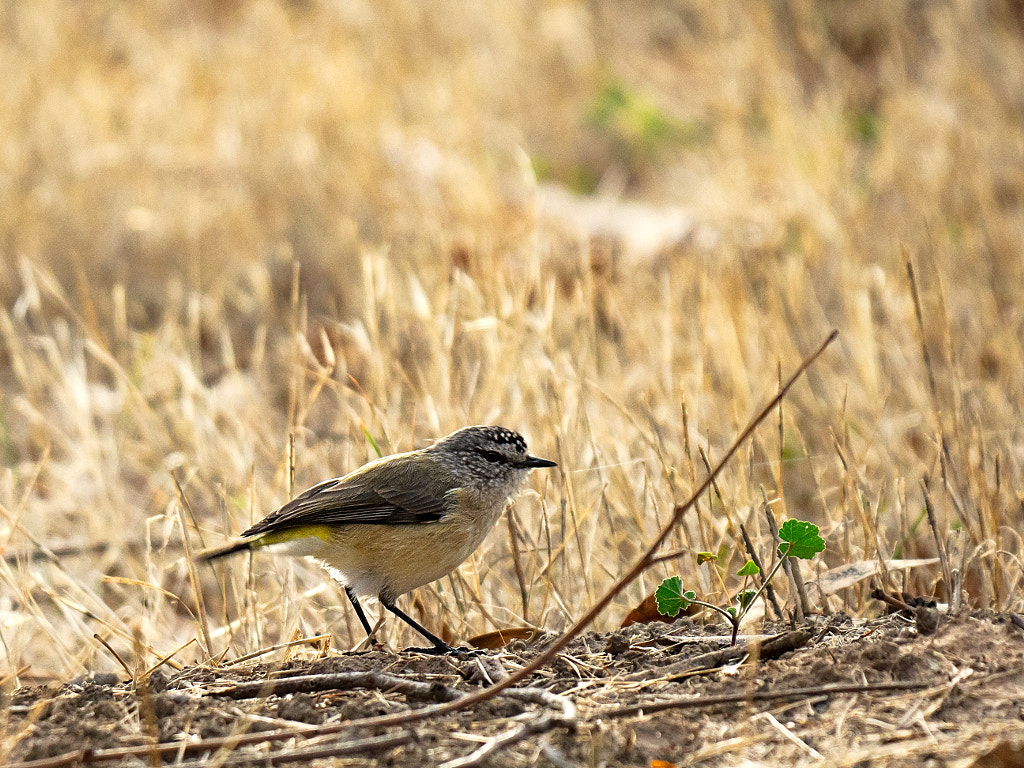
Yellow Rumped Thornbill, Acanthiza chrysorrhoa, York, Western Australia.
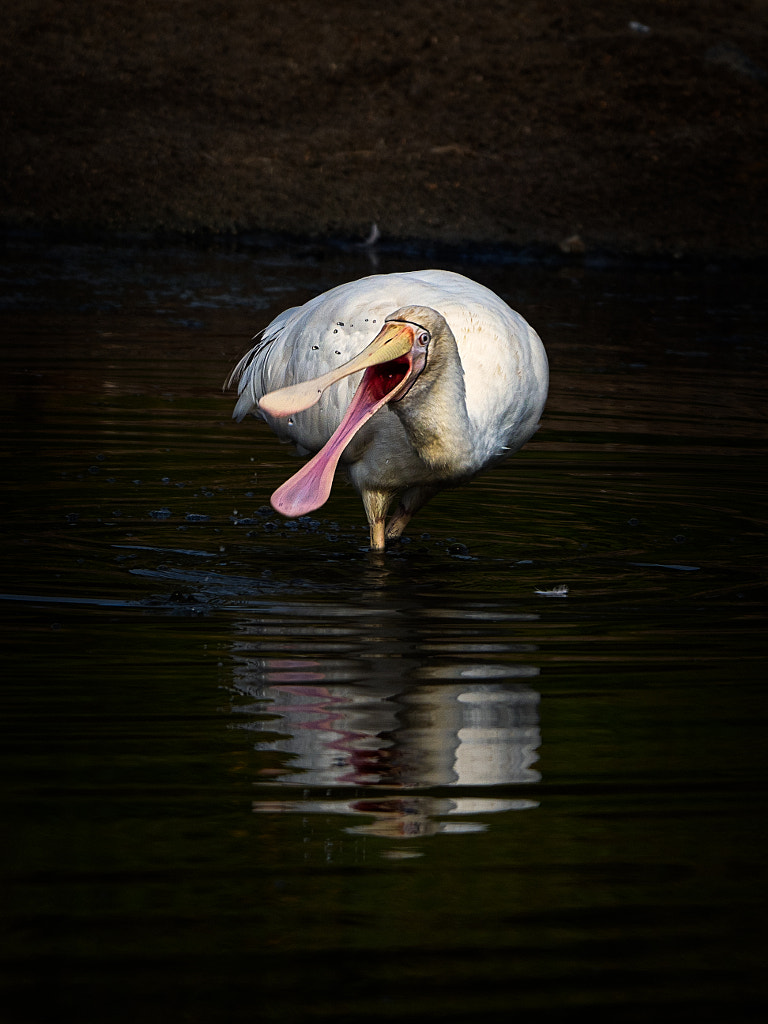
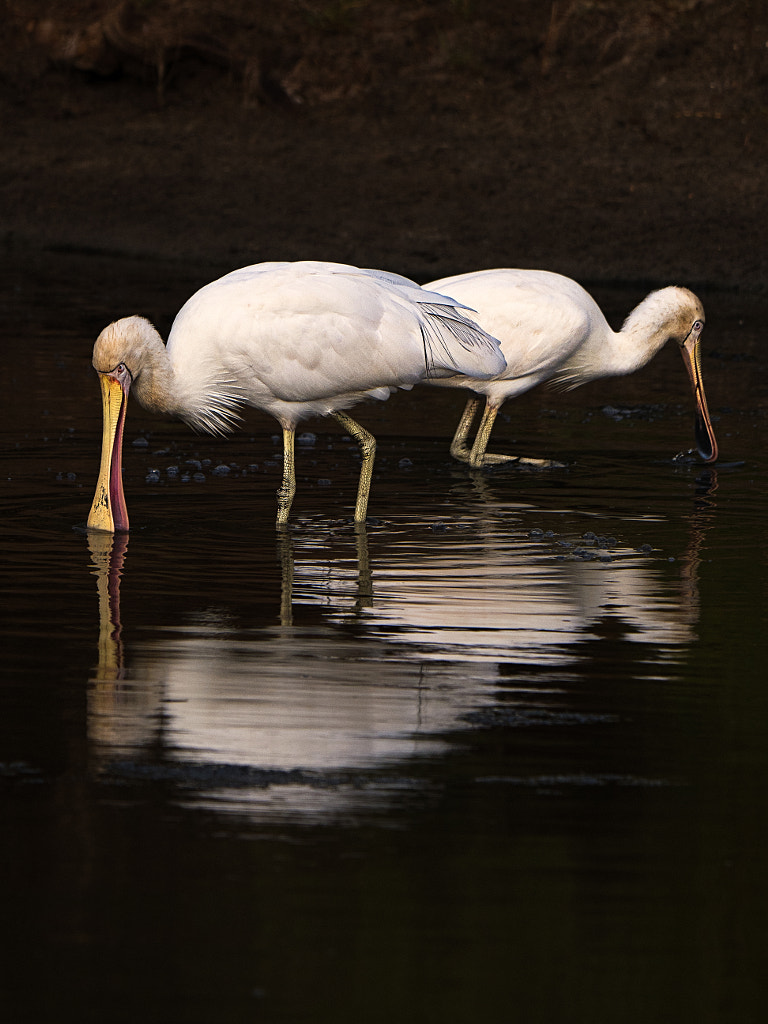
Yellow-billed Spoonbill (Platalea flavipes), Avon River, York, Western Australia.
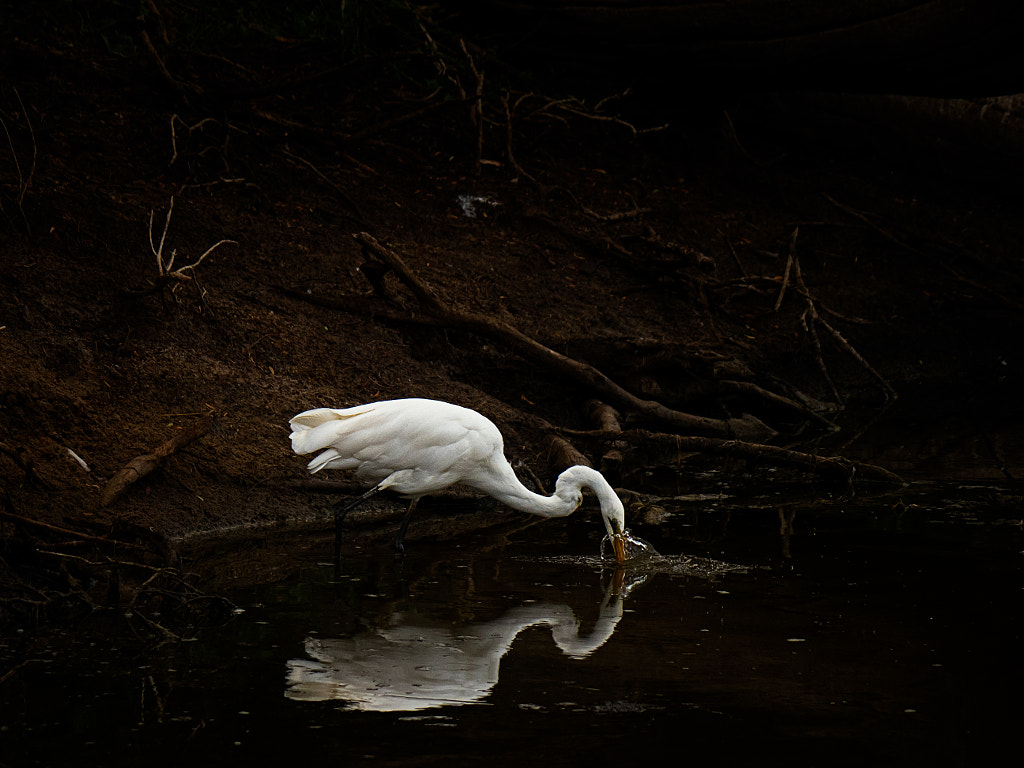
Great egret, Ardea alba, feeding on the Avon River. York Western Australia
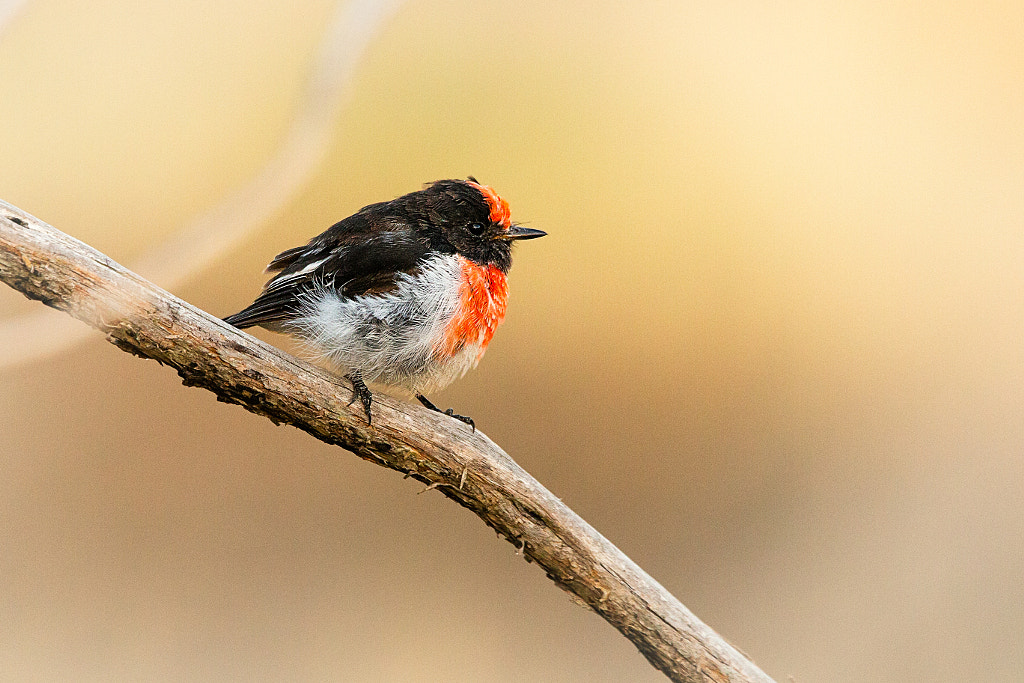
Tatty robin. Red-capped Robin (Petroica goodenovii), York, Western Australia.
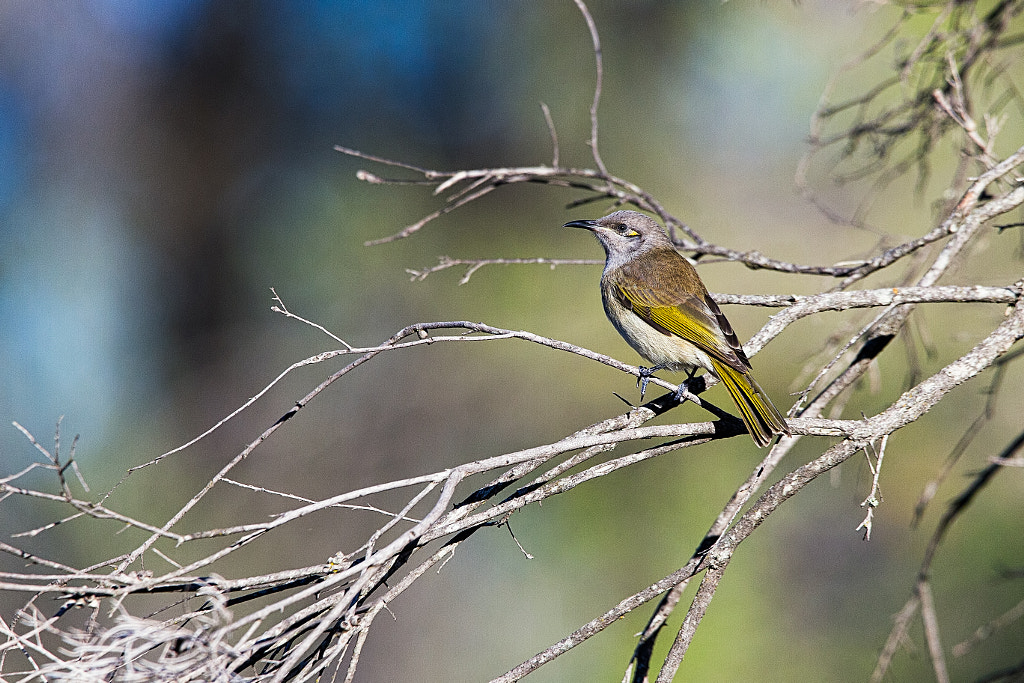
Brown Honeyeater, Lichmera indistincta, York, Western Australia.
A pair of Yellow-billed Spoonbill (Platalea flavipes) feeding on the Avon River in York, Western Australia.
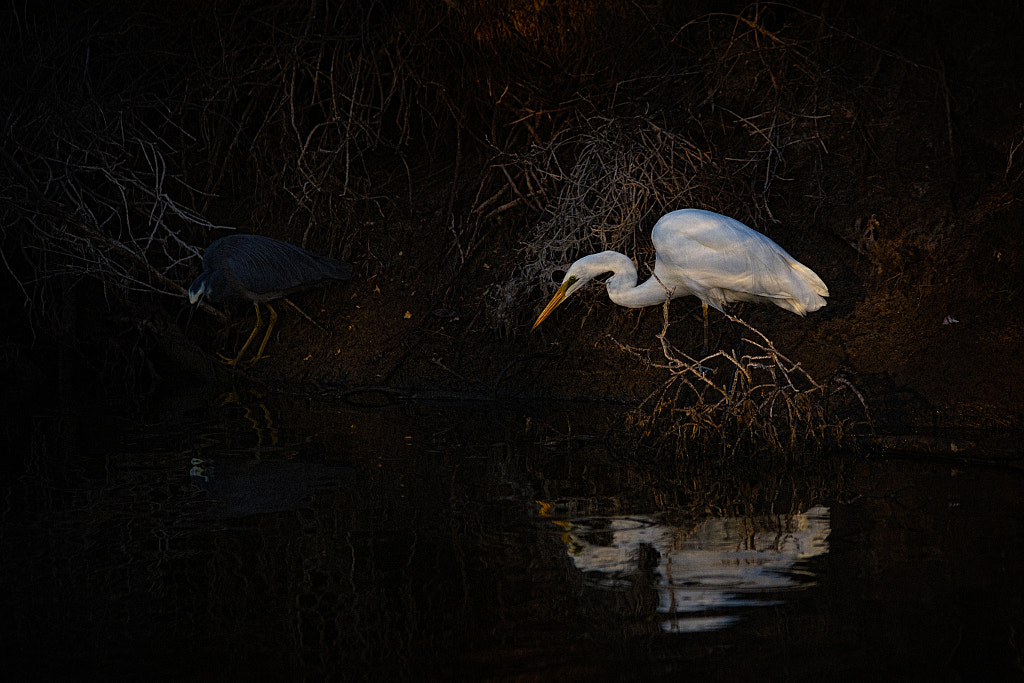
A great egret (Ardea alba) and a white faced heron (Egretta novaeholladiae) hunting in the early morning light on the bank of the Avon River in York, Western Australia.
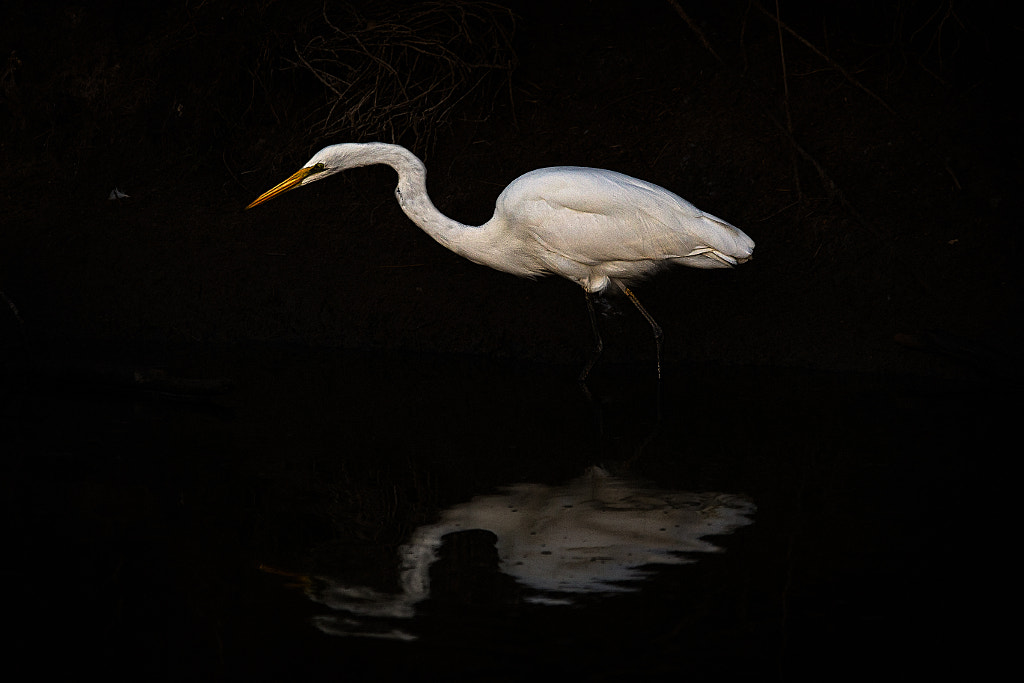
A great egret (Ardea alba) hunting in the early morning light on the bank of the Avon River in York, Western Australia.
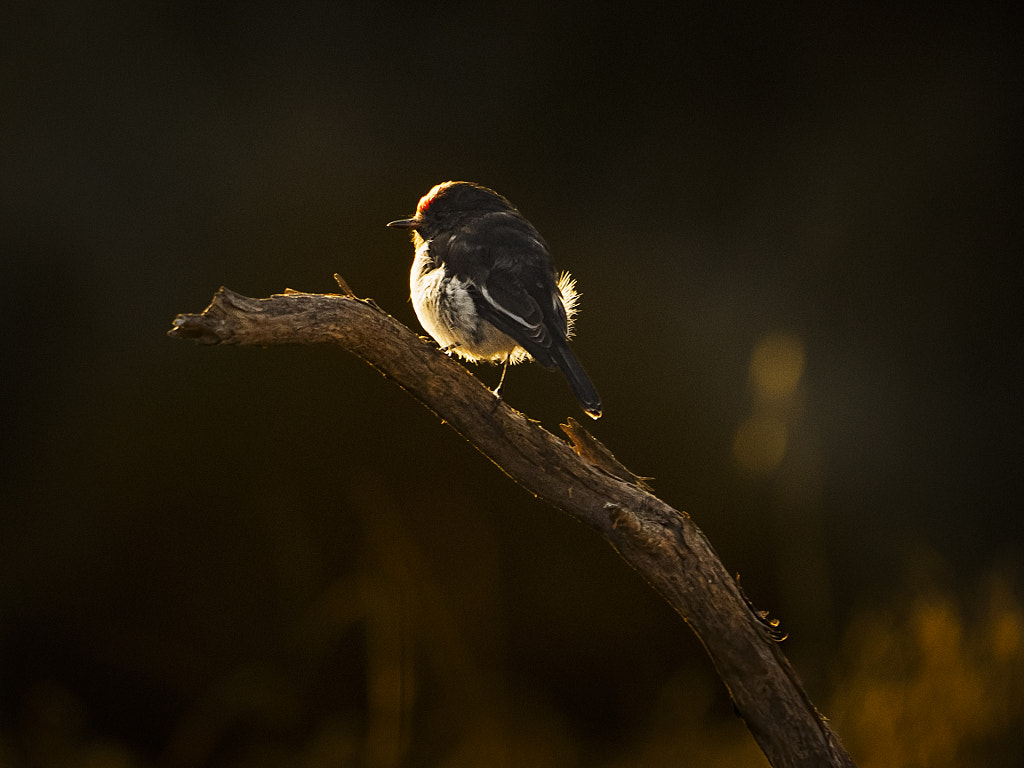
Red-capped Robin (Petroica goodenovii), York, Western Australia.


























You must be logged in to post a comment.