For the duration of our recent trip to the Great Southern we stayed in the small town of Torbay about 20Km east of Albany. It’s a beautiful spot on the eastern fringe of the karri forest region with remnant old growth forest, which inevitably means lots of interesting wildlife living in the tree canopy and the dense understory. The Torbay Agricultural Community Hall is the start 2.6Km bird walk that takes you through the bush. We weren’t able to walk it as the recent storms had brought down a few trees blocking it, but it looks as if it would be a delightful walk in spring and early summer when all the wildflowers are out. Below are a few photos taken round the Torbay area.
Djer-djer or Splendid Fairy-wren (Malarus splendens subsp splendens).
Kadjinak or Grey fantail (Rhipidura albiscapa). Torbay Bird Walk.
Djangkang or Red Wattlebird (Anthochaera carunculata).
Bardinar or Western Rosella (Platycercus icterotis).
Doolor or Silvereye (Zosterops lateralis).
Bidilmidang or Golden Whistler (Pachycephala pectoralis).
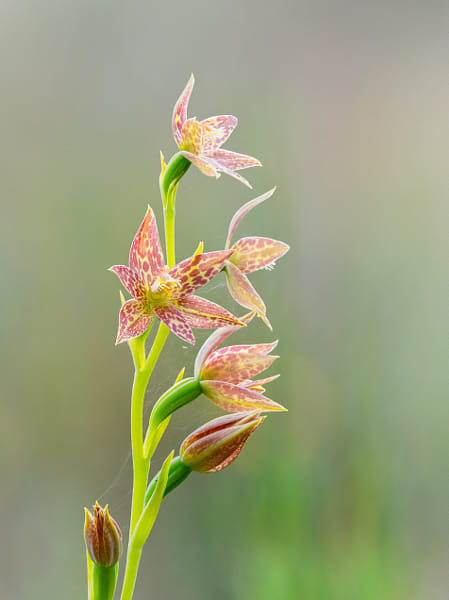
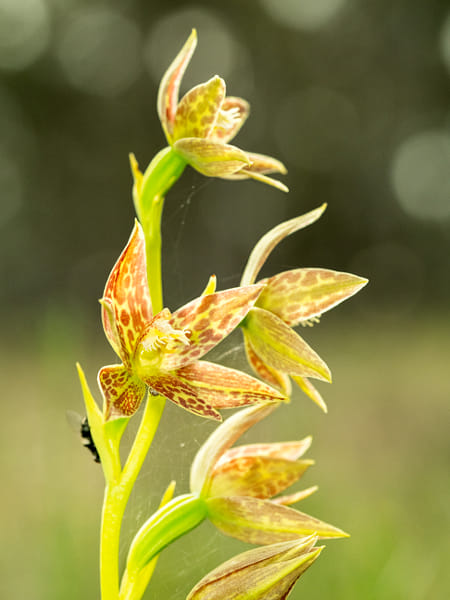
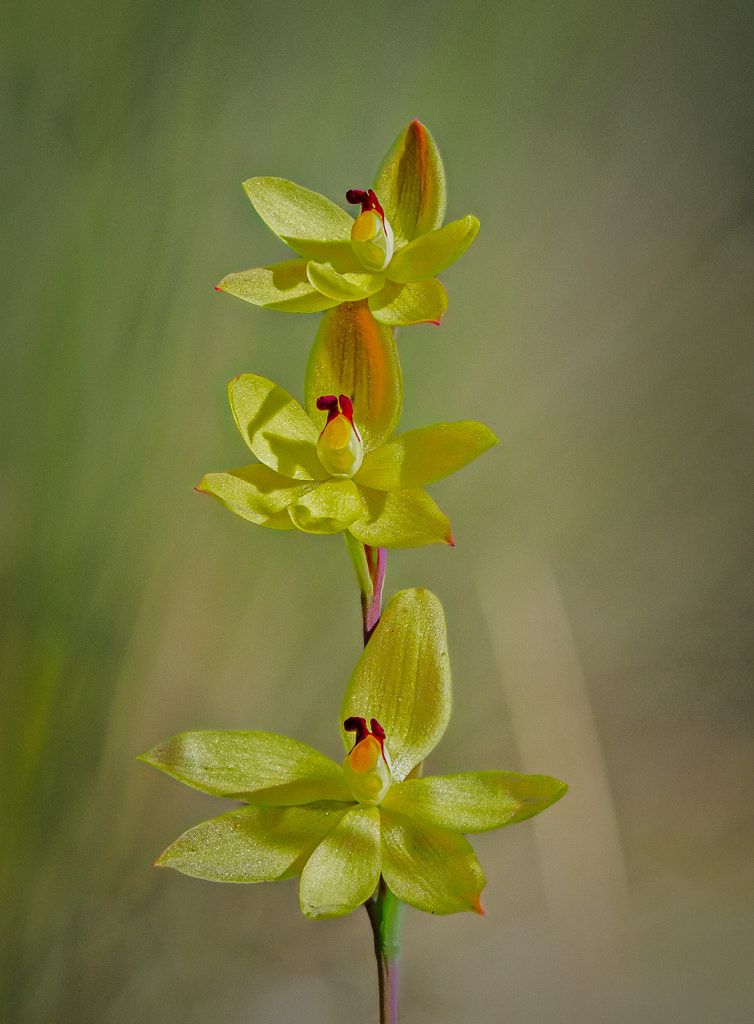
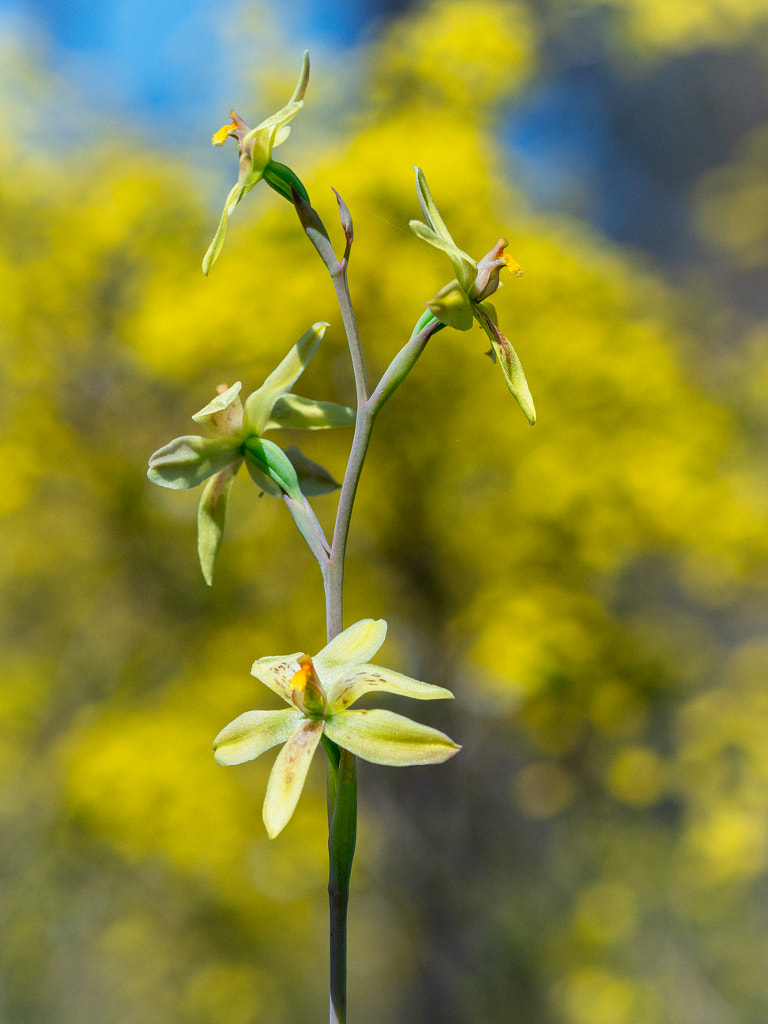
My last wander about the local Wandoo forest didn’t yield anything much. The only plants worth getting the camera out for were some Leopard Orchids. So I did my usual full length portrait using my 40-150mm f2.8 plus MC-14 teleconverter with focus stacking. Then a tighter “head and shoulders” shot with the 60mm f2.8 macro and flash. I finished up with really tight detail shot at close to 1:1 again with the 60mm macro.
Leopard Orchid, Thelymitra benthamiana. A 10 shot focus stack using the Olympus EM1 mk ii, Olympus 40-150mm f28 lens and the the Olympus MC-14 teleconverter. File assembled in Photoshop.
If you look closely at the main flower there is a spider peeping out and the fly on the edge of plant is caught in its web. Leopard Orchid, Thelymitra benthamiana.
In the past I’ve used OM Workspace to do the focus stacks, but after it’s latest update it has become so slow – glaciers move quicker. So I decided to to do the stack using Adobe Lightroom and Photoshop. To say it was much faster would be a massive understatement, but the final result was a lot better as well. For the life of me I can’t work out why camera manufacturers software is so bad. It should be better as they know all the features of the cameras and how to get the best out of them. This isn’t just a whinge directed at OM Systems. Canon’s DPP is absolutely appalling as well. Adobe would’t have such a stranglehold on the market if the camera manufacturers could develop good software.
When you arrive at Toolibin Lake it’s hard not to be underwhelmed. It’s a smallish fresh water lake fringed by scrubby trees and populated by voracious mosquitos. While I was there only two other vehicles pulled up, the first visitor walked over to the information board and then got straight back in his car and drove off. A couple got out of the second car and walked down to the waters edge and then they too got back in their car and headed off. Perhaps it was the mosquitoes or perhaps their expectations did not match the reality of the place. Don’t know. All I do know is that it’s a fantastic nature reserve with plenty of nature.
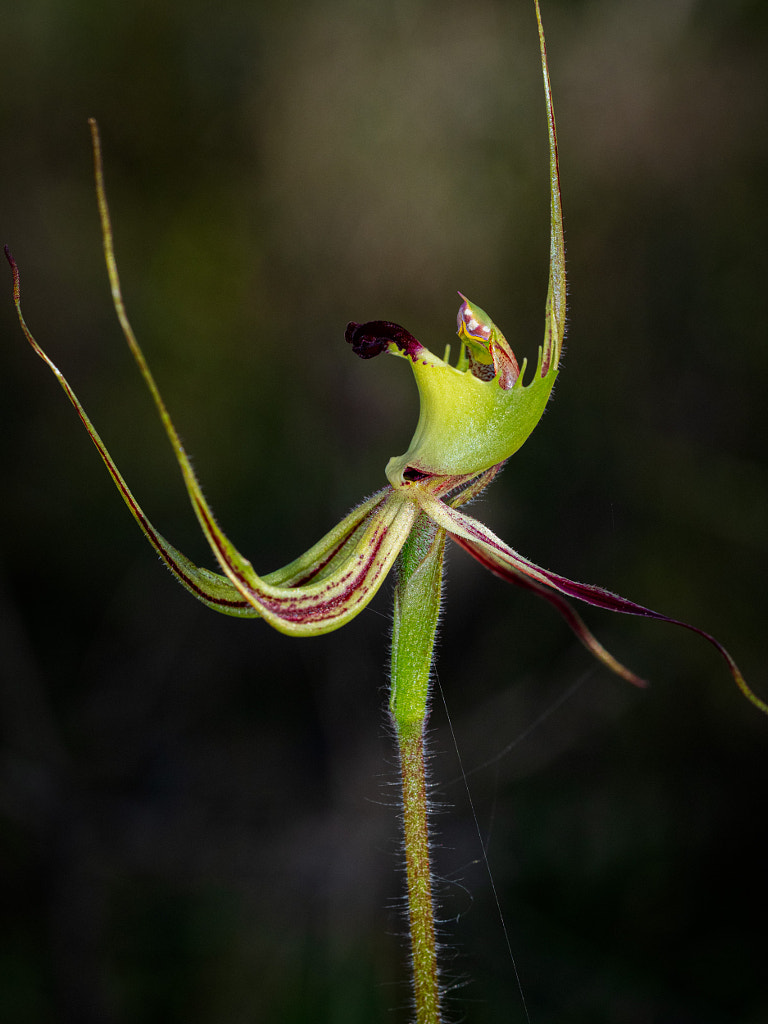
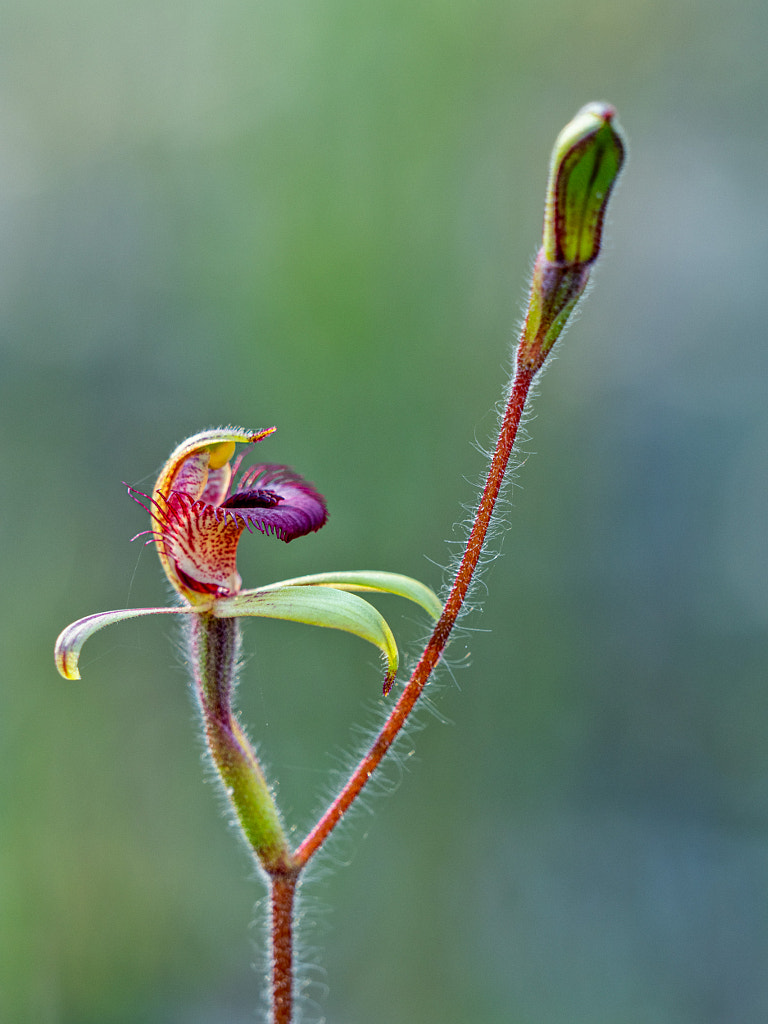
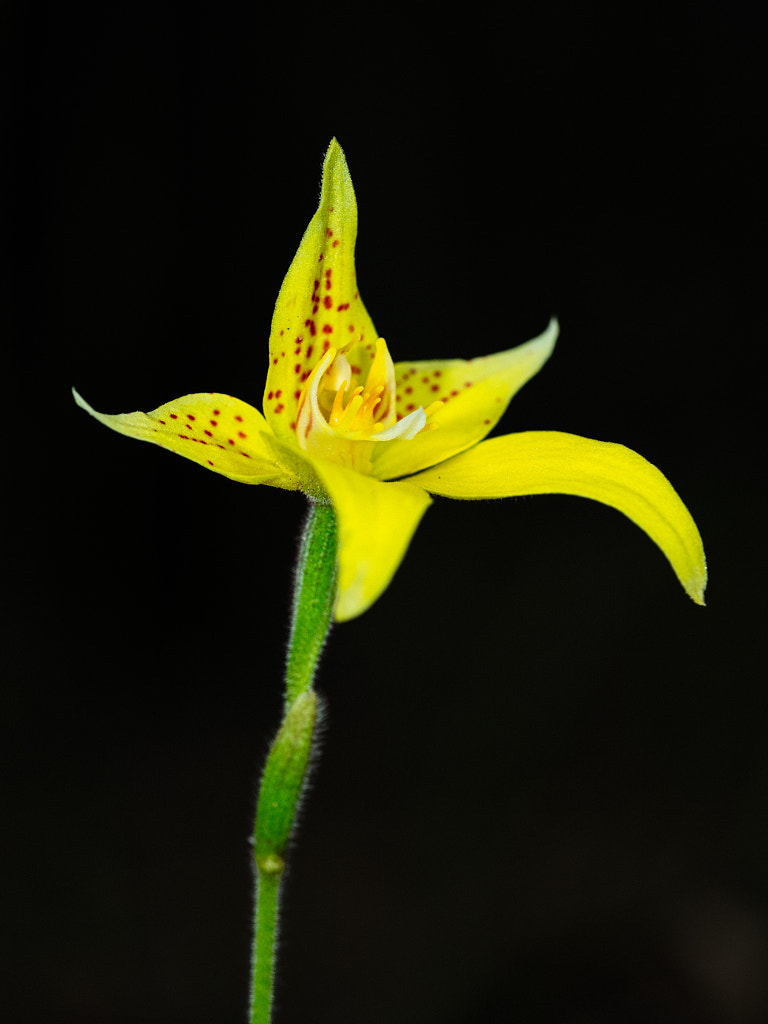
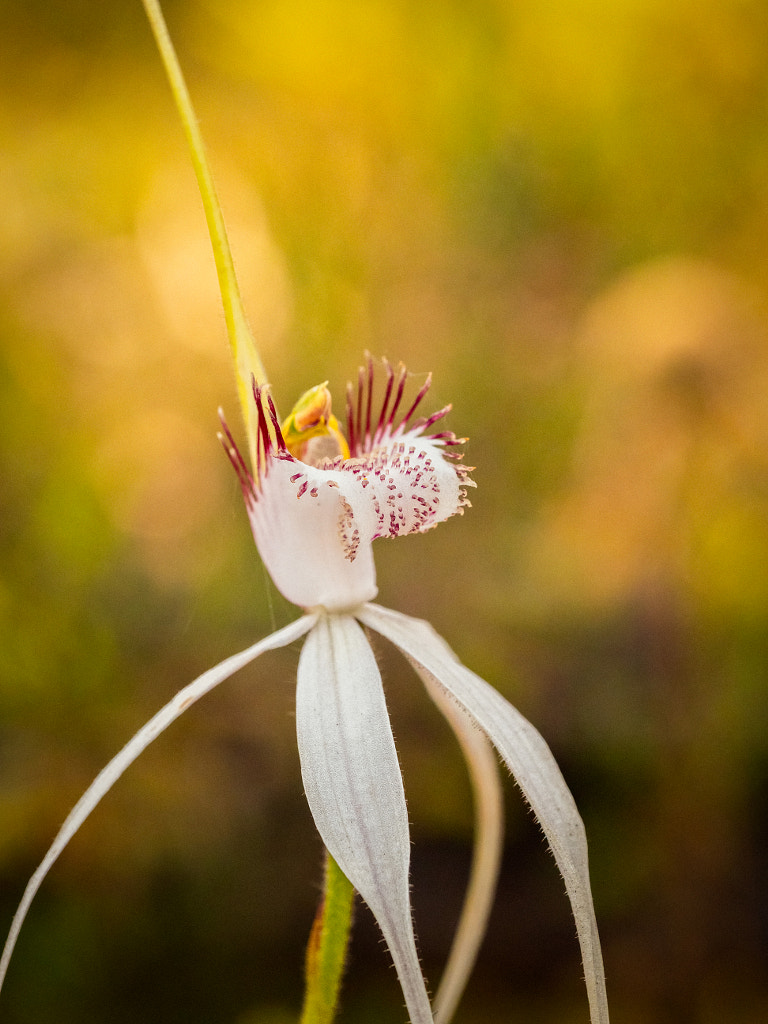
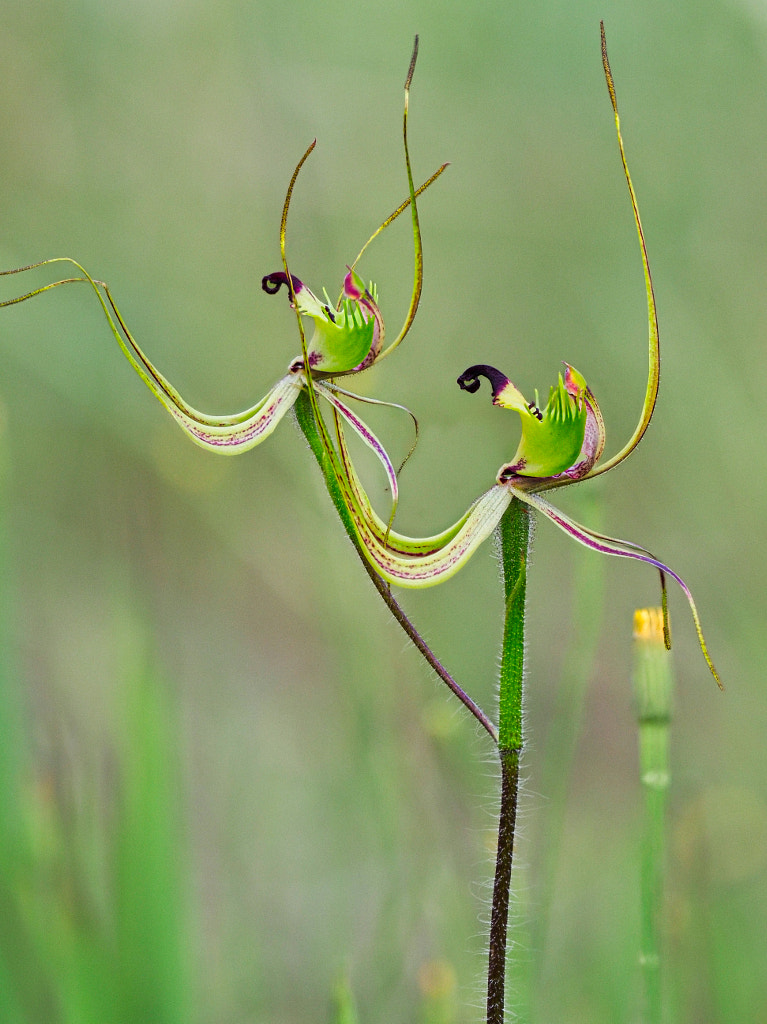
Fringed Mantis Orchid aka Green Spider Orchid (Caladenia falcata).Toolibin Nature Reserve, Western Australia.
A closer look at the Fringed Mantis Orchid.
What makes Toolibin Lake so special? There used to be lots of lakes like this throughout the Wheatbelt, but agricultural land clearances have rendered them saline which has killed off the vegetation around them and destroyed the native animals habitats. Toolibin has miraculously managed to survive and has become an oasis for rare and threatened flora and fauna. If you want to see a Freckled Duck or a Red-tailed Phascogalethen Toolibin Lake Nature Reserves is one of your best bets for finding them. I wasn’t there for the wildlife, I was looking for the wild orchids that can be found in the surrounding woodland of flooded gum, acorn banksia and rock sheoak. What I found was nothing short of spectacular.While species like Cowslip Orchids are ten a penny in the South West of Western Australia it was the quantity of them that was amazing. It was a magnificent sight. I was looking for two species – the Clown Orchid (Caladenia roei) and its cousin the Purple-veined Spider Orchid (Caladenia doutchiae) both of which I found pretty quickly.The Clown Orchid I’d seen before at Wongan Hills, which is quite hike from where I live, but, the Purple-veined Spider Orchid was completely new to me and was the one I particularly wanted to photograph. I decided to photograph both as they can be a bit difficult to tell apart. As it was I passed up a Common Dragon Orchid as I thought it was a damaged Fringed Mantis Orchid. Note to self: next time photograph everything that you find.
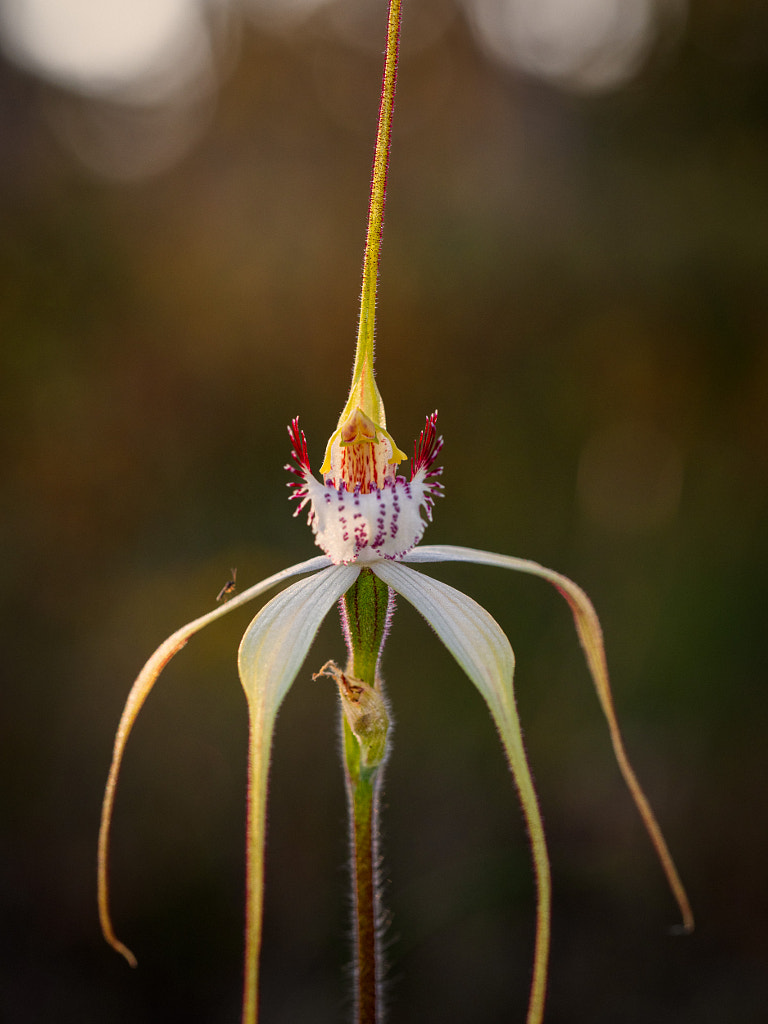
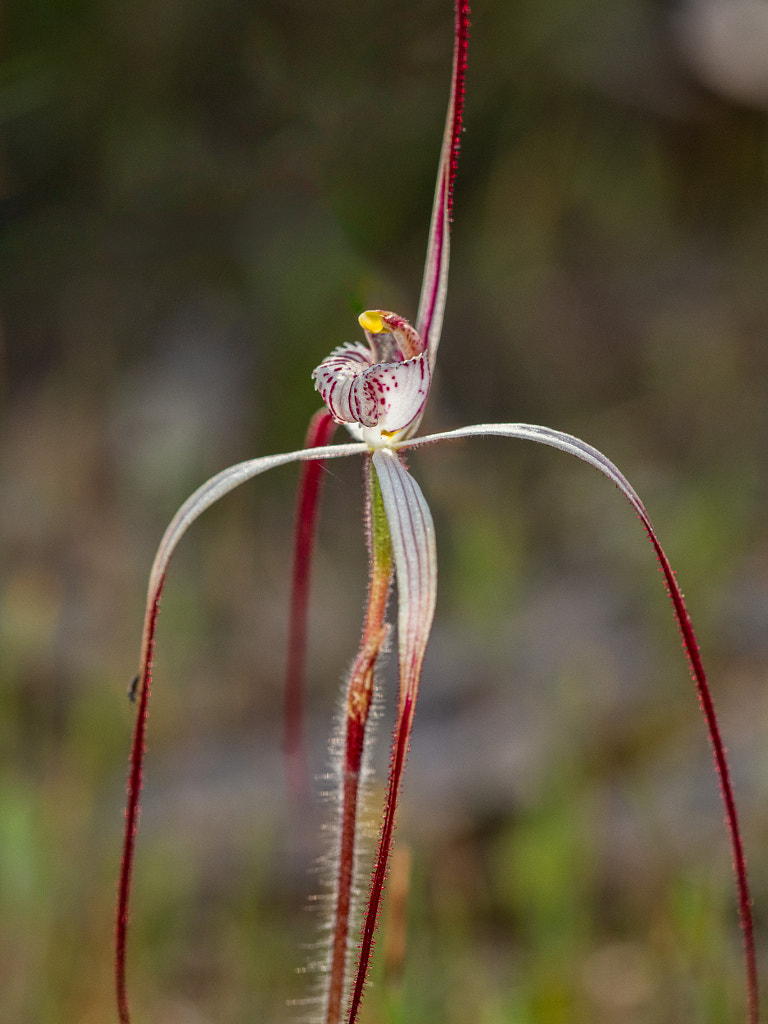
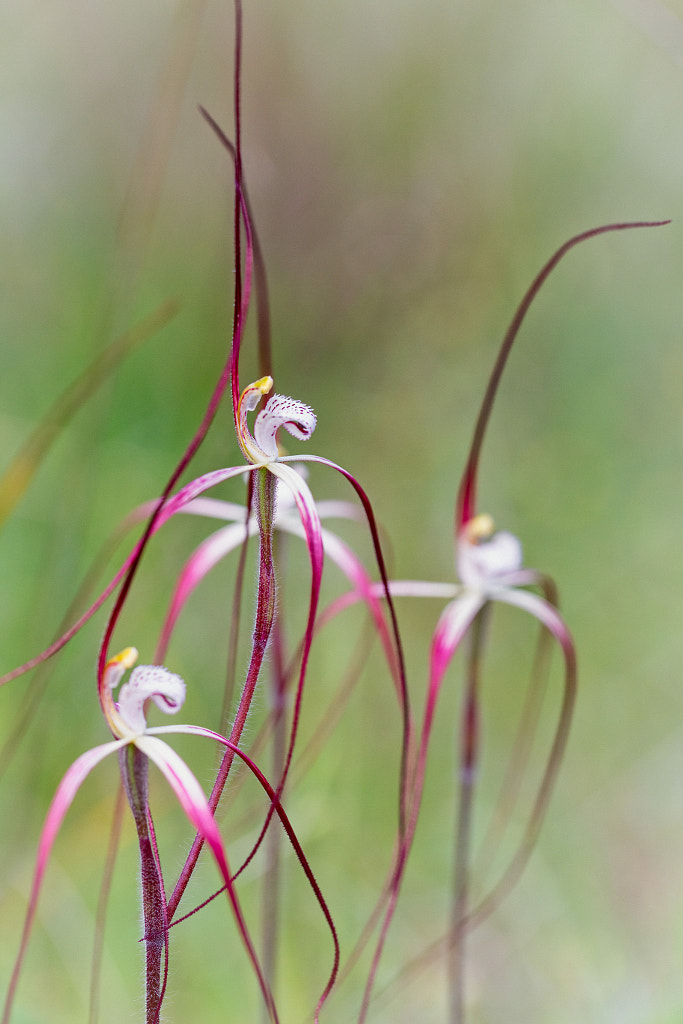
Purple-veined Spider Orchid, Caladenia doutchiae. Toolibin Nature Reserve, Western Australia.
Purple-veined Spider Orchid, Caladenia doutchiae. Toolibin Nature Reserve, Western Australia.
Clown Orchid, AKA Ant Orchid, Man Orchid, and Jack-in-the-box Orchid, Caladenia roei. Toolibin Nature Reserve, Western Australia.
In profile. Clown Orchid, AKA Ant Orchid, Man Orchid, and Jack-in-the-box Orchid, Caladenia roei. Toolibin Nature Reserve, Western Australia.
Toolibin Lake is definitely a place I’ll be visiting again, although the next time I’ll forego the orchids and look for the Freckled Duck and the Red-tailed Phascogale. For anyone interested in visiting be aware that Toolibin Lake lies in a low rainfall area of the Wheatbelt and consequently it usually only holds water at certain times of year and some years it may not have any water at all. This year while the rains have been late they have been very heavy so everything was in top shape.
Dancing Spider Orchid, Caladenia discoidea. Toolibin Nature Reserve, Western Australia.
I just can’t get the birds to put in an appearance. They just aren’t cooperating at all. I dunno whether it’s my BO basher putting them off or my dress sense. The end result is the same – can’t get within cooee. So I’ve thrown the towel in and am trying something else – damselflies and dragonflies. No flight shots as yet but at least I can find them.
Australian Duskhawker, Austrogynacantha heterogena. York, Western Australia.
Slender Ringtail, Austrolestes analis. York, Western Australia.
Aurora Bluetail, Ischnura aurora. York, Western Australia.
Inland Ringtail, Austrolestes aridus. York, Western Australia.
Up until this time last year I had only ever seen one leopard orchid (Thelymitra benthamiana). It is not that they are rare or hard to find, it’s just been that I’ve never been in the right place at the right time. The one I saw wasn’t at its best, but it made me very happy to see it. I went back to the same place last week and I was amazed to find not not one, not 10, but over a hundred of them. It was quite a spectacle. I’ve been saying how unseasonably warm it has been and dry the bush is, but obviously it suits leopard orchids. I was spoilt for choice as I wandered around looking for a good specimen with a good background that was sheltered from the wind.
Leopard Orchid, Thelymitra benthamiana. Wandoo National Park, Western Australia.
It’s been a strange August. From my blog entries you’d think that it has been a very wet winter, but the reality is that it has been very little rain and the bush is very dry – almost crispy. It has has a tremendous impact on the wildflowers – there aren’t as many as the previous few years. This is causing problems for the tourist industry with some interstate and overseas tourists getting upset.
Dark banded greenhood, Pterostylis sanguinea.
Locally it has been very strange. Some species of orchid didn’t flower at all while some flowered 6-8 weeks earlier than normal as the winter as well as being dry has been warmer than normal. This last month I’ve been concentrating on the bush reserves around York and particularly those I’ve never been to. It’s quite boggling to think that after almost 20 years of living in the area I still haven’t visited all the reserves. The pictures accompanying this piece are some of the ones I’ve taken in August.
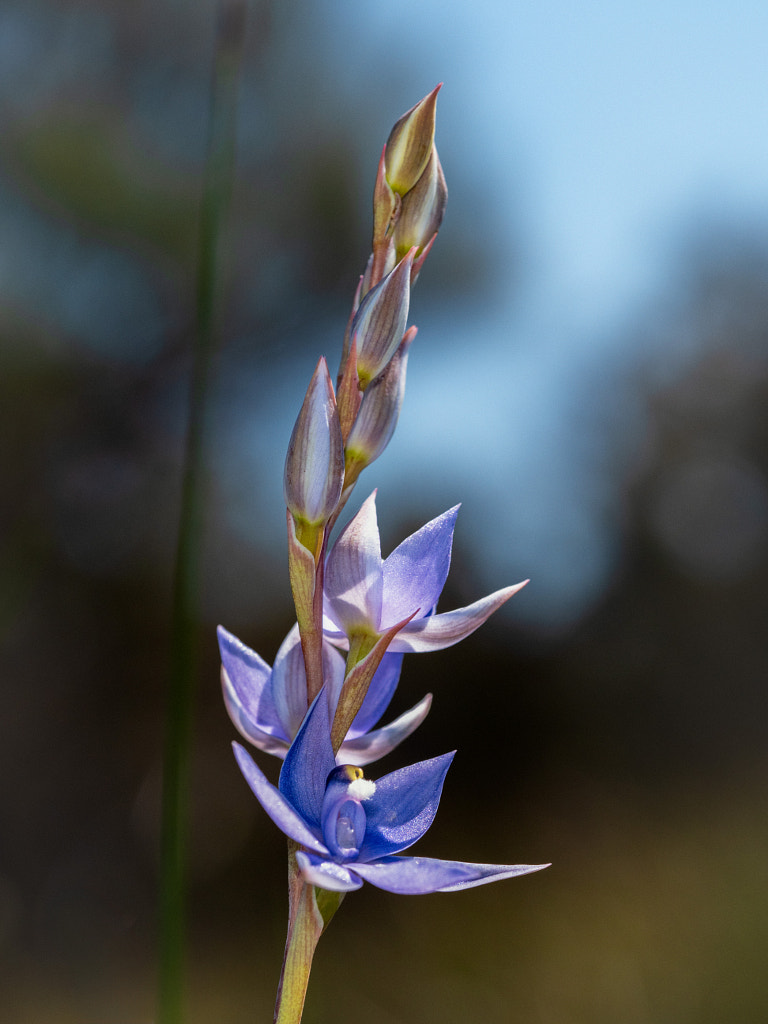
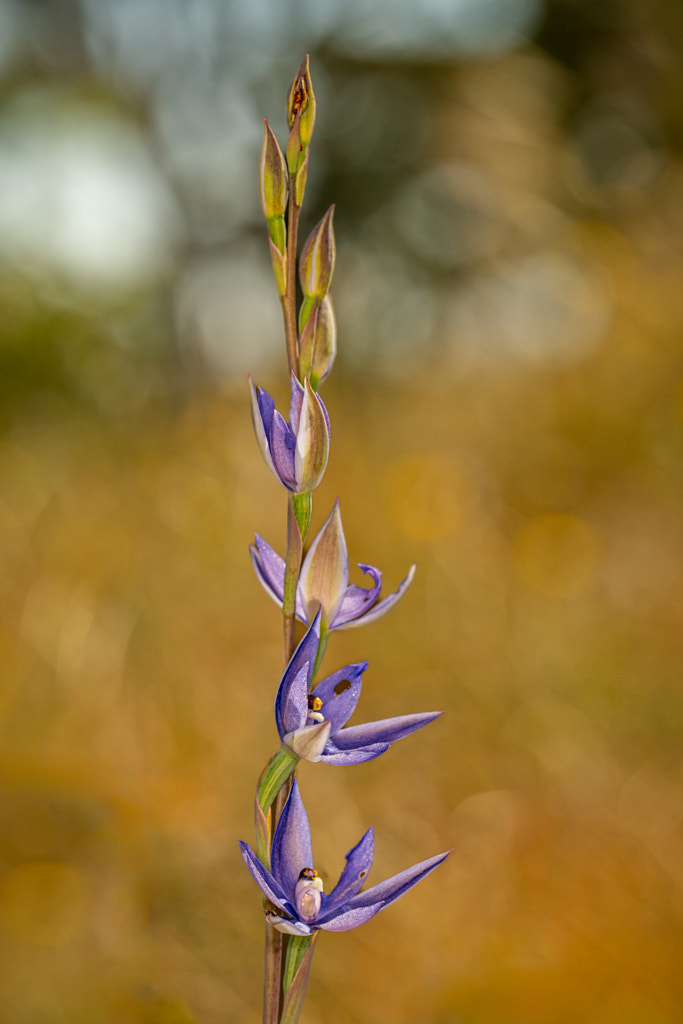
Lemon Scented Sun Orchid or vanilla orchid (Thelymitra antennifera).
One of the most disturbing things this year is the impact of orchid tourism. Usually the reserves around York receive a fraction of the visitors that other orchid hotspots do, but with high petrol prices more and more people are now restricting their days out to those areas an hours drive from Perth. Having more visitors isn’t bad in and of itself. What is bad is the deterioration in people’s behaviour. The amount of litter left in some spots is huge. Another thing is that people aren’t prepared to walk to sites and so drive off the tracks to look for flowers causing a lot of damage. The worst thing is that people are now digging up the orchids. On Friday 25th August I went out to photograph Curly Locks orchids in the Wandoo National Park. I found six in three separate clumps. The flowers hadn’t fully opened so I decided to go back in a couple of days time. The following Tuesday I went back and all three clumps had been dug up. I tried to report it but was told it was a kangaroo that did it, but in my experience kangaroos don’t dig perfectly square holes with spades, and nor do they smoke cigarettes while they do it and leave behind their water bottle.
Jug Orchid or Recurved Shell Orchid (Pterostylis recurva).
Orchid poaching is a big problem. Earlier this year Kings Park in Perth had nine hundred rare species of Western Australian orchids stolen. It seems that there people afflicted by orchidelirium a kind of flower-driven madness where people just have to own the rarest of the orchid species. It is a growing problem and only the other day I was approached by a man in his early 70’s claiming to be a friend of a noted Western Australian expert and that he was prepared to sell me orchid tubers for $40 a tuber. I told him in no uncertain terms where to go. The frustrating thing about this is that a lot of the orchid species are very specialised requiring certain other plants and pollinating insects to survive. Without these they die. In the case of the Curly Locks I know of only three sites where they can be found round York and at best there are only half a dozen flowering plants at each site per year. Wiping out one locations population like that means that is one less place where they can be found, which means extinction is even closer.
Bird Orchid, Pterostylis barbata
I’m sorry for the rant but the whole thing was a little upsetting and I’m not sure what was worse, the theft, the indifference of the authorities, or the brazenness of people trying to sell the orchids.
Clubbed Spider Orchid, Caladenia longiclavata.
Fringed Mantis Orchid or Green Spider Orchid (Caladenia falcata).
Teleconverters are an affordable way of getting longer focal lengths, but with the advent of software such as Blow Up 3, Topaz Gigapixel Ai and Adobe Lightroom’s Super resolution do they still have a place in the wildlife photographers kit bag?
TLDR
The Canon Extender EF 2x ii.
A teleconverter is a tube containing a series of lens elements that goes between the camera body and the camera lens. They commonly come in the following strengths; x1.4, x2, and x3. They work by enlarging the centre part of the image. So for a full frame camera (36 x 24mm) a 1.4 teleconverter magnifies a rectangle of 25 x 17mm and a x2 teleconverter magnifies a rectangle of 18 x 12mm. So while the look like they’re increasing your focal length they are really just cropping your image and magnifying it. In photography the old adage “There’s No Such Thing As A Free Lunch” comes into play a lot, and no more so than here. The penalty for doing this is light loss. A x2 teleconverter looses 2 stops of light and a 1.4 teleconverter looses 1 stop. This is usually expressed in the following way:-
A 300mm f4 lens with a x1.4 teleconverter becomes a 420mm f5.6
A 300mm f4 lens with a x2 teleconverter becomes a 600mm f8
This means that to keep your shutter speed high enough to stop the motion of animals you have to use a higher ISO.
A 300mm f4 lens will make it difficult to photograph small shy animals, while adding a x2 teleconverter will make it an attractive proposition so you can see why they are so popular. Indeed if you take into consideration the cost of long lenses then you’ll see how they can look a screaming bargain. Lets look at the current range of Canon EF lenses for an example:-
The Canon EF 600mm f4 lens costs a whopping $21,000 AUD
The Canon EF 300mm f4 costs $2000 AUD
The Canon EF x2 extender mark iii costs $750 AUD
So for for $2750 you can get a combination that gives you a focal length600mm and saves you $18,250 AUD sounds pretty good, but are you getting the same optical performance? The short answer is no. The in depth answer is somewhat more complicated. When photographing birds in flight (BIF) a shutter speed of 1/2000 sec is the minimum I’d consider. So if were shooting with the 600mm f4 shooting wide open at f4 and an ISO of 1600 for the 300mm f4 plus x2 teleconverter I’d have a wide open aperture of f8 which would mean I’d have to use ISO 6400 which would impact on my image quality by having more noise and less dynamic range.
Remember that I said previously that the teleconverter magnifies the image, well in doing this it also magnifies any optical faults in the lens. Chromatic aberration is magnified – the coloured fringing on high contrast edges looks broader and more noticeable. If your lens isn’t tack sharp it will make it look softer. The more magnification a teleconverter has the more impact it has on the image quality. The perceived wisdom is that if you’re going to use one then the x1.4 varieties have the least impact on image quality and just don’t bother with the x3 ones.
Also remember what I said about light loss – it impacts the autofocus performance. In most cases it will just slow the subject acquisition, but in some cases (dependent on your camera and lens) it mean your camera won’t focus at all. When you put a x2 teleconverter on a lens with an aperture of f4 it becomes an f8 and some DSLRs won’t autofocus with an aperture of f8 and slower. So before you commit to this check your camera manufacturer’s website.
The Canon Extender EF 2x ii is a matched teleconverter and is designed to only fit certain Canon L lenses. Note how the lens elements stand proud of the lens mount.
In the case of teleconverters you really get what you pay for. With the camera manufacturers when they design a teleconverter they do so with only certain lenses in mind and they are designed to become part of the host lenses optical formula. You can see this when you look at the teleconverter as the optics protrude from the body and nestle into a space left for it at the back of the lens. The design goal is that the teleconverter should not cause any optical degradation. They are often described as “matched teleconverters” or “matched multipliers” and they won’t fit any other lens from that manufacturer. Cheap teleconverters are designed to work with any lens with that mount. They don’t have as many lens elements or the lens coatings of the more expensive camera marque models.
Model
Lens construction
Weather sealing
Compatability
Price (Australian Dollars)
Canon EF x2 extended iii
9 elements in 5 groups
Yes
All prime L lenses above 135mm, EF 70-200mm f2.8 L, EF 70-200mm f2.8 IS L, EF 70-200mm f4 L, EF 100-400mm f4.5-5.6 IS L.
$750.00
Viltrox C-AF 2x ii AF 2.0 teleconverter for Canon EF
7 elements in 4 groups
No
All EF mount lenses except EF-S
$154.00
Fotodiox Pro Autofocus 2x teleconverter for Canon EF
4 elements in 3 groups
No
All EF mount lenses except EF-S
$100.00
Luckily Canon and Nikon have been making teleconverters for years so there are plenty on the secondhand market. Canon, for example, have since 1987 produced three versions of the x2 teleconverter. Their x1.4 teleconverters have been in production since 1988 and there are also three models. The first versions were pretty lacklustre but the mark ii was considerably better and can be had for around $300 AUD. The mark iii has even better performance and can be had for around $500 AUD. If you have a Sigma or Tamron lens they have also produced matched converters for some of their lenses. My Sigma 150-600mm f5-6.3 DG OS Contemporary is compatible with the Sigma Teleconverter TC-1401, which is weather sealed and will allow autofocus up to f8. So check the website of your lens’ manufacturer to see what is compatible.
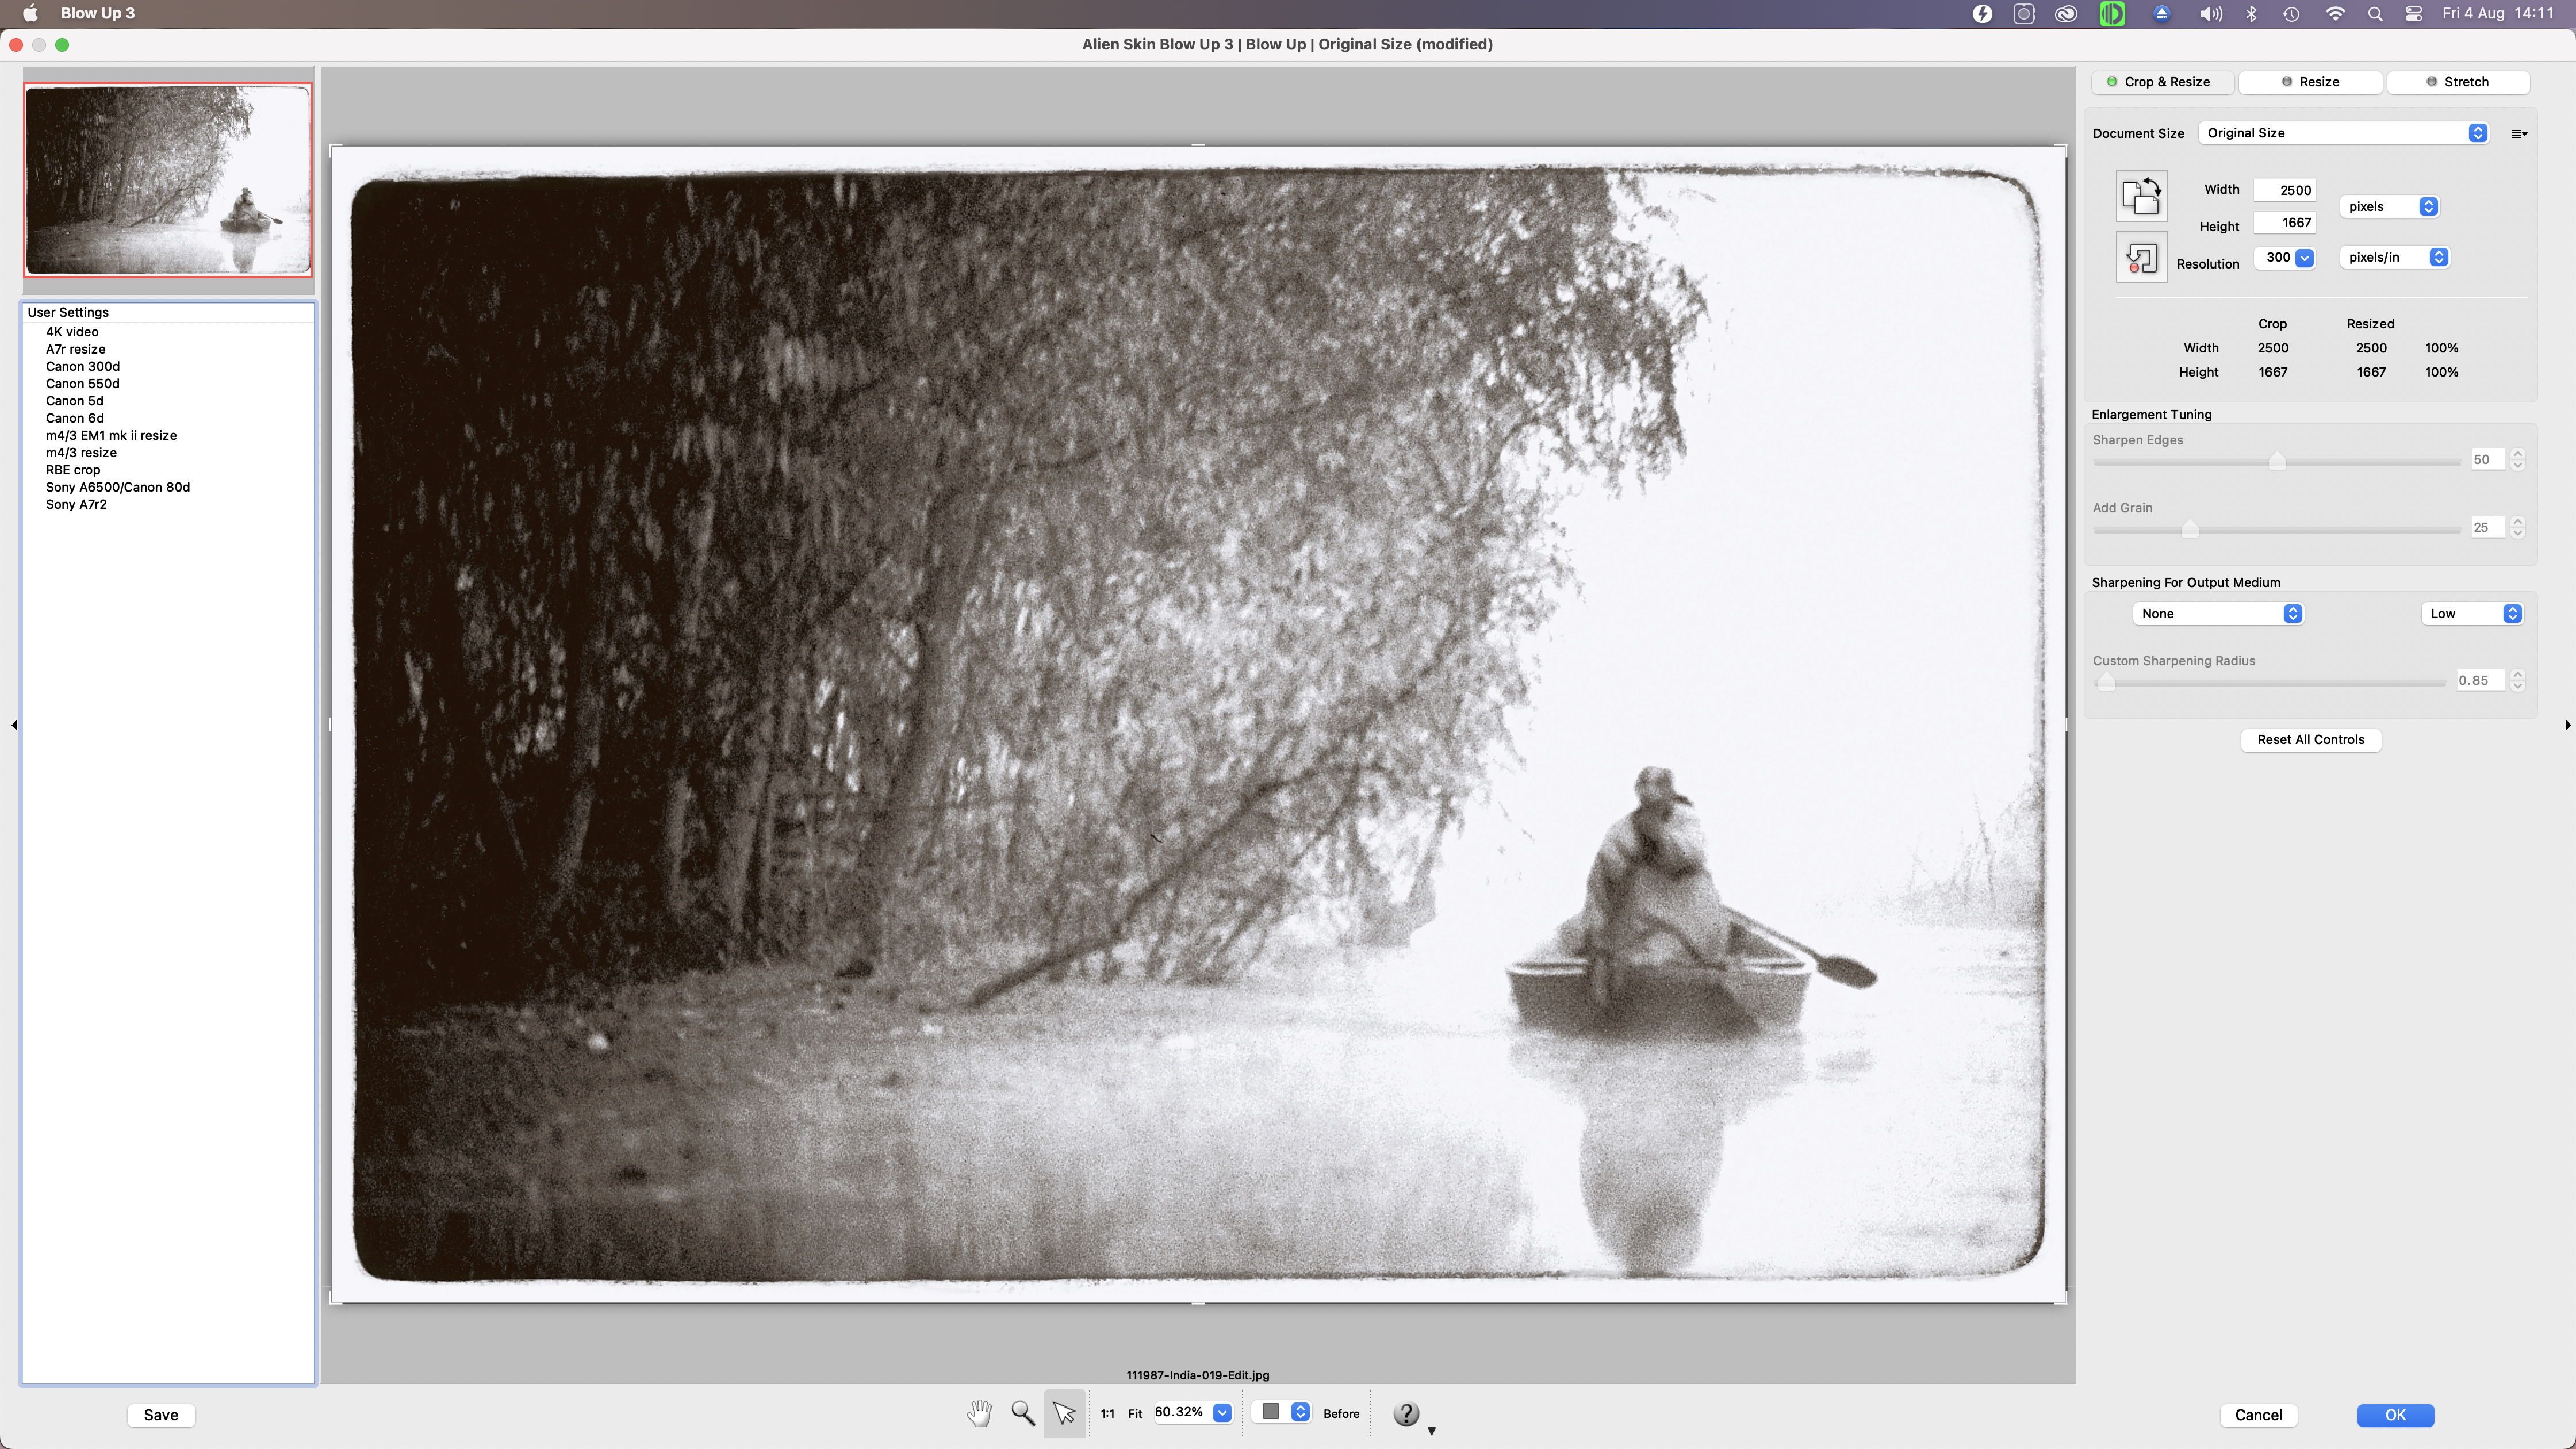
I know the mist isn’t helping image quality here and nor is shooting 400ISO film, but the x2 teleconverter had a big impact on image quality. Dal Lake, Kashmir, India.
Working elephant heading off to work in the early morning mist in Chitwan National Park, Nepal.
My own history with teleconverters goes back to the late 1980s. I was heading off to back pack around India and Nepal for a year and wanted to take only two lens – a 35-105mm and a 75-210mm. Virtually couple of days before we were due to head off I went to my local camera store to pick up the 200 rolls of film I’d ordered and I thought I’d get a x2 teleconverter to give me a bit more reach when in the National Parks. So I bought a Vivitar x2 teleconverter for £25 and set off without knowing what I’d actually bought. When I got back and processed the film I was shocked to see how soft the images taken with it were. It was as if someone had used a belt sander on the front lens element. What I’d done is put a bad teleconverter on a mediocre zoom lens. This was the experience of a lot of people at the time and it was why teleconverters got such a bad reputation. In 2004 I started a project photographing the Western Australian rodeo scene and I decided to get a Canon 100-400mm lens to help with this. At the time they were like hens teeth in Australia and my dealer suggested getting a Canon x2 converter for my Canon EF 70-200mm f2.8 IS L lens. I was very skeptical because of my previous experience, but the sales person said if I wasn’t happy with the results I could bring it back and get a refund. When I looked at the first images taken with it I couldn’t believe how sharp they were. This convinced me when I changed to the Olympus micro four thirds system to get the Olympus x1.4 teleconverter to go with the 40-150mm f2.8 lens. I use that combination a lot to photograph wild flowers and I’m extremely happy with it.
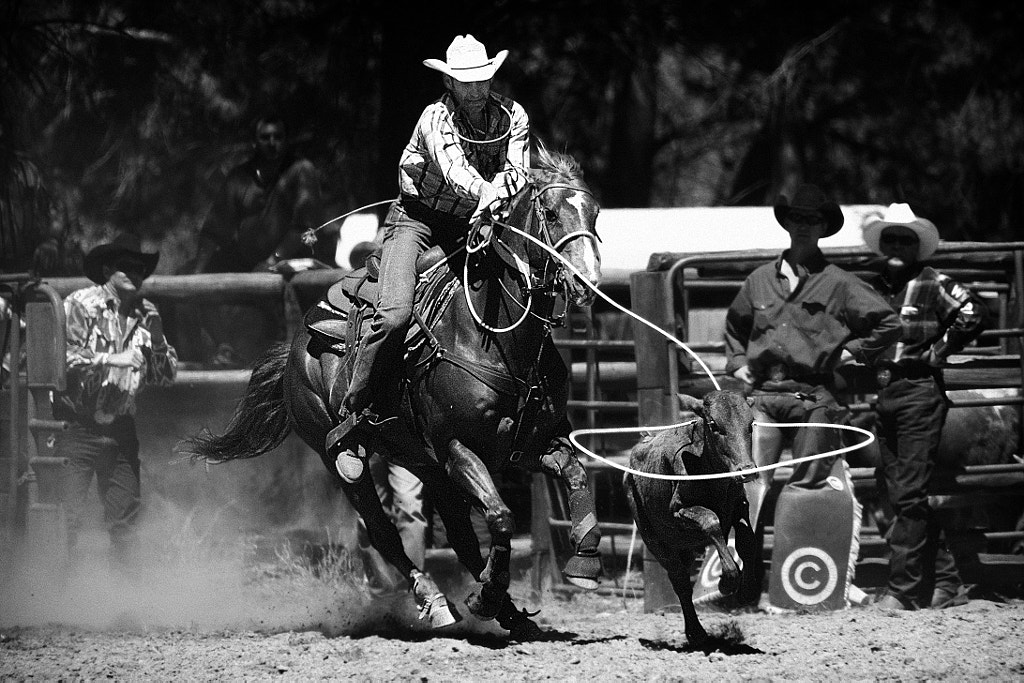
Taken on the Canon 5d with Canon EF 70-200mm f2.8 IS L lens with x 2 teleconverter at 400mm f5.6.Steer roping competition. Boddington Rodeo, Western Australia.
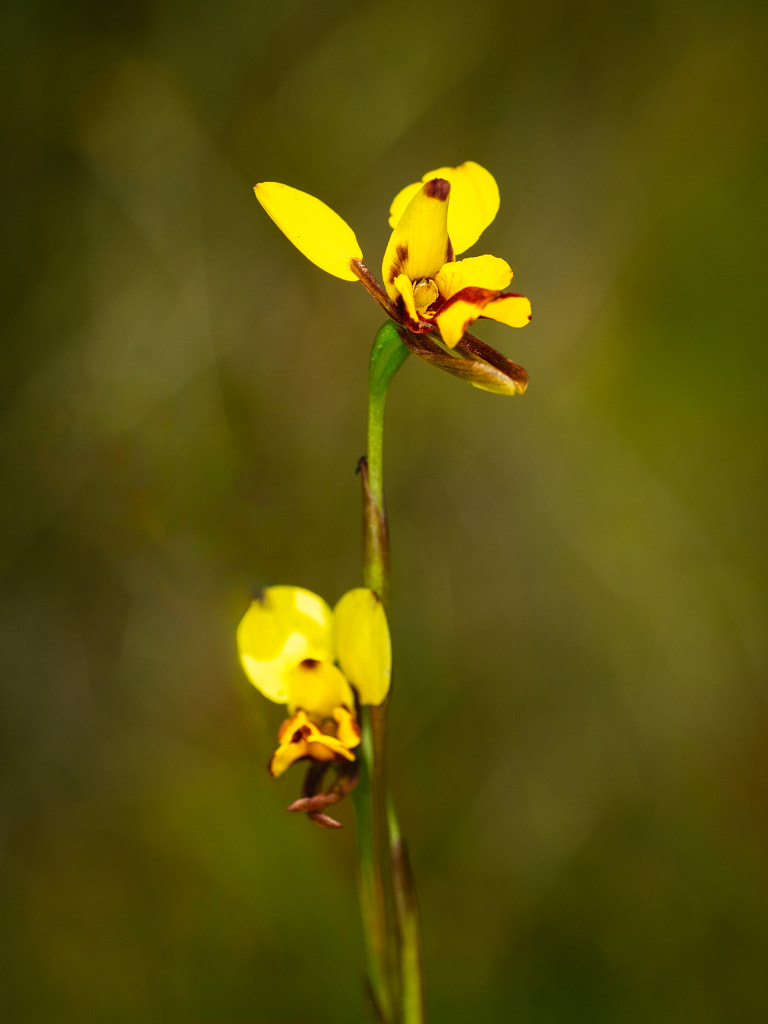
Taken with an Olympus OMD EM 1 mk ii with Olympus m.Zuiko 40-150mm f2.8 and a x 1.4 Olympus teleconverter at 210mm f4. Winter donkey orchid, Diuris brumalis. Woottating, Western Australia.
Since then, however, a new alternative has come up and that is using AI powered software to enlarge images. Exposure Software’s Blow Up was one of the first, Topaz Labs has Gigapixel AI which are plugins for Photoshop and Lightroom. Adobe now has Super Resolution as part of its Enhance function in Lightroom. GigaPixel is $99 USD, Blow Up is $125 AUD and Super Resolution comes with your Lightroom subscription. So do these make teleconverters obsolete? If you want the best image quality should you even use any of these options?
Blow Up 3 is one of several apps that can enlarge, and selectively crop and enlarge images with apparently no loss in image quality.
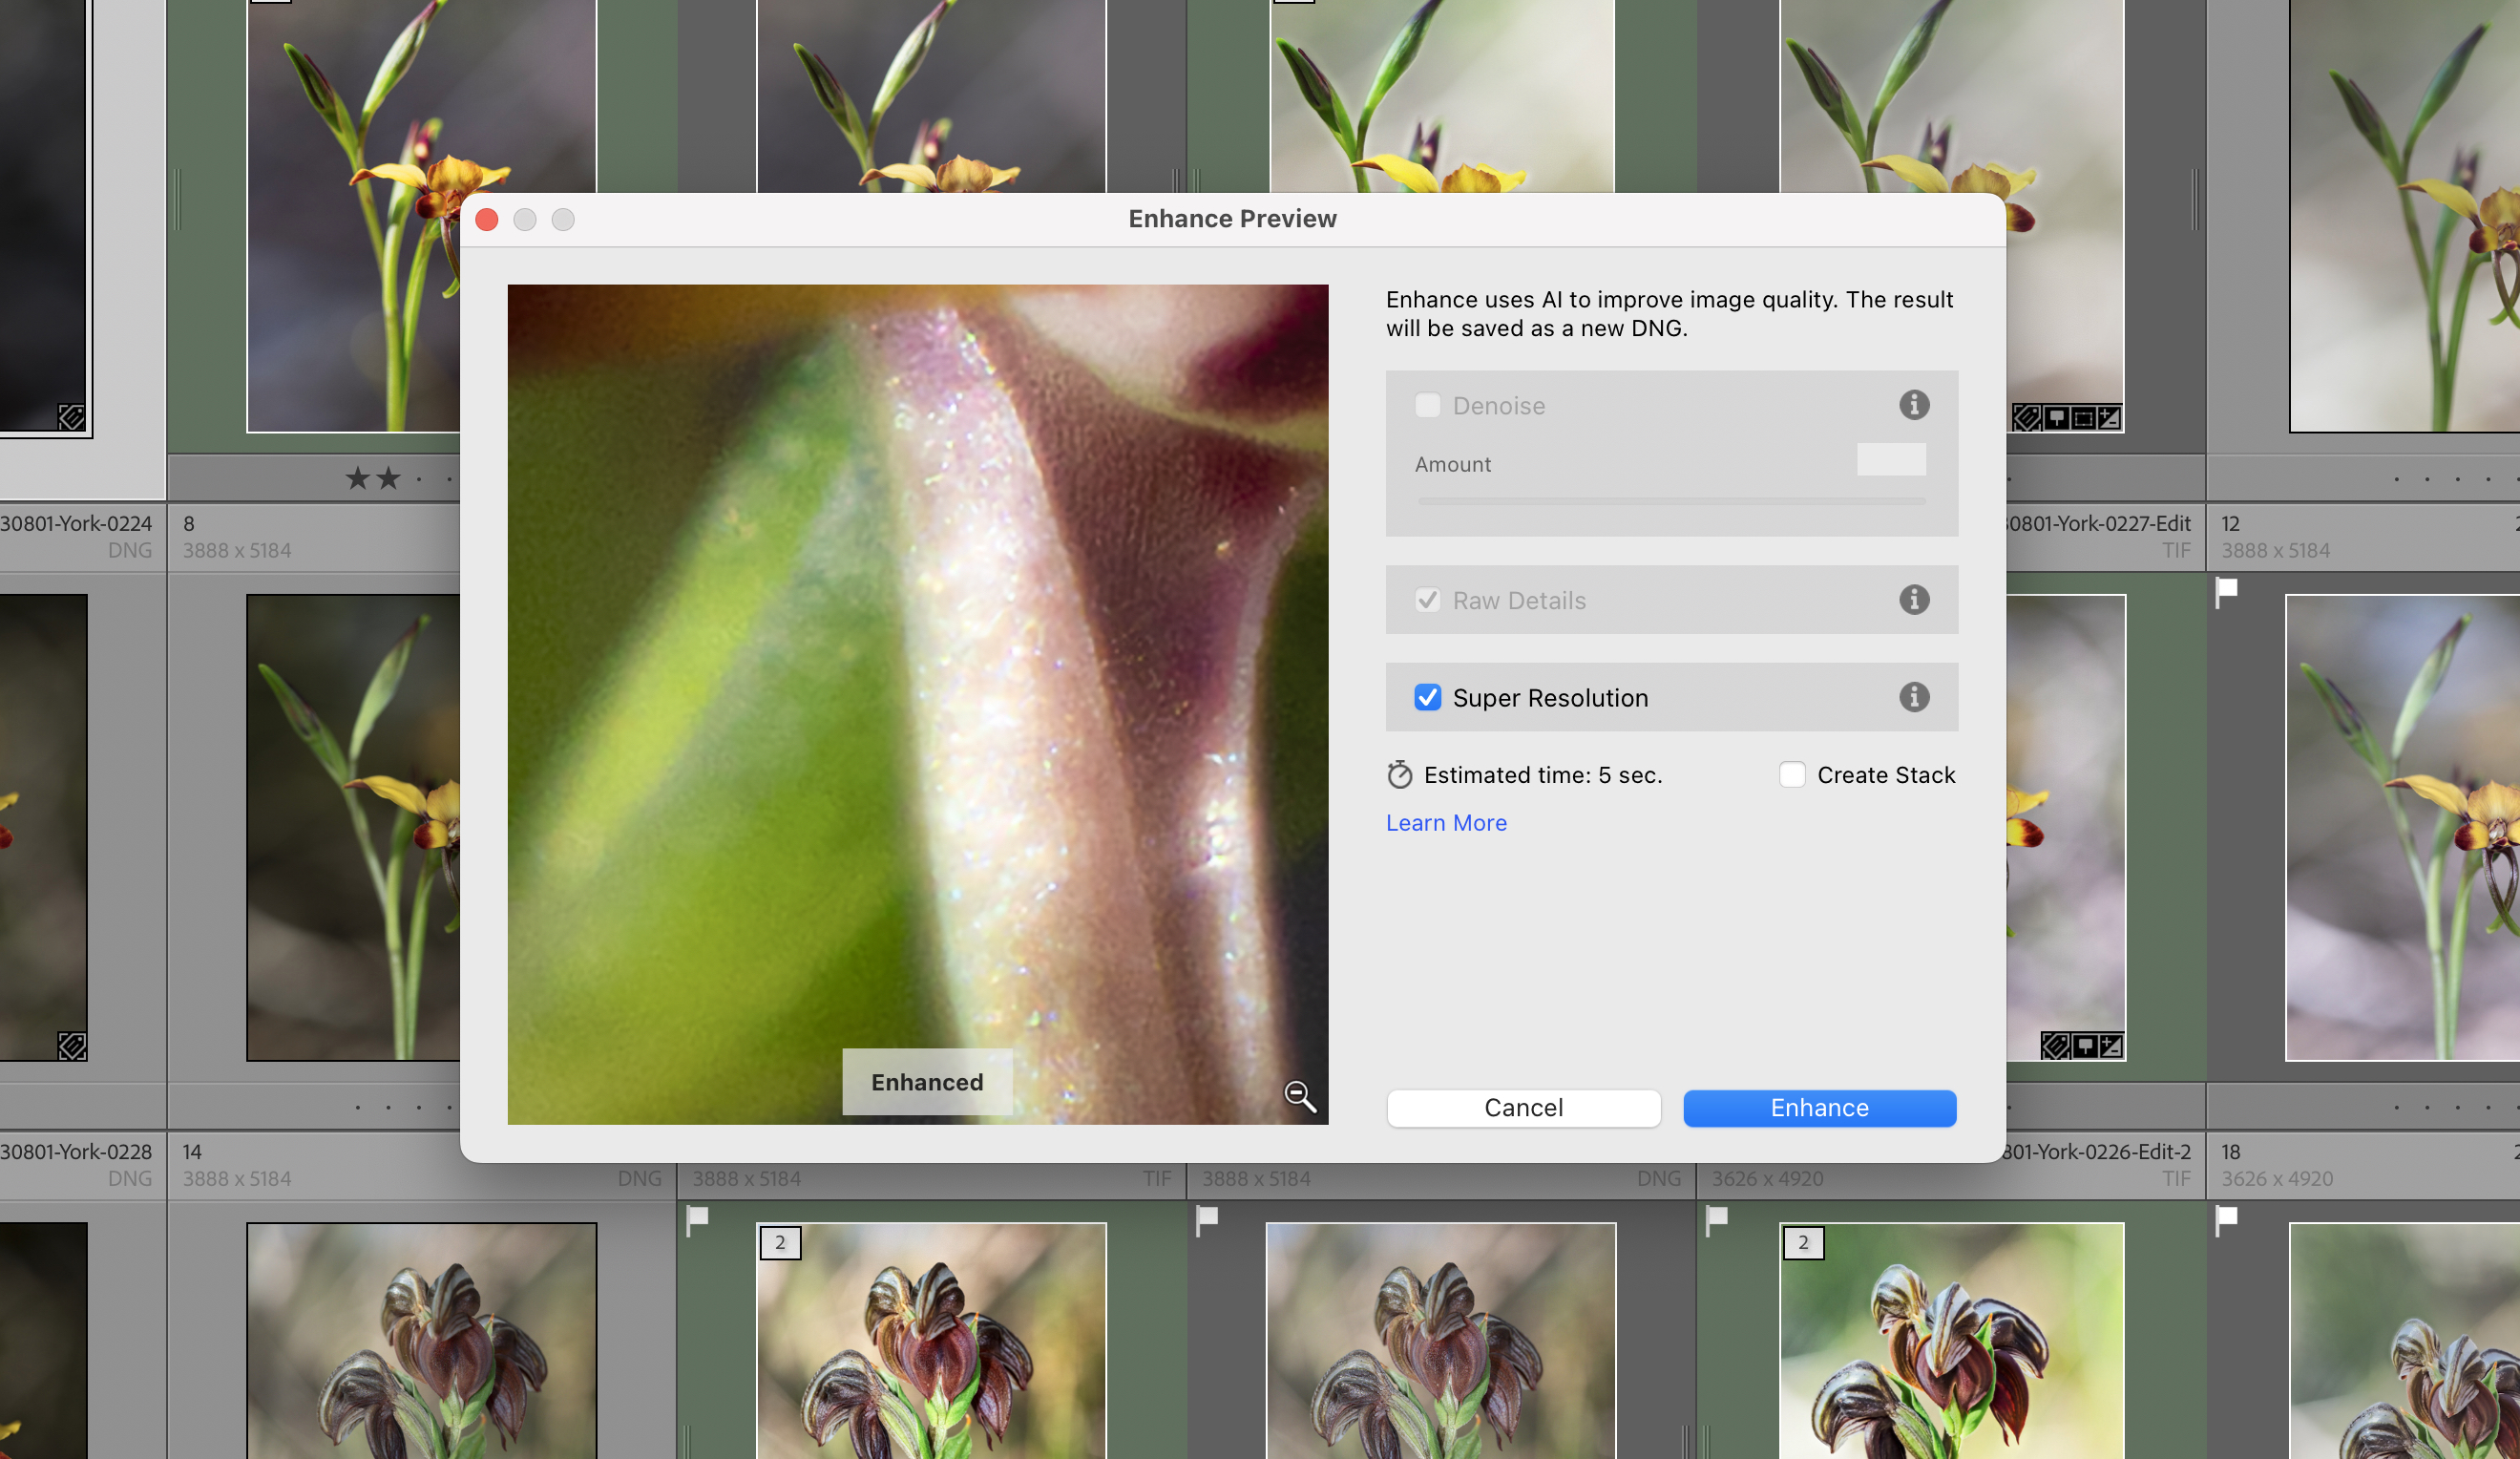
Lightroom Super Resolution is a part of its Enhance function in Lightroom.
The test will take a Canon EF 70-200mm f2.8 IS L lens and test it with the canon EF x2 extender ii and compare it to images taken without the converter, and then without the converter but enlarged using Blow UP and LightRoom Super Resolution. Then I’ll test the Olympus 40-150mm f2.8 Pro lens in the same way but using the Olympus m.Zuiko Digital 1.4 x Teleconverter MC-14.
Canon EF 70-200mm f2.8 IS L and Canon EF x2 Extender ii
The Canon Extender EF 2x ii shown next to the Canon EF 70-200mm f2.8 IS L lens. The extendinded lens leement of the converter are designed to be placed inside the body of the lens.
Canon EF 70-200mm f2.8 IS L with and without a teleconverter comparison using a lens chart wide open.
Canon EF 70-200mm f2.8 IS L with and without a teleconverter comparison using a lens chart f5.6.
First off we’ll look at the lens sharpness chart. Wide open with out the extender the centre of the chart is a little soft and is lacking contrast. When adding the teleconverter the results are a little softer. Stopping the lens down to f4 and f8 (with the extender) the results are better with a bit more sharpness and contrast. The shot without the teleconverter is still sharper than the one with. Finally two stops down from wide open is generally considered to be where optimum performance is found and here we see that f11 the 70-200 and teleconverter have attained their best result, but it is still softer and has less contrast than the 70-200mm on its own.
Comparing images taken with the Canon 70-200mm f2.8 IS L using a teleconverter, Blow Up 3 and Lightroom Super Resolution.
Lens charts don’t really tell the whole story so we’ll look at the results we got with Gazza the Galah. The camera was set to aperture priority at 100 ISO and the aperture was one stop down from wide open (f4 and f8 respectively). The photos were all taken from the same position with the camera on a tripod, and the results are interesting.
Obviously in the shot with the teleconverter Gaza is larger, and that is what we wanted to see.
The bokeh in the shot with the teleconverter looks smoother and more pleasing. All we are seeing is the magnification of the out of focus areas and it makes appear smoother.
The shot without the teleconverter has more fine detail.
The shutter speed without the teleconverter was 1/200 sec and with 1/50 sec so a light loss of exactly 2 stops.
Just as an afterthought I decided to see how this all stacked up against the Sigma 150-600 at 400mm. The Sigma delivers a much better performance that the Canon 70-200mm with teleconverter so no surprise there.
Comparing the image quality from the Canon 70-200mm f2.8 IS L lens with x2 teleconverter against the Sigma 150-600mm Contemporary set at 400mm.
Next I took the shots taken with the 70-200mm without the teleconverter and put them through Blow Up and Super Resolution and in both cases the results from the lens with the teleconverter were better.
Olympus m.Zuiko 40-150mm f2.8 with Olympus 1.4 Teleconverter MC-14
The Olympus MC-14 teleconverter.
Like the Canon Extender x2 the Olympus MC14 is designed to be used by a few of the Olympus Pro lenses, and they have room for that protruding lens assembly of the teleconverter to fit inside the lens body.
I basically ran the same tests as above and found that the Olympus combination was very consistent in that the teleconverter had only a marginal impact on image quality.When compared to a shot taken with Panasonic Leica 100-400mm set to 210mm the 100-400 resolves more fine detail.
Olympus 40-150mm f2.8 Pro with and without a teleconverter comparison using a lens chart with the lens wide open.
Olympus 40-150mm f2.8 Pro with and without a teleconverter comparison using a lens chart with the lens at f5.6.
Comparing the image quality of the Olympus 40-150mm f2.8 pro lens with the results from the Olympus x 1.4 teleconverter, Blow Up2 and Lightroom Super Resolution.
Comparing the image quality from the Olympus 40-150mm f2.8 pro with 1.4 x teleconverter with the Panasonic Leica 100-400mm lens at 210mm.
Looking at the results when run through Blow Up and Super Resolution we see that the results from the teleconverter were a tiny bit better with more micro contrast. The image produced by Lightroom’s Super Resolution look over sharpened withmoirés evident and artefacts in the shadow areas. The shot for the lens and teleconverter looks more pleasing.
Conclusion
The software solution was very disappointing and I would not go out of my way to buy Blow Up or Topaz Labs Gigapixel Ai. The Lightroom Super Resolution comes as part of Lightroom and I would only use it in dire situations.
The results from the teleconverters showed that they are worth having, but they won’t give the best image quality. This really depends upon three things:
The quality of the lens
That you are using a matched teleconverter
The magnification of the teleconverter. 1.4 teleconverters have less impact upon image quality than x2 teleconverters.
The best results were naturally from the lenses without teleconverters.
For the budget conscious photographer who has a good quality lens then it is certainly worth trying a matched teleconverter if you can’t afford a longer lens.
The other week I had the privilege of being asked to judge one of Mundaring Camera Club’s monthly competitions. It was a great experience and I really enjoyed looking at all the wonderful photos that had been entered. At one point when looking a shot of a flower I made my oft said statement shoot photos of flowers like they are a portrait of a person. So what do I actually mean by that? After a couple of weeks thought – I’m not the quickest! – I’ve decided to actually write it down.
The following four shots are all photos of the same Winter Donkey Orchid – it’s nothing special it’s just a plant I found the other day. But they do illustrate how I approach each subject.
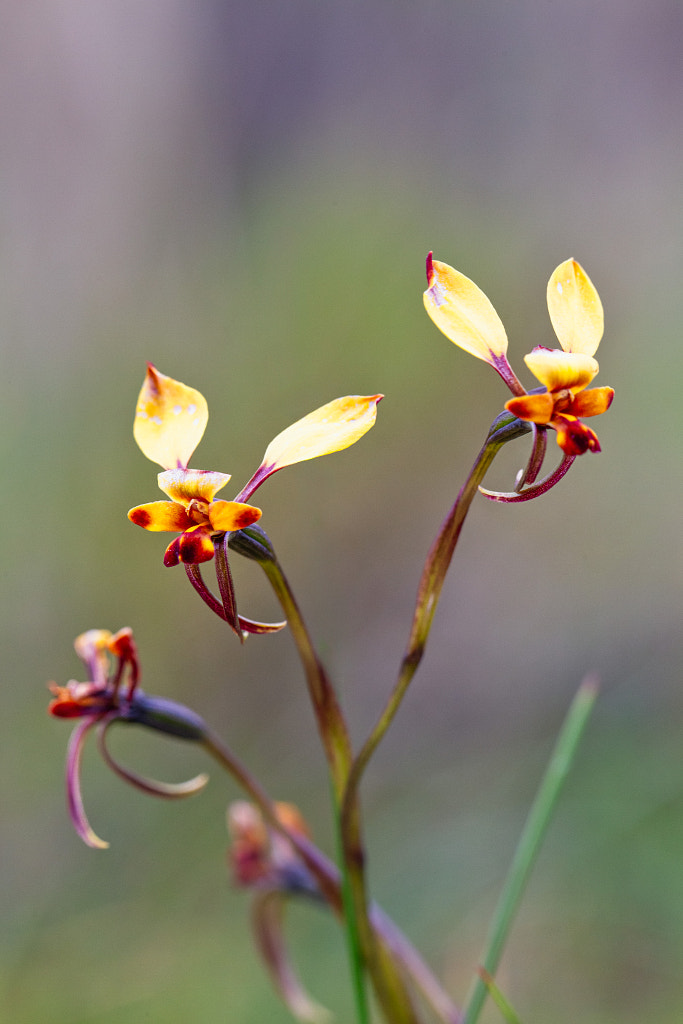
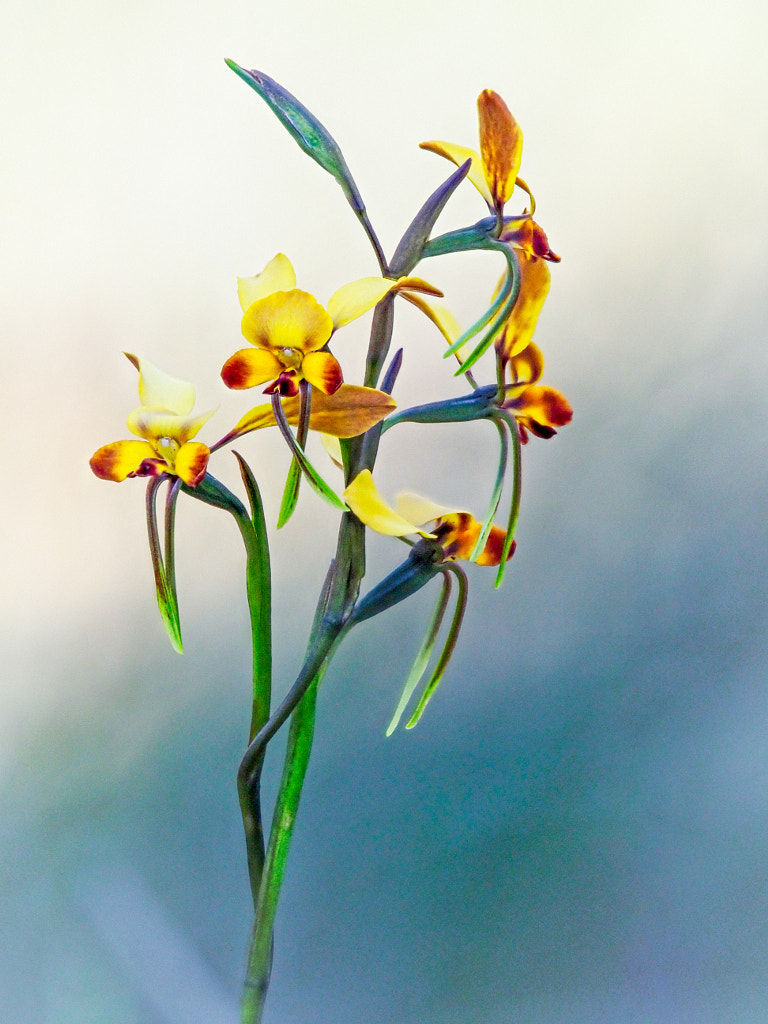
Winter donkey orchid, Diuris brumalis. Woottating, Western Australia.
The first is the establishing shot, an environmental portrait. It shows the plant in situ and how it relates to bush around it.
The first of the mid length portraits.
The second mid length shot done with the macro lens and flash. It creates a very different looking picture when compared with first one.
The next two are mid length shots. Two different techniques are used to try and produce the same effect. One is a single shot taken with a macro lens and flash, the other is done with a long telephoto lens as a focus stack. The aim is produce a shot with a nice clean back ground.
The tight “head” shot.
The fourth shot is a close up portrait – a head and shoulders if you like – to reveal some of the characteristics of the flower.
It is how I work the subject. Unlike Austin Powers I’m not asking the flower to be a tiger, but, what I am doing is taking a series of photos from different angles to bring out the best in the subject.
As an aside the clip of Austin Powers is its self a parody of another famous screen photographer – the protagonist of Michelangelo Antonioni’s masterpiece ‘Blowup’. I certainly don’t behave like David Hemmings’ character did when photographing Veruschka von Lehndorff in the film. That would be a bit strange.











You must be logged in to post a comment.