Hell Or High Water

Hell or high water is the new motto for the Avon Descent and was adopted because recent years have seen decreasing amounts of rainfall falling and competitors have had to carry their craft where there was insufficient water. This year, 2017 and the 45th occasion of the race, the water levels were high which meant potentially new records could be set. The Avon Descent was first held in 1973, and there were only forty-nine competitors. This year there were 370 competitors with many coming from interstate and overseas. In more ways than one it deserves the title the “world’s greatest white water event”. The 124 km or 77 mile two day event starts at Northam and finishes at the Riverside Garden in Bayswater with an over night stop at the Boral Campsite just outside Toodyay. For the majority of entrants the aim is just to complete the course, but for the elite athletes it is a chance of competing in a unique endurance race.

The beauty of this race is that you can pick out a few vantage points from a list put out by the race organisers on their website and follow the whole event documenting the whole story rather than just getting an isolated snap shot. In previous years I’d covered the race for magazines shooting stills and then writing the story. This year I had intended to cover the entire event from start to finish and it was to be first time I’d covered it shooting video. Having planned my weekend around the race it was time to check the maps and the approximate timings for each stage. For instance there was no point heading to the first stage after the start as I would not have had time to get there by car, park, and then walk along the river to find a good location to set up. Also I had to think about the weather conditions, because at some of the viewing points you are bussed in and that would mean I’d have to carry everything with me. As the forecast for the weekend was a cold start it was thermals, and fleece. he key was light layers that could be added or taken off as conditions permitted. Camera and lens choice was hard, and I found it difficult to make a decision. For the Friday shots I could work from the back of the car and it was all to be people shots around Northam and for the sake of mobility using either a monopod or a gimbal. In the end I decided to use the Sony A7r and with Olympus OM Zuiko lenses – the 20mm, 50mm and 135mm. This and the gimbal went in a belt pack. Saturday involved shooting at three sites and I wanted to shoot some time-lapse as well as video footage. So I chose the Olympus OMD EM 1 with 40-150mm f2.8 lens for the video work and the EM10 with 12-40mm f2.8 for the time-lapse. I couldn’t set up a tripod at the start as I was going to shoot on the swing bridge so I used a monopod for the video and for the time-lapse I clamped the Syrp Genie Mini to the bridge safety barrier with a Manfrotto super clamp. All this went into my photo back pack. Sunday was the biggest problem with no car access to Bells Rapids everything had to be carried. So I took the Canon EOS6d with 24-70mm, 70-200 and a x2 converter. I’d also need plenty of batteries and memory cards as there would be no nipping back to the car. I decided to carry all this in pouches on a belt as I needed to be able to scramble up some rocks to get a good vantage point. At Bells I mounted the camera on a tripod but at the finish line I shot just using a monopod.

The race happens on the first weekend of August every year. It kicked off on the Friday with the competitor registration at the Northam Swimming Pool and then their craft were taken down to the race marshalling area on the banks of the river. Late in afternoon and into the evening was the Avon River Festival with a huge fireworks display on the Avon River, stage shows featuring a variety of local talent, a family fun zone, rides for all the family, sideshow alley and roving entertainment, a community street parade, markets for avid shoppers, and food. On Saturday morning the event kicked off proper. As I arrived I could see hot air balloons drifting lazily above the river. The power craft were away quickly and smoothly and then it was the turn of the paddle craft. I was surprised to see that someone was competing for the first time on a Stand Up Paddleboard (SUP). Barely had half the paddle craft left than the news came through that the first power craft had reached Toodyay. It was going to be a very fast race with little hope of getting shots of the power craft. I spent a total of an hour and half standing on the swing bridge -it is a wire suspension bridge that bounces a lot, the police constable standing next to me complained of feeling seasick from the constant motion. It didn’t effect me but it really made me glad that I had the in body stabilisation activated on the cameras. After the start I went to Williamson Weir stayed there for an hour and a half. The Weir is man-made and its concrete lip and rock wall are hazardous to boat and paddler alike so around half the competitors choose to portage around it. Thankfully the other half run it and you get the thrills and spills with plenty of encouragement from the watching crowd. Finishing up in Toodyay for the day is great. There is always a great vibe with a tremendous crowd and a party like atmosphere. When I got there the town was packed and in full on carnival mode. It took an age to find some parking and get down to the river. Here there was a team change over area, and along the riverside were lots of anxious looking paddlers all staring up river for any sign of their team mates. As the first canoes started to come round the corner and pass under the timing gate they got their first sight of their team mates and their faces would burst into a huge grin of relief. The spectators would burst into rapturous cheers as the fresh team-mate paddled away heading for the Boral Campsite that marked the halfway point and the end of day one.

I couldn’t face getting up at 4;30am in the dark and freezing cold to get to the start at Boral Camp for day two so I just headed out a bit later and went straight to Bells Rapids in Walyunga National Park. You have to leave the car at the nearby state equestrian centre and then you taken in by bus. From there it was a quick walk to what I call the media rock. It’s a nice big rock that juts out into the river which gives a good view of the competitors coming under the bridge and through the rapids. I got there just as the TV crews were claiming their spots and setting up. I squeezed onto the end closest to the bank and put my tripod up to mark my territory. When the press photographers arrived they gave us a filthy look, but as they were shooting hand-held they didn’t need as much space. A little while later a hopeful photo enthusiast asked if could join us on the rock, one of the guys I know from the papers said it was OK if he didn’t talk about equipment – his or ours – and if he did he’d get thrown in the river. He decided that he couldn’t not talk about kit and took himself off somewhere else. After a couple of hours I knew that I’d have to get my skates on if I was to get to the finish line.

The finish line is in Bayswater a suburb of Perth. A huge screen had been put up and there was a live commentary being given. I positioned myself by the finish line as I find that the images taken as the paddlers beach their boats and walk ashore tells a very powerful story. It does not seem to matter whether they are newbie’s in their first race or veterans each face has a similar look etched upon it. It is a mixture of pain from the sheer physical effort, relief from finishing, and disbelief that it is all over. Some will swear that they will never do it again, but most know that even as they hit the finish line that they will be back next year.

So now a week later, I’ve edited the 50Gb of footage and made a 7 minute clip. As I write this I’m thinking about how things went and what I would change if I were to do it again. Well to start with I wouldn’t bother with the Sony. It produces very nice images, but the screen is terrible. It is winter here and the days aren’t as bright as they can be, but the Sony’s rear LCD panel is virtually unusable. The other thing that puts me off is that the user interface isn’t very intuitive and so adjusting some settings in a hurry is a pain in the nethers. The OMD EM1 mk i is constantly a surprise when shooting video. The touch screen is a pleasure to use and the phase detect auto focus does very well. It is tempting to run off and get a mk ii for the 4K and the improved focusing. The Canon EOS 6d was the surprise, the autofocus is crap, but Technicolor’s CineStyle Profile and Canon’s superb lenses produce gorgeous images. All it needs is a flippy flappy touch screen and dual pixel auto focus and it would be perfect. “The 6d mk ii has that!” I hear you say, but (and there is always a but) the mk ii’s video compression is worse than the mk i. What Canon give they take away! There is always the EOS 80d. I might try to hire one for the next project I shoot. I wish I’d used the gimbal more instead of the monopod, accepting the fact that I couldn’t use it for the long lens shots. Sound could be a lot better – it is the aspect of video I always struggle with. I’m also beginning to think that I’ve out grown iMovie – a better editor would give me some more options. I’ve downloaded DaVinci Resolve to give that a whirl on my next project. In many ways I’m no different to the competitors in the race – I’m already starting to plan for next year!

2016 In Review

Faversham
The Faversham vintage van in Avon Terrace, York, Western Australia. Olympus OMD EM-1 with Olympus OM Zuiko 35-105mm f3.5-4.5 lens. Exposure: 1/200 sec, f5.6 ISO 400.


If you have slightly geeky bent, and to be honest if you are reading a photography blog it’s pretty much a given that you have, then Adobe’s Lightroom has several useful tools. One of the ones I’ve been looking at is the ability to look at your photographic work for a specific time frame, and in this case it’s for the year 2016. You can also look at the cameras and lenses you used for that period which enables you to see what patterns of equipment usage emerge. It might ultimately save you money i.e. if you have a hankering for an expensive lens you can look back on your past year to see if that focal length/s you used and whether the objective lens of your desires is one you’d actually use or not. This has actually happened to me – a while back I was working on my project Broncos and Bulls and I felt that the Canon EF 75-300 f4-5.6 IS was costing me shots as it wasn’t the fastest lens to focus and the images at the long end were pretty soft. I wanted a Canon 100-400 L IS but my then preferred local dealer didn’t have one in stock and after waiting nearly 3 months they informed they couldn’t get one. I allowed them to talk me into buying the Canon 70-200 f2.8 L IS with the Canon x2 converter which they had in stock. Their logic was that I’d end up using the 70-200 much more and would hardly use it combined with the teleconverter. Now looking back through my Lightroom library I can see that I’ve hardly used the 70-200 at all on its own and virtually all the times I have used it was in conjunction with the teleconverter. I should have stuck to my guns and gone to another dealer and that way I’d have a lens that met my needs gave and gave good image quality rather than put up with a convenient compromise.


Gotcha!!! by Paul Amyes on 500px.com
Gotcha. Steer roping, Boddington Rodeo Western Australia. Canon EOS 5D with Canon 70-200 f2.8 IS L and x2 converter. Exposure: 1/800 s at f/5.6 ISO 200
 So what have I deduced about my photography for 2016? Well I’ll start with commenting on 2015 – for that year over half my photographic output was shot with a DSLR (50:50 split between full frame and APS-C). In 2016 that dropped to 10% the other 90% was shot on mirrorless. The DSLR was only used for some macro work (radio controlled TTL flash), some architecture (a specialised lens) and one event where I had a crisis of confidence and didn’t think the mirrorless cameras would cope with high ISOs and low light focussing. When I look at lens usage it comes as a big surprise that one-quarter of the images were taken using adapted lenses and these with a focal range of between 15-135mm in full frame terms. Hmmm well I knew I preferred shorter lenses than


Quairading Railway Station by Paul Amyes on 500px.com
Aboriginal art at Quairading Railway Station, Western Australia. Sony A7r with Olympus OM Zuiko 24mm f2.8 lens. Exposure: 1/4000, f8 at ISO 400.

longer already, the main thing is that I enjoyed using legacy lenses and was more than happy with them in terms of image quality. I don’t have to use legacy lenses at all as I have 20 to 600mm covered by modern dedicated AF lenses. For work where it is appropriate I will use the legacy lenses because they give a certain aesthetic that I like which is a less digital and clinical look.


York Mill by Paul Amyes on 500px.com
As you drive into York on the Great Southern Highway standing tall on your left is the historic York Flour Mill built in 1892, home to The York Mill. Sony A7r with Voigtlander 15mm f4.5 Super Wide – Heliar lens. Exposure: 1/25 sec, f16 at ISO 100.

Well what will 2017 bring. Well for 2016 I experimented with finding a certain look. For 2017 will be more project driven as I have found the style I wanted and now want to put it to practice. There will be at least one new book (work on that has already started) and there will be some multi media projects. So exciting times indeed.


Hillside Farmhouse by Paul Amyes on 500px.com
Hillside Farmhouse was designed by Sir Talbot Hobbs, a leading architect and built in 1911 for Morris Edwards in the historic Wheatbelt town of York in Western Australia. Sony A7r with Olympus OM Zuiko 35-105mm f3.5-4.5 lens mounted via a Fotodiox adapter, Cokin circular polarizing filter and +3 stop graduated neutral density filter. Exposure 4 seconds, f16, ISO 50.


I hope for my readers that 2017 will be all that you hope and that you’ll be healthy and happy.


Everlastings by Paul Amyes on 500px.com
Everlastings on Mount Brown in York, WA. Sony A7r with Olympus OM Zuiko 135mm f2.8 lens. Exposure: aperture priority with +1 stop exposure compensation, 1/1000th sec, f2.8 at ISO 100.


Olympus OM Zuiko 135mm f2.8 lens

This is my fifth look at classic Olympus OM Zuiko lenses and how they perform on a Sony A7r.

The Olympus OM Zuiko 135mm f2.8 fresh out of the box. Even though it is thirty years old it is brand new, never having been used.

Many years ago I had a very basic camera kit consisting of an Olympus OM Zuiko 50mm f1.8 and 135mm f2.8 lenses with an Olympus OM20.One summer I made a series of portraits of friends down on the beach at Bognor Regis and shot a couple of concerts using the 135mm. The speed and shallow depth of field enabled me to get some shots that sold very well and that cemented the idea of my turning professional in my mind. Unfortunately I was seduced by the lure of zoom lens convenience and part exchanged the 135 for the Olympus 35-105mm. While the zoom was very good and became my photographic workhorse I regretted letting the 135 go.


The Olympus OM Zuiko 135mm f2.8 mounted on a Sony A7r using a Fotodiox adapter.


Fast forward some 30 years and I’ve been re-appraising my OM lens collection by mounting them on a Sony A7r. The results have exceeded my expectations so a little while ago I found my trawling EBay idly when I found a brand new OM 135mm f2.8 lens – and I mean brand new, never used complete in its unopened box. So I hit the “buy now” button and waited patiently for the lens to arrive. When it finally got here it was like being re-united with an old friend. The lens feels gorgeous – reassuringly sold and just oozing quality.The detents of the aperture ring cause it to have a very pleasing click as the ring is turned, and the focusing ring has a wonderfully smooth dampened action. The built in lens hood is a delightful touch in this day of $100 options one has to pay to get one for many modern lenses.


Olympus OM Zuiko 135mm f2.8
Part of the original instruction manual showing the optical construction of the lens. It is a very simple design of five elements in five groups.


The E-Zuiko AUTO-T 135mm f/2.8 was one of the first lenses released when the OM system was launched in 1972. It is easily identifiable thanks to the chromed front filter ring (the so-called “silver nose”). In 1977 it was replaced by the Zuiko AUTO-T 135mm f/2.8. Other than the improved multi-coated optics and some cosmetic changes (notably the loss of the silver nose) the lenses are largely the same with an optical formula of 5 elements in 5 groups and both versions come in at a svelte 360g (12.7 oz) The lens departs from the common Olympus filter size of 49mm and uses one of 55mm to allow a larger front element to facilitate the extra light gathering capability of this over the f3.5 version. This is a very modest size though in this day of 77 and 82 mm filter threads used on many modern lenses. Common to all Olympus OM prime lenses the aperture ring is forward of the focusing ring which makes the lens well-balanced in the hand and easy to use. In this day and age of F1.4 and f1.2 primes the maximum aperture seems a little pedestrian, but the aperture range of f2.8 to f22 allows for depth of field control when combined with the compression effect of a true telephoto.

Just to demonstarte the effect of stopping this lens down has on DOF. This is wide open at f2.8.
Just to demonstrate the effect of stopping this lens down has on DOF. This is wide open at f2.8.


Just to demonstarte the effect of stopping this lens down has on DOF. This is f8.
Just to demonstrate the effect of stopping this lens down has on DOF. This is f8.


Just to demonstarte the effect of stopping this lens down has on DOF. This is f22.
Just to demonstrate the effect of stopping this lens down has on DOF. This is f22.


olympus-om-zuiko-135mm-f2-8-lens


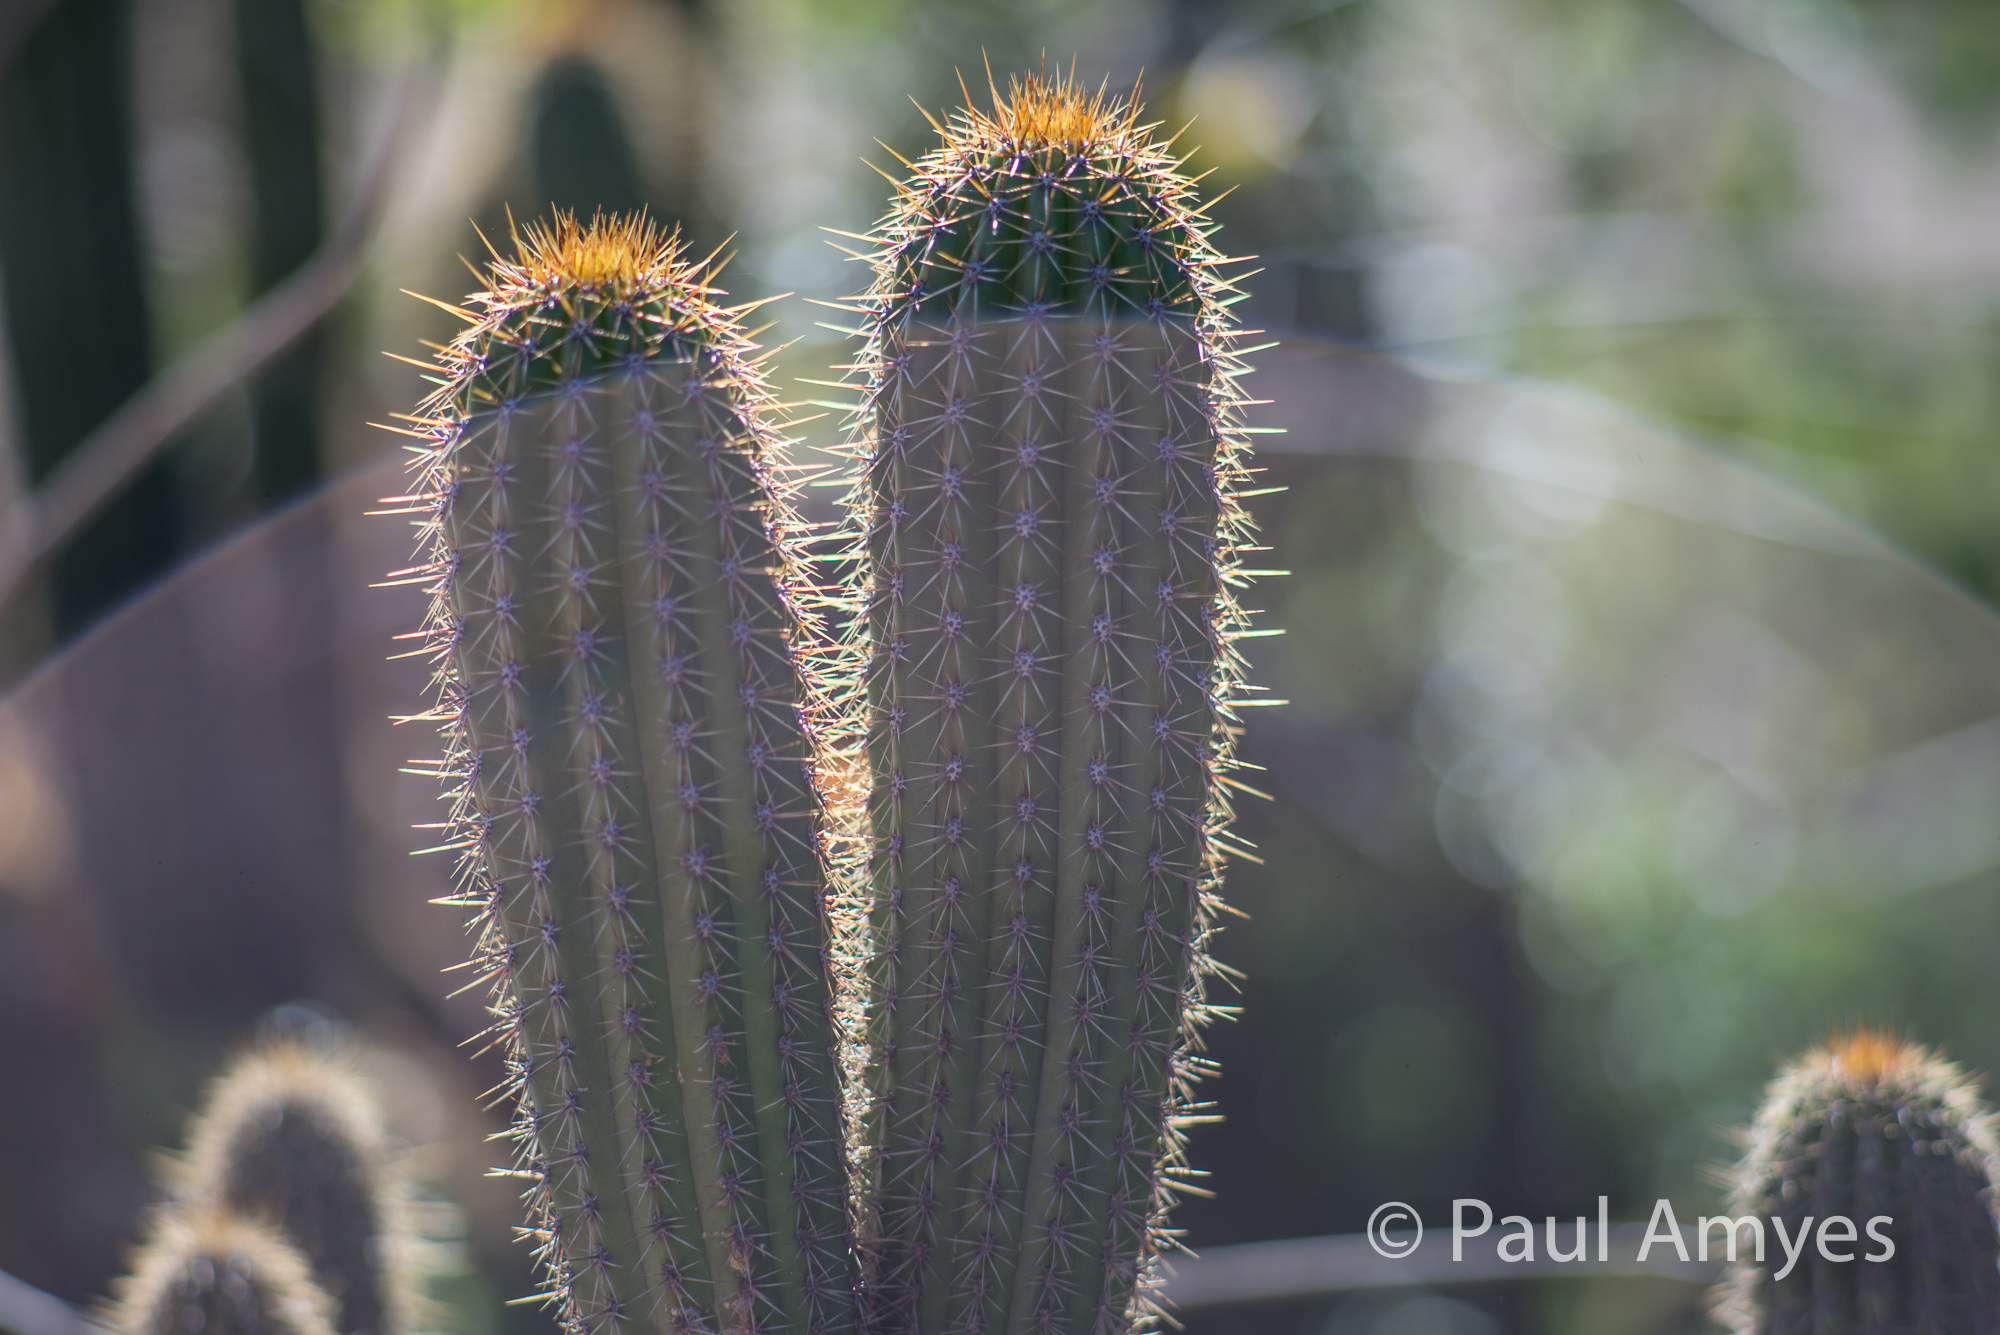
So down to the nitty-gritty – how does the lens perform on a modern digital camera. The quick answer is very well. Barrel distortion is virtually non-existent. In term of sharpness wide open the lens is pleasantly sharp although lacking in contrast and this improves when the lens is stopped down to f8. At the edges at f2.8 predictably the lens is very soft and has poor contrast. This is not altogether surprising considering the very simple design with no exotic elements. Things improve by f8 although it does not reach the standards of the centre.Vignetting is obvious wide open and again clears up as the lens is stopped down and disappears at f8. There is some chromatic aberration but it is very mild and easily fixed in Lightroom. The bokeh is nice and smooth but with only 8 aperture blades the “bokeh balls” turn into octagons as you stop down. When stressed by shooting into the sun veiling flare is very apparent, the solution to this is use a lens hood and that is easy as it is built into the lens.

 Shooting into the sun without a lenshood at f2.8. The veiling flare is very apparent.
Shooting into the sun without a lenshood at f2.8. The veiling flare is very apparent.


What a difference a lens hood makes. Shooting into the sun with a lenshood at f2.8. The rendition of the out of focus highlights (bokeh) is very pleasing.


With a minimum focusing distance of 1.5m the range of the depth of field at f2.8 is just 0.02m. Using the focus peaking set to mid on the A7r caused me no problems with finding focus on this shot. Everlastings on Mount Brown in York, WA.


One of the things I noticed when using this lens is that the weight and the resistance of the focusing ring shows the short comings of the Fotodiox adapter. You can feel the lens moving in the adapter as you turn the focus ring. The cheap no-name Chinese version was a lot worse. I am thinking about getting some longer lenses, but after this I think I’ll have to investigate a better adapter such as the one made by Novoflex.


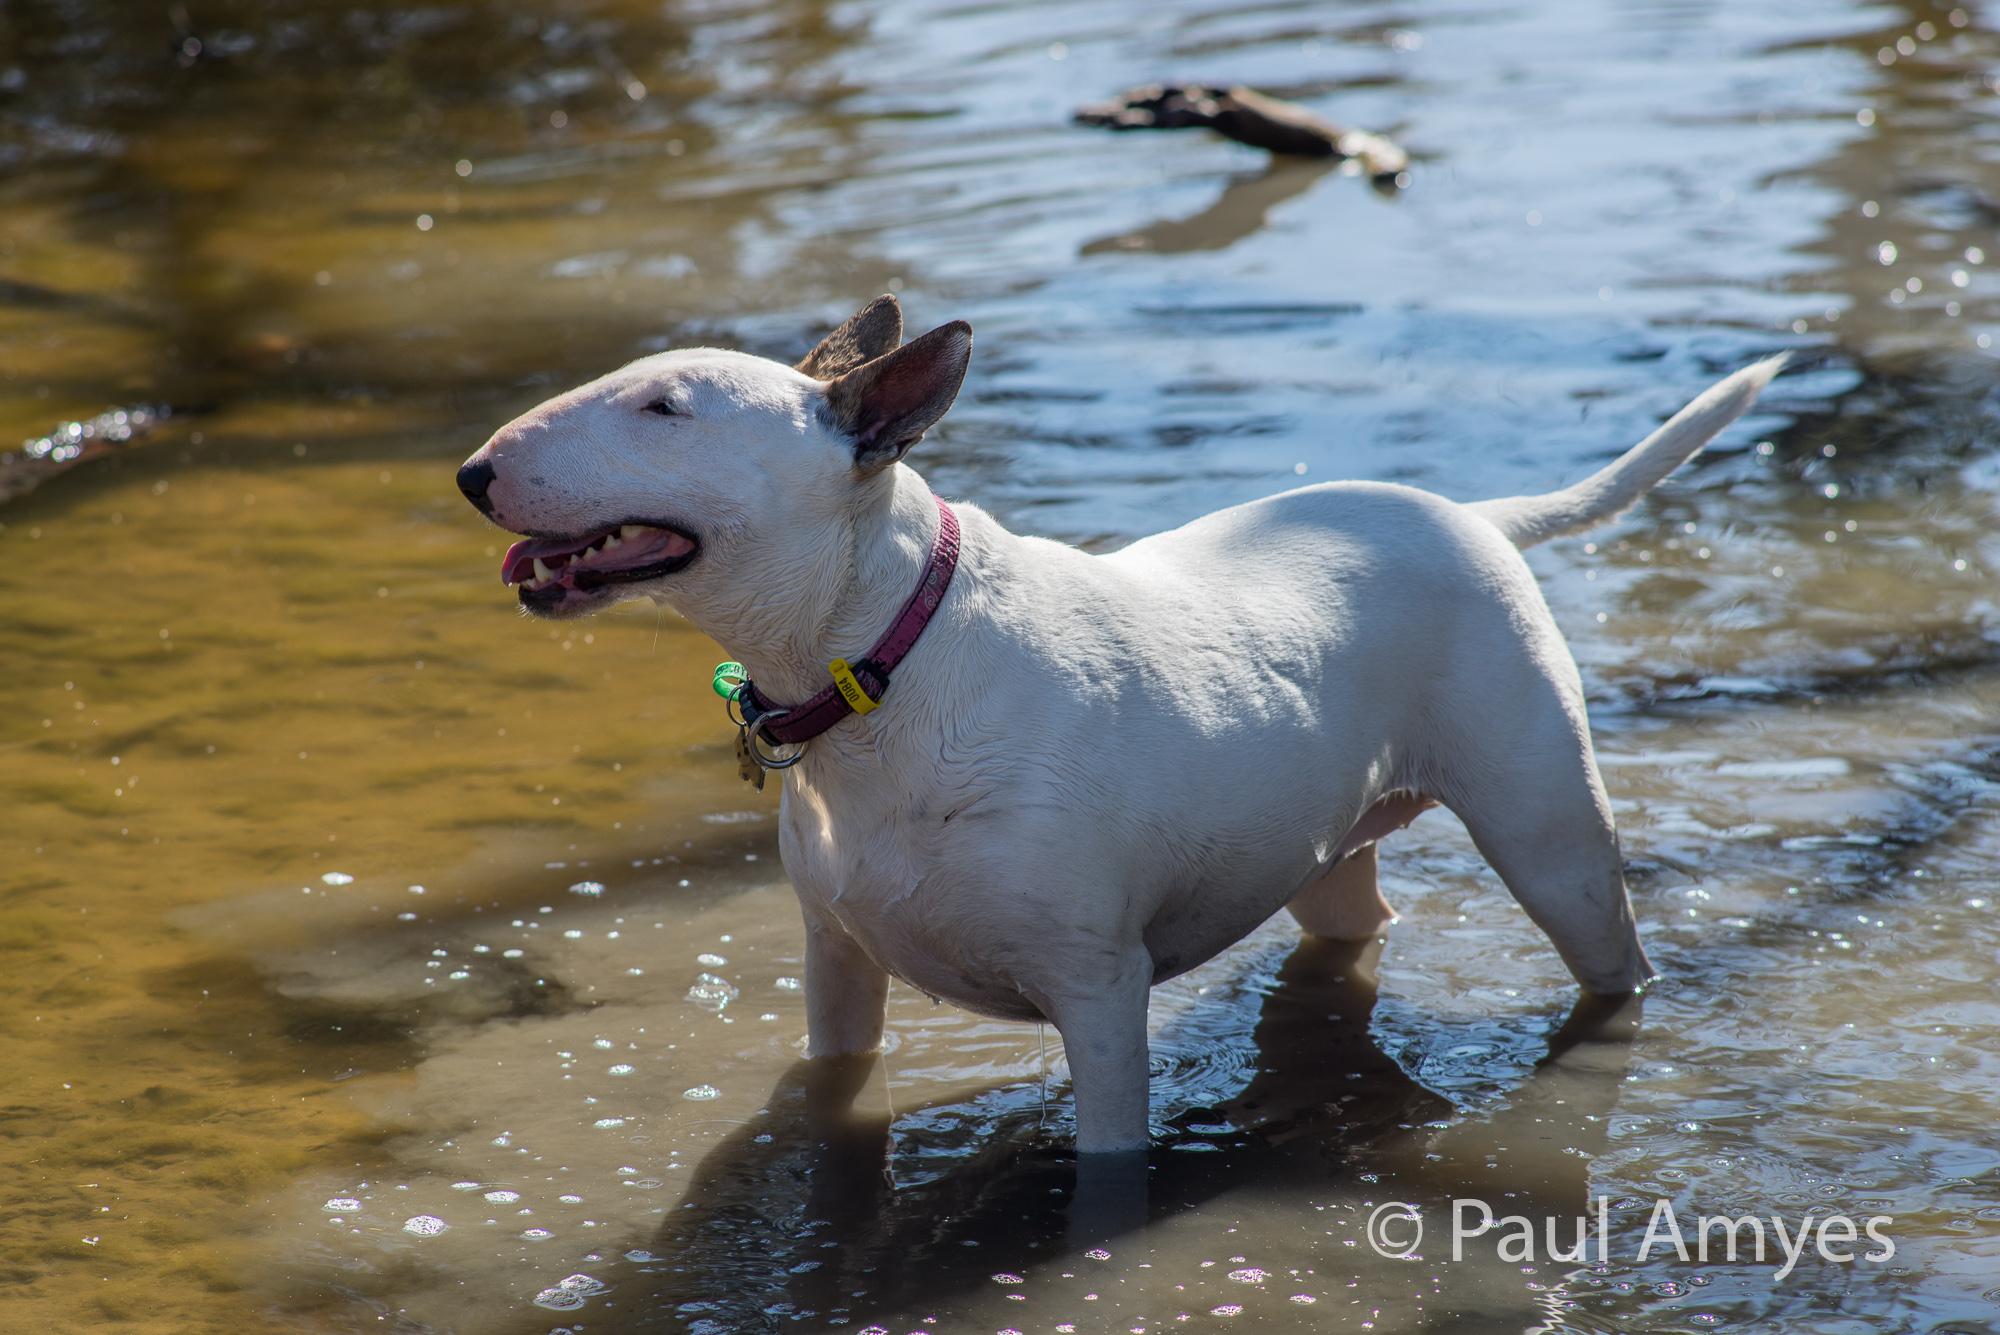
Frida posing in the river. At f5.6 the lens is very sharp in the centre. Zoom into the area around Frida's eye and ear and the fine detail of her fur is clear.
Frida posing in the river. At f5.6 the lens is very sharp in the centre. Zoom into the area around Frida’s eye and ear and the fine detail of her fur is clear.


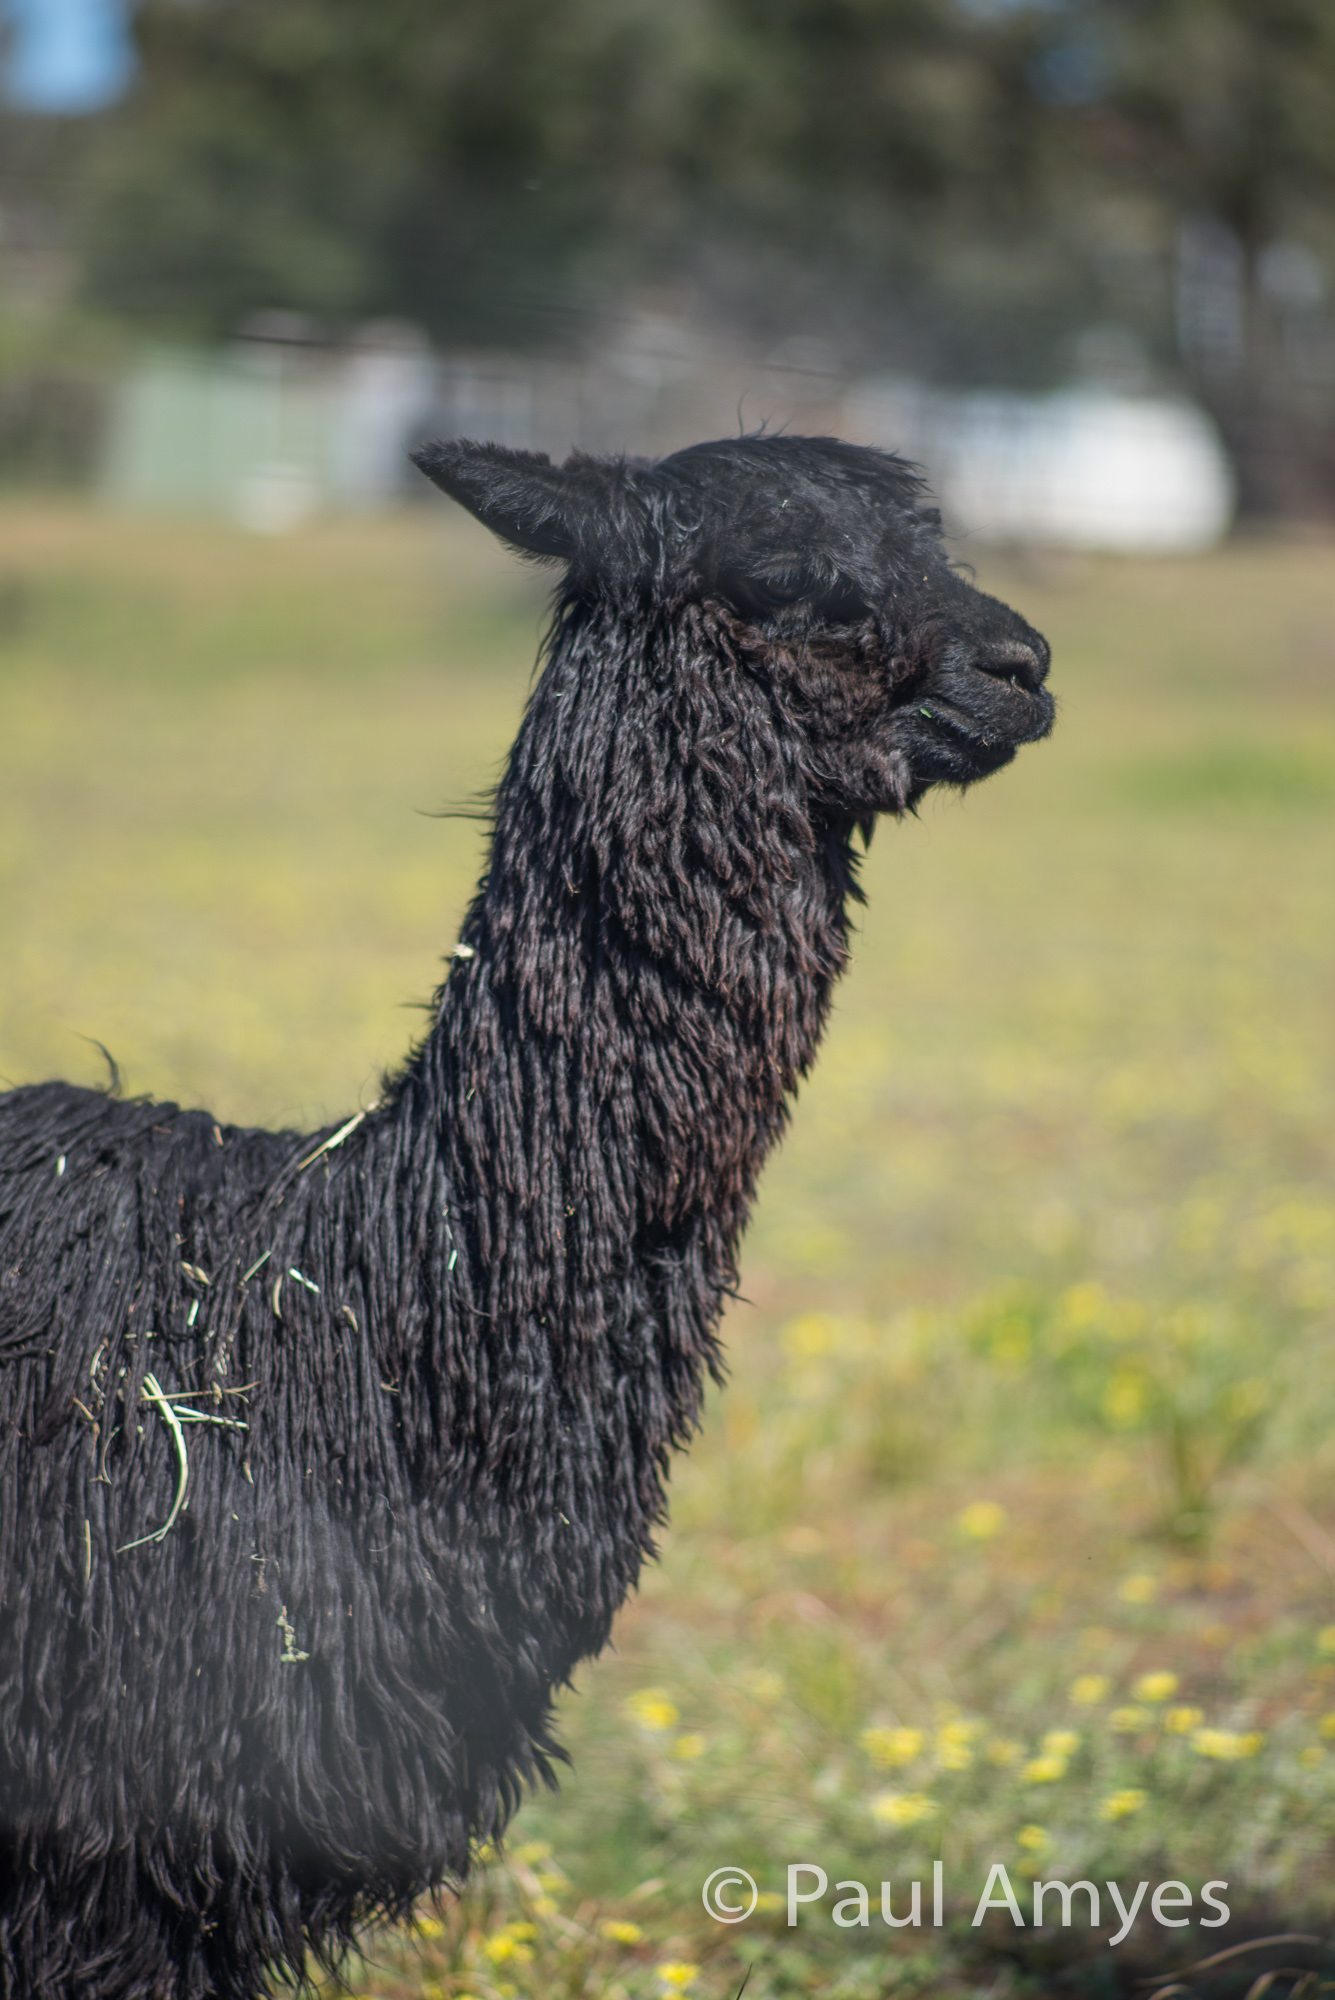
Subject isolation is what this lens is all about. Shooting at f4 through a chain link fence at this alpaca demonstrates this.


So to sum up – to get a better lens you’ll have to spend a lot of money on a more modern highly corrected design. With the softer edges the lens makes a very good portrait lens and you could make a strong argument that the decreased contrast in the centre at f2.8 and f4 would make it very suitable for glamour photography. The true telephoto effect of this focal length makes it a useful lens when you wish to compress perspective when shooting landscapes. The focus throw is a little over 180º and that makes finding focus a precise affair and would appeal to film makers. All in all if you want a manual focus telephoto for use on a full frame sensor then seriously consider this one.


At f11 the lens has bags of resolution and is capable of recording very fine detail. There is no sign of diffraction reducing the image quality. Wandoo tree (white gum) on the outskirts of the Western Australian town of Beverley.

So far I have looked at the following Olympus lenses:-


Everlastings

Everlastings
Everlastings on Mount Brown in York, WA. Sony A7r with Olympus OM Zuiko 21mm f3.5 lens and Cokin “P” 2 stop graduated neutral density filter. Exposure: 1/30th sec, f16, ISO 100.


Everlastings
Everlastings on Mount Brown in York, WA. Sony A7r with Olympus OM Zuiko 135 f2.8 lens. Exposure: 1/1000th sec, f2.8, ISO 100.