Metabones Canon EF to Sony E-mount Smart Adapter (Mark V)

This is the second part of a series of articles on upgrading camera equipment on a budget. Parts 1 and 2 can be found here and here.


Mount your Canon EF lenses to your Sony A7rii using the Metabones V Smart Adapter.

TLDR


Metabones was an early innovator in terms of lens adapters entering the market in 2013 with the Speed Booster which was an adapter. With a focal range reducer that allowed full frame SLR lenses to be used on smaller format mirrorless cameras at close to the full frame field of view. The first with autofocus capabilities was a Canon EF to Sony E. Metabones themselves described its performance as:

“Autofocus speed is very slow and inadequate for most moving subjects. The autofocus speed is unfit for professional use for sure, and it would disappoint most enthusiasts.”

By 2016 Metabones was able to offer a “Smart Adapter” that allowed Sony users to access all the AF modes when using Canon lenses. The adapter makes the lens behave like a native Sony lens. Sigma had beaten them to the punch with their MC-11, but, that had the caveat of only promising that performance with certain Sigma lenses. The Metabones Smart Adapter V EF to FE is the latest incarnation and this is the model that I’m looking at. This is not a Speed Booster – there are no optical elements in the adapter. It is designed for mounting full frame Canon EF lenses on a Sony Alpha series body. In Australia this retails for a whopping $780 AUD. A lot of money when you consider that outcomes are not guaranteed. Luckily there are plenty on the secondhand market and you can expect to pay around half the retail price.
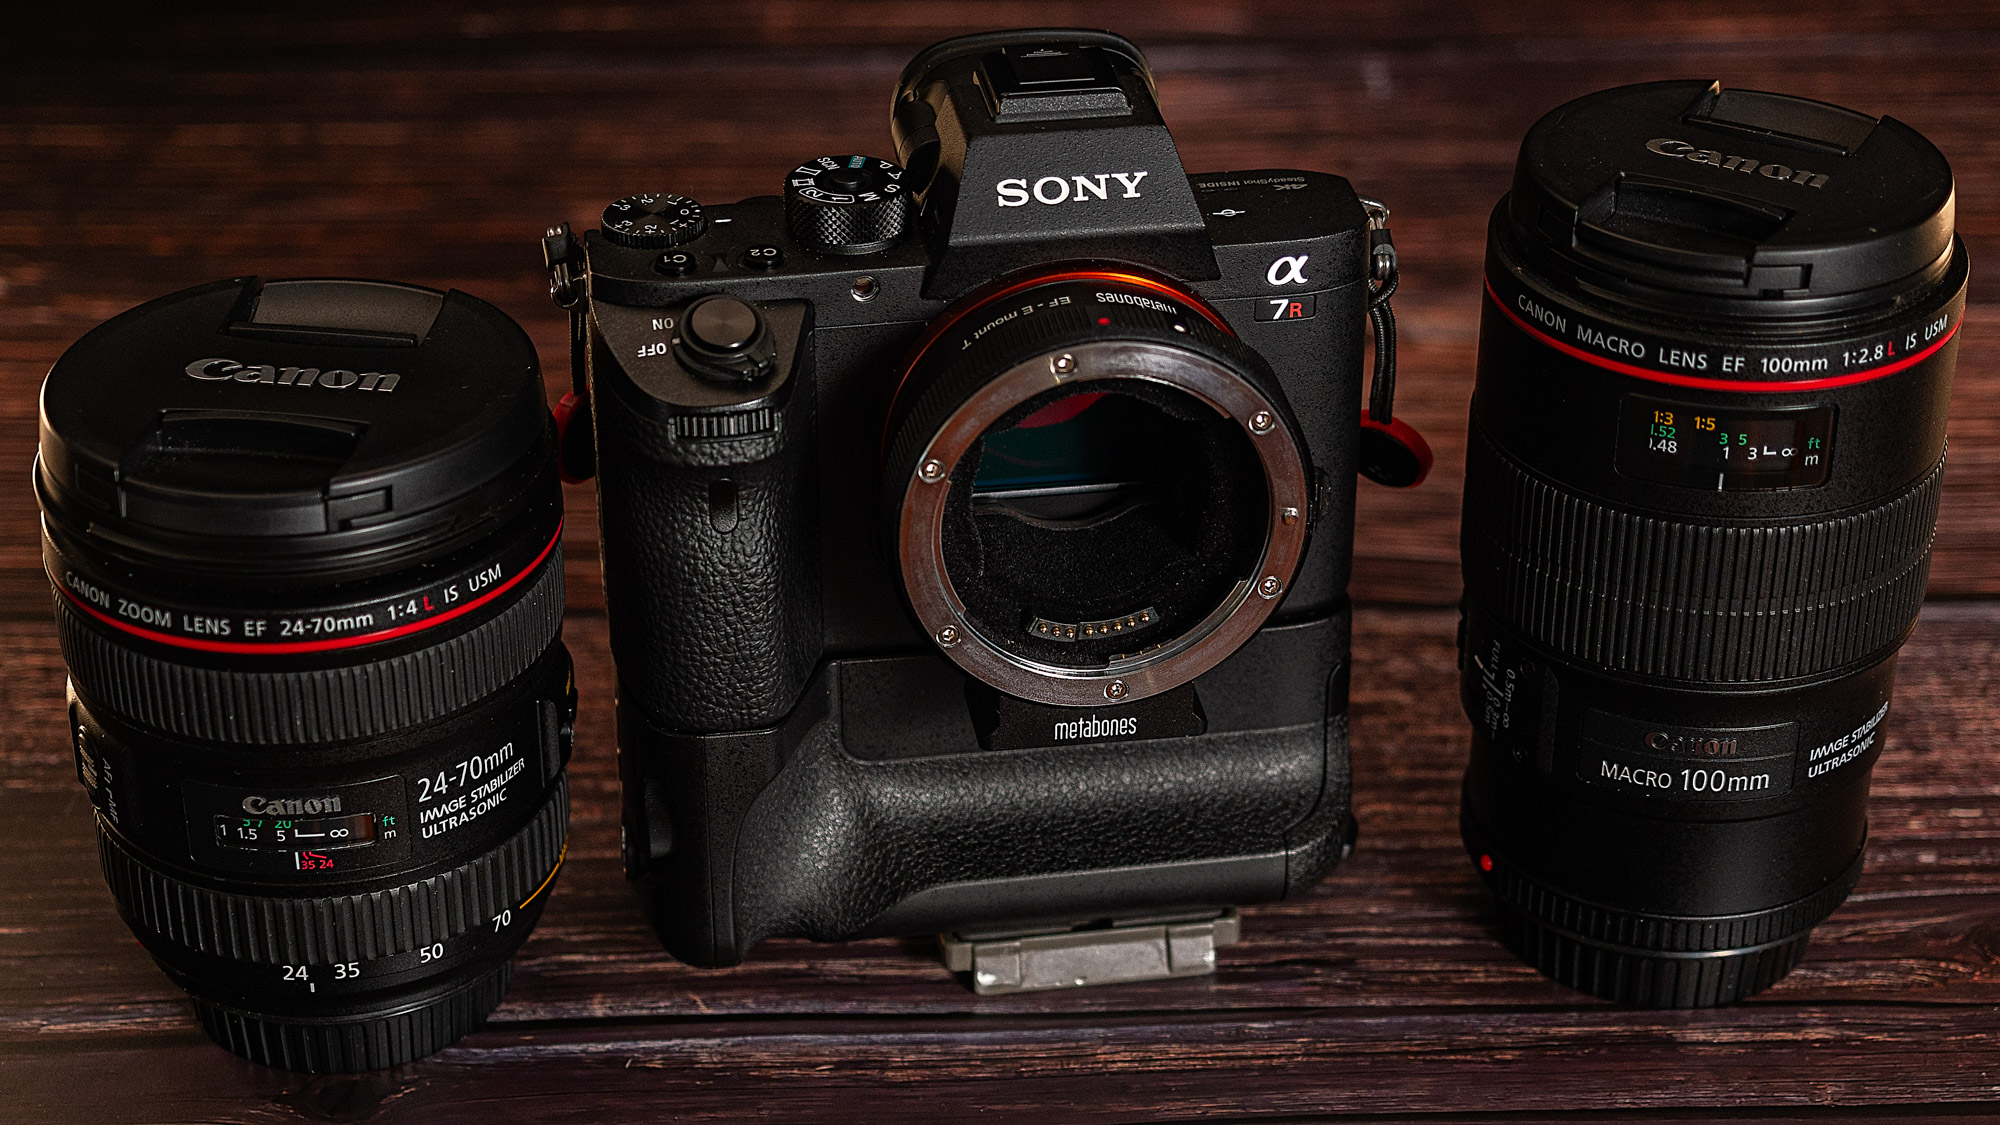
 

Mount your Canon EF lenses to your Sony A7rii using the Metabones V Smart Adapter.

Build Quality

The Metabones Smart Adapter V for Canon EF to Sony FE mount comes in a smart hard plastic case. Included are two Allen Keys, one for removing the Arca Swiss tripod mount and the other for carrying out adjustments.


The adapter comes in a nice hard plastic case with two Allen key that are for removing the attached Arca Swiss tripod mount and carrying out adjustments. Picking it up the adapter feels well made with a metal body and both mounts are chromium plated brass for long life. There is a rubber gasket on the Sony mount side to prevent dust and moisture ingress and the adapter is lined with black flocking to prevent internal reflections. On the left hand side of the adapter is the lens release button, a USB port, an IBIS off/on switch and button you can customise its function like the ones found on the Sony G and GM lenses. There are two bad points. First is that the plug for the USB port is not of the flap variety that Sigma use that is attached to the adapter. In the six months I’ve had it the plug no longer fits snuggly and is prone to dropping out which potentially means it could be lost making the adapter susceptible to damage. I’ve taken to taping over it with a bit of gaffer tape but it is not what I would expect from an item costing so much especially when Sigma at half the price have a better approach. Second is the black flock used inside the adapter is a dust and hair magnet and it inevitably finds its way on to the camera sensor. I seem to be forever cleaning the adapter, the sensor and having to spot my photos. 
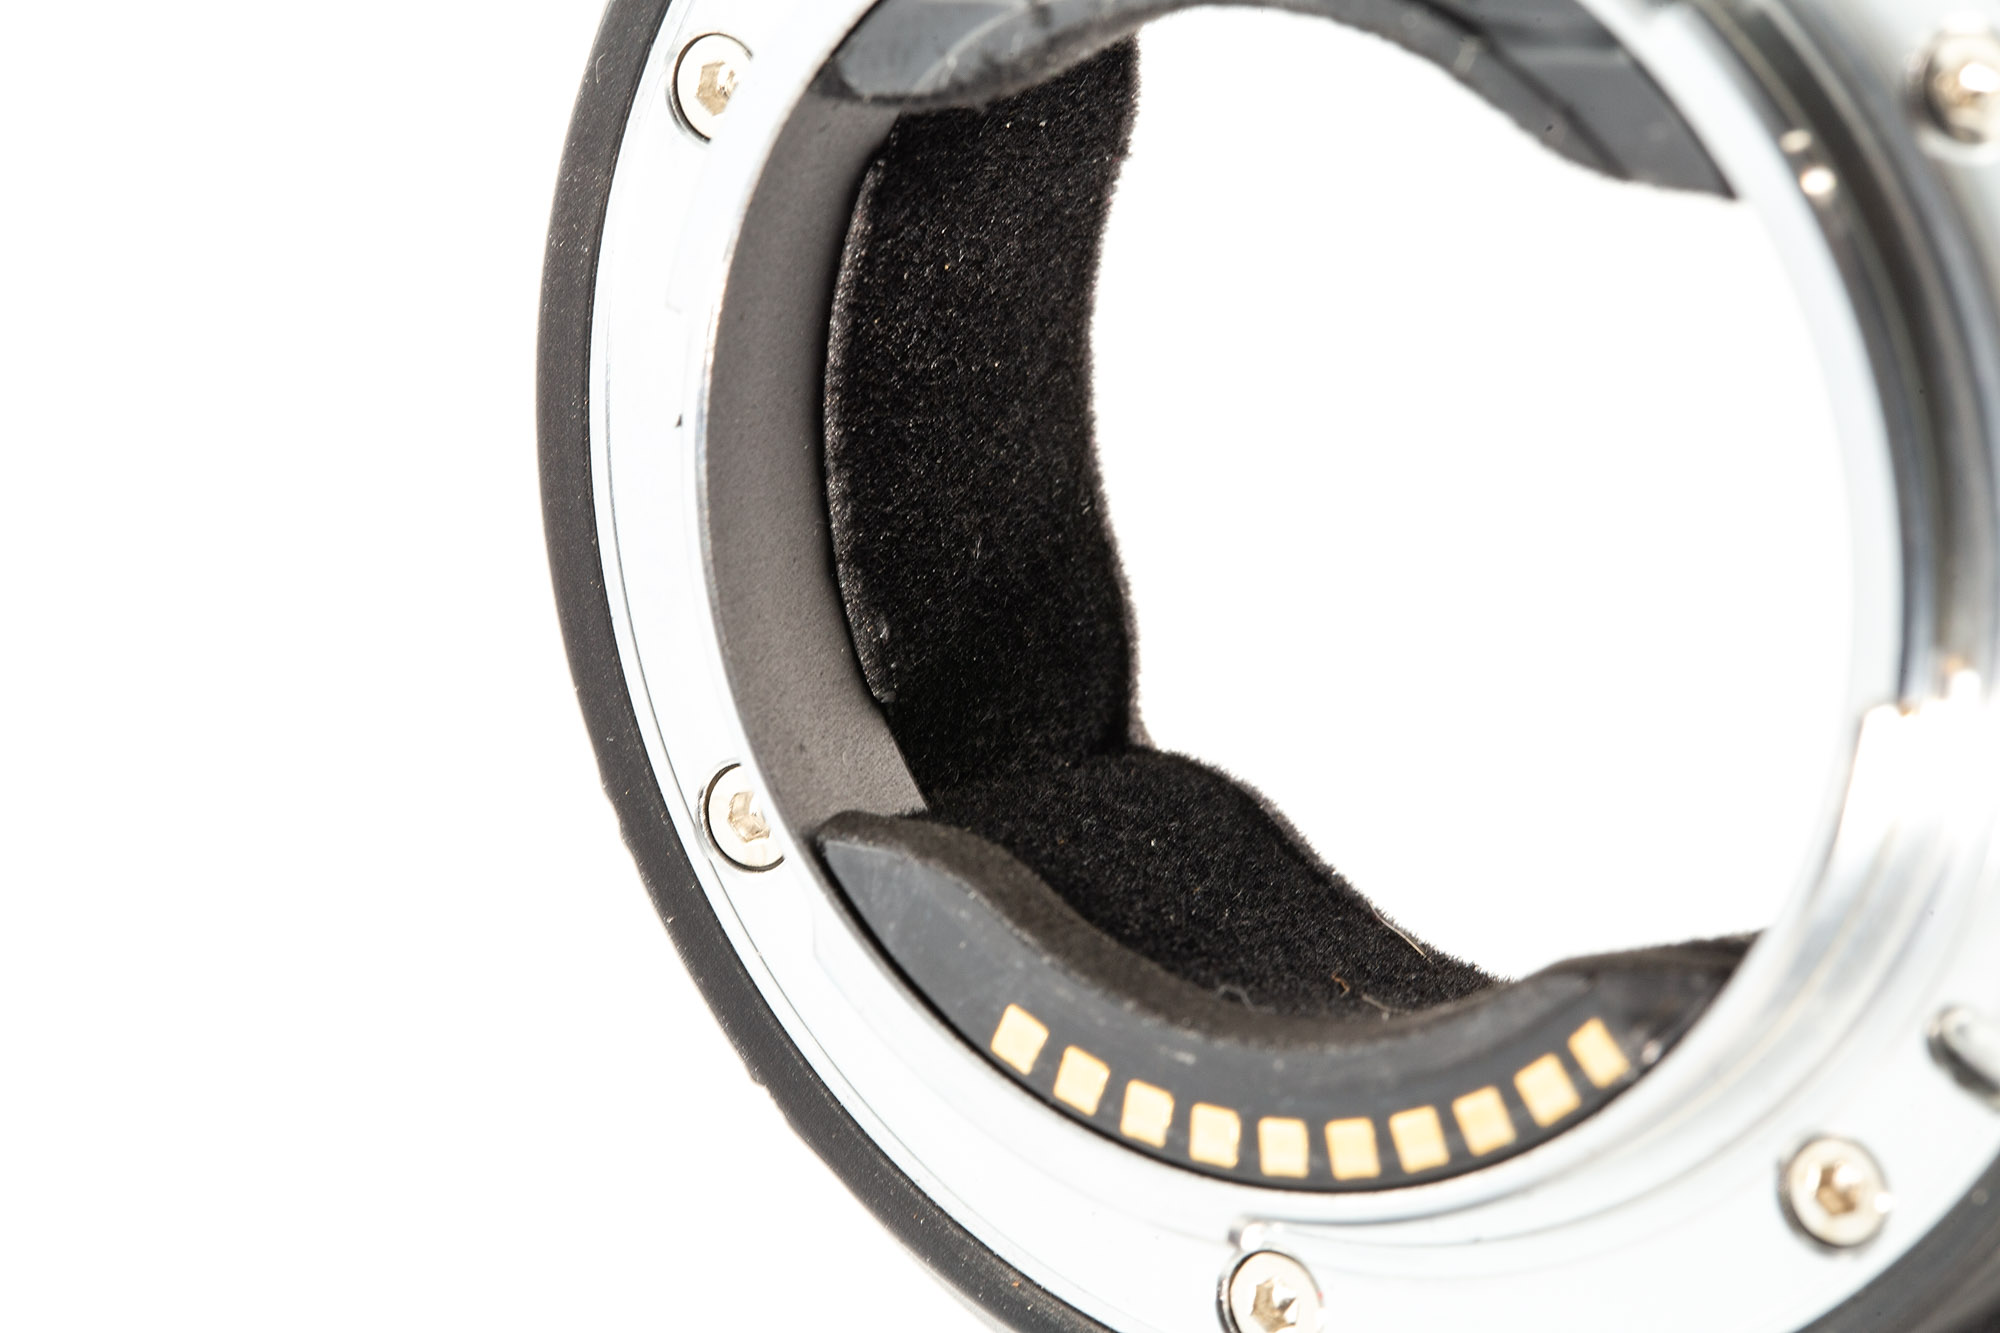
 

Metabones line the adapter with black flocking to prevent internal reflections.


On the left hand side of the adapter is the lens release button, a USB port, an IBIS off/on switch and a customisable button.


A crucial part of whether the adapter will work is the ability to download and install firmware updates. Sigma enable you to both update the adapter and the lens firmware. With the Metabones you can only update the adapter firmware and this is a bit of a dogs dinner. You download the updater app  for Mac and Windows from their website. This and opening the app is the easy bit. When prompted you connect the adapter to your computer via USB cable. I primarily run a MacBook Pro running OSX Big Sur version 11.6 with Thunderbolt 3 and no matter what adapter for USB A to USB C I used the app would not run. I then tried my 2012 iMac running Mojave thinking the native USB 3 will be the solution. Nope. At the back of the cupboard in my office I found 2009 MacBook running El Capitan and having USB 2 ports. Did this work? Did it heck. The app recognised the adapter and advised that there was a firmware update available but when I went to install it the app just froze. So as a last ditch attempt I pulled out of a box in the shed a Sony Vaio from 2003 running Windows XP. I downloaded the Windows version of the app and it worked! It took an hour to download the update but it got there. This is important because the app just doesn’t up date the adapter firmware but allows you access various functions. 

The Smart Adapter V has two modes: 

  • Green Mode or basic mode
  • Advanced Mode

There is no instruction leaflet with the adapter so you will need to access the support page for it. How these two modes operate will depend upon your Sony camera. As I’m using it on a Sony A7r2 I’ll concentrate on that.

Green Mode

Auto focus – uses phase detection autofocus and is compatible with, according to Metabones, “virtually all AF lenses” but there is no eye-AF, poor video AF which is contrast-detect and requires half-pressing shutter release button to activate if at all, doesn’t work well with telephoto lenses and requires good light and high contrast to work. Most of the Sony native AF functions are not available. The lens only stops down when you press the shutter button. On the plus side it has low power consumption.

Advanced Mode

The autofocus uses a hybrid of contrast based and phase detect autofocus which makes it fast and accurate. It is not compatible with as many lenses as green mode. Eye-AF is supported. In video you get continuous phase detect AF. The AF works better with long lenses. The aperture stops down as you turn the aperture dial on the camera causing a lot of clicking noise and higher power consumption.

To tell which mode your adapter is in there is a small LED on the top. For Green Mode the LED shines blue and for Advanced Mode it is red. In an ideal world you’d want to be able to switch back and forth between modes. There are two ways of doing this. The first is via the Metabones App which as we’ve already found out is less than ideal. The second can be done in the field and it involves pushing buttons mounting the lens switching on and off etc. It is fiddly. Don’t try to follow the instructions just watch the YouTube video by Alex & Nadia Fediakov. After a short while of using Green Mode and not having a lot of success I just switched to Advanced mode and have left it there ever since.


Performance

I’ve used the adapter with 3 lenses:-

  • Canon EF 24-70mm f4 IS L
  • Canon EF 70-200mm f2.8 IS L mk i
  • Canon EF 100mm f2.8 macro IS L

Besides running tests I also used the camera and lenses in my normal day to day photography – nature, landscapes, events and grip and grin. Right from the beginning I’ll say what you get and don’t get in general terms and then go on to describe how things went with each lens.

  • There is no correction for vignetting or colour fringing. You have to manually select lens profiles in your editing program of choice.
  • The adapter enables EXIF data recording for focal length, aperture and make and model ID.
  • The adapter has no optics so there is no effect on lens performance. Any possible degradation in optical performance will come from the fact that Canon lenses are designed to work with the sensor stack of Canon cameras not Sony. With the three lenses I used there was no problem.
  • The auto focus generally works very well allowing access to all the AF modes on the camera. However, how well is specific to the lens. Focal length and the motor technology in the lens play a part in how well the adapter works.
  • Using the adapter in Green Mode in body image stabilisation is favoured while in Advance Mode both IBIS and optical image stabilisation are used.
  • In Green Mode the power consumption is low. In the Advanced Mode because the lens aperture is constantly opening and closing and both forms of image stabilisation are used the power consumption is high.


Tests
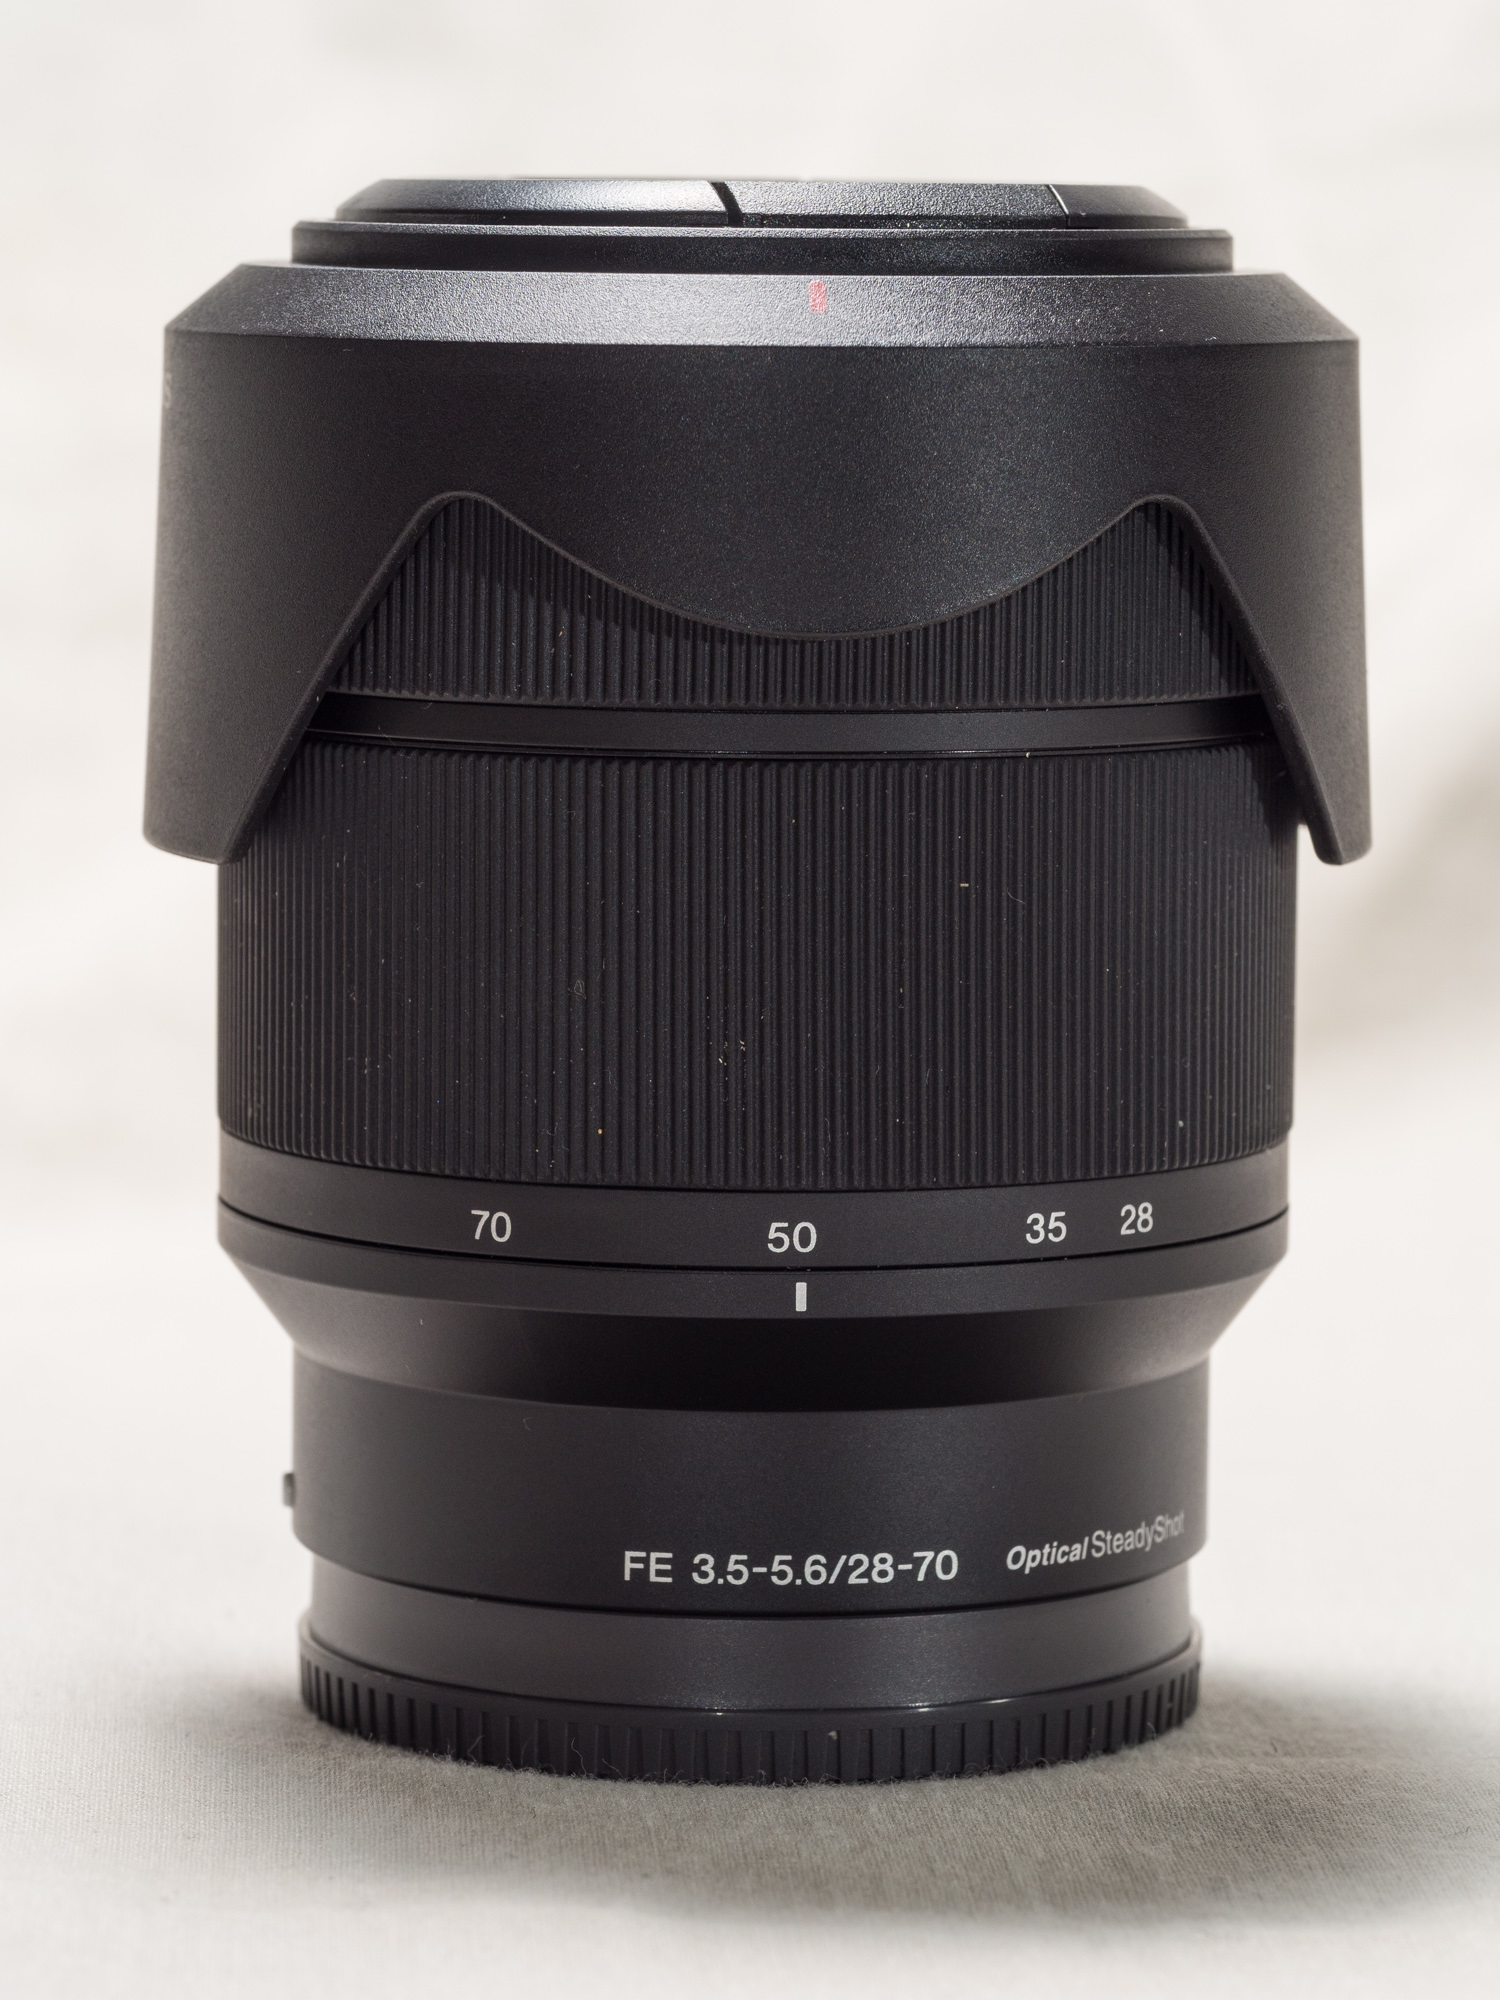
 

The Sony 28-70mm f3.5-5.6 OSS was introduced in in 2013 as the budget kit zoom to accompany the Sony A7 mirrorless camera.


The reluctant running bull terrier test with the Sony A7r2 andSony FE 28-70mm f/3.5-5.6 OSS lens.


To help me get some sense of what I was seeing I needed a point of reference and for that I used the Sony FE 28-70mm F3.5-5.6 OSS kit lens which can be picked up second hand for about $200 AUD. I wasn’t looking at optical quality but autofocus performance. Each of the Canon lenses had to equal or better the AF performance of that cheap kit lit lens. When shooting sequence of a moving subject (my reluctant Bull Terrier Frida) the Sony 28-70 was achieving a 90% hit rate which I thought was impressive.

Canon EF 24-70mm f4 IS L lens

The Canon 24-70mm f4 IS L mounted to a Sony A7r2 via a Metabones V Smart Adapter.


My initial tests were very disappointing. Using single point continuous AF with a burst of 5 frames none of the shots were in focus. So I changed the settings to lock on flexible spot with continuous AF and got a hit rate of 50%.  Shooting video things were more promising. The autofocus was quick and positive and tracked well, but it didn’t do as well as the Sony 28-70.

Canon EF70-200mm f2.8 IS L lens
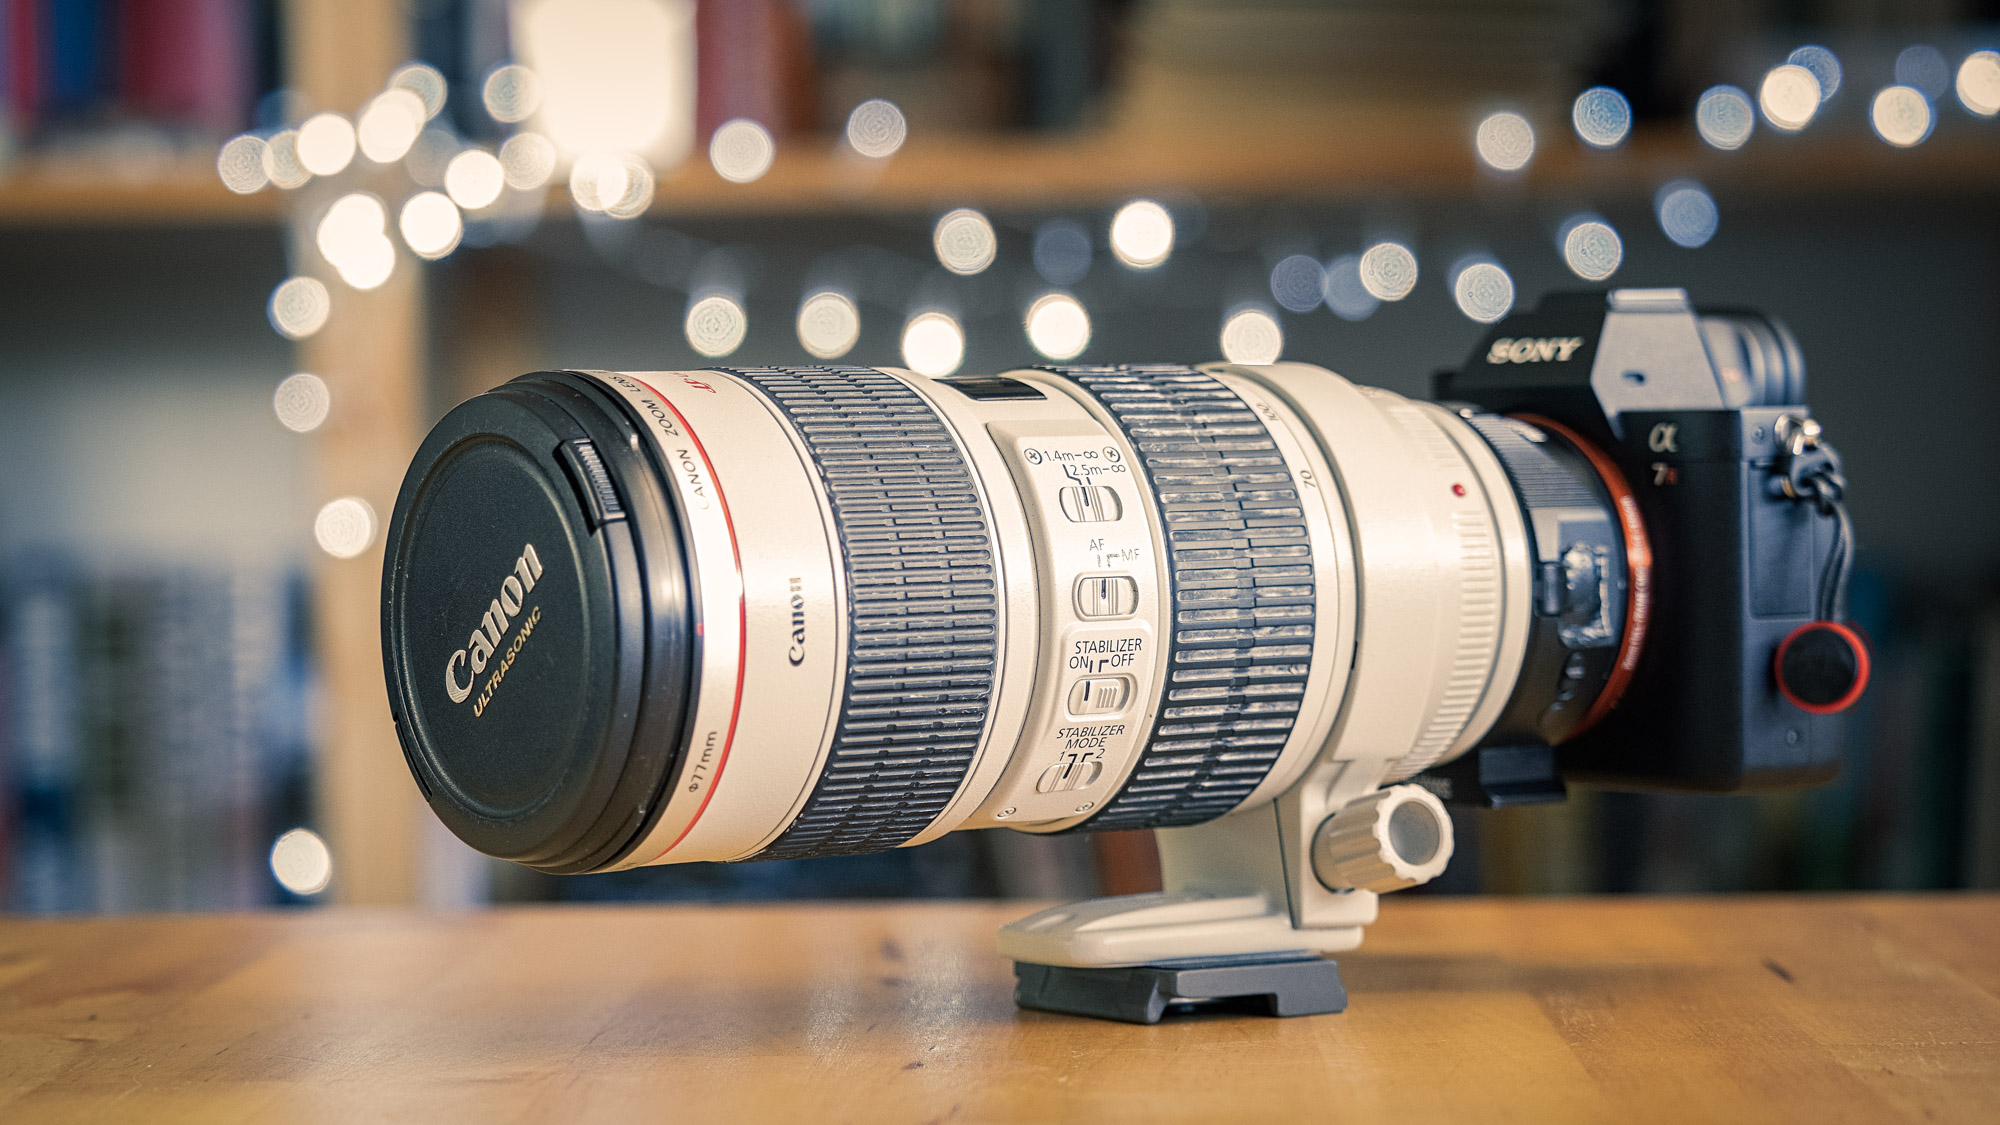
The Canon EF 70-200mm f2.8 IS L lens mounted to a Sony A7r2 via a Metabones V Smart Adapter.


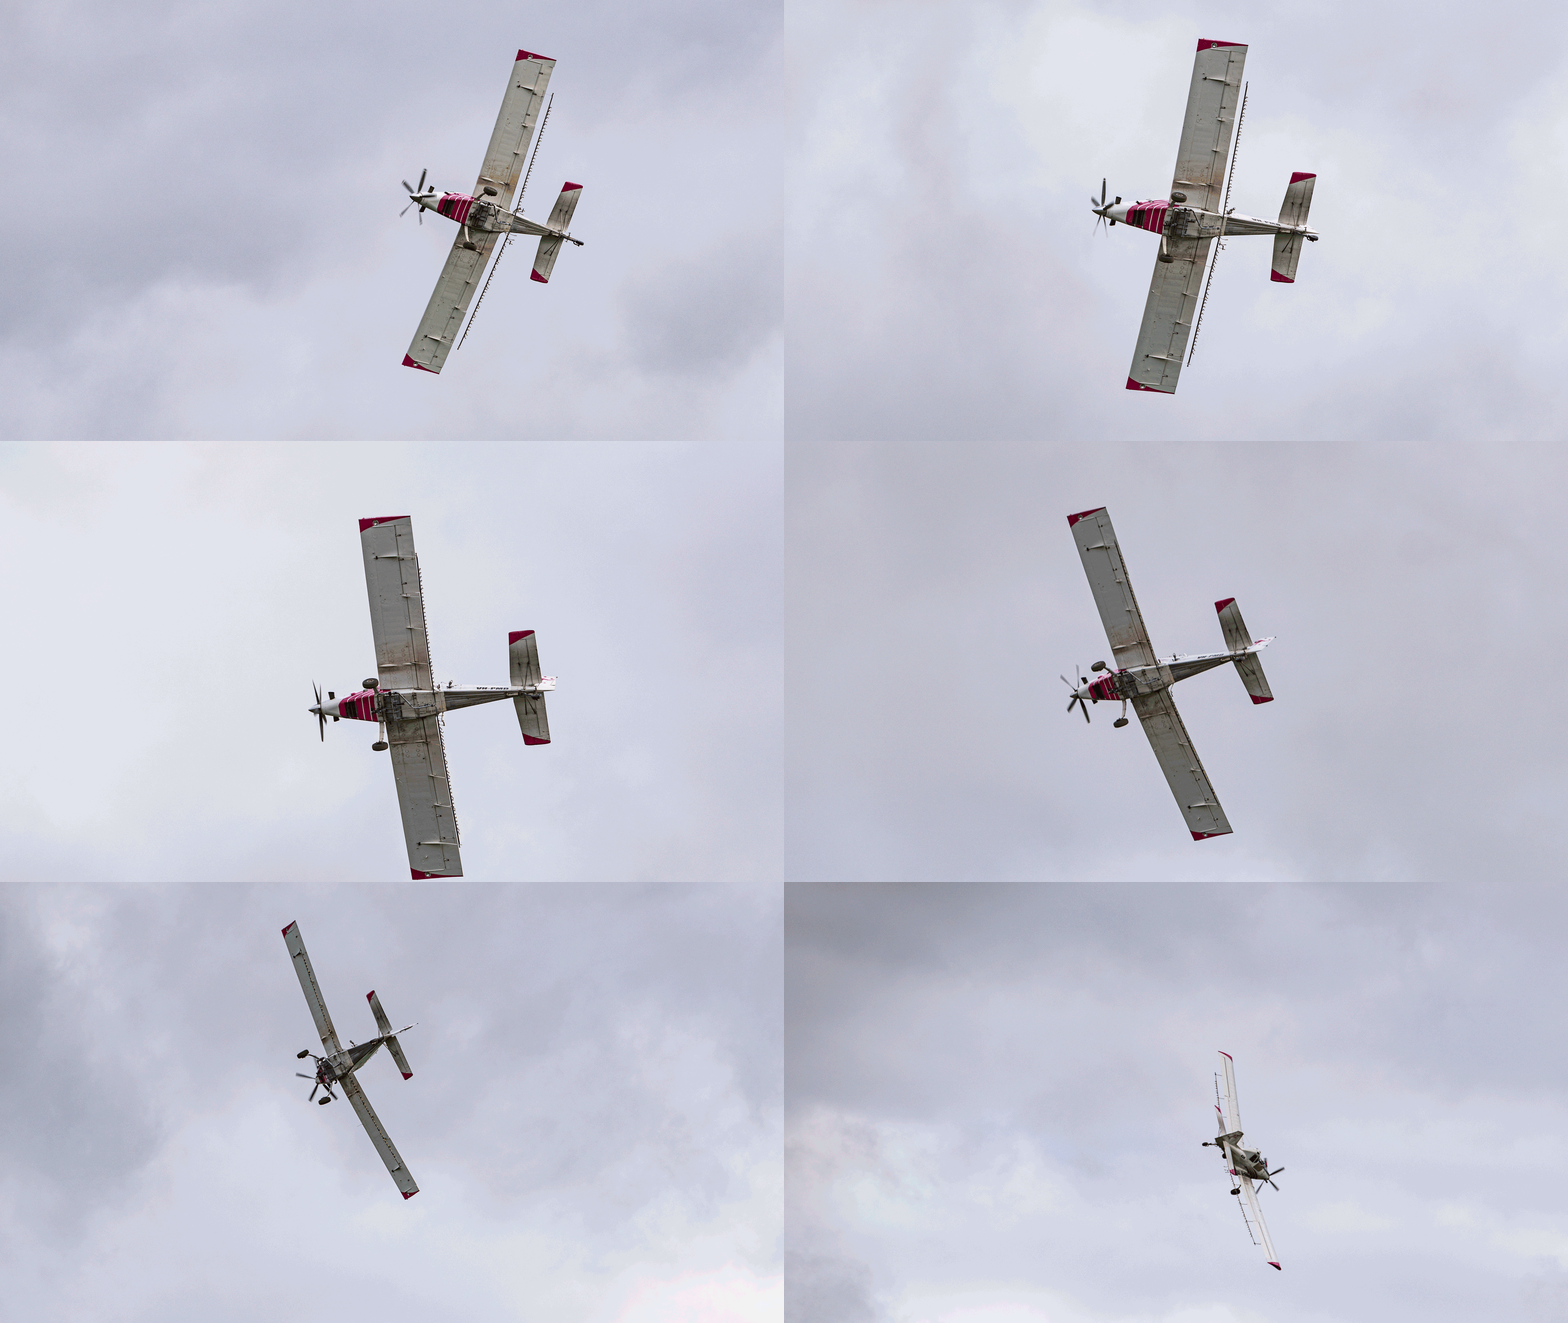
This lens did not work well in expanded flexible spot with continuous autofocus. Typically the lens racked back and forth, then would settle on the subject for a couple of seconds and then drift off out of focus. Switching to other focus modes was a very different story with the lens quick to acquire focus. I abandoned the bull terrier test in favour of a plane doing some crop dusting. Out of 5 runs I got 3 with a 100% hit rate, one with 92% and one of 61%. This averaged out at 90%.  The video performance was woeful. At the short end wide open the lens was very slow to acquire focus and when tracking it would loose the subject and be painful slow to reacquire. At the long end wide open it was incredibly slow – glaciers move faster and the AF motor made a lot of noise while the lens racked back and forth.

Canon 100mm f2.8 macro IS L lens
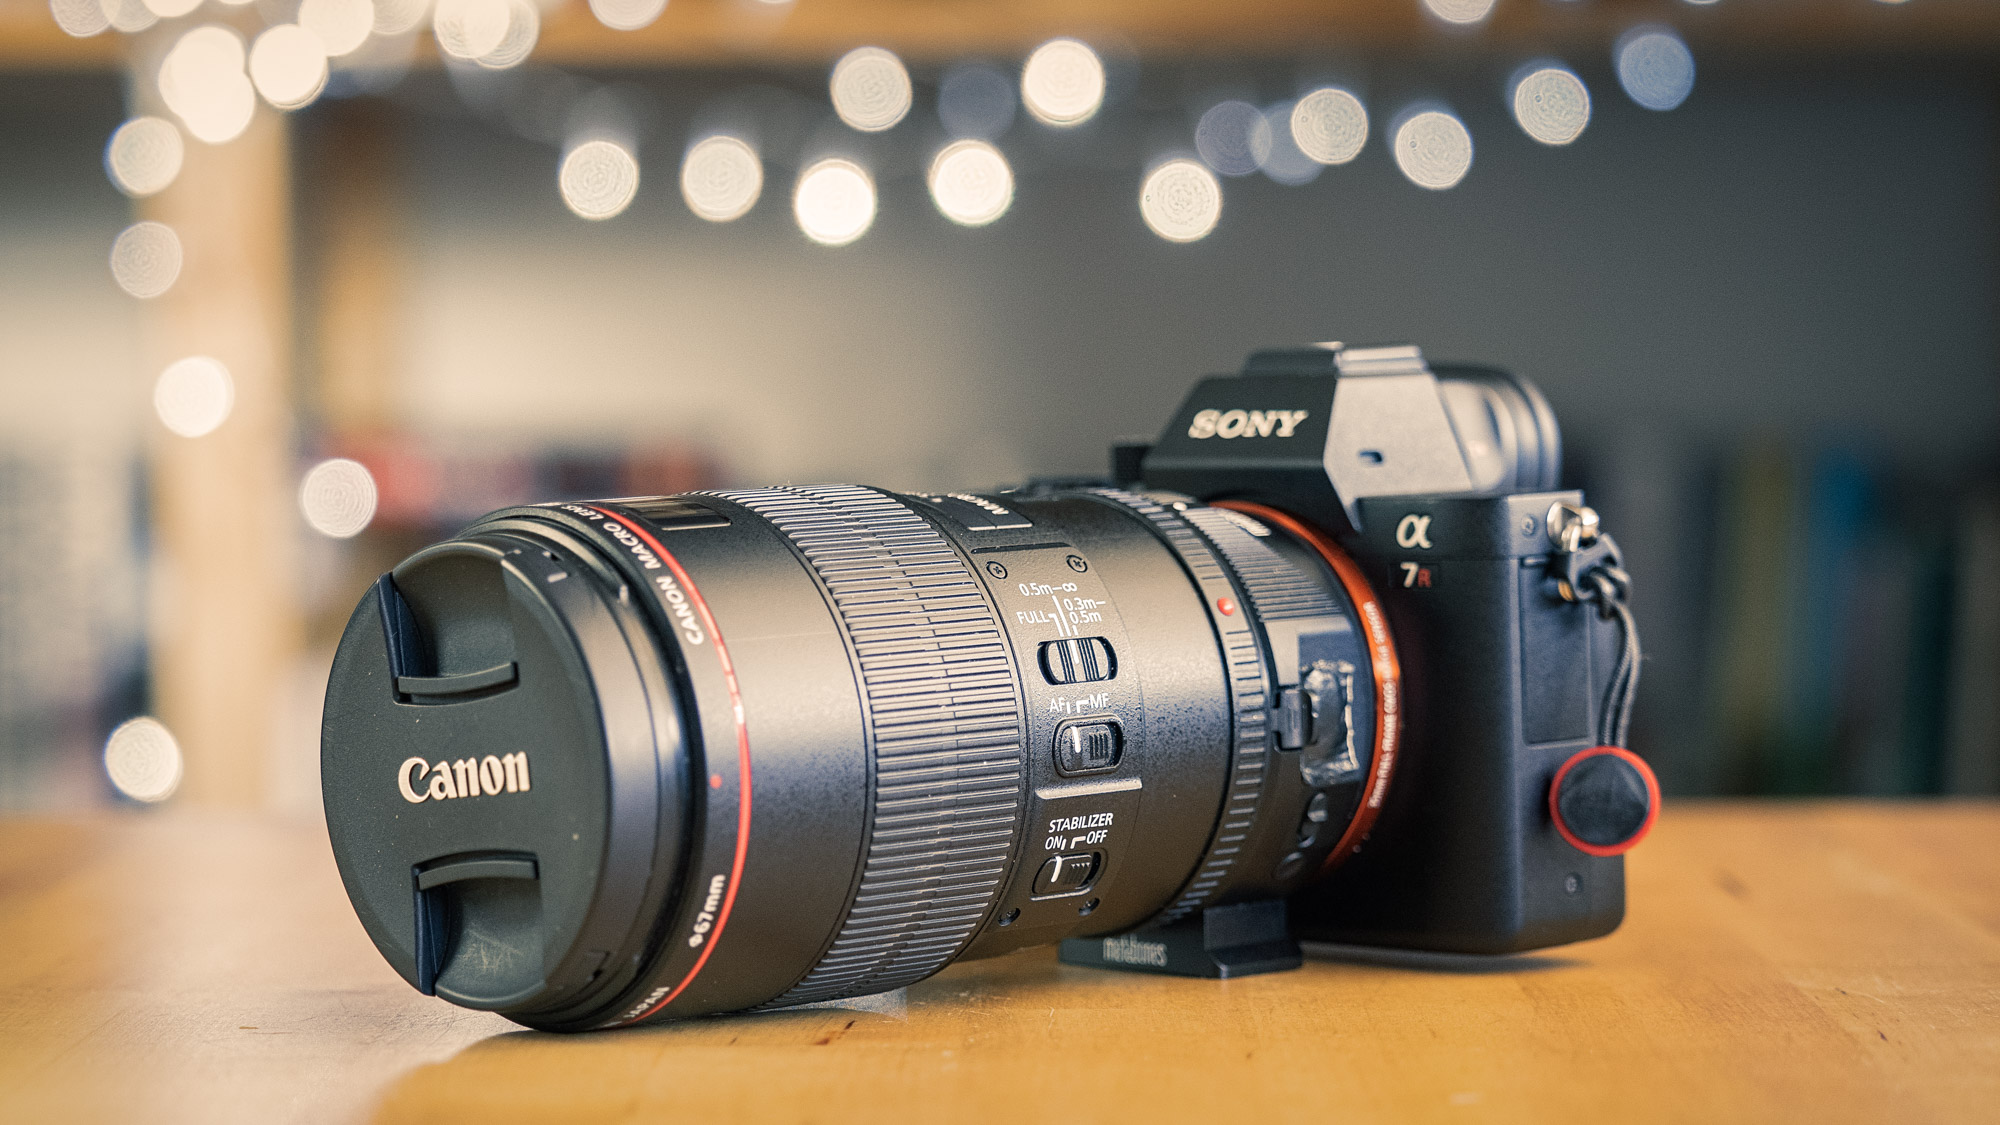
The Canon EF 100mm f2.8 macro IS L lens mounted to a Sony A7r2 via a Metabones V Smart Adapter.

I didn’t test this lens with moving subjects as macro lens are notoriously slow to autofocus at the best of times. The lens was slow to focus in single AF mode both at macro distance and normal distances. At normal focus ranges despite being slow it was very accurate. At macro distances it would often get confused and I found that this would increase in low light or with subjects that had low contrast. For most people macro photography isn’t a fast moving high pressure scenario so this wouldn’t be really a problem. What was a disappointment was that the OIS didn’t combine with the IBIS and I had to use OIS only.
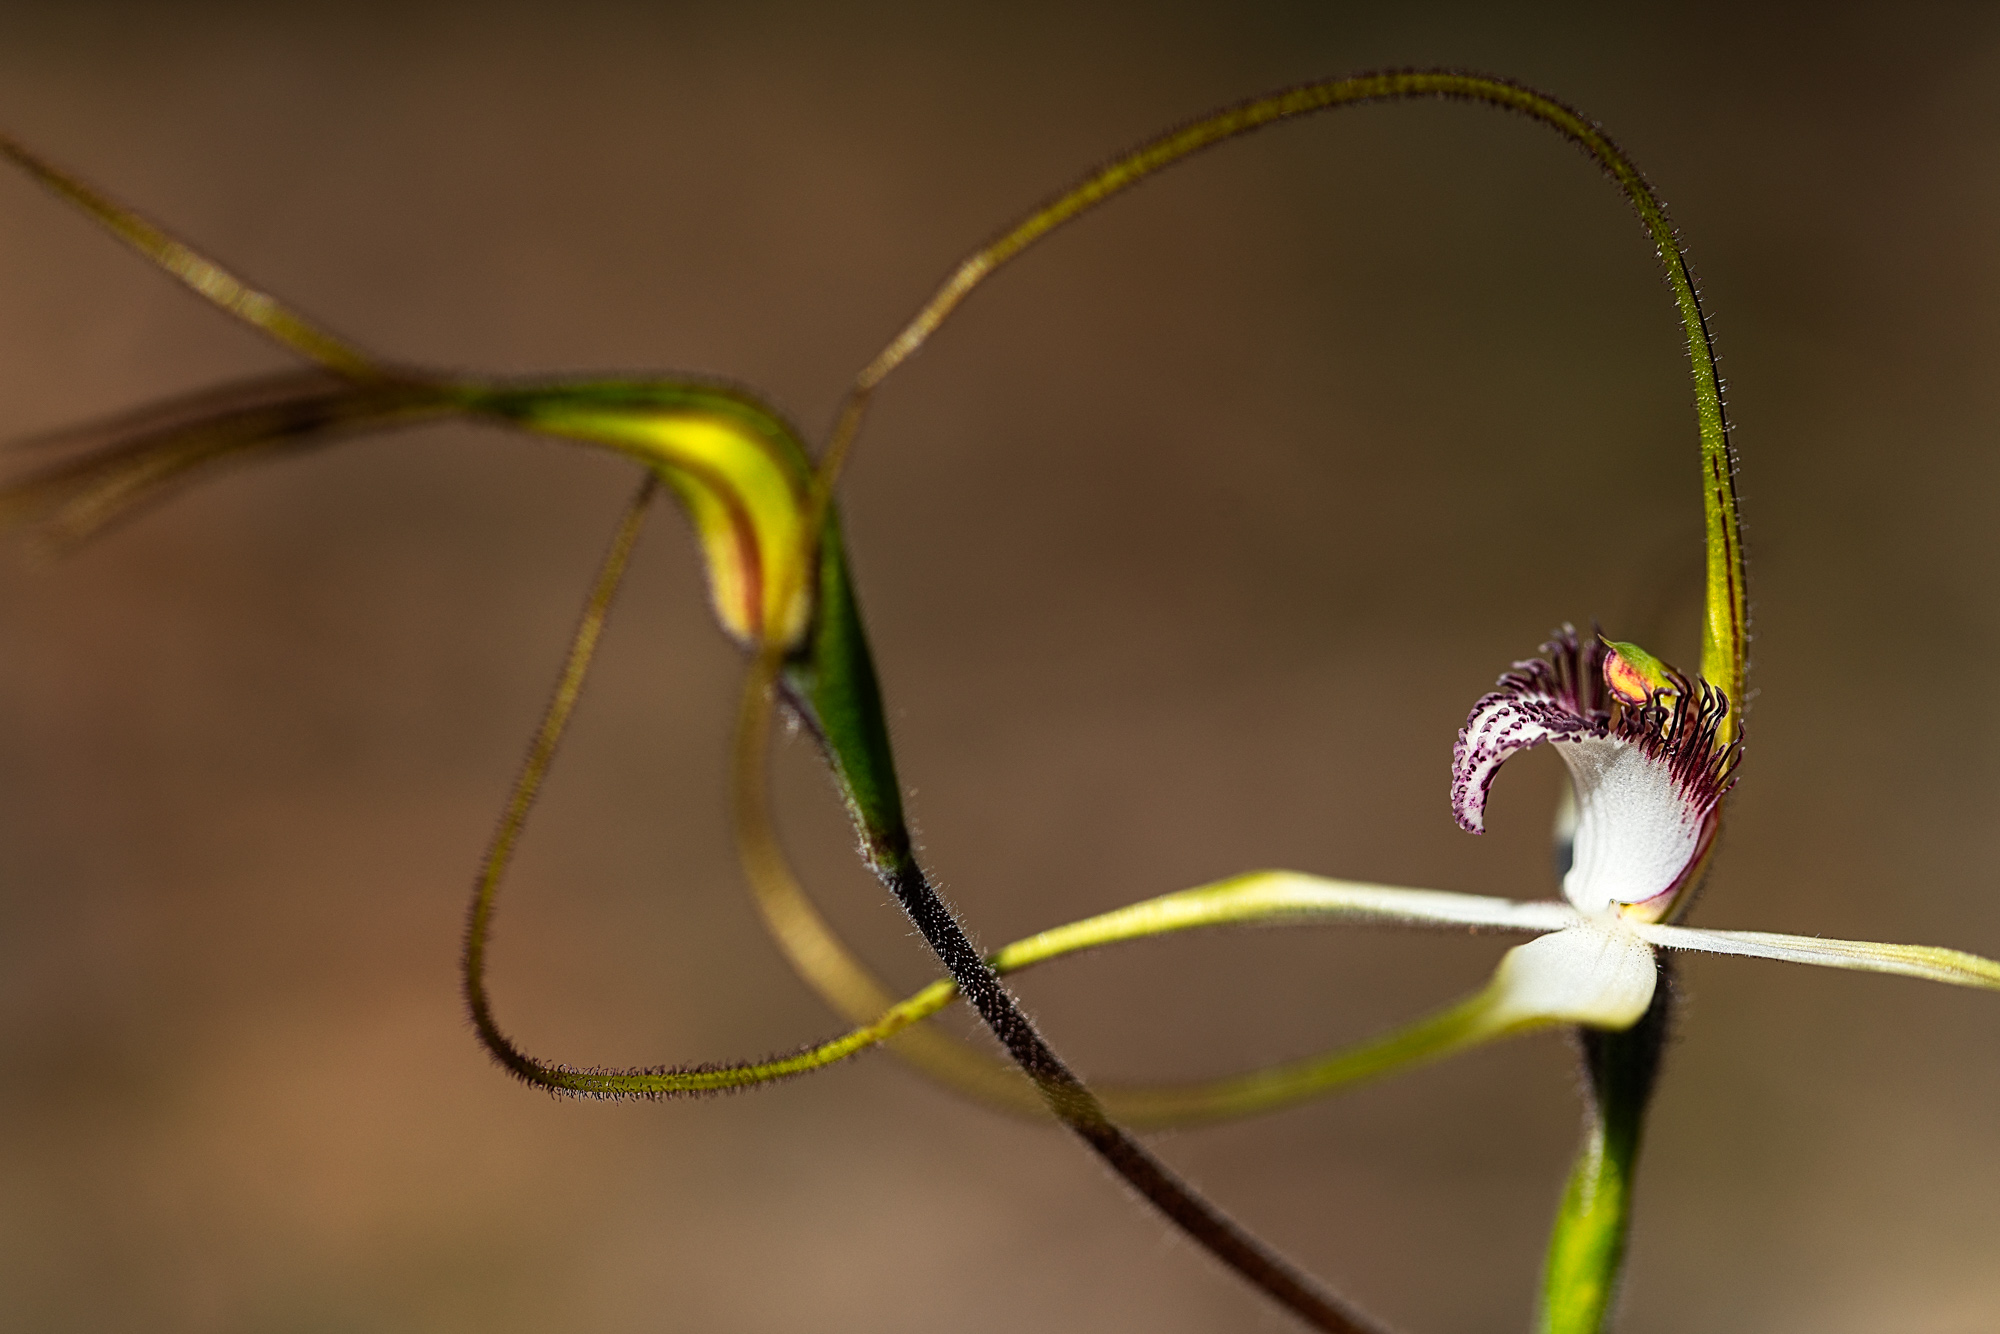
White Spider Orchid, Caladenia longicauda subsp longicauda, Wambyn, Western Australia. Sony A7r2 with Canon EF 100mm f2.8 IS lens mounted via the Metabones V Smart Adapter.


Real World Usage


Canola fields flanking Helena Road. York, Western Australia. Sony A7r2 with the Canon EF 24-70mm f4 IS L lens.


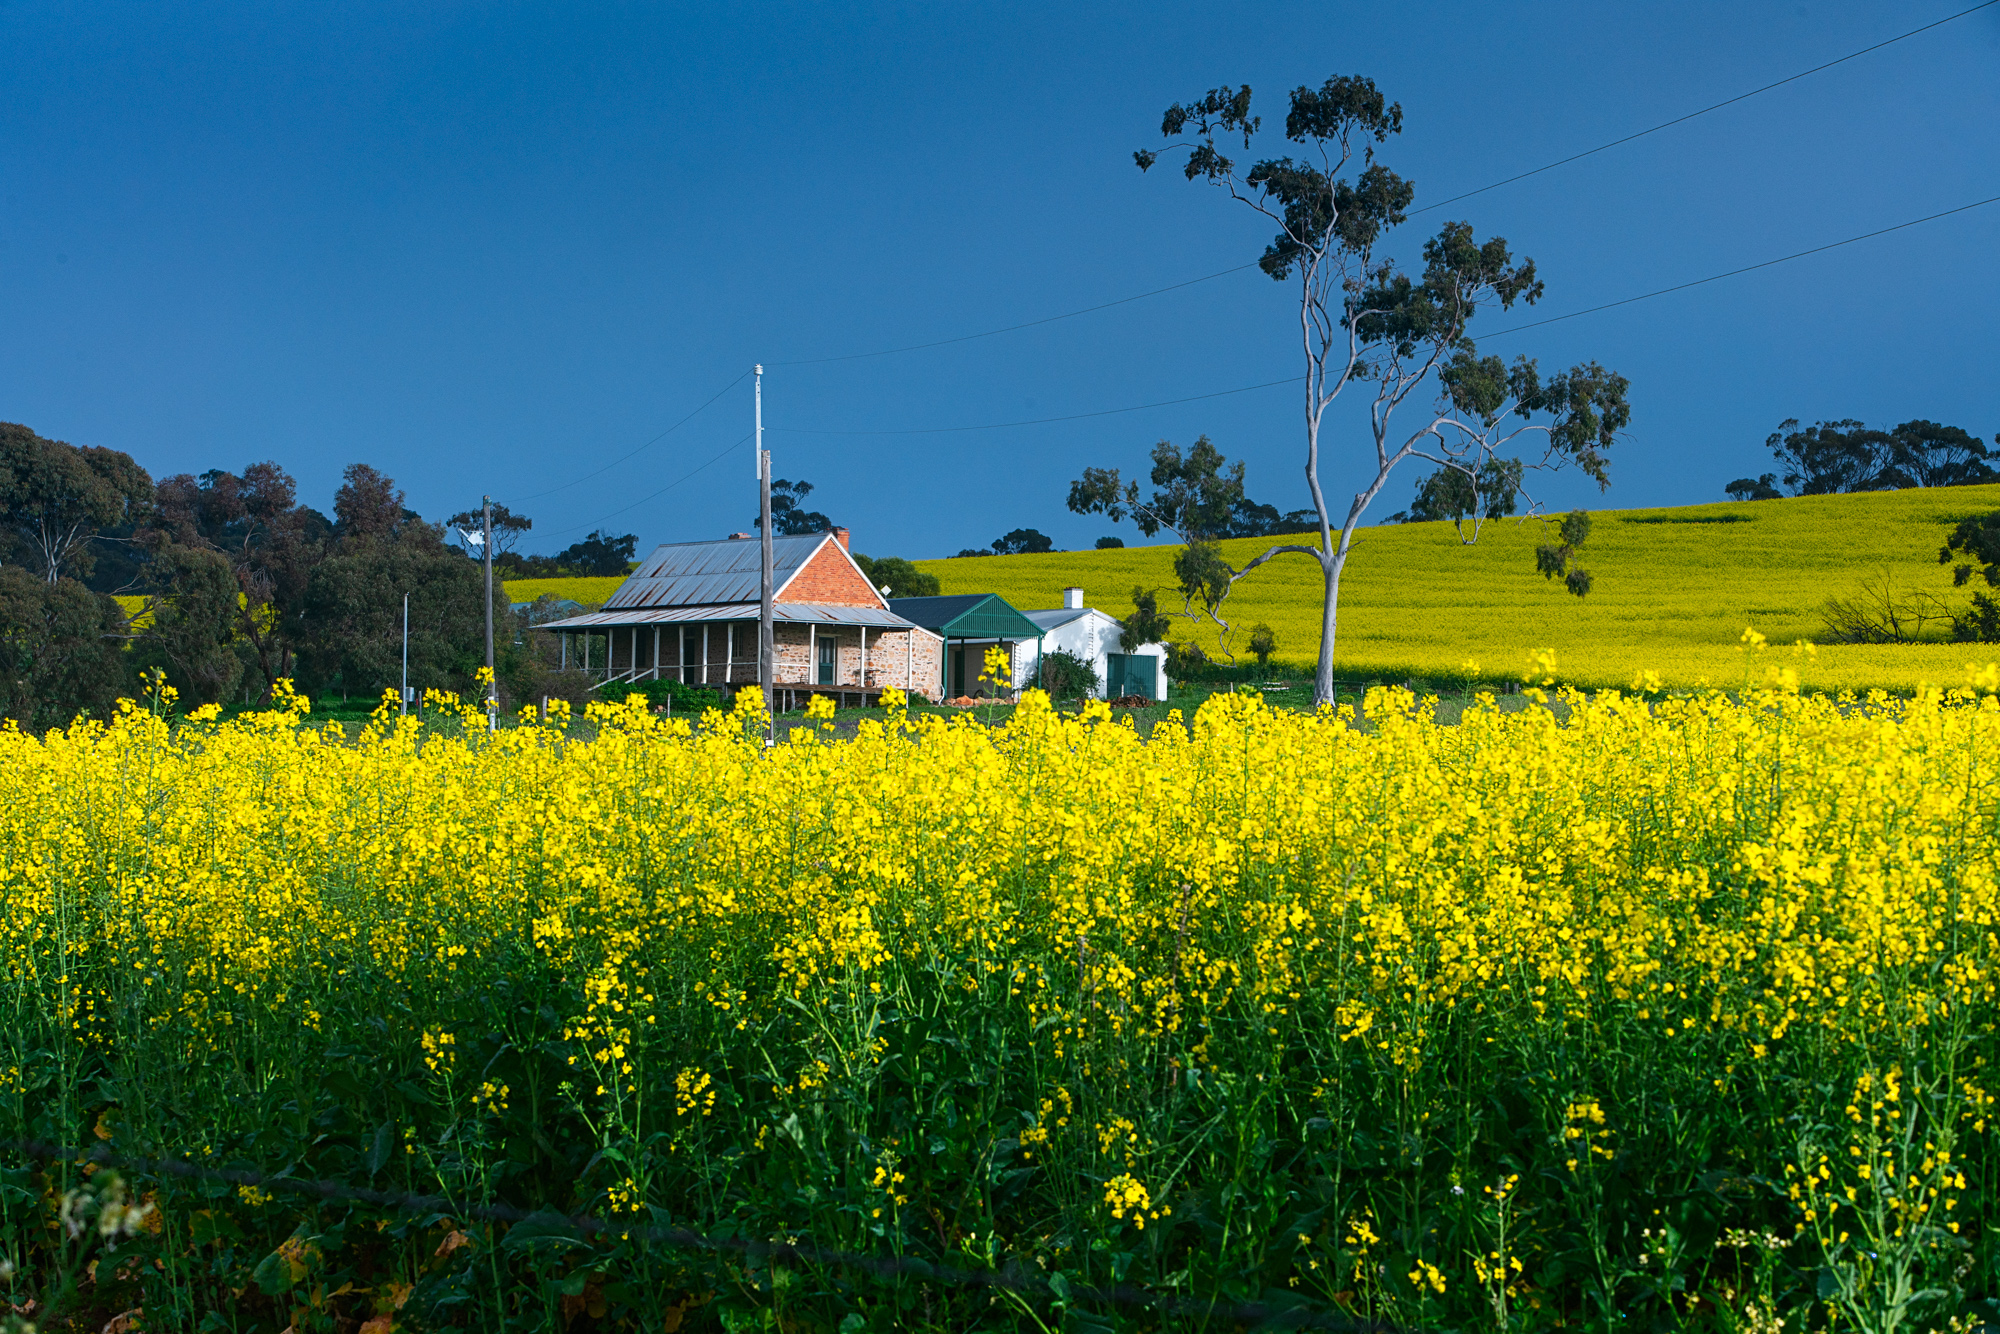
A farmhouse surrounded by canola in York, Western Australia. Sony A7r2 with Canon EF 70-200 f2.8 IS L lens.


Mounted Archery demonstration at the York Medieval Fair. Sony A7r2 with Canon EF 70-200mm f2.8 IS L lens.


Enough for the tests let’s look at real world usage. For landscape and macro work all the lenses did OK in real world usage. But for events and grip and grin work it was not all beer and skittles. The event I photographed was a medieval fair and I used both the 24-70 and the 70-200. The 70-200 did rather well with photographing mounted archers and taking candid portraits. Excellent stuff. The 24-70 didn’t do so well. I photographed a display of medieval combat and only 1 in 5 were in focus. These guys weren’t  moving fast they were just erratic and the tracking just could n’t cope. With static subjects everything was fine. I photographed an awards ceremony with the A7r ii and the 24-70. This sort of work is quick paced but straightforward photographically. I shot 220 frames with roughly a third out of focus, one third in focus but not critically sharp and the remainder were critically in focus.The experience was the AF wasn’t snappy but laboured and ponderous. Halfway through I was wishing that I’d had my micro four thirds system or my Canon DSLRs.

York Medieval Fair. Sony A7r2 with Canon EF 70-200mm f2.8 IS L lens.


York Medieval Fair. Sony A7r2 with Canon EF 24-70mm f4 IS L lens.


Conclusion

In conclusion my experience with the Metabones Smart Adapter V was quite a mixed bag. The lens that I thought would do very well, the EF 24-70 f4, didn’t do very well at all.  The lens I really wanted to work but thought wouldn’t do well because of its age was the 70-200mm f2.8 and it did surprisingly well. The 100mm macro did as I thought it would.
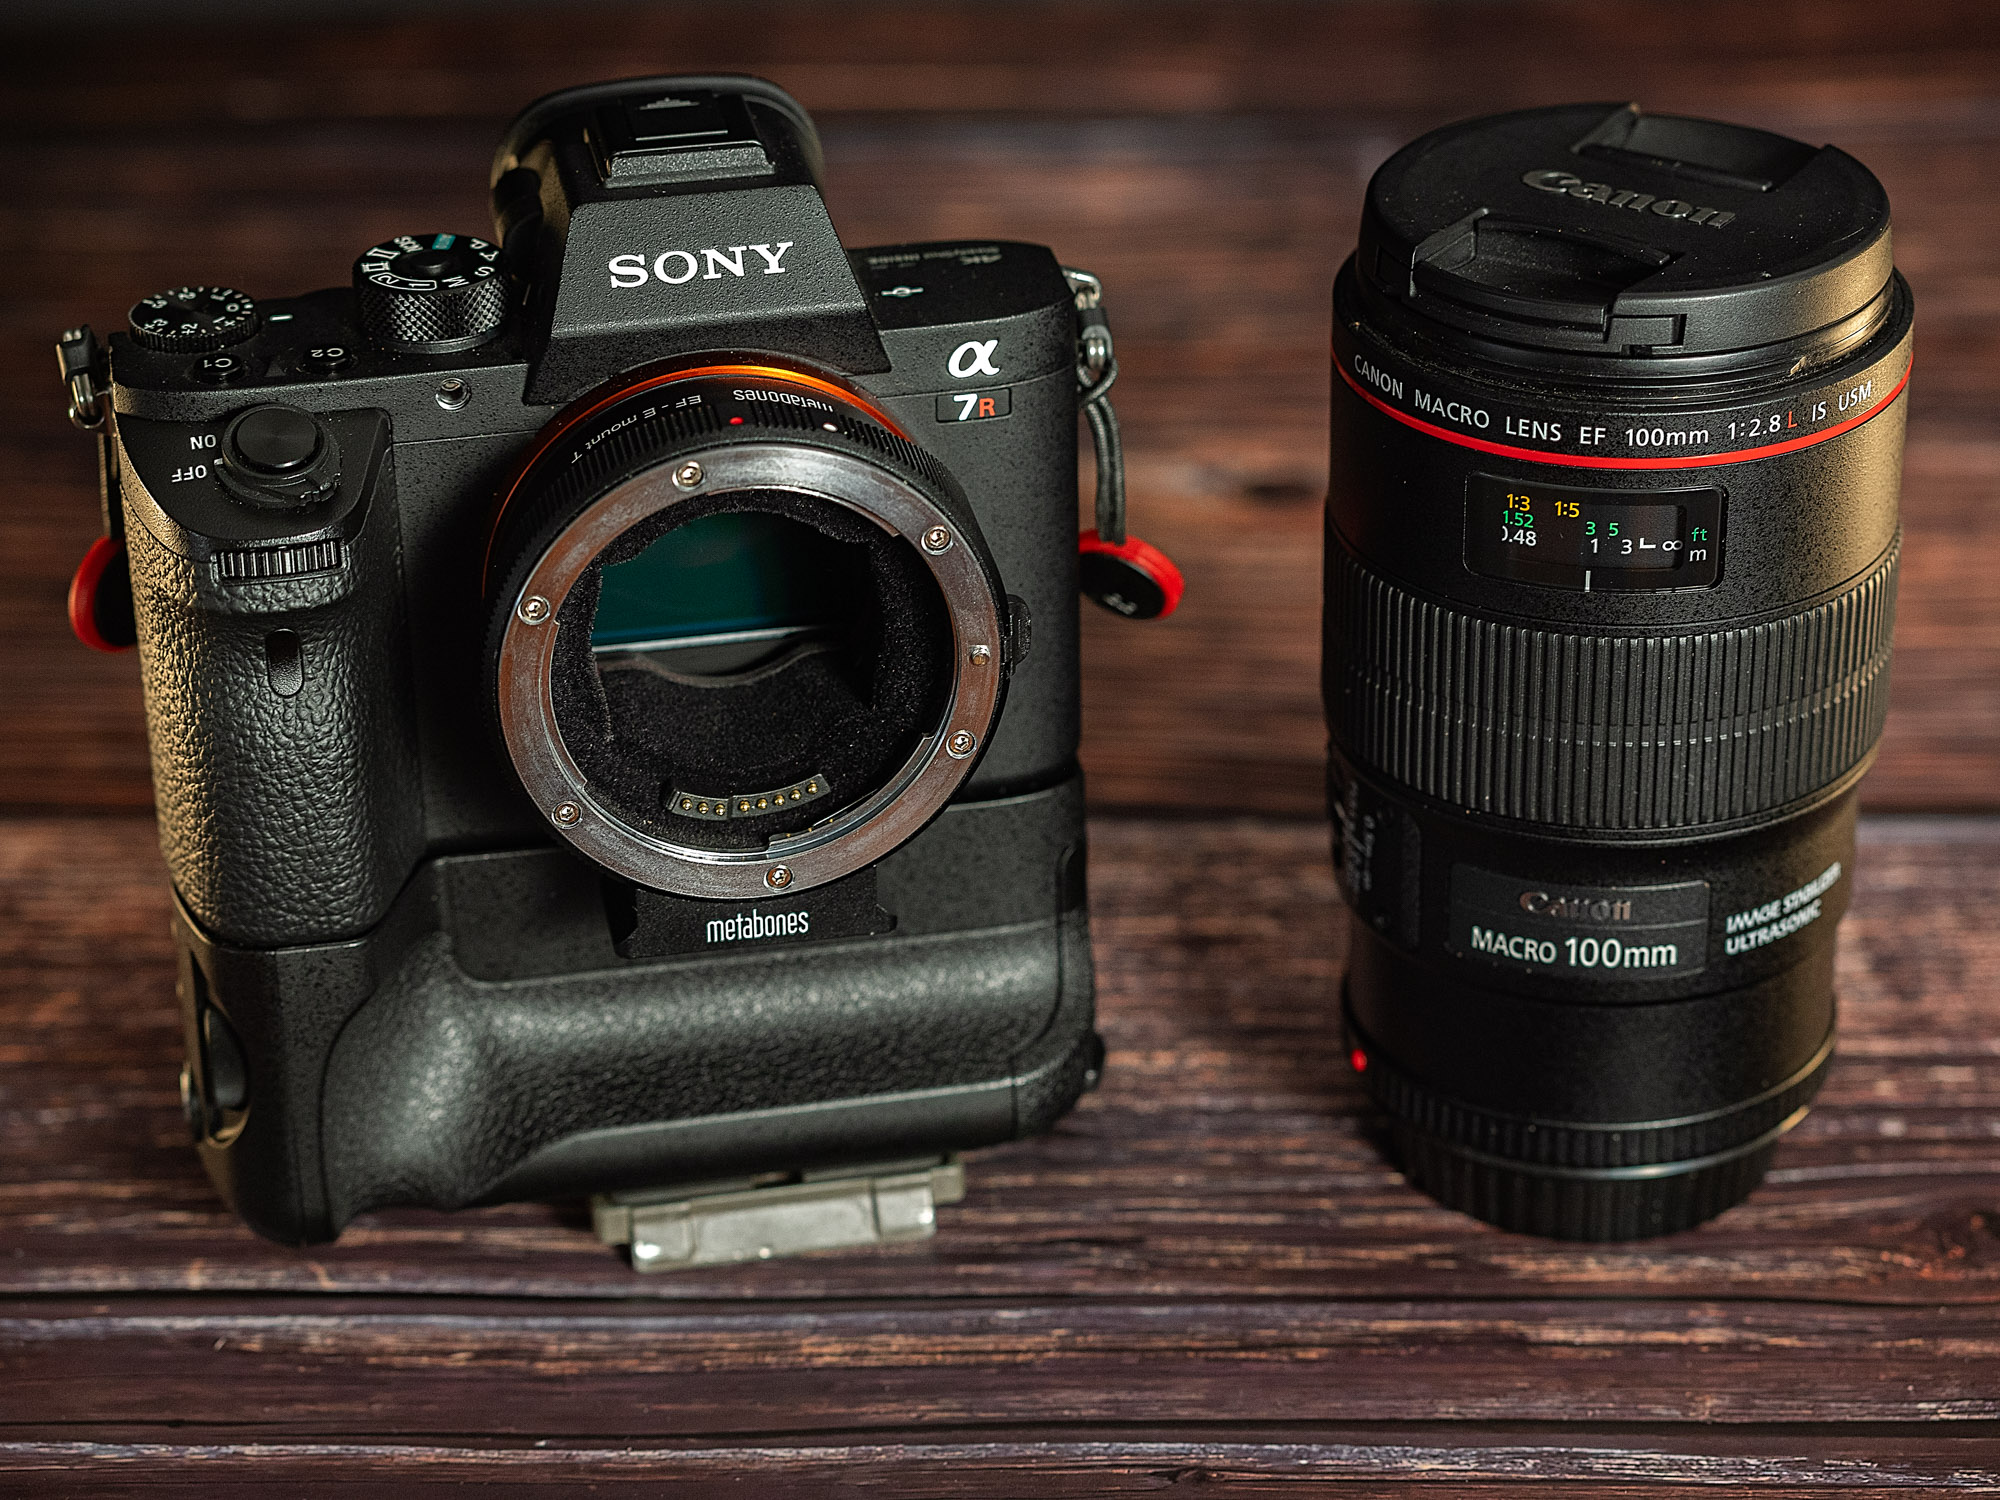
The Sony A7rii with the Metabones V Smart Adapter and the Canon 100mm f2.8 IS L lens.

A Gnome Among the Gumtrees*

I’m always pleasantly surprised by the things I find while pootling along the back roads of Western Australia. Last weekend was a case in point. I was driving along the bucolic Ferguson Valley in the south-west of the state when I came across something that just expressed a sense of spontaneous anarchistic fun. That something was Gnomesville. We’ve all seen garden gnomes haven’t we? You know those kitsch garden ornaments usually made out of plaster and sometimes out of cement that can be found in gardens all over the world. Usually they are seen singly, occasionally in twos or threes. Sometimes you come across a garden that has maybe a couple of dozen and that is regarded as a bit OTT. So imagine a place with thousands of gnomes. That’s right thousands. The exact number is not known, but some reckon the figure could be as high as 5000. They are not in a garden, it’s not some commercial tourist attraction. Gnomesville is found on the verge by a roundabout in a very rural setting.


Gnomesville by Paul Amyes on 500px.com
Welcome to Gnomesville. A small gathering of the inhabitants. Western Australia. Sony A7r with Olympus OM Zuiko 35mm f2 lens. Exposure: 1/60th sec, f8 at ISO 320.


The whole thing is absolutely bonkers. So how did it start? Well there is the legend of Gnomesville which is as follows:

“A long, long time ago, a Gnome was travelling on an Australian country road. It was at night and far from anywhere. All around was leafy and green. A pleasant place.

By and by, he came to a fork in the road. He followed the road, which seemed to go around and around.

Now, being a little person, he could not see over the curb. If he did, the story would have ended here.

He walked all night with the feeling he was going nowhere. Roads branched off every so often.
By the morning, he was exhausted. Then it was clear. He had come across a ROUNDABOUT—a circular intersection in the middle of (almost) nowhere.

This was something he had never seen as a country traveller.

But it was a nice place and reminded him of home. There was a bubbling brook and shady trees.
So he stayed a while. And another while. Other Gnomes passed and visited, and many stayed. Word passed around.

Gnomes from far and wide left their gardens and came to visit. But they stayed. This was something new for the mostly solitary Gnomes. There was something irresistible about the place. It was as if the ROUNDABOUT was casting a spell.

But that is another story…

So Gnomesville was born.”

© Gnomesville, Peter Terren.


Gnomesville by Paul Amyes on 500px.com
Peak hour in Gnomesville. Western Australia. Sony A7r with Sony FE 28-70mm f/3.5-5.6 OSS. Exposure: 1/200th sec, f4 at ISO 200.


For people who need the real actual true story well Kevin and Vicki Campbell were a local couple who played a large part in the creation of Gnomesville. The local shire had annexed some land from a neighbour to create a T junction at the bottom of a hill. The local residents weren’t too keen as they felt that it would be unsafe. So after a public meeting and some toing and froing it was decided that a roundabout would be built instead. Not long after a gnome appeared in a hollow tree by the roundabout. It was in fact the very spot where Vicki used to leave her bicycle when she caught the school bus as a child. It was the start of a gnome sit in protest. Soon there were twenty gnomes all showing solidarity. And so Gnomesville was born. I prefer the legend. Now people come from quite literally all over the world to leave a gnome. When I was there a young couple with their son had come all the way from Malaysia to leave a gnome. There are Dutch gnomes, gnomes from Japan, even from Finland. Gnomesville is a very cosmopolitan place.


Gnomesville by Paul Amyes on 500px.com
Gnomesville attracts gnomes from all over the world. This is the Japanese contingent. Gnomesville, Western Australia. Sony A7r with Cosina Voigtlander 15mm f4.5 Super Wide-Heliar lens. Exposure: 1/60th sec, f8 at ISO 400.


So if you are in the vicinity of Bunbury and are kicking your heels wondering what to do take a drive out to the Ferguson Valley and enjoy the sights of Gnomesville. You could even stop off and buy a gnome to leave there.


Gnomesville by Paul Amyes on 500px.com
Warning – gnomes crossing. Gnomesville, Western Australia. Sony A7r with Olympus OM Zuiko 35mm f2.0 lens. Exposure: 1/160th sec, f2.8 at ISO 200.


*apologies to Wally Johnson and Bob Brown for corrupting the title to their all time Aussie favourite song “Home Among The Gum Trees”

If you are not an Aussie and you are left somewhat puzzled by the lyrics then an explanation can be found at http://alldownunder.com/australian-music-songs/home-among-the-gum-trees.htm

Winter In The Wheatbelt

Yenyenning Lake by Paul Amyes on 500px.com
Dead trees on a winters misty morning in Yenyenning Lake. Beverley, Western Australia. Sony A7r with Sony FE 28-70mm F3.5-5.6 OSS lens, and Cokin 3 stop graduated neutral density filter and a circular polarizing filter. Exposure: 0.3 sec, F16, ISO 100.


Olympus OM Zuiko 35-105mm f3.5-f4.5

So far I’ve looked at a couple of primes and now I’m going to turn my attention to a standard zoom, the Olympus OM Zuiko 35-105mm f3.5-f4.5.

Olympus OM Zuiko 35-105mm f3.5-4.5 lens.


Olympus OM Zuiko 35-105mm f3.5-4.5 lens.
As good as the day I bought it which was in 1983.


Introduced in 1983, which is when I bought my copy. This lens was often rumoured to have been designed and made by Tokina, but this has been refuted online and it would appear that it differs significantly enough that it can be until otherwise proven an Olympus lens.

35105mmf3545
Schematic of the Olympus OM Zuiko 35-105mm f3.5-f4.5 showing the lens elements in their various groups.


Over its production cycle there were two variants produced. The first version, which is the one I have, with serial numbers below 500,000 weighs in at 460g, is 116mm fully extended (in macro mode) and 86mm retracted, the rubber focusing grip is 42mm wide, and there is and Infra Red (IR) focusing mark above the aperture ring. The rear lens element is flat and flush with the back of the lens.The second version (serial numbers above 500,000) is 470g in weight, 87mm long retracted, and the focus grip is 38mm wide. There is no IR focus mark, but there is a white variable aperture dot between 3.5 and 5.6 on the aperture ring. The rear lens element is recessed and convex. The construction of the lens is that of a one touch zoom design with a built in close focus mechanism which allows a minimum focus distance of 31cm with a maximum reproduction ratio of 1:5. There are sixteen lens elements in twelve groups and the filter thread is 55mm. The variable aperture was a design compromise to keep weight and size down, it provides a reasonably bright f/3.5 at the wide-angle setting but gradually stopped down to a dimmer f/4.5 when reaches the telephoto range. The big disadvantage is the rate at which the aperture varies through the range and this convinced me of the practicality of using TTL flash back in my days of shooting transparency with OM cameras.


Olympus OM Zuiko 35-105mm f3.5-4.5. 35mm at f8.


Comparison chart of the Olympus OM Zuiko 35-105mm f3.5-f4.5 shot at 35mm focal length wide open and then at f8.


At the 35mm end the lens is remarkably free of distortion. Wide open the CA is very apparent, but this is easily corrected in post. The centre of the test image not crisply sharp and is also lacking in contrast which adds to the impression of softness. Bumping up the contrast in post improves things greatly. I never questioned the sharpness of this lens when shooting film – hardly surprising when you consider I most shot Fuji Chrome Velvia 50 or Kodachrome 25 or 64 all of which are high contrast films. At f8 the centre sharpness increases nicely but the edges are still soft and lacking contrast.


Olympus OM Zuiko 35-105mm f3.5-4.5. 105 at f8.


olympus-35-105-105-comparison
Comparison chart of the Olympus OM Zuiko 35-105mm f3.5-f4.5 shot at 105mm focal length wide open and then at f8.


At 105mm the lens exhibits a slight pincushion effect. This is where image magnification increases with distance from the optical axis and parallel lines bow inwards like a pincushion. This is not uncommon in this type of lens at the long end. Wide open at f4.5 the image is soft and lacking in contrast at the centre and the edges are even worse. By f8 the centre of the image has improved a little but the edges have not. CA is present but again is easily dealt with.

Back in the day this was my go to lens – I shot nearly everything on it and I thought it was great. Here are some examples of it from the early 1980’s shot on film and scanned.


Beccah and Jane
Beccah and Jane sitting on the back step at Molecomb Cottage, Goodwood, West Sussex. June 1985.


Helen Anderson
Helen, Chichester, West Sussex. September 1985.


Paradise Video-Music Pub
Paradise Video-Music Pub, Thira, Santorini, Greece.

So lets see how it does on the Sony A7r.


Balloons
Balloons in the window. York, Western Australia. Olympus OM Zuiko 35-105mm f3.5-4.5.


Bully Bridge
Bully Bridge. Frida, the English Bull Terrier, on the Swing Bridge in York, Western Australia. Olympus OM Zuiko 35-105mm f3.5-4.5


Bridge Over The Avon
The River Avon in York, Western Australia. Olympus OM Zuiko 35-105mm f3.5-4.5


Overall the lens lacks the contrast present in the other OM lenses. The bokeh is somewhat swirly though not as obvious as that exhibited by the Helios 58mm f/2 lens and is what some might call a little nervous. Wide open this lens is very prone to vignetting and filter users will have to be aware of this. Now zoom lens from this era have a bad rap for poor image quality so I thought that it would be interesting to compare this lens with a modern standard zoom – namely the Sony FE 28-70mm F3.5-5.6 OSS. Some people might find this an unfair comparison comparing a cheap kit lens with a premium quality zoom lens, but there is over thirty years separating them and lens design has come on a long way in that time especially in regard to zooms.


Sony 28-70mm f3.5-5.6 OSS


The most obvious thing that comes to mind when comparing the two lenses is the build quality – compared to the Olympus 35-105 the Sony feels like it came out of a Christmas cracker. It feels very cheap and plasticky and quite honestly it doesn’t feel very durable at all. In fact the word “disposable” comes to mind when handling it and  I don’t think we’ll see many working copies of this lens around in thirty years time.

Sony 28-70mm f3.5-5.6 OSS


Sony 28-70mm f3.5-5.6 OSS. 28mm at f8.


sony-28-70-28-28
Sony FE 28-70mm F3.5-5.6 OSS at 28mm comparing the centre and the edges of the frame at f3.5 and f8.


sony-28-70-28-70

So having looked at the test shots what can we say? Well wide open at 28mm the centre the lens is sharp and contrasty and amazingly it improves considerably when stopped down to f8. At the edges wide open there is a significant drop off of sharpness and contrast and this only improves slightly when stopping down to f8. Distortion and chromatic aberration are automatically corrected in camera. At 70mm wide open in the centre the lens is a little soft and flat with hardly improvement when stopping down to f8. At the edges it is much the same story. The only real advantage this lens has over the Olympus is the automatic lens profiles that correct CA and distortion and the lens coatings are marginally better all of which can be overcome with a little fiddling around in Lightroom. The Sony sells for around $350 AUD at the moment while the Olympus can be picked up for less than $100 AUD on EBay. What is more worrying is that according to DXO the Sony FE Carl Zeiss Vario-Tessar T* 24-70mm F4 ZA OSS which is priced at around $1500 AUD is not significantly better than its cheaper sibling and coupled with accounts of substantial sample variation just doesn’t seem to have endeared it to Sony Alpha users. All this makes the Olympus OM Zuiko 35-105mm f3.5-4.5 seem like a screaming bargain if you don’t mind having a manual focus lens as your walk about kit.

My reviews of the Olympus OM Zuiko MC 24mm f2.8 and the Olympus OM Zuiko MC 50mm f1.4 can be seen by clicking on the links.

Autumn On The Avon

Eastern Great Egret
An eastern great egret (Ardea alba modesta) waiting patiently in the morning mist on the Avon River. York, Western Australia. Sony A7r with Sony FE 28-70mm F3.5-5.6 OSS lens. Exposure: 1/160 sec, f8 at ISO 400.

How the seasons have changed. It was the height of summer when I posted Tales From The River Bank and now we are at the end of autumn. We’ve had a lot of foggy mornings which always makes me think of Captain Mark Phillips the ex-husband of Princess Anne. Rumour has it that Prince Charles nicknamed him Foggy because he was thick and wet. Well the fog has certainly been thick and wet here lately.


Autumnal Morning
The autumn mist on the Avon River in York, Western Australia. Olympus OMD EM-1 with OLYMPUS M.40-150mm F2.8 lens. Exposure: 1/160 sec, f8 at ISO 1600.