
This is the second part of a series of articles on upgrading camera equipment on a budget. Parts 1 and 2 can be found here and here.

TLDR
Metabones was an early innovator in terms of lens adapters entering the market in 2013 with the Speed Booster which was an adapter. With a focal range reducer that allowed full frame SLR lenses to be used on smaller format mirrorless cameras at close to the full frame field of view. The first with autofocus capabilities was a Canon EF to Sony E. Metabones themselves described its performance as:
“Autofocus speed is very slow and inadequate for most moving subjects. The autofocus speed is unfit for professional use for sure, and it would disappoint most enthusiasts.”
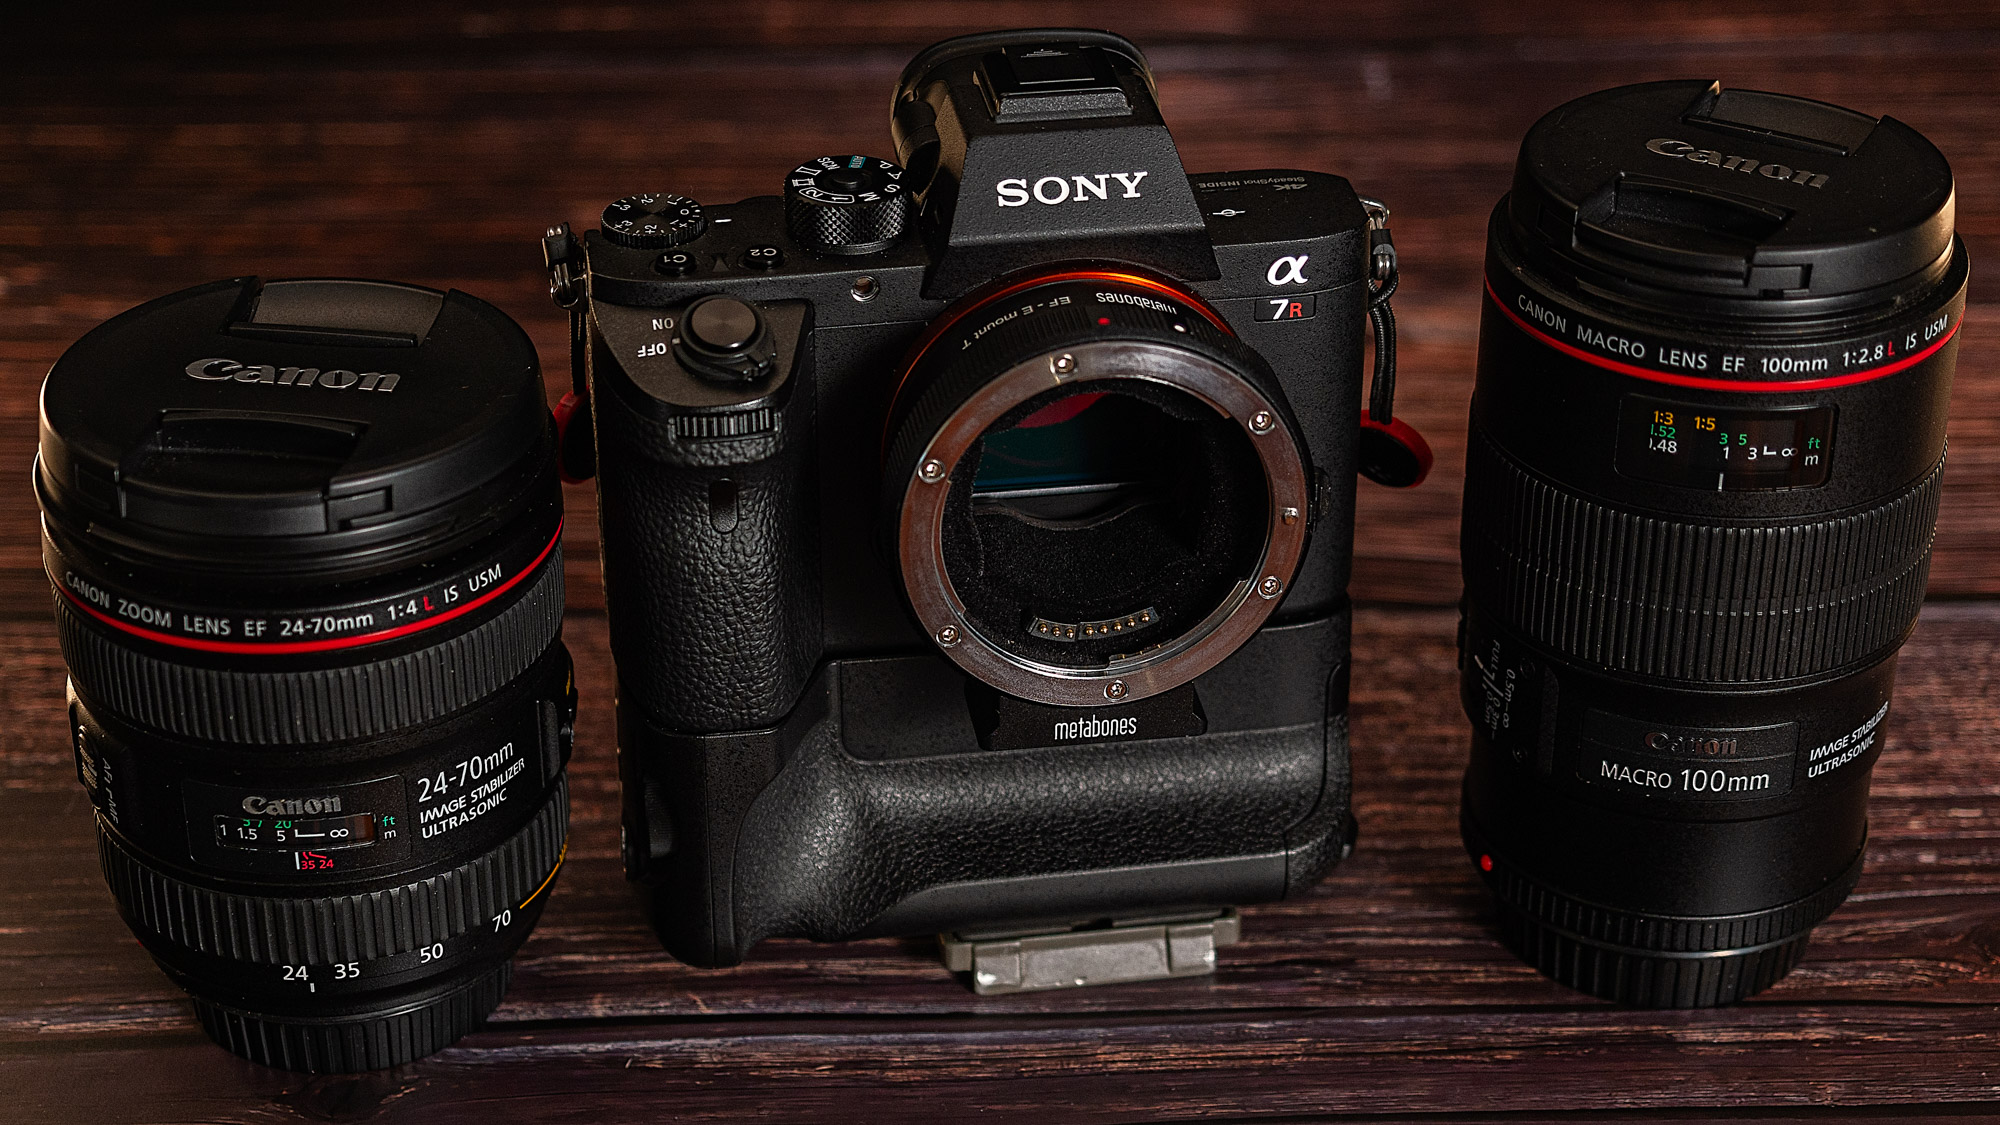
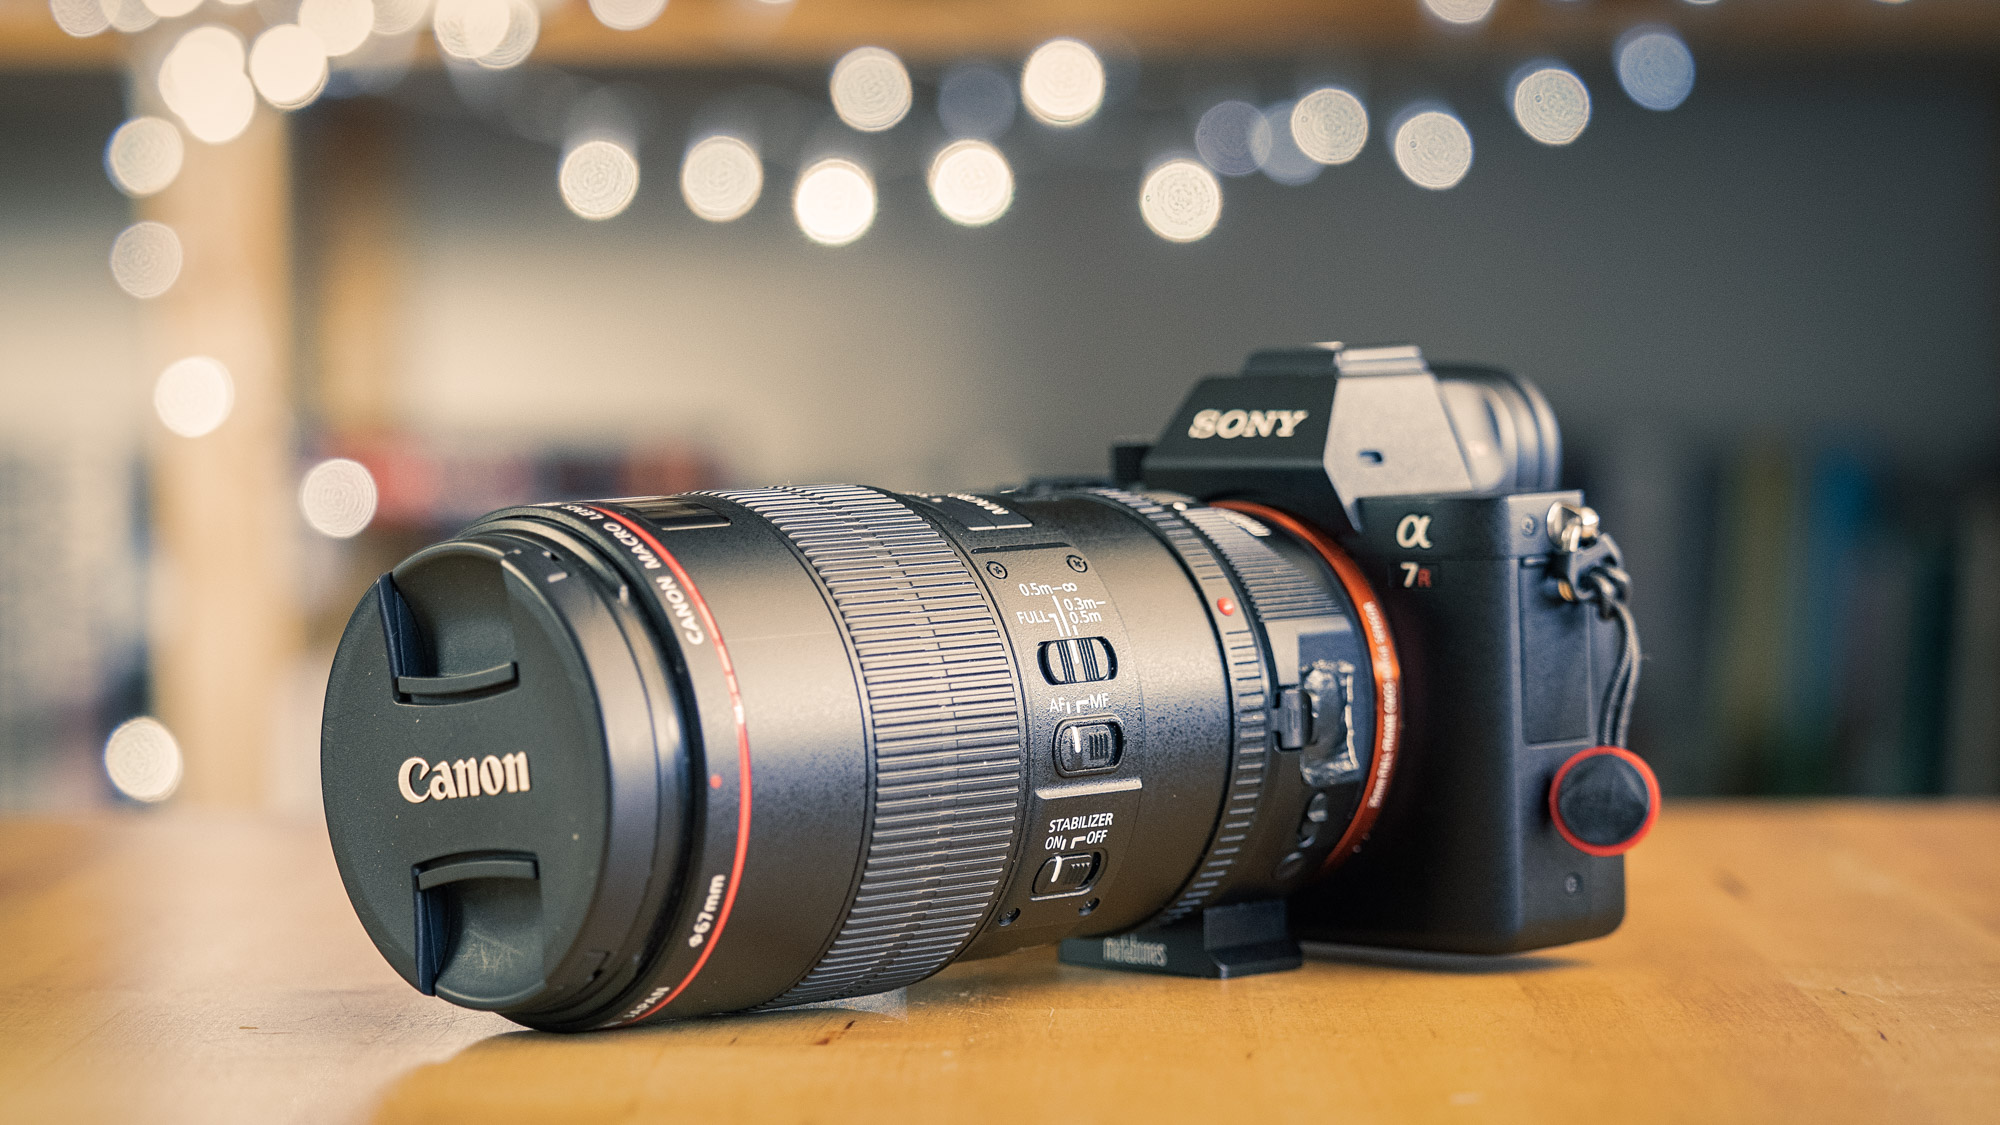
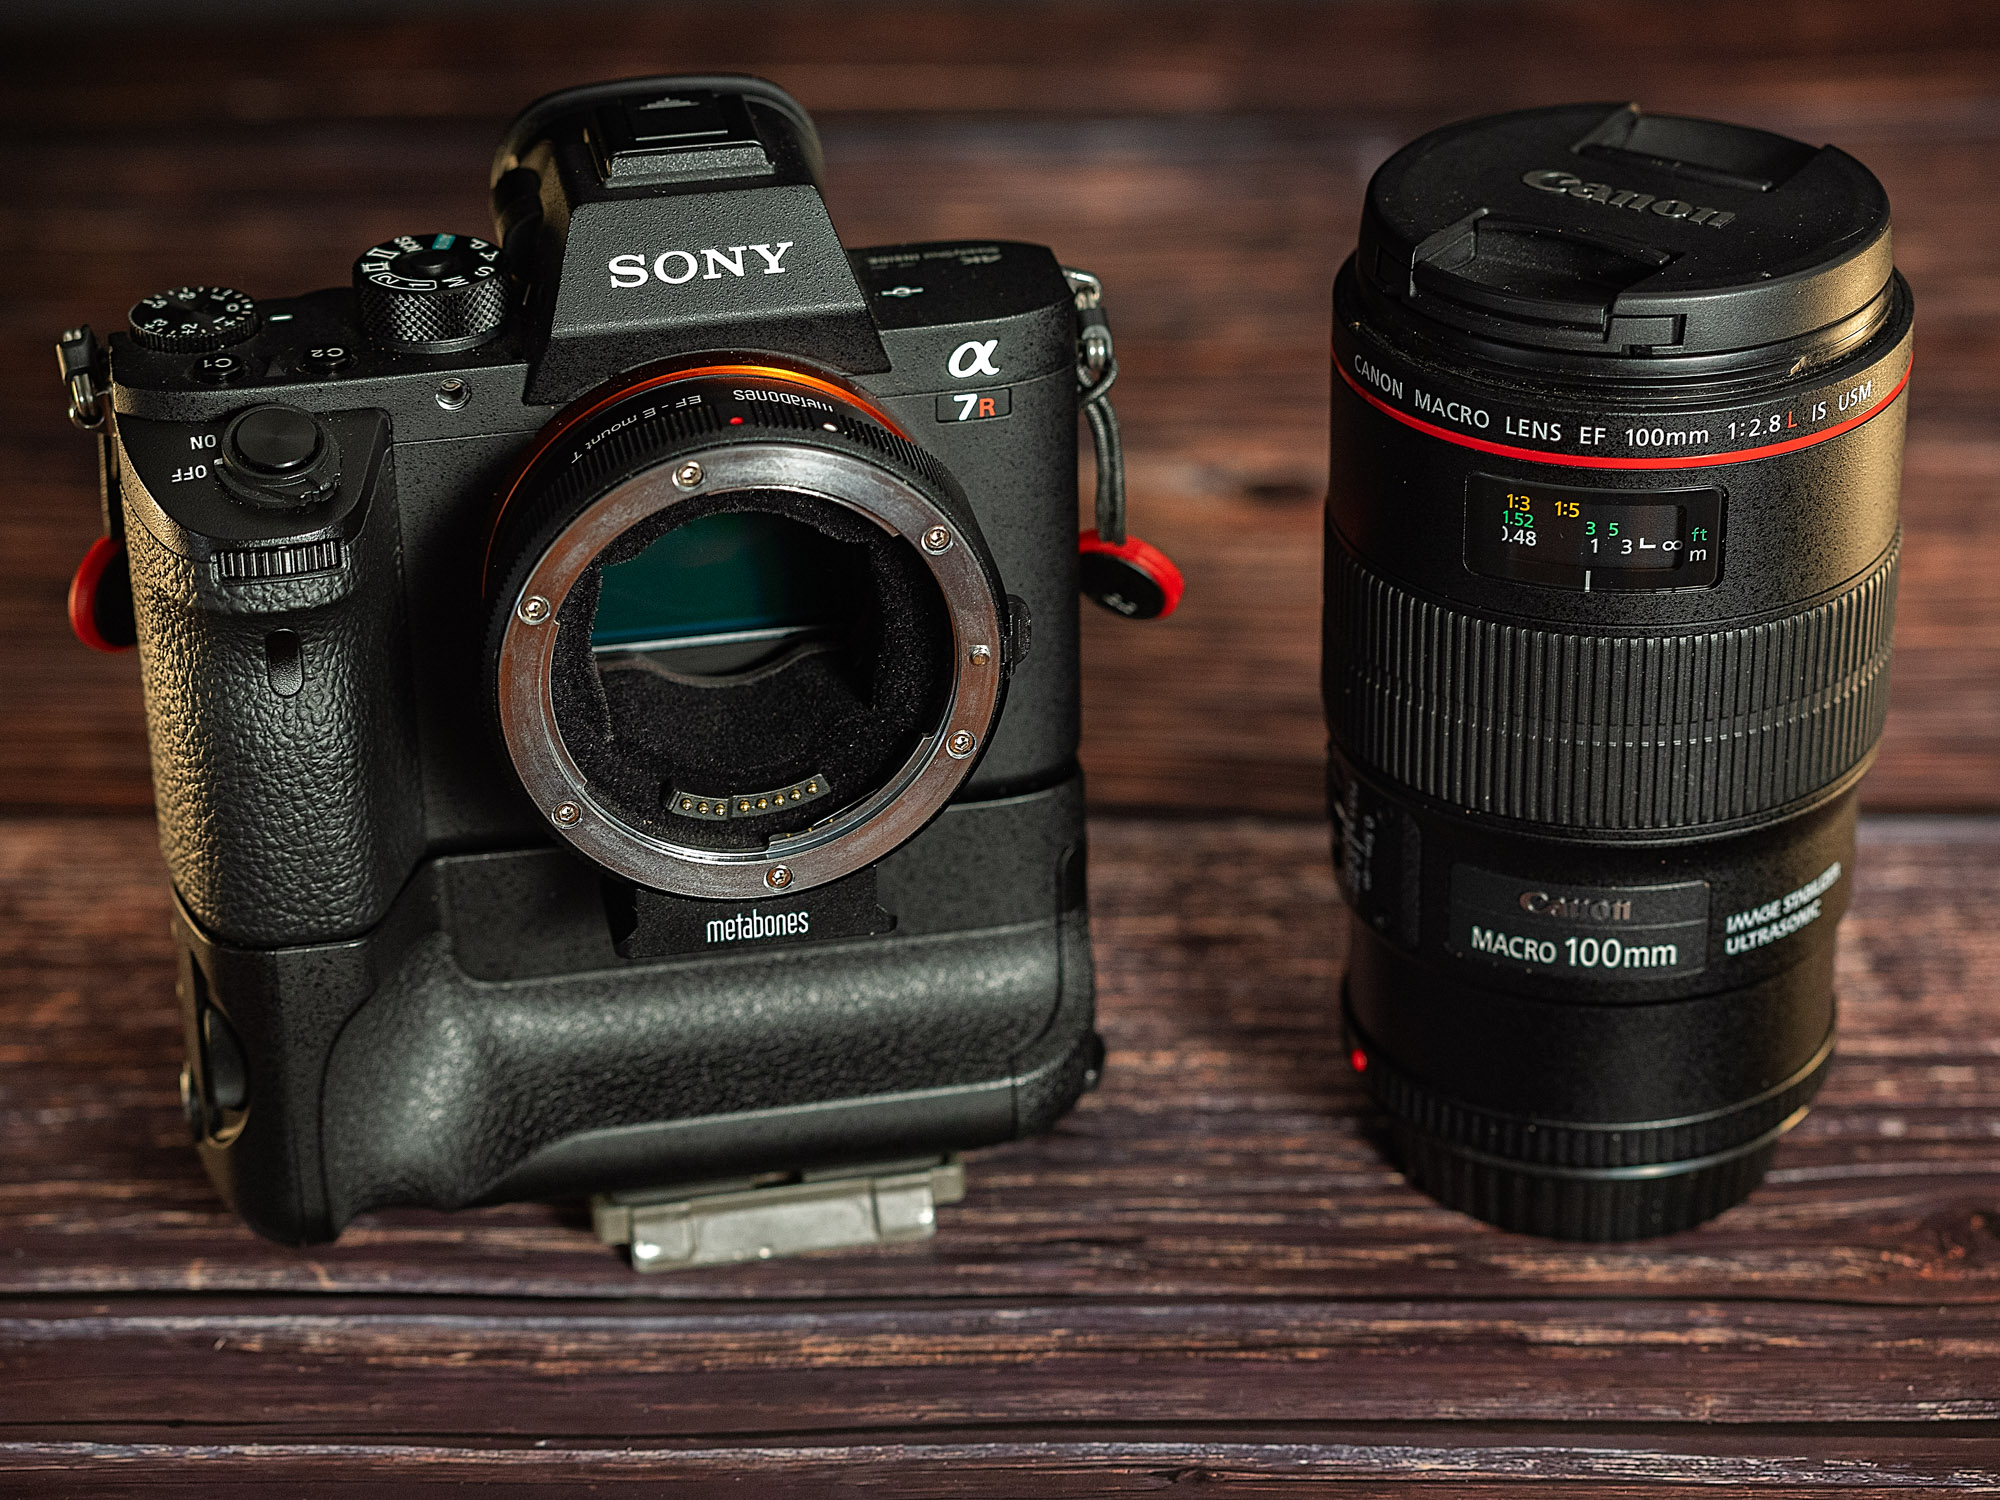
By 2016 Metabones was able to offer a “Smart Adapter” that allowed Sony users to access all the AF modes when using Canon lenses. The adapter makes the lens behave like a native Sony lens. Sigma had beaten them to the punch with their MC-11, but, that had the caveat of only promising that performance with certain Sigma lenses. The Metabones Smart Adapter V EF to FE is the latest incarnation and this is the model that I’m looking at. This is not a Speed Booster – there are no optical elements in the adapter. It is designed for mounting full frame Canon EF lenses on a Sony Alpha series body. In Australia this retails for a whopping $780 AUD. A lot of money when you consider that outcomes are not guaranteed. Luckily there are plenty on the secondhand market and you can expect to pay around half the retail price.
Build Quality

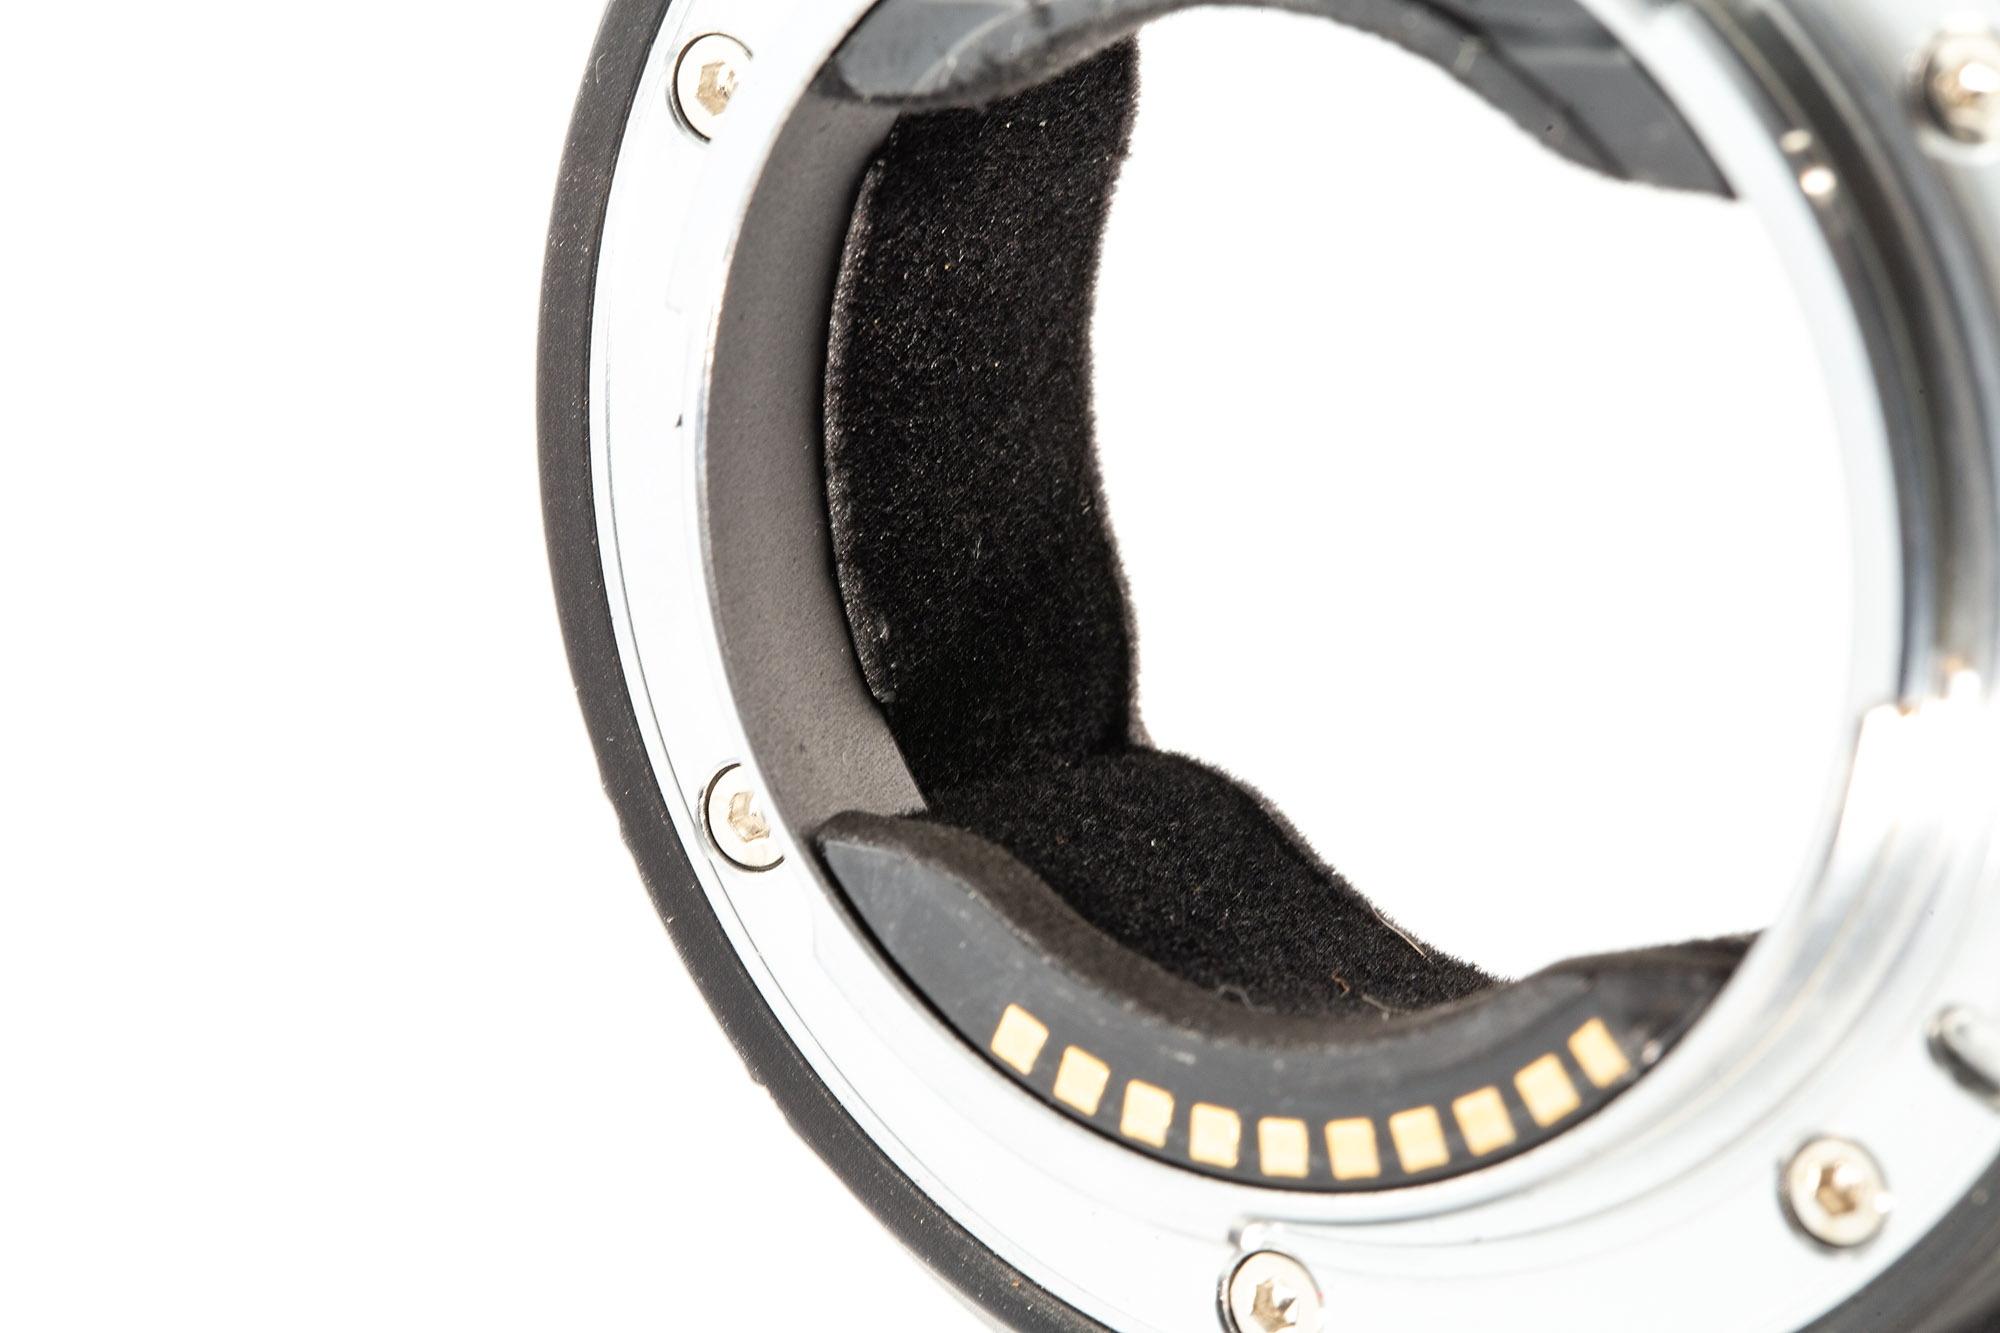
The adapter comes in a nice hard plastic case with two Allen key that are for removing the attached Arca Swiss tripod mount and carrying out adjustments. Picking it up the adapter feels well made with a metal body and both mounts are chromium plated brass for long life. There is a rubber gasket on the Sony mount side to prevent dust and moisture ingress and the adapter is lined with black flocking to prevent internal reflections. On the left hand side of the adapter is the lens release button, a USB port, an IBIS off/on switch and button you can customise its function like the ones found on the Sony G and GM lenses. There are two bad points. First is that the plug for the USB port is not of the flap variety that Sigma use that is attached to the adapter. In the six months I’ve had it the plug no longer fits snuggly and is prone to dropping out which potentially means it could be lost making the adapter susceptible to damage. I’ve taken to taping over it with a bit of gaffer tape but it is not what I would expect from an item costing so much especially when Sigma at half the price have a better approach. Second is the black flock used inside the adapter is a dust and hair magnet and it inevitably finds its way on to the camera sensor. I seem to be forever cleaning the adapter, the sensor and having to spot my photos.

A crucial part of whether the adapter will work is the ability to download and install firmware updates. Sigma enable you to both update the adapter and the lens firmware. With the Metabones you can only update the adapter firmware and this is a bit of a dogs dinner. You download the updater app for Mac and Windows from their website. This and opening the app is the easy bit. When prompted you connect the adapter to your computer via USB cable. I primarily run a MacBook Pro running OSX Big Sur version 11.6 with Thunderbolt 3 and no matter what adapter for USB A to USB C I used the app would not run. I then tried my 2012 iMac running Mojave thinking the native USB 3 will be the solution. Nope. At the back of the cupboard in my office I found 2009 MacBook running El Capitan and having USB 2 ports. Did this work? Did it heck. The app recognised the adapter and advised that there was a firmware update available but when I went to install it the app just froze. So as a last ditch attempt I pulled out of a box in the shed a Sony Vaio from 2003 running Windows XP. I downloaded the Windows version of the app and it worked! It took an hour to download the update but it got there. This is important because the app just doesn’t up date the adapter firmware but allows you access various functions.
The Smart Adapter V has two modes:
- Green Mode or basic mode
- Advanced Mode
There is no instruction leaflet with the adapter so you will need to access the support page for it. How these two modes operate will depend upon your Sony camera. As I’m using it on a Sony A7r2 I’ll concentrate on that.
Green Mode
Auto focus – uses phase detection autofocus and is compatible with, according to Metabones, “virtually all AF lenses” but there is no eye-AF, poor video AF which is contrast-detect and requires half-pressing shutter release button to activate if at all, doesn’t work well with telephoto lenses and requires good light and high contrast to work. Most of the Sony native AF functions are not available. The lens only stops down when you press the shutter button. On the plus side it has low power consumption.
Advanced Mode
The autofocus uses a hybrid of contrast based and phase detect autofocus which makes it fast and accurate. It is not compatible with as many lenses as green mode. Eye-AF is supported. In video you get continuous phase detect AF. The AF works better with long lenses. The aperture stops down as you turn the aperture dial on the camera causing a lot of clicking noise and higher power consumption.
To tell which mode your adapter is in there is a small LED on the top. For Green Mode the LED shines blue and for Advanced Mode it is red. In an ideal world you’d want to be able to switch back and forth between modes. There are two ways of doing this. The first is via the Metabones App which as we’ve already found out is less than ideal. The second can be done in the field and it involves pushing buttons mounting the lens switching on and off etc. It is fiddly. Don’t try to follow the instructions just watch the YouTube video by Alex & Nadia Fediakov. After a short while of using Green Mode and not having a lot of success I just switched to Advanced mode and have left it there ever since.
Performance
I’ve used the adapter with 3 lenses:-
- Canon EF 24-70mm f4 IS L
- Canon EF 70-200mm f2.8 IS L mk i
- Canon EF 100mm f2.8 macro IS L
Besides running tests I also used the camera and lenses in my normal day to day photography – nature, landscapes, events and grip and grin. Right from the beginning I’ll say what you get and don’t get in general terms and then go on to describe how things went with each lens.
- There is no correction for vignetting or colour fringing. You have to manually select lens profiles in your editing program of choice.
- The adapter enables EXIF data recording for focal length, aperture and make and model ID.
- The adapter has no optics so there is no effect on lens performance. Any possible degradation in optical performance will come from the fact that Canon lenses are designed to work with the sensor stack of Canon cameras not Sony. With the three lenses I used there was no problem.
- The auto focus generally works very well allowing access to all the AF modes on the camera. However, how well is specific to the lens. Focal length and the motor technology in the lens play a part in how well the adapter works.
- Using the adapter in Green Mode in body image stabilisation is favoured while in Advance Mode both IBIS and optical image stabilisation are used.
- In Green Mode the power consumption is low. In the Advanced Mode because the lens aperture is constantly opening and closing and both forms of image stabilisation are used the power consumption is high.
Tests
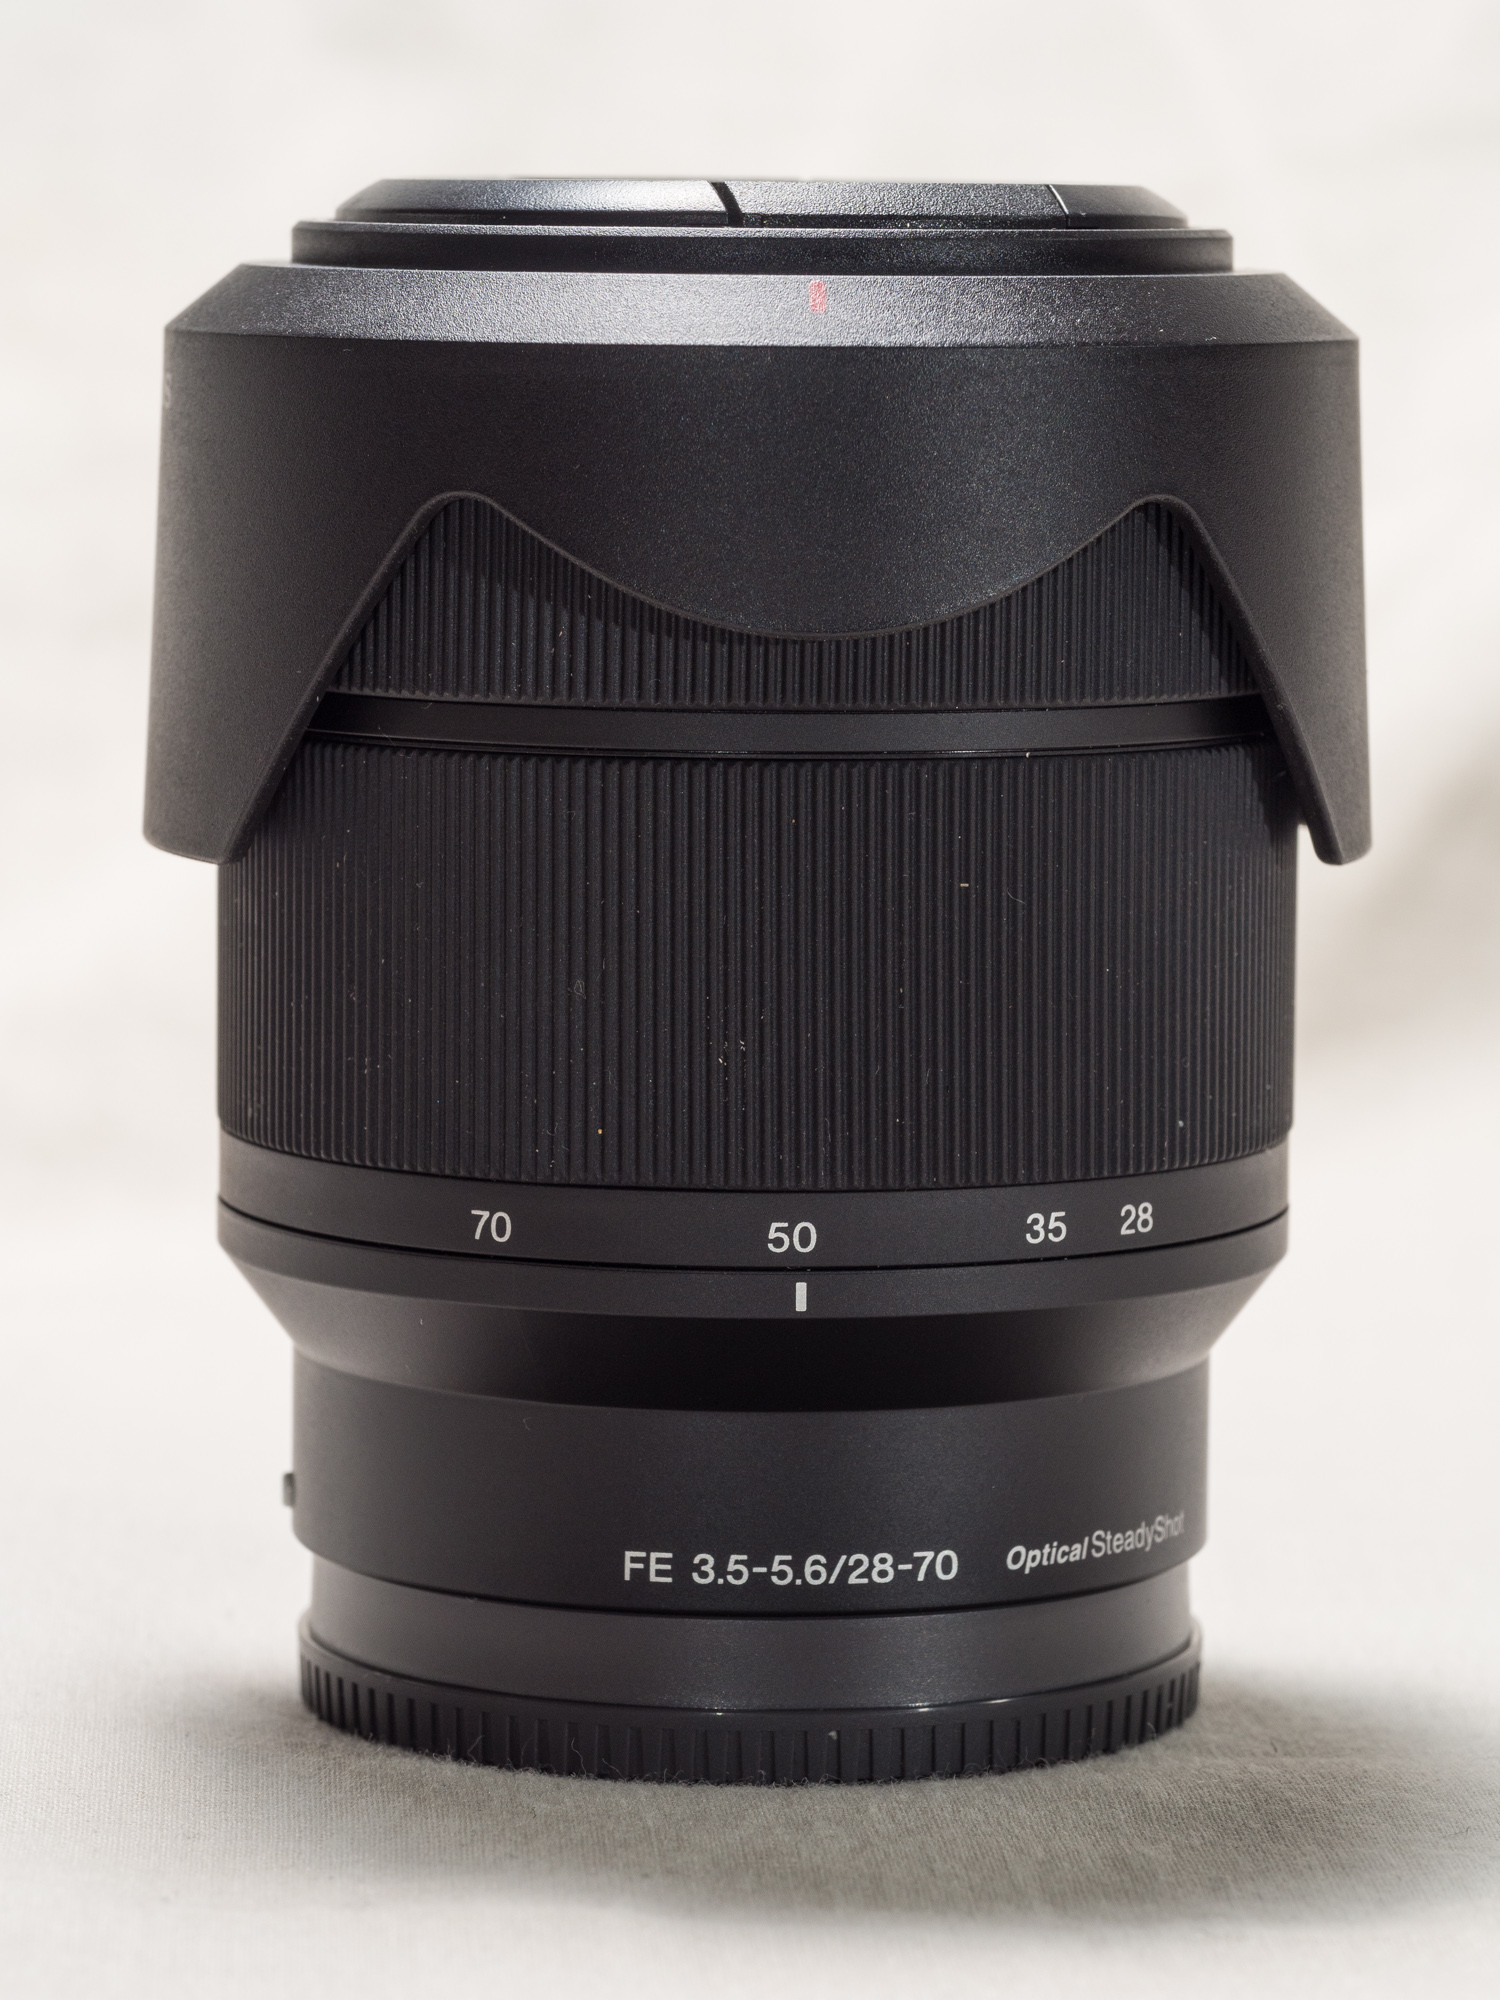

To help me get some sense of what I was seeing I needed a point of reference and for that I used the Sony FE 28-70mm F3.5-5.6 OSS kit lens which can be picked up second hand for about $200 AUD. I wasn’t looking at optical quality but autofocus performance. Each of the Canon lenses had to equal or better the AF performance of that cheap kit lit lens. When shooting sequence of a moving subject (my reluctant Bull Terrier Frida) the Sony 28-70 was achieving a 90% hit rate which I thought was impressive.
Canon EF 24-70mm f4 IS L lens


My initial tests were very disappointing. Using single point continuous AF with a burst of 5 frames none of the shots were in focus. So I changed the settings to lock on flexible spot with continuous AF and got a hit rate of 50%. Shooting video things were more promising. The autofocus was quick and positive and tracked well, but it didn’t do as well as the Sony 28-70.
Canon EF70-200mm f2.8 IS L lens
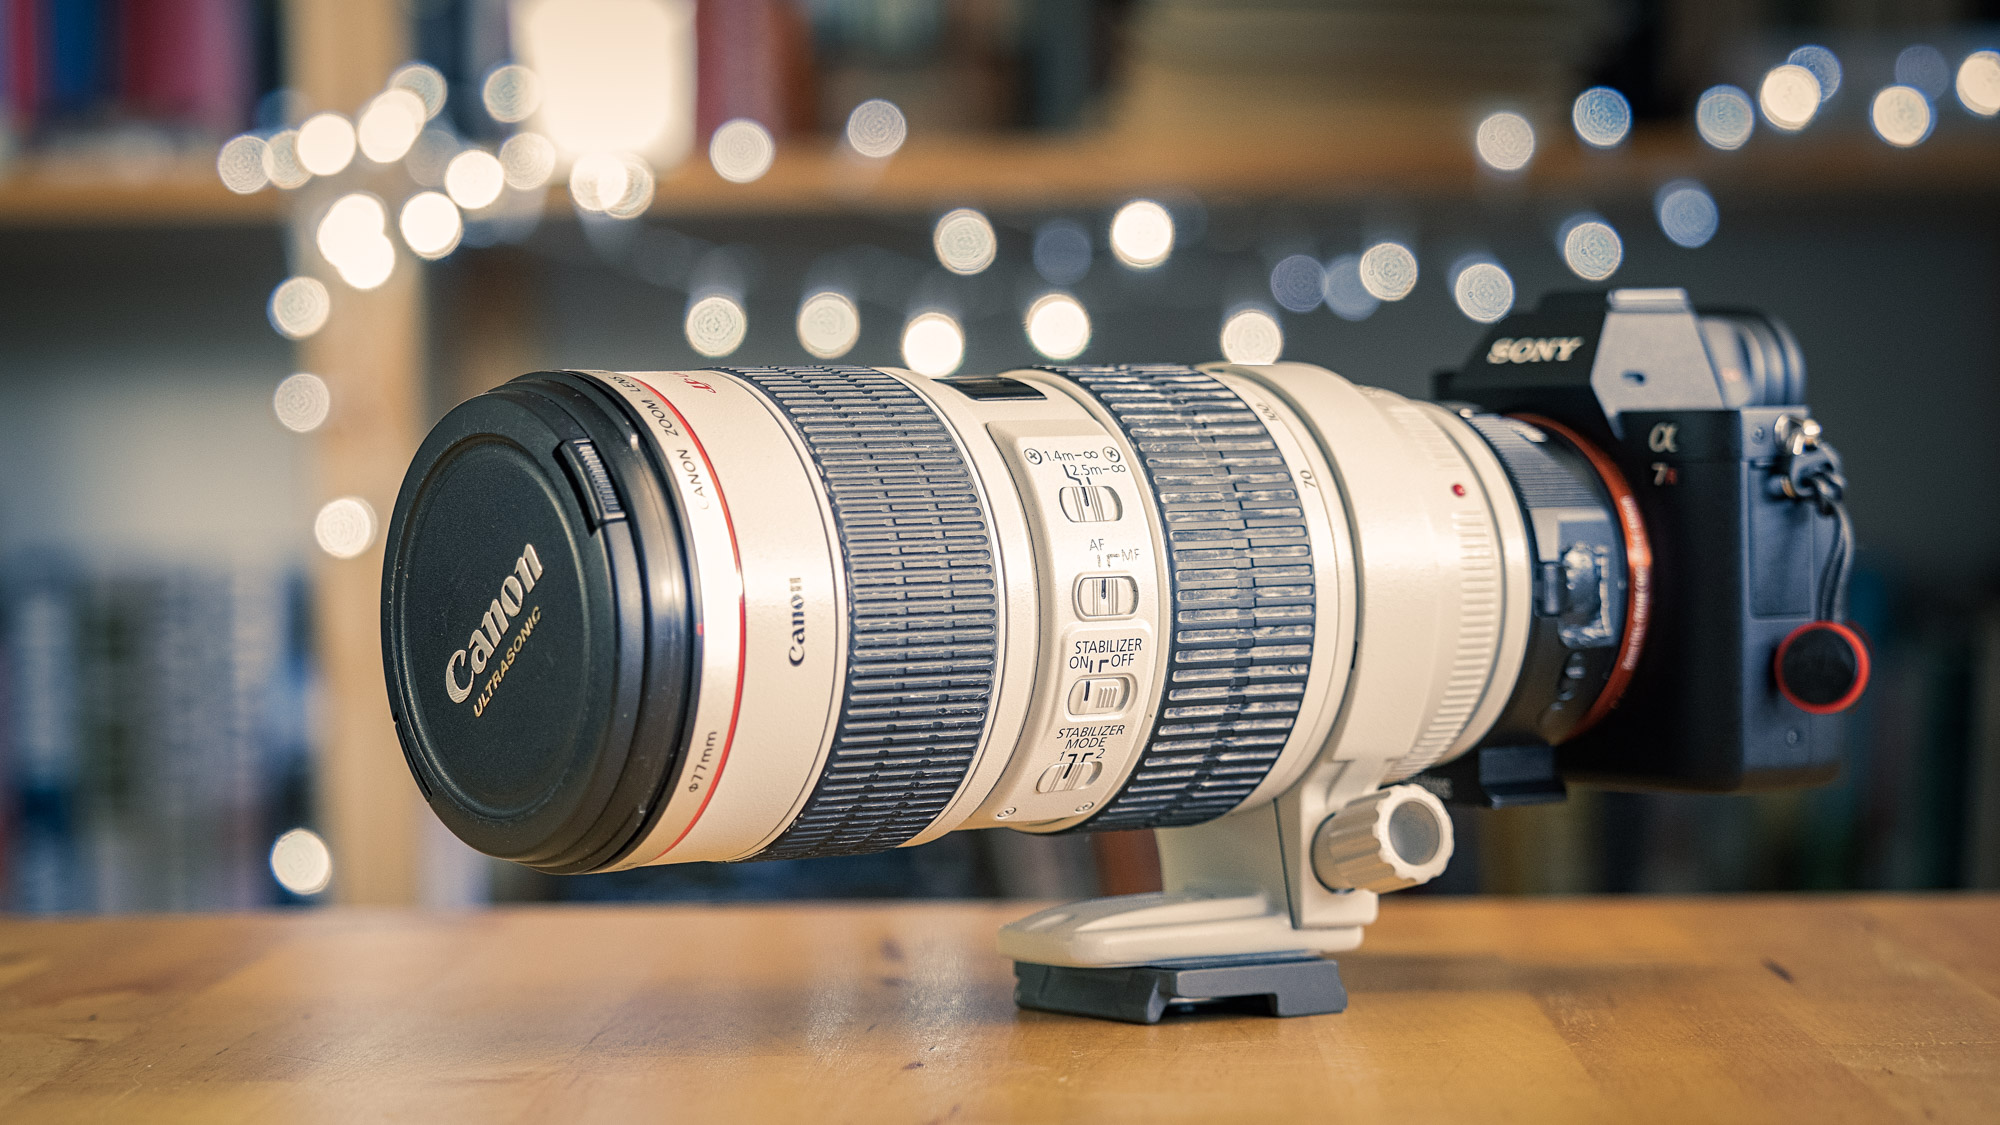
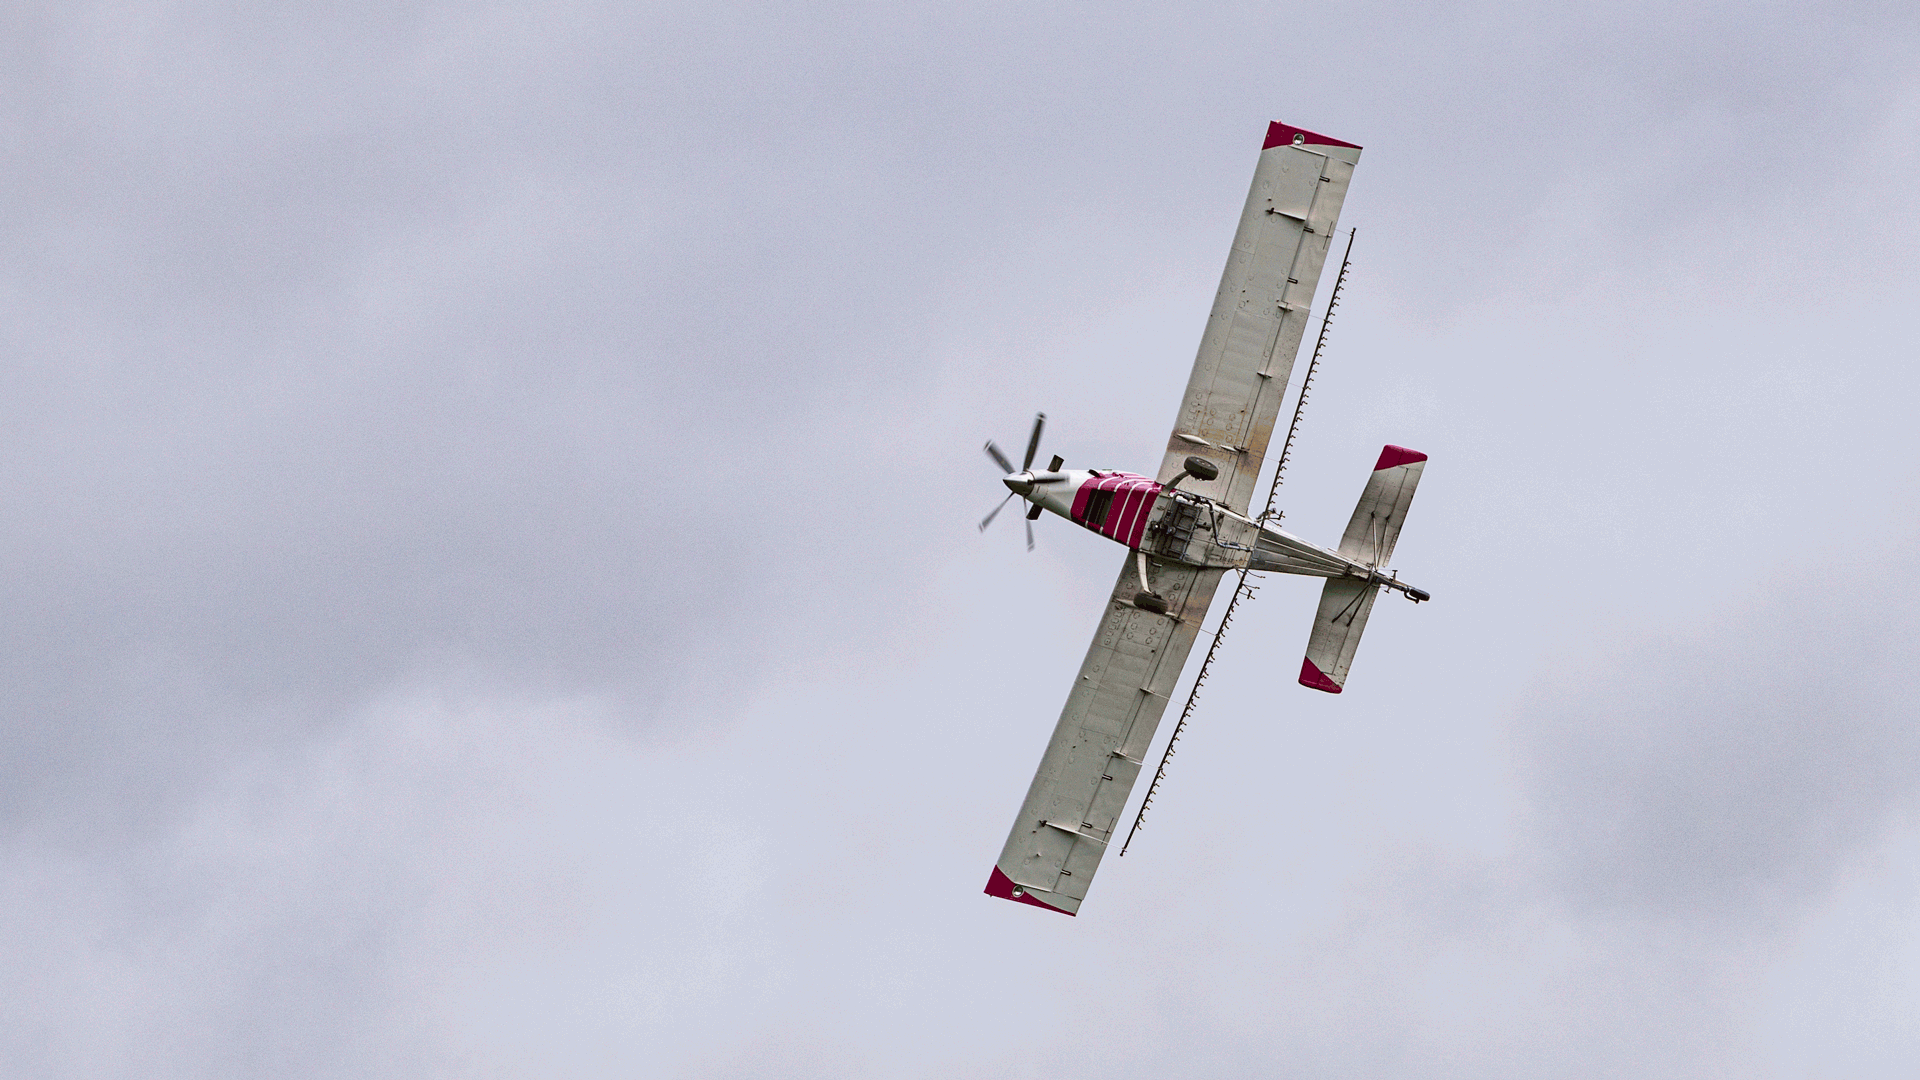
This lens did not work well in expanded flexible spot with continuous autofocus. Typically the lens racked back and forth, then would settle on the subject for a couple of seconds and then drift off out of focus. Switching to other focus modes was a very different story with the lens quick to acquire focus. I abandoned the bull terrier test in favour of a plane doing some crop dusting. Out of 5 runs I got 3 with a 100% hit rate, one with 92% and one of 61%. This averaged out at 90%. The video performance was woeful. At the short end wide open the lens was very slow to acquire focus and when tracking it would loose the subject and be painful slow to reacquire. At the long end wide open it was incredibly slow – glaciers move faster and the AF motor made a lot of noise while the lens racked back and forth.
Canon 100mm f2.8 macro IS L lens
I didn’t test this lens with moving subjects as macro lens are notoriously slow to autofocus at the best of times. The lens was slow to focus in single AF mode both at macro distance and normal distances. At normal focus ranges despite being slow it was very accurate. At macro distances it would often get confused and I found that this would increase in low light or with subjects that had low contrast. For most people macro photography isn’t a fast moving high pressure scenario so this wouldn’t be really a problem. What was a disappointment was that the OIS didn’t combine with the IBIS and I had to use OIS only.
Real World Usage


Enough for the tests let’s look at real world usage. For landscape and macro work all the lenses did OK in real world usage. But for events and grip and grin work it was not all beer and skittles. The event I photographed was a medieval fair and I used both the 24-70 and the 70-200. The 70-200 did rather well with photographing mounted archers and taking candid portraits. Excellent stuff. The 24-70 didn’t do so well. I photographed a display of medieval combat and only 1 in 5 were in focus. These guys weren’t moving fast they were just erratic and the tracking just could n’t cope. With static subjects everything was fine. I photographed an awards ceremony with the A7r ii and the 24-70. This sort of work is quick paced but straightforward photographically. I shot 220 frames with roughly a third out of focus, one third in focus but not critically sharp and the remainder were critically in focus.The experience was the AF wasn’t snappy but laboured and ponderous. Halfway through I was wishing that I’d had my micro four thirds system or my Canon DSLRs.


Conclusion
In conclusion my experience with the Metabones Smart Adapter V was quite a mixed bag. The lens that I thought would do very well, the EF 24-70 f4, didn’t do very well at all. The lens I really wanted to work but thought wouldn’t do well because of its age was the 70-200mm f2.8 and it did surprisingly well. The 100mm macro did as I thought it would.
Discover more from paulamyes
Subscribe to get the latest posts sent to your email.

You must be logged in to post a comment.