

Talk to any photographers long enough and the subject of workflow comes up. Most will have horror stories of cards dying, hard drives failing and loosing photos by the score. Others will say how expensive and time-consuming all the back-end of photography is and why can’t be simpler and cheaper. Well it can.
Most people take a haphazard approach to workflow and that is fine until one of a couple of things happen. The first is that you start shooting so many images that processing and archiving takes forever. Or there is a catastrophic failure and hours of time and precious images are lost. But really all it takes is a small outlay of cash and some good habits and you have cracked the issue.
The foundations of a good workflow practice are:
a colour calibrated monitor
two external hard drives
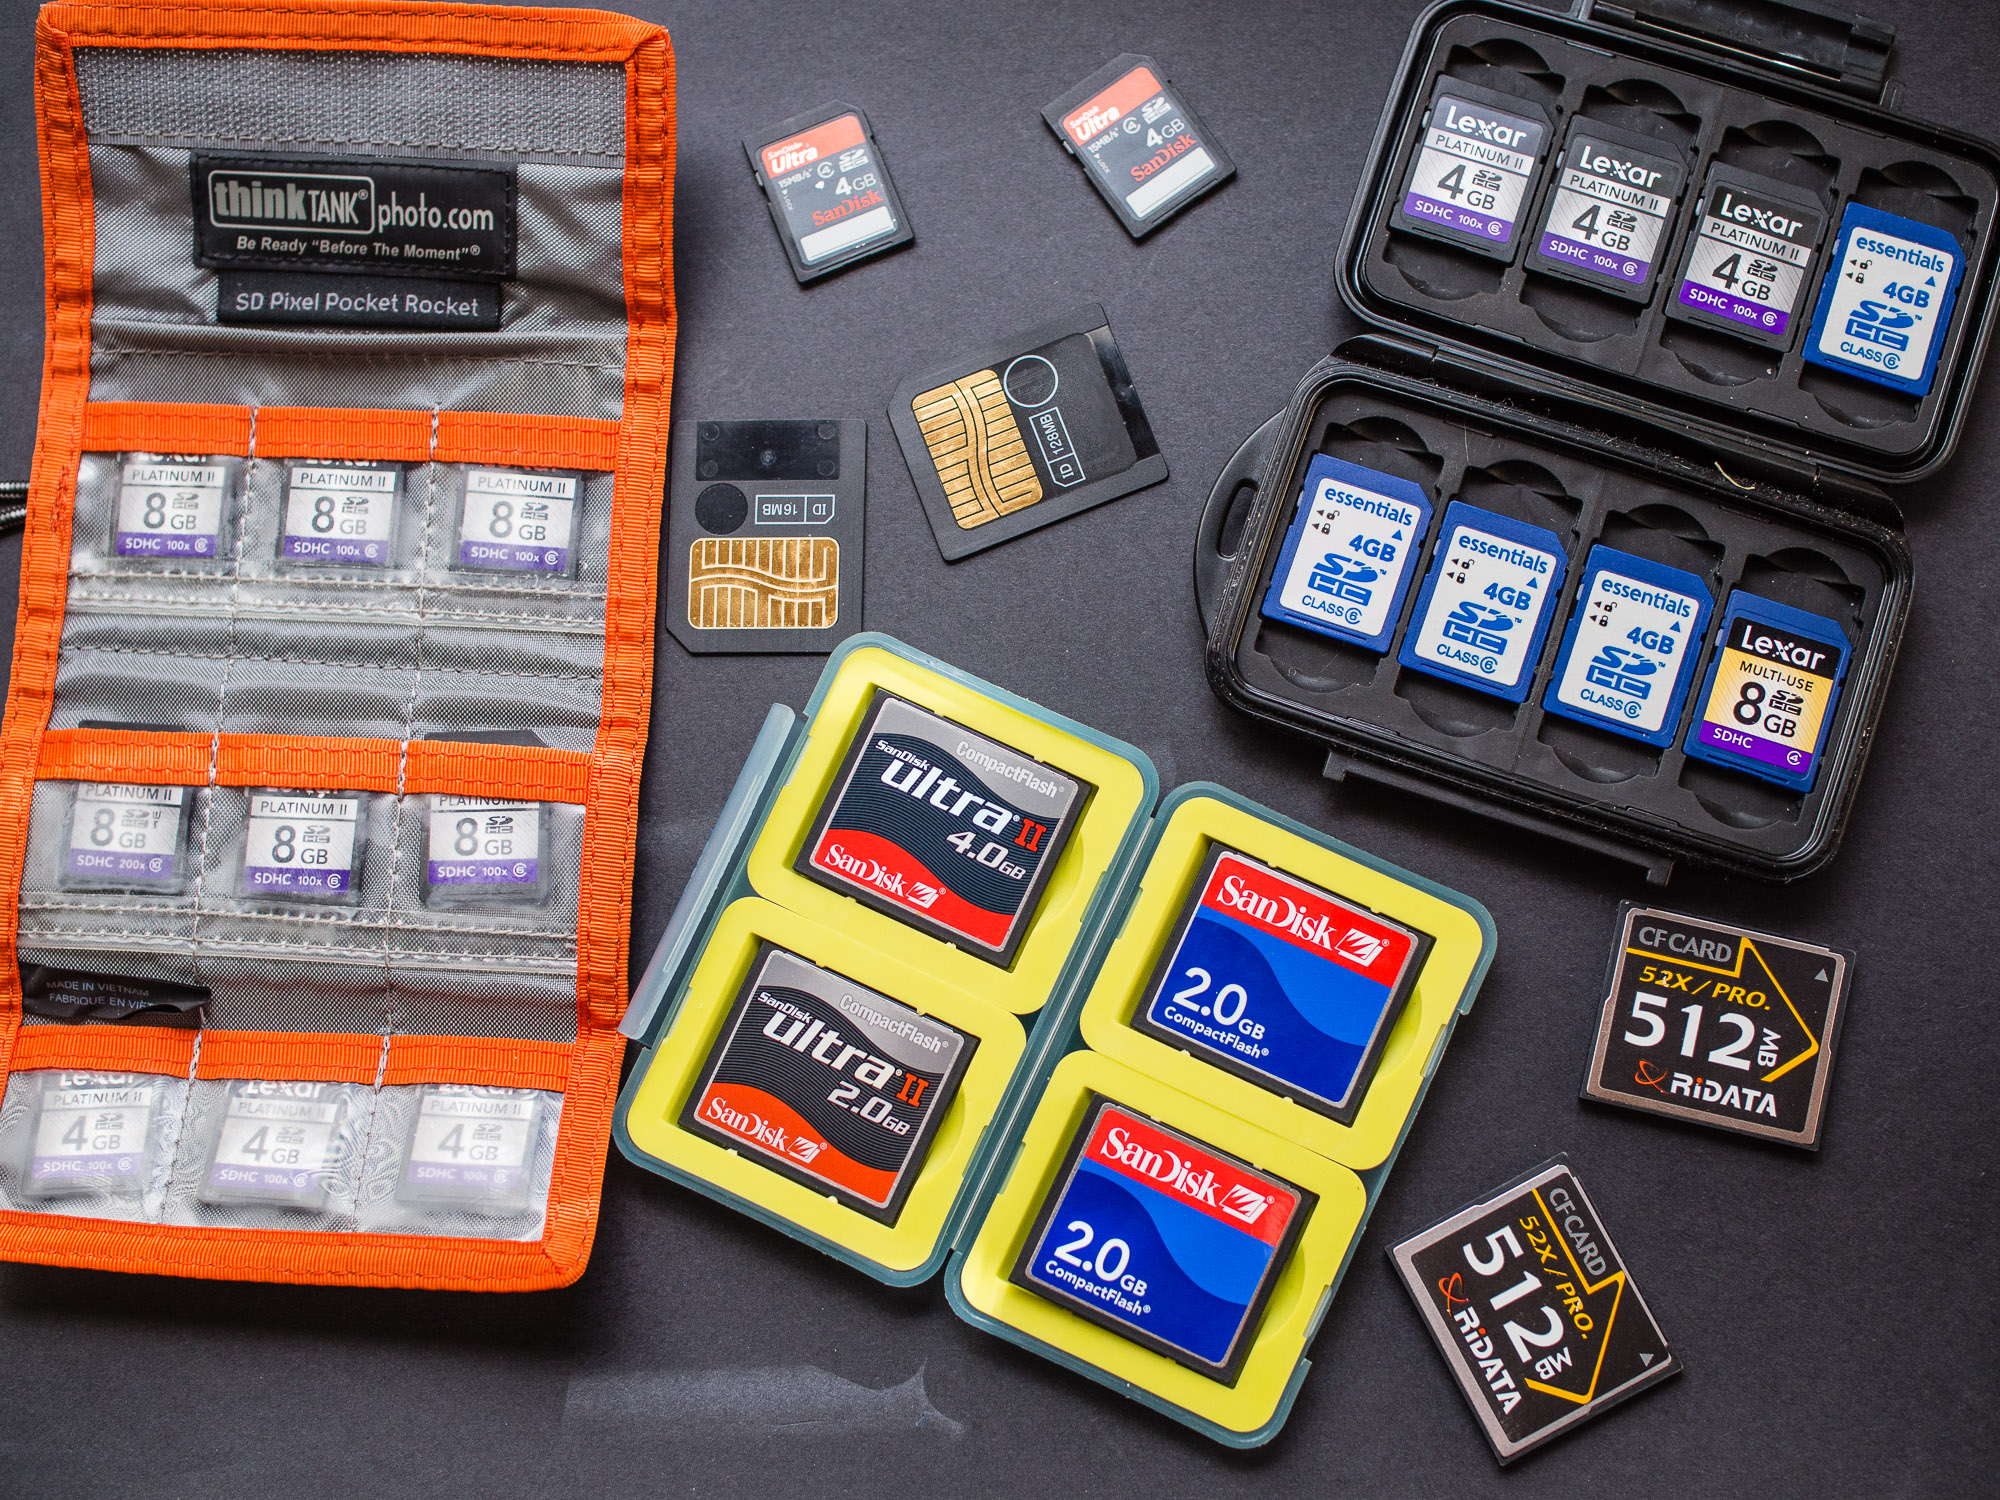
a card reader
DVD burner
parametric editing software with digital asset management functions
Hold on I hear you cry. The first four are understandable and speak for themselves, but what the blinking flip is a parametric thingy ma bob? It’s a fancy pants and non-committal way of saying Lightroom or Aperture which allow you to edit photos without changing the original photo file. The digital asset management is a powerful filing system that allows you to organise your files and manage them. Putting the two functions into one package means that for most photographers 95% of the work can be done within that one program.
The start of good workflow is in the field when you’re shooting. A little bit of attention here can save literally hours later. Shoot with a large colour space – Adobe RGB. Ensure that your exposures are good and your white balance is correct. When I was teaching so many of my students said that they’d fix things like this in Photoshop. Ok you can fix somethings in post, especially if you shoot RAW, but the question is that when you’ve come back from a wedding, an event, or even a holiday and you’ve potentially got a thousand images would you want to go through every single image making corrections when you could have done it at the taking stage. If I use multiple memory cards I have a system that means that the full card is put away safely and in a way that it can’t be muddled up with empty cards. The next choices all depend upon whether you are shooting something that will generate a large number of images that will require little to no post processing, or you are shooting and image that is going to be optimised and processed intensively for high quality out put. These are called respectively “batch-processed workflow” and an “optimised workflow”. By batch processed, we mean image files that have been collected and processed all at the same time.
The characteristics of a batch-processed workflow are:
– Often used for sports, news, and event photography
– Often will be a high volume of images
– Will often be all, or a substantial portion, of all the images from the shoot
– Often involves a quick turn-around time
– May involve JPEG or raw capture, but is mostly based on JPEG capture
– May be JPEGs or raw files that have received a round of parametric image edits in Lightroom or Aperture and then processed out to JPEG or TIFF
– May be camera JPEGs that have had metadata added and possibly been batched renamed but are otherwise as processed by the camera
– May be camera JPEGs that have had metadata added and possibly been batch renamed and then processed through Photoshop with an action or set of actions or in Lightroom with presets that applies the same tone or colour enhancement to all the image files.
An optimised workflow takes digital capture beyond the batch processed file. In the optimised workflow, the photographer continues to exercise creative control after the shoot (also referred to as “post production”), which may involve image compositing, retouching, stitching, high dynamic range tone mapping and other techniques, to produce a finished piece. An optimised workflow involves more work and has more steps, sometimes many more steps than a batch workflow. Although turn-around times can be quick when deadlines make that necessary, there is usually more time built into an optimised workflow. In an optimised workflow, the photographer will tend to gather more information about the final uses. This often extends to researching the type of press and paper that will be used for printed output. Photographers that operate at the highest level in the industry practice an optimised workflow. They are usually known for their post-production skills and style, which they use to complement their pre-production conceptualization and capture techniques.
Characteristics of an optimised workflow are:
– Often used for advertising, corporate, high-end editorial, and portrait photography
– The optimised workflow should always start with raw capture.
– If the final desired result is a stitched or High Dynamic Range (HDR) image, the captured images need to reflect the panoramic sweep or the exposure range optimally.
– The optimised image files will usually be a small portion of the shoot’s post production.
– Optimised files will often be selected for optimisation from a batch process of the edited and proofed shoot.
– Optimised files will go through a series of steps involving optimisation in Lightroom or Aperture and may involve additional optimisation in a pixel editing application, usually Photoshop.
– Optimised files are ideally saved as master-files, which are usually high bit TIFF or PSD files normally saved in Adobe RGB (1998) or ProPhoto colour space. However, they may also be raw files that have been optimised in Lightroom or Aperture or even saved as Adobe DNG. Master-files may have capture sharpening applied, but should never have output sharpening applied.
– Optimised master-files are the source files for all other derivative files which may include files further optimised for print, printing (CMYK), or screen (Web, projection, etc.)
The workflow process can be divided up into its key components.
Capture the image to the card.


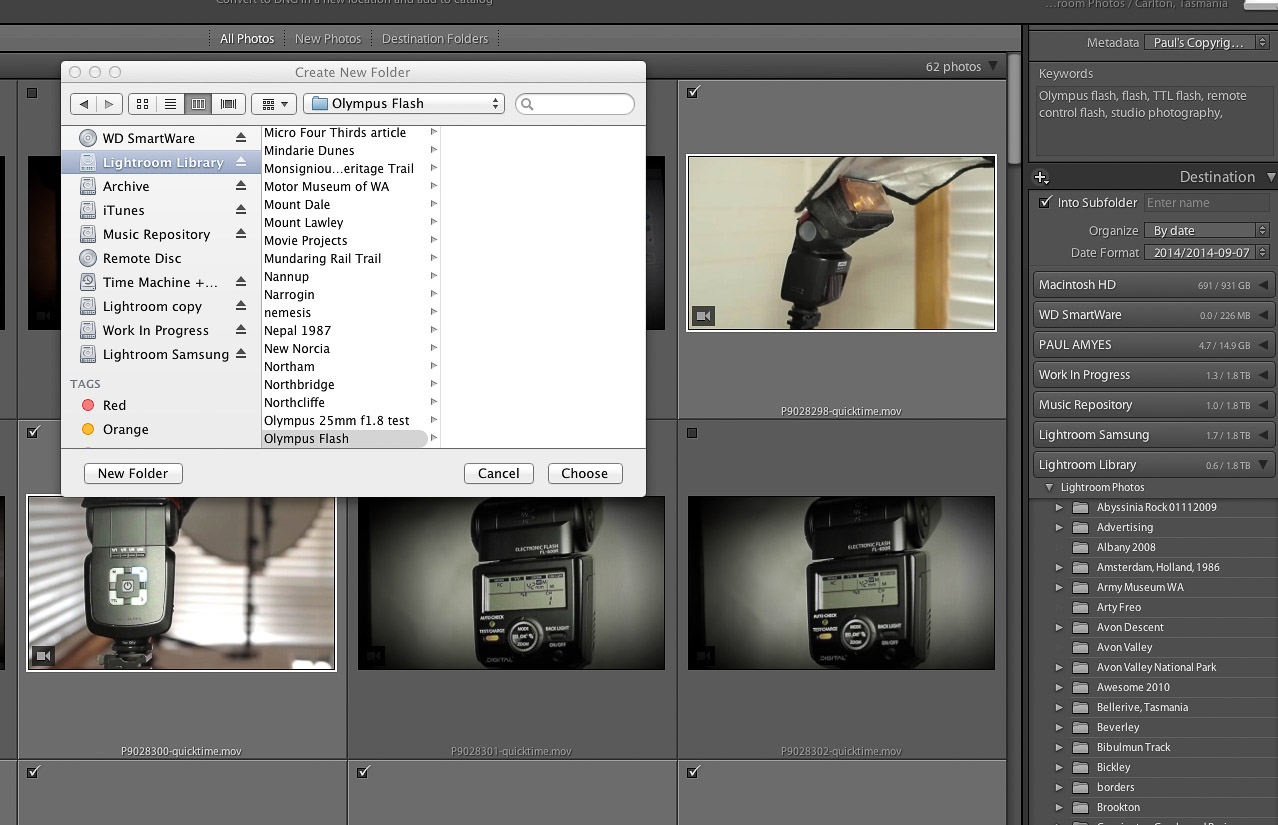
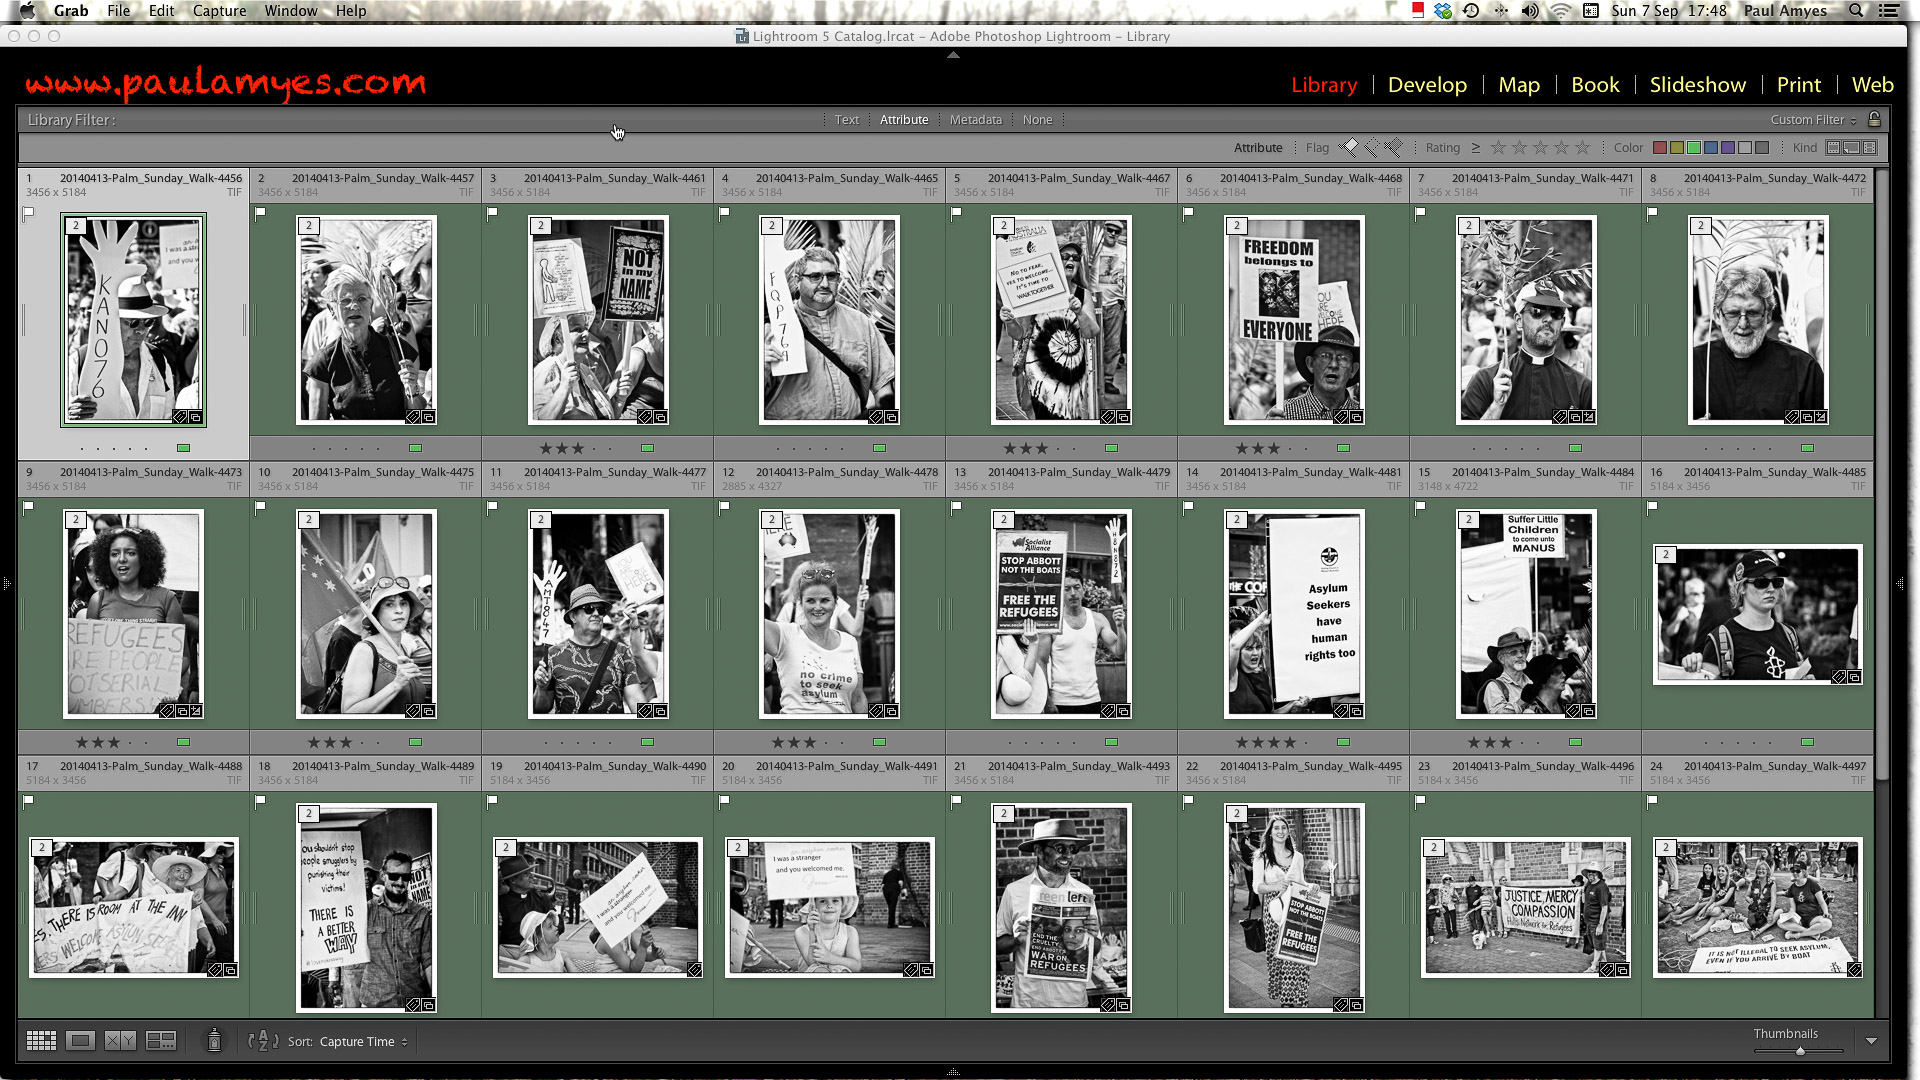
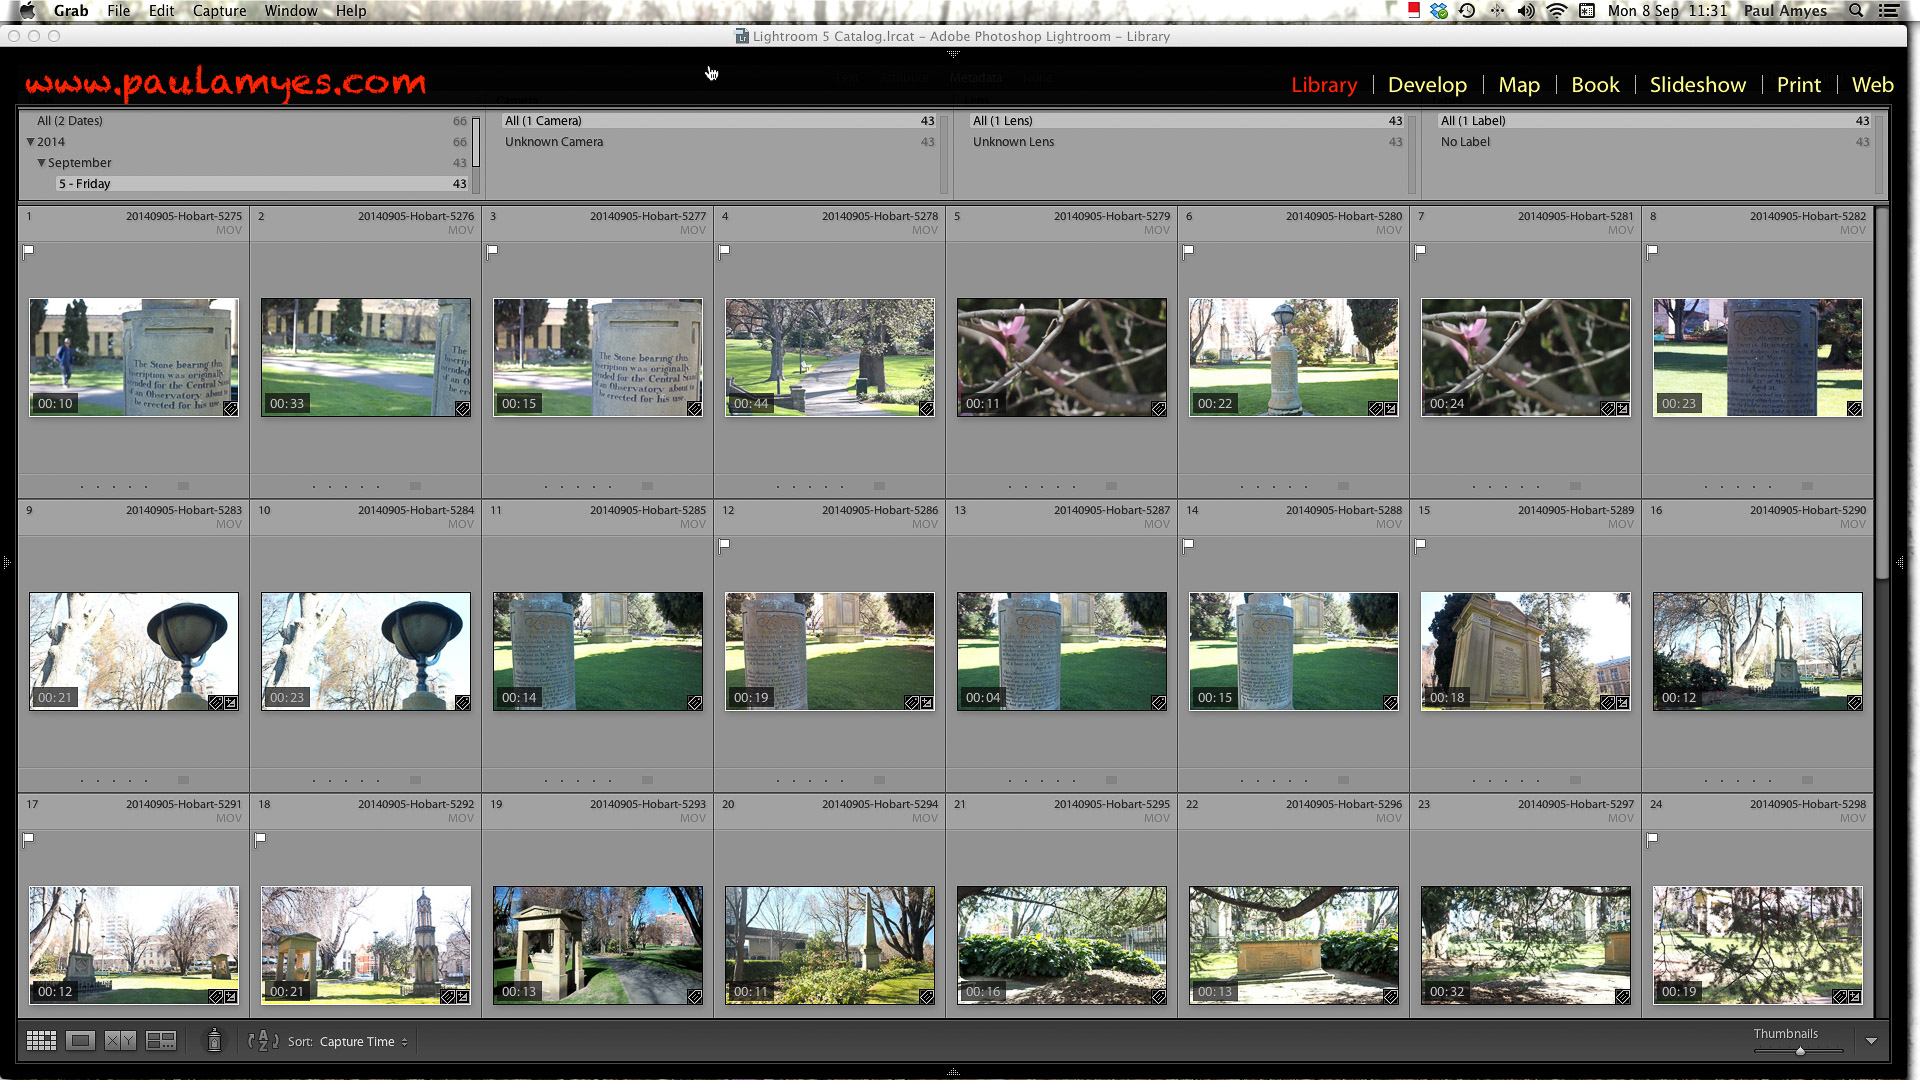
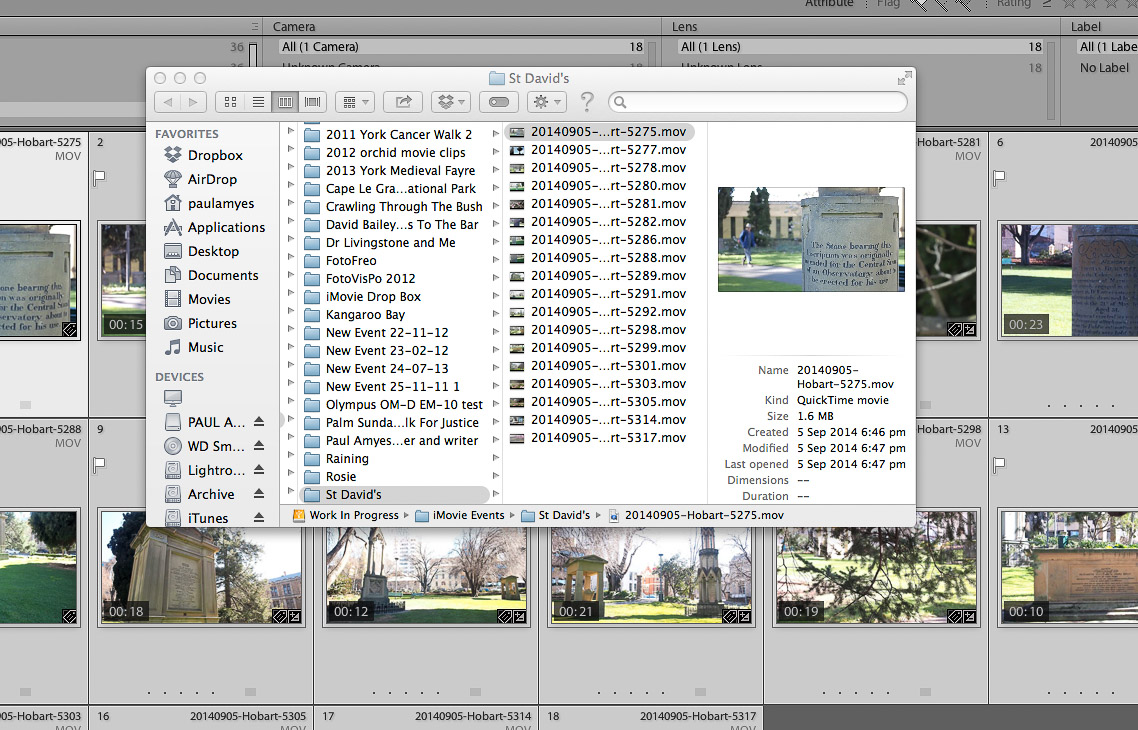
Ingestion. The images are downloaded from card to computer. When I get back home from a shoot. The first thing I do is create a folder on my desktop which is titled with the place or name and the date. All the image files are copied over to that folder. The cards are then put aside in a safe place. I then copy the folder onto DVD. This means that I now have 3 copies of each file. I then open Lightroom and look to import the images. At this stage I perform the first edit and choose only correctly exposed and sharp images. The files are renamed with the name and date and a 4 digit number. I also add basic tagging with places and names and my copyright details. Depending on the nature of the job the images will be put either into their own specific folder within the Lightroom catalogue, or if it is part of an ongoing project into an existing folder. When that is done I synchronise my Lightroom catalogue and back up the hard drive onto another drive using a program called Get Backup. At this stage I can now put the cards back into circulation as I’ve the folder on my desktop, the drive with my Lightroom library and the copy of that drive.

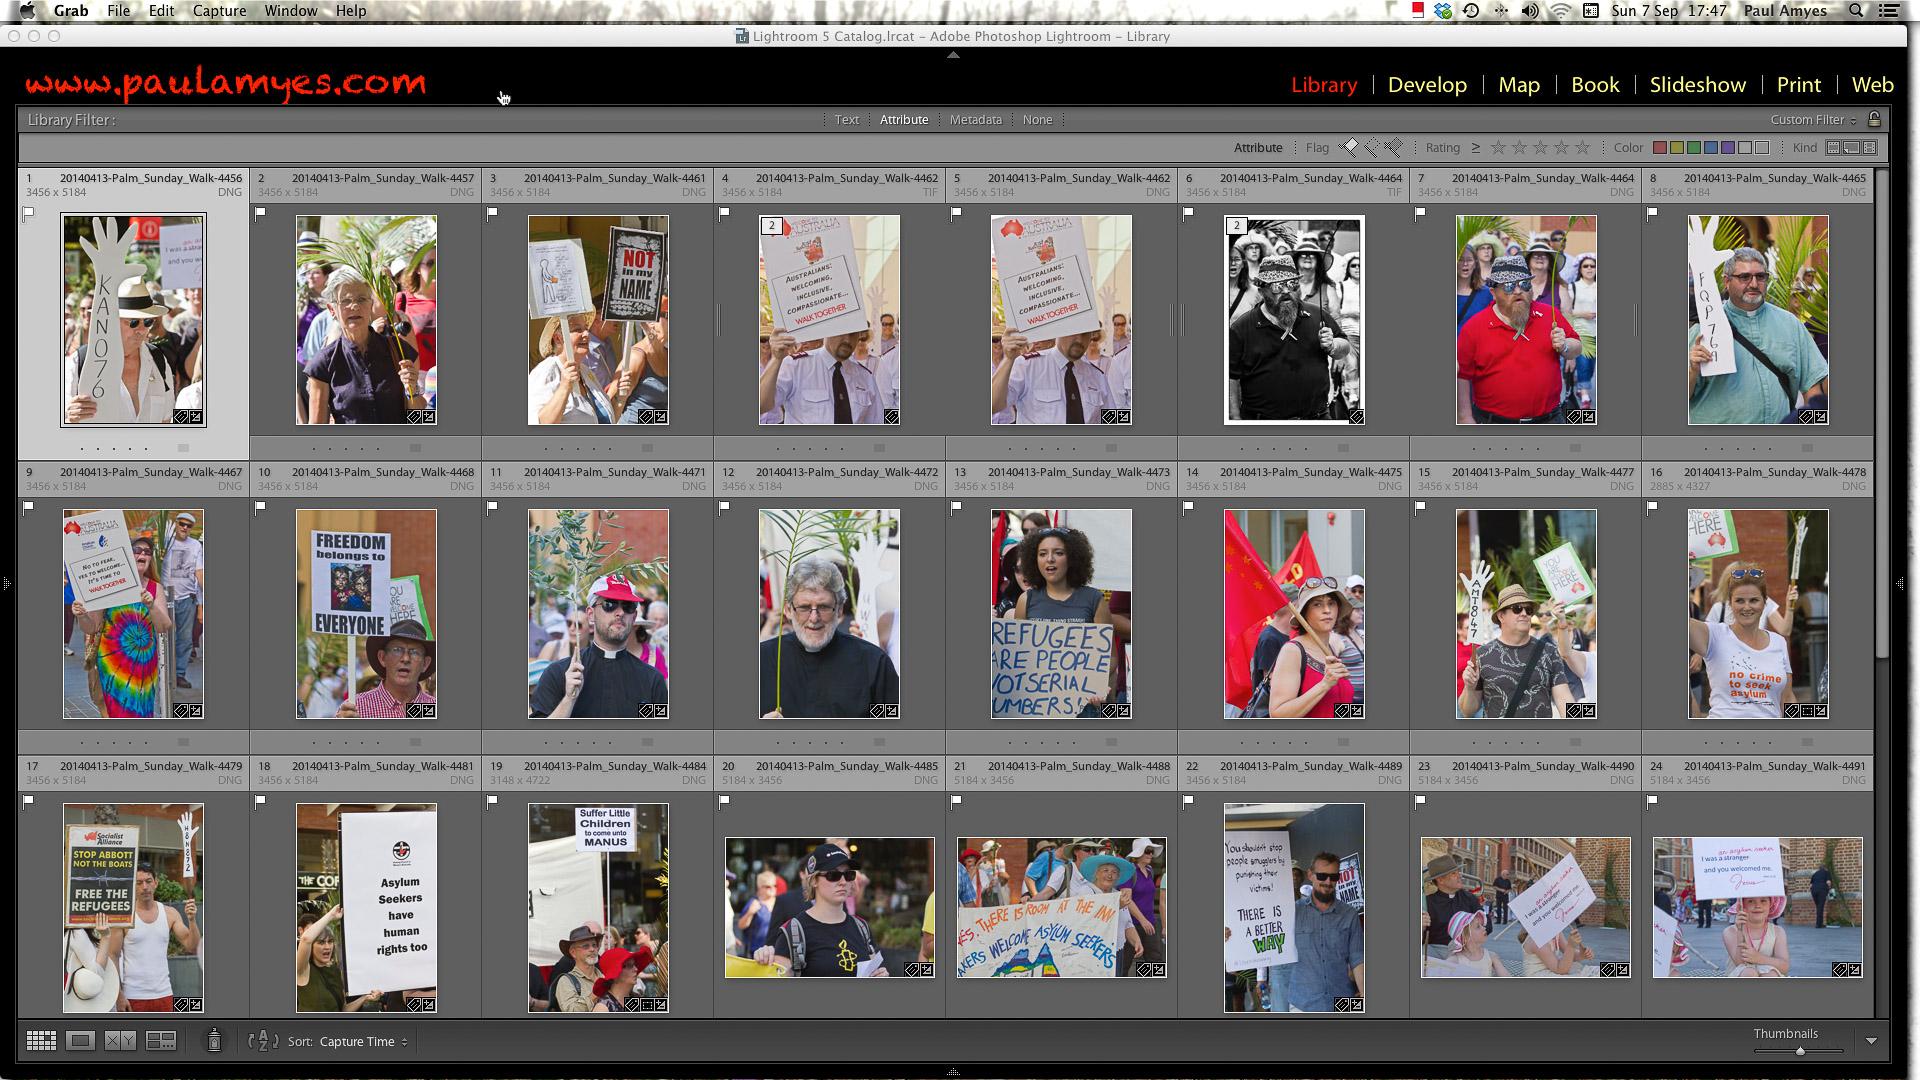
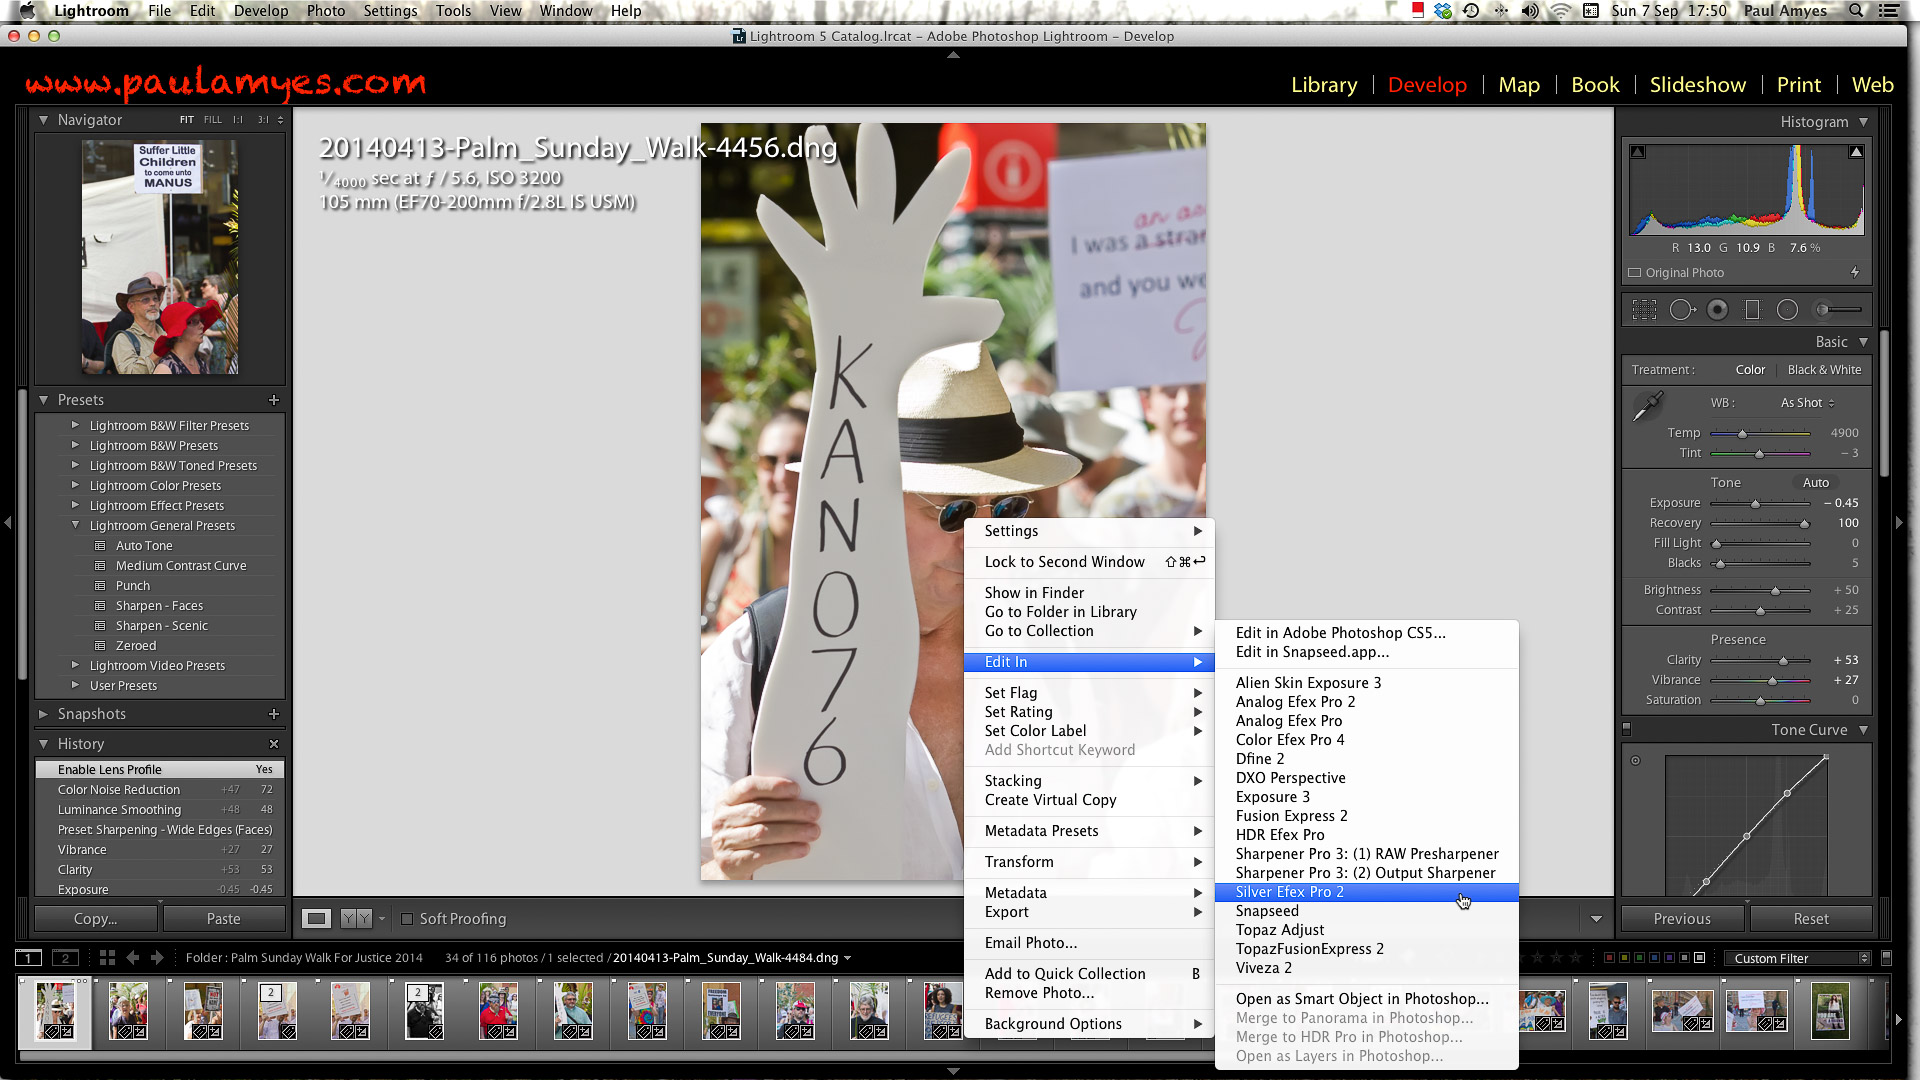
Second edit. Each file image is assessed and if it passes it is flagged Basic adjustments are carried out, and this done on an individual basis, or using presets. If this a batch-processed workflow then the images are captioned and given tagged with image specific terms. A final edit is made and I give the final selection a green colour label. and I move onto the output stage. If this a job that requires optimised output I then rate the images on a scale of 1 to 5 and label each accordingly. Once that is done anything higher than 4 will have extra post processing done using either Photoshop and or various plugins. The editing in Photoshop is done in a non-destructive manner using layers and saved as either TIFFs or PSD.
Batch output and delivery. The images are out put according to their usage – basically web or print. It is at this stage final sharpening takes place, if the image goes to the web it is converted to sRGB and saved as a jpg at the appropriate size at 75%. If the images are to go to print, then they are sharpened and flattened and saved as Adobe RGB either as TIFFs if they are being sent to the client on disc, or saved as jpg at 85% if for sending via FTP or Dropbox. If I were to print the images myself then I would do that at this stage using the Lightroom print module. Same with self publishing I would do that through Lightroom and output the finished book to Blurb. With slideshows I prefer to use iMovie so I output the images as jpgs at 2000 pixels on the longest side and export them to iPhoto so they are ready for use in iMovie.
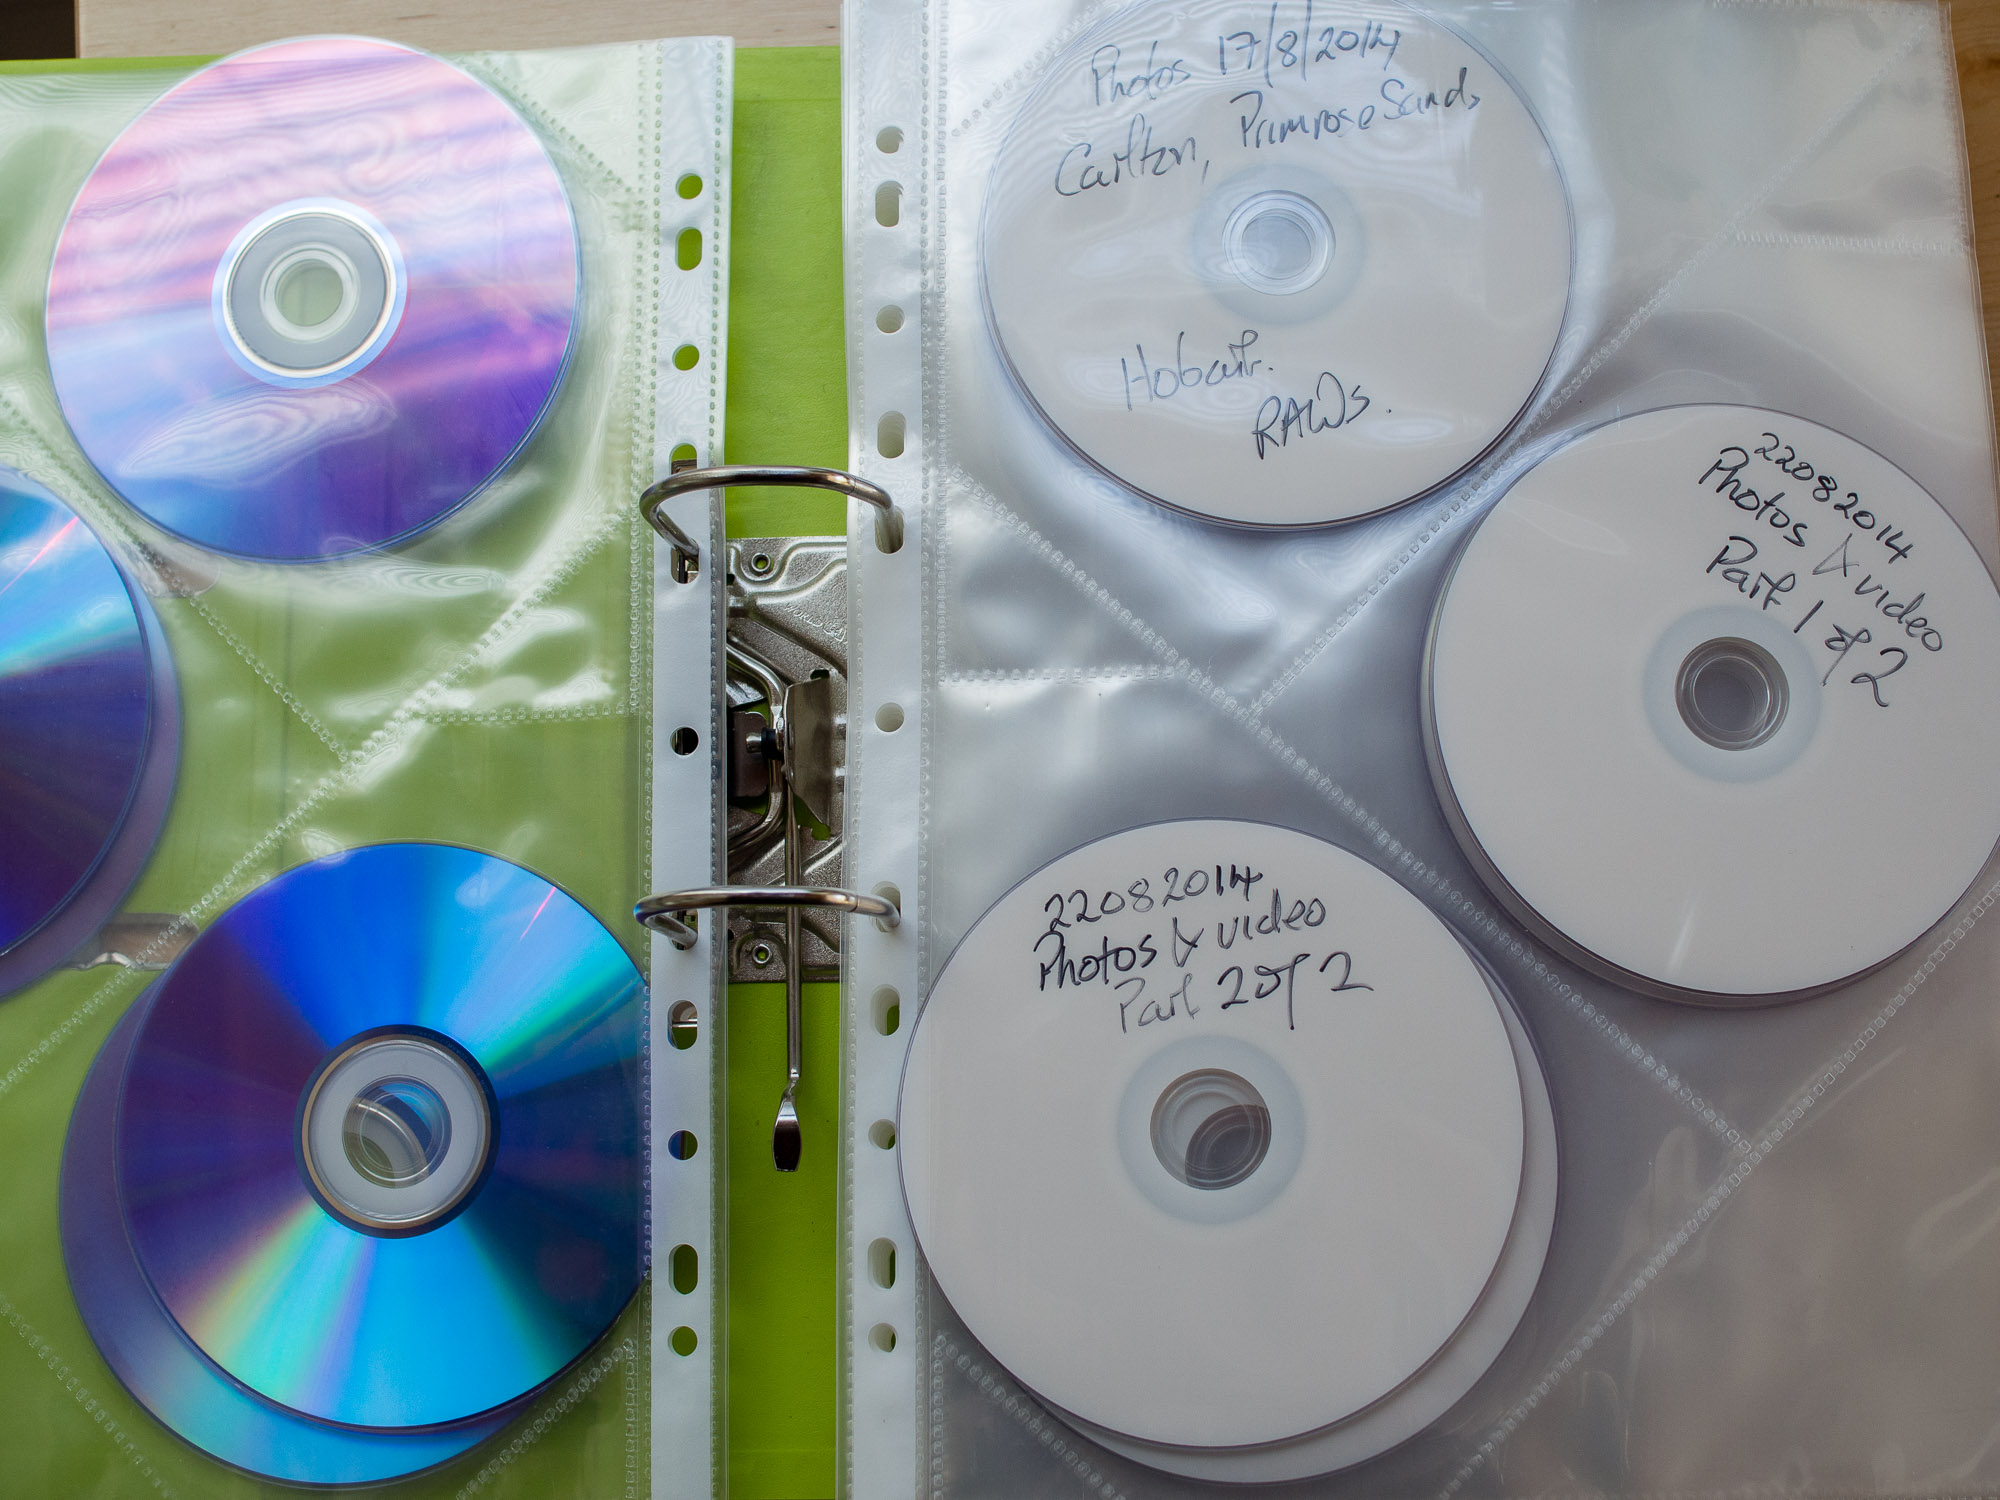
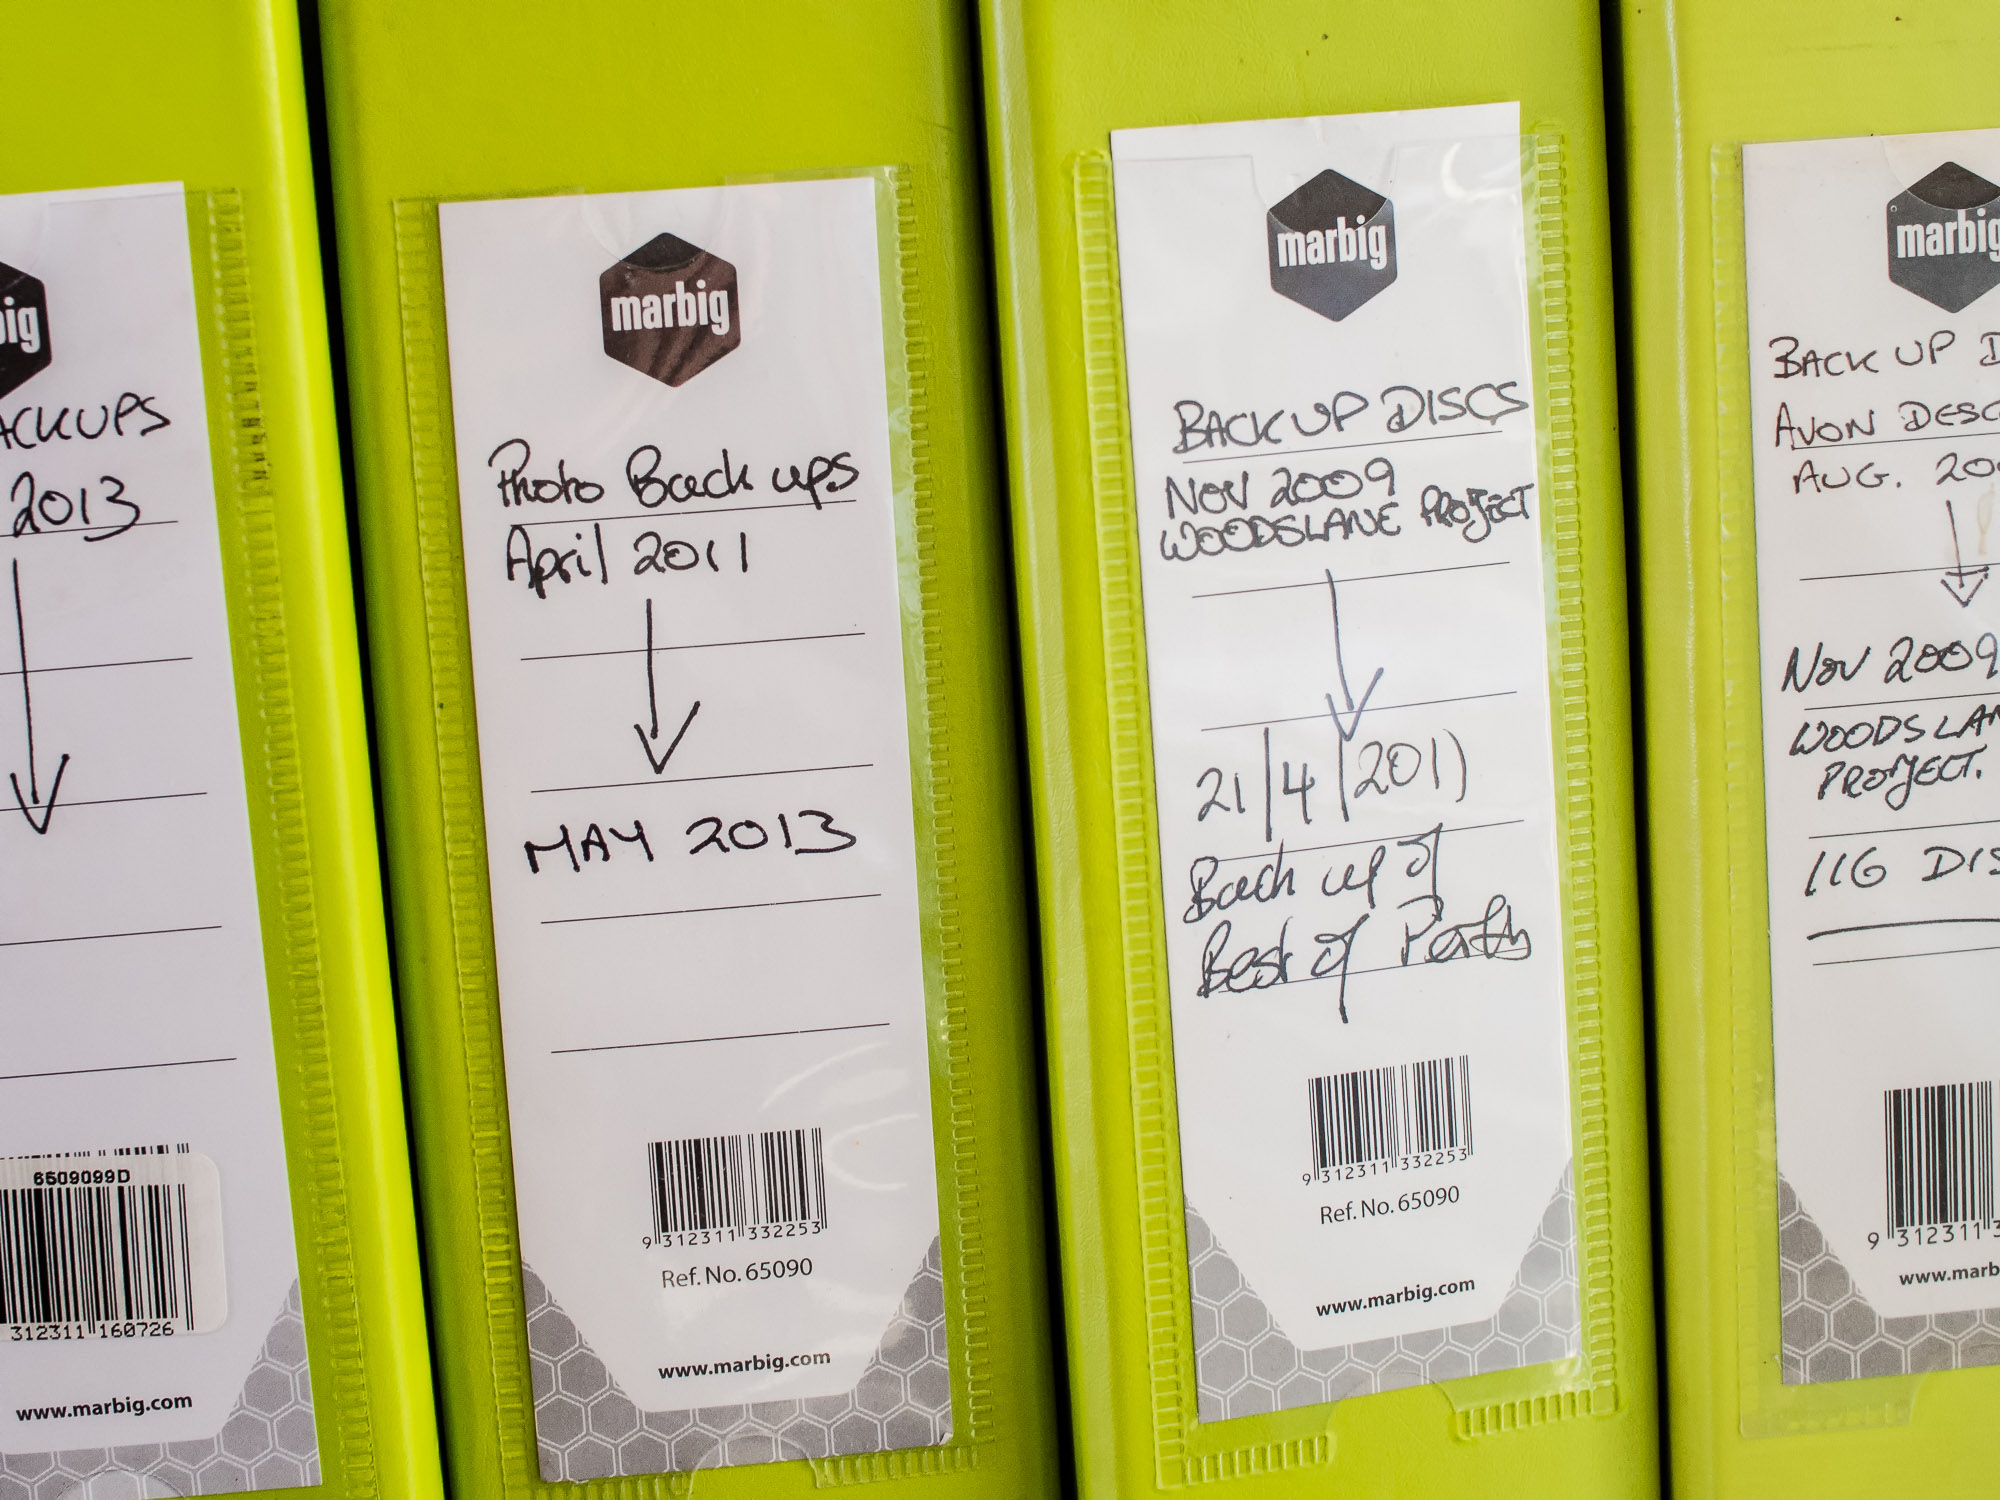
Archive. I make a DVD of the selected images saving them as TIFFs and then using Get Backup I back up my Lightroom library again. The selected images are then also uploaded to 500px and Flickr accounts as jpgs as a form of cloud storage. Flickr gives you 1 terabyte free and you can purchase more and my 500px Plus account gives me unlimited uploads for $25 USD per year. Both allow me download the images again. I have Get Backup scheduled to back up my library everyday so that if anything should happen to my Lightroom library I would lose at most just 24 hours of work and I can use the DVDs to reload the RAW files.
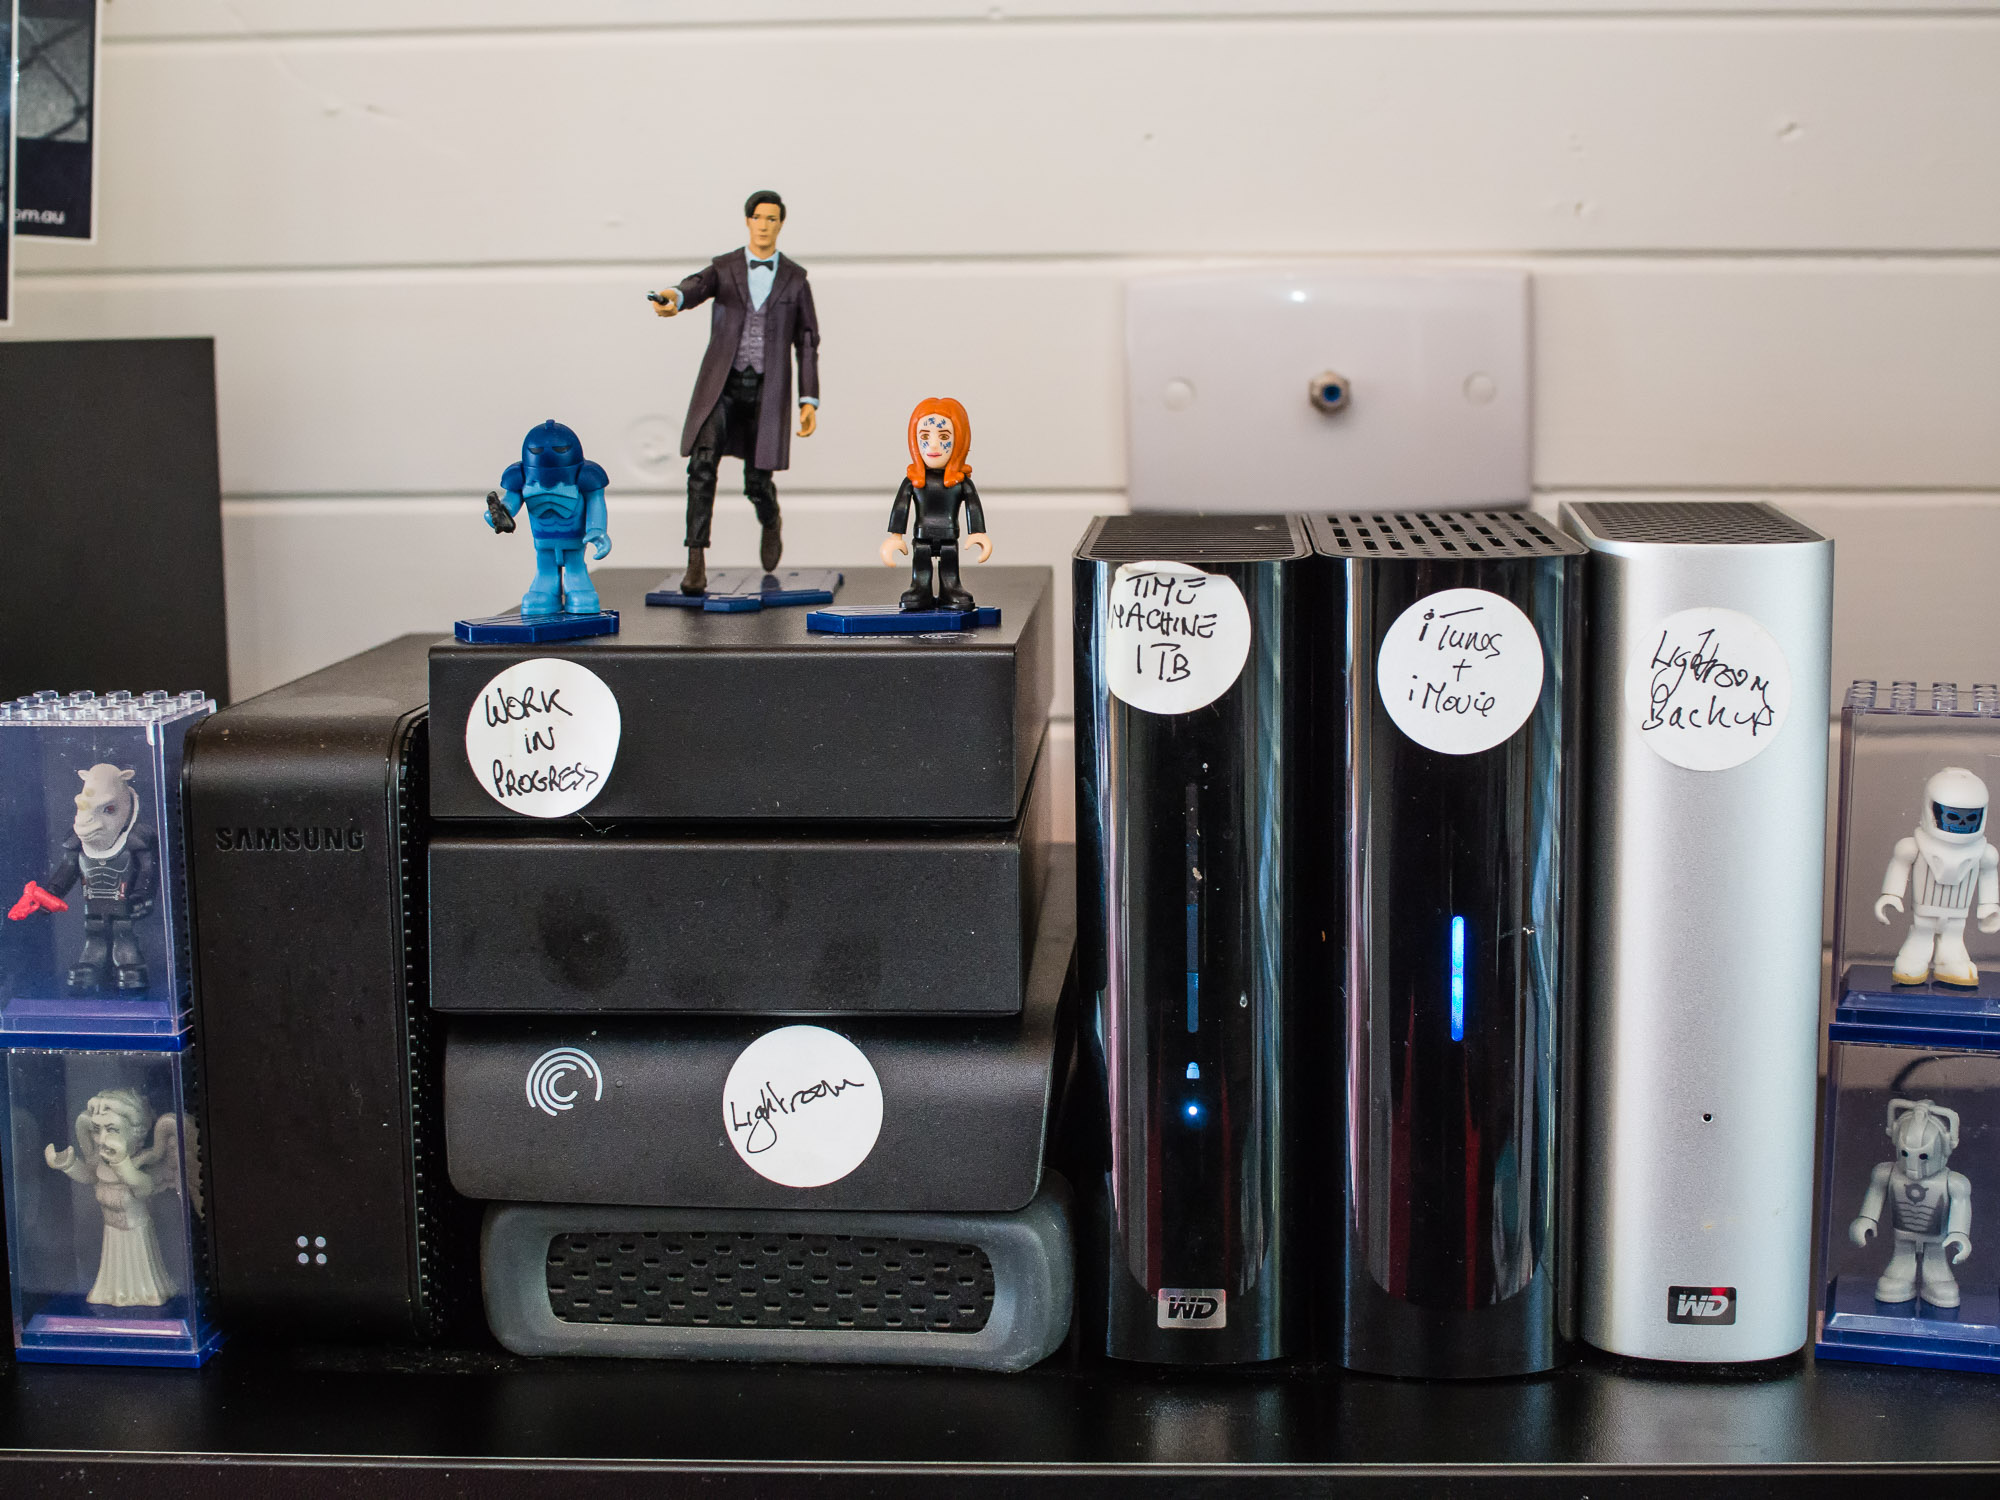
Now we’re all multi-media artists and shooting video and recording audio there a couple of extra things to do. I have a separate drive for video projects and I also have a duplicate of it that is synchronised via Get Backup. So the workflow is as follows:
– Transfer the files to a folder on the desk top and then copy them to a DVD or Blue Ray disc. Import them into Lightroom and make your selection for the clips you want to use. Back up the Lightroom catalogue and synchronise the disk with its copy.
– When done open iMovie create a new project for your. video. I create a new event and call it the same name as my project, it helps me organise things so I don’t lose them. Import the movie files and I also add any audio files. Then the project should show in your time line and the footage in your event library.

– It is then just a matter of dragging and dropping the clips onto the time line. I work by dragging the clips into roughly the order I want. I then trim them so they’re not too long and boring.


– Then I edit the clips sorting out camera stabilisation, rolling shutter, and tweak the exposure as needed.. Then I sort out the audio making sure everything is at the same level so there are no sudden bursts of loud noise to scare the unsuspecting viewer, or there are no quiet spots where no one can hear anything. I then put a title page on the front and an credits page at the end.
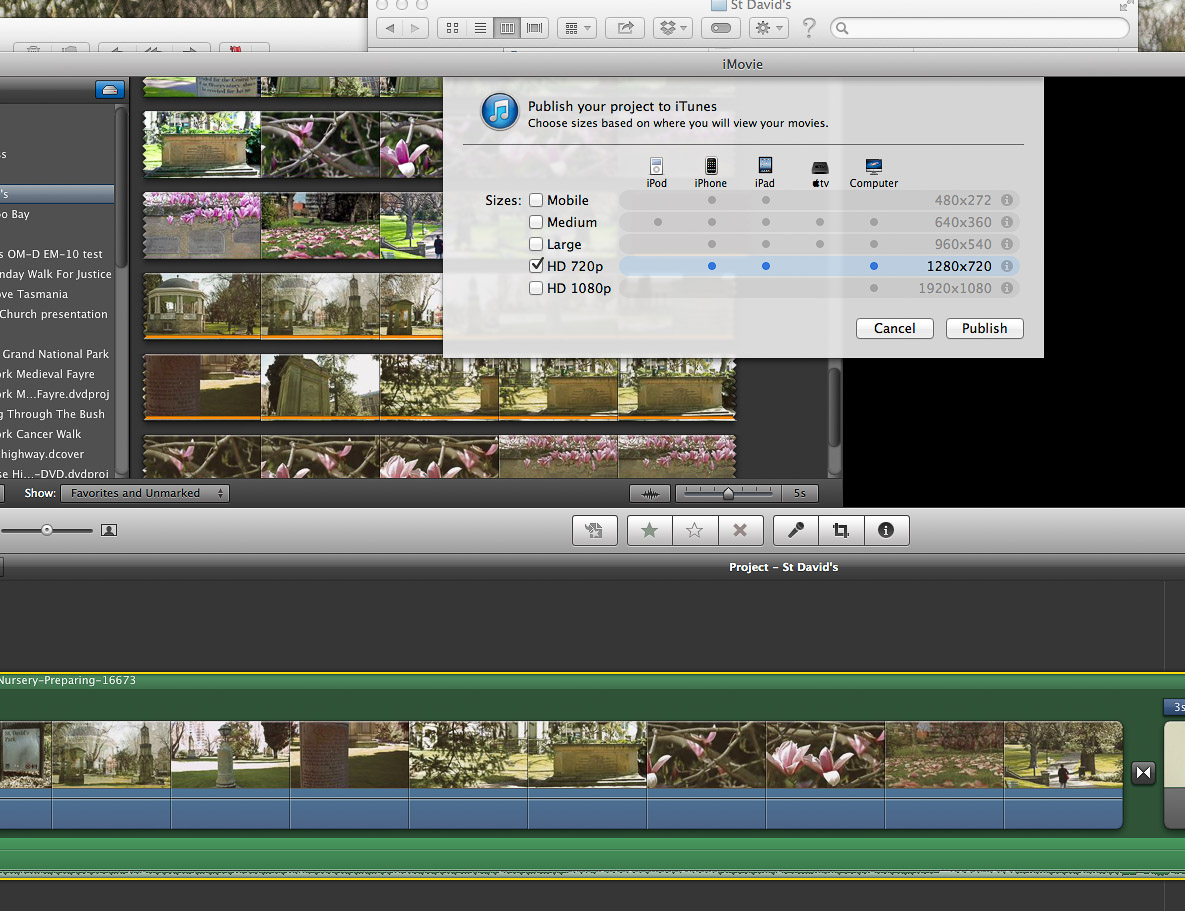

– Last but not least, this when I drop the music sound track onto the project if I’m using one. Check it all to see it’s what I want then I export to iTunes and upload to YouTube or Vimeo. If I’m making a movie for family I send it to iDVD to make a DVD that will play on a standard DVD player. This is of course at standard definition rather than HD.
Make a DVD or Blue Ray copy.
The finished uploaded movie.
In Summary
1) Hardware
– Get the best monitor you can afford, and keep it regularly calibrated and profiled in an appropriately illuminated environment.
– Acquire abundant hard drive storage capacity.
– Maintain your computer and operating system properly.
2) Capture
– Shoot raw if possible. This provides the highest image quality and the most flexibility for image correction and interpretation.
3) Colour
– Always embed and preserve the appropriate color profile in image files
– Use a large color space for image editing, such as Adobe RGB (8 and 16-bit) or ProPhotoRGB (16-bit)
– For best possible results, you may want to profile your camera or printer
– When delivering image files, make sure both sides understand color profile requirements.
4) Image Editing
– Use parametric image editing tools for as much image editing as possible.
– In order to enable non-destructive image editing in Photoshop, use and save layers, adjustment layers and smart objects to master files.
5) File Management
– Assign unique file names to images in order to distinguish one file from another and to prevent overwriting of files.
– Create a naming convention that is easy to use and remember and that can be automated.
– Use folders to organise and store files.
– Use metadata and cataloging software to manage the content of your image collection and to streamline image searches.
4)Metadata
– Embed credit, contact and copyright information in all image files.
– Add bulk metadata to describe the shoot and add keywords as necessary.
– Use the appropriate metadata field for more specific tags such as location.
– Be aware of programs and workflow steps that may strip metadata.
5) Backup
– Use a 3-2-1 backup (3 copies, 2 different media, 1 stored offsite) whenever possible.
– Clearly distinguish the primary and backup copies of your digital image files.
– Schedule system backups to occur at appropriate places in the workflow and image life cycle.
– Clone your system periodically to avoid lost time and lost data in the event of system drive failure.
6) Preservation Management Practices
– Archive capture files as soon as possible in the workflow to protect your images.
– Archive layered master files to ensure projects can be re-created in their entirety.
– Migrate to new media periodically, to prevent loss due to media failure and to increase the speed of access.
– Migrate to new file formats as necessary to stay current technologically and to avoid obsolescence.
– DNG offers a secure openly documented and forward compatible format for image archiving.
Discover more from paulamyes
Subscribe to get the latest posts sent to your email.

You must be logged in to post a comment.